PTU tutorial using Falling For Autumn by Scrappin Krazy Designs!
Check out her blog HERE to see where it's on sale.

**This tutorial was written by me and any resemblance is purely coincidental. It is written for those with a working knowledge of Photoshop.**
Supplies
Font
Scrap Kit
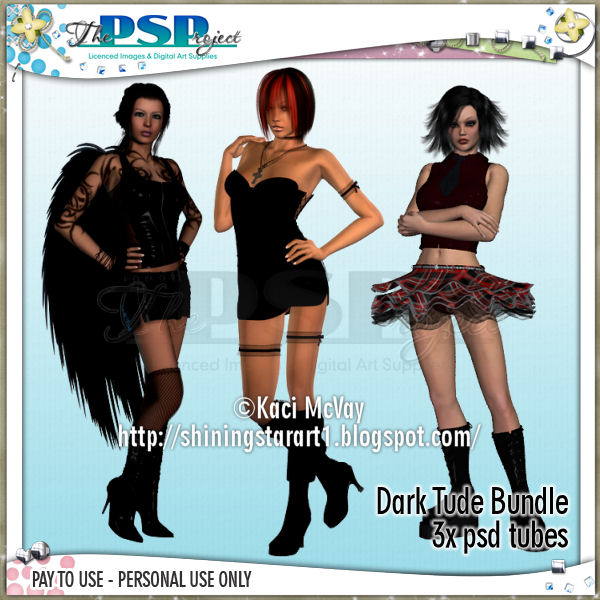
Tube
*You must obtain a license to use this tube.*
Elements
4
5
6
7
8
9
10
11
13
28
30
35
40
45
51
54
58
62
63
64
65
67
69
75
77
Papers
6
8
Let's start!
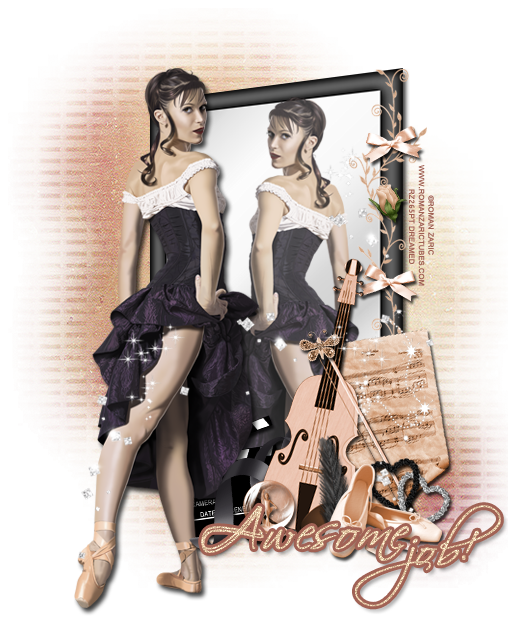
Open a new canvas, size 650x650.
Place 58 on the canvas and resize. Rotate a little to the left. Duplicate the frame and place it behind the first one. Rotate it the opposite way. Add a drop shadow to both.
Place paper 6 behind the one in the back and paper8 behind the frame in the front. Erase anything that sticks out.
Place the tube in front of the frames. Resize and add a drop shadow.
Take a close up of the tube and place it between the paper and frame in front. Resize and change her to Luminosity.
Place 63 over the frame in the front and resize. Add a stroke, size 2, in #e1dccb.
Move 40 between the frames on the left side. Resize and add a drop shadow.
Place 77 on top of the front frame in front of the tree. Resize and add a drop shadow.
Take 11 and flip it so it's vertical and place it along the length of the frame in front behind the tube. Resize and add a drop shadow.
Now place 30 behind the tube and to the right. Resize and add a drop shadow.
Behind the basket, place 75 and flip horizontally.
Take 10, 16, and 62 and flip them vertically along the ladder . Arrange them like I did. Resize and add a drop shadow.
Place 7 and 64 between the elements just placed and the basket. Duplicate 7 and flip it the opposite way. Resize and add a drop shadow.
Take elements 5, 13, and 54 and place one of each in front of the basket, but behind the tube. Place the chain links in front of the pine cone then the pine cone and then the flower behind the pinecone. Resize each and add a drop shadow.
Between the tube and the front frame, place 35. Resize and add a drop shadow. Duplicate so it covers the length behind the tube.
Place 45 on top of the wood. Resize and add a drop shadow. Duplicate and move along the frame the same way as the wood.
In front of the tube's foot place these elements in a cluster. Take 4, 5, 65, & 69. Place the mushroom between the two pine cones and place the acorns to the left of the cluster. Resize and add a drop shadow.
Duplicate the chain links from before and move then behind the tube's foot so they stick out a little.
Take 8 & 67 and place them between the wood and frame on the left side. Resize and add a drop shadow. Move the mushrooms behind 8.
Take 69 again and move it behind the tube's boots in front of 45. Resize and add a drop shadow.
Place 51 on top of 8. Resize and add a drop shadow.
Now take 28 and place it in front of the tube across the front of her. You made need to use a couple of copies to cover empty spaces. Resize and add a light drop shadow.
Name
Main color is #482929.
Add a stroke, size 2, in #a07856.
Add a drop shadow.
Mask
Open a new canvas, size 600x600.
Open p7 and resize to 600x600. Place on top of the canvas.
Open the mask and move on top of the paper.
Remove the white background and place the mask behind the tag.
Make it evenly stretched on all sides.
Add your tagger mark and copyright information.
Crop off any extra canvas.
Save as a .psd & .png.
Here are free snags!