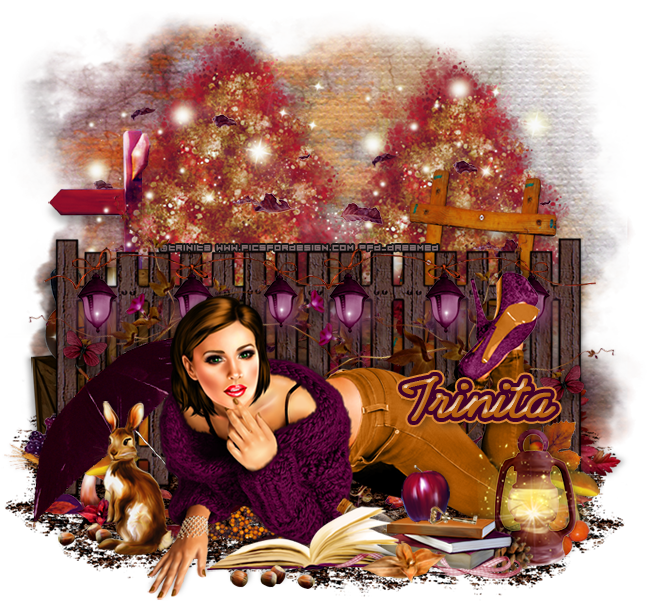
Open a new canvas, size 700x700.
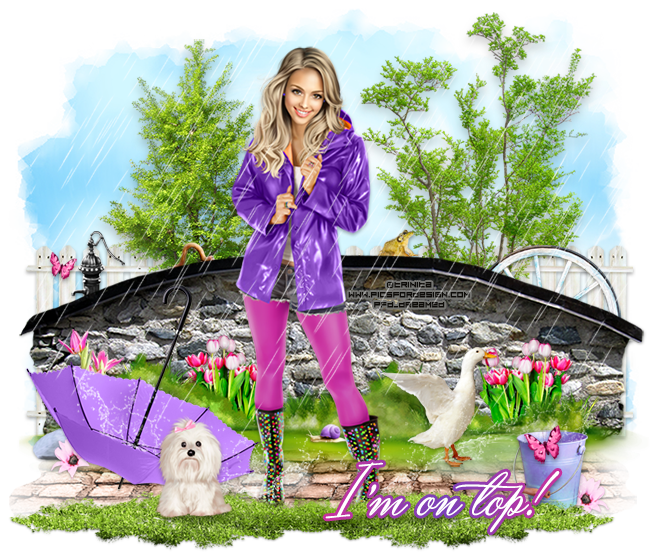
Place the tube on the canvas and resize. Add a drop shadow.
Behind the tube place the fence toward the left. Resize and add a drop shadow.
Duplicate the fence and flip horizontally and move to the right of the first. They will overlap in the middle so make sure you can't tell they are doubled. Merge the layers. Resize and add a drop shadow.
Behind the fence place a tree. Resize and add a drop shadow.
Duplicate the tree and move to the right of the first one. Make it lower than the first and behind it.
Behind the tree on the left side place the sign and flip horizontally. Resize and add a drop shadow.
Between the trees and fence place the ladder and flip horizontally. Resize and add a drop shadow.
Behind the fence and in between the trees, ladder, and sign place a few copies of the wind and leaves. Resize to cover the area without too much pattern. Erase anything off the tag too far.
On top the trees and behind the wind and leaves place the starlight on the left tree. Resize and erase so they don't hang off the tag too far.
Duplicate the starlight and move to the tree on the right side. Again, erase so they don't hang off the tag too far.
On top of the fence along the fence line place the lanterns on the left side. Resize and add a drop shadow.
Duplicate the lanterns and move across to stretch the lanterns across the fence.
Behind the lanterns on the fence place flowers2 on the right side. Resize and add a drop shadow.
Duplicate the flowers and flip horizontally and move to the left of the first flowers.
Below the lanterns on the left side of the fence place the butterfly. Rotate so it looks toward the tube. Resize and add a drop shadow.
Duplicate the butterfly and move to the right side of the fence and place to the right of the tube, lower than the first.
Behind the tube and on top of everything of the fence place the umbrella on the left side. Resize and add a drop shadow.
In front of the umbrella place the rabbit behind the tube. Resize and add a drop shadow.
Behind the rabbit and to the left place the acorns. Resize and add a drop shadow.
Behind the acorns and in front of the mushroom place flower 1 and flip horizontally. Resize and add a drop shadow.
Behind the umbrella place mushroom1 and mushroom2 along the bottom of the fence. Resize both and add a drop shadow.
Underneath the mushrooms place the leaf scatter. Resize and add a drop shadow.
Behind the tube where there is empty space between her arm and chest place frame 1. Resize and add a drop shadow.
In front of the tube place the open book. Resize and add a drop shadow.
In front of the book place the acorns from before. Resize and add a drop shadow.
Behind and to the left of the open book place the books and flip horizontally. Resize and add a drop shadow.
On top of the books place the apple and flip horizontally. Resize and add a drop shadow.
In front of the apple place the key. Resize and add a drop shadow.
In front of the open book and books, where they meet in the middle, place flower 2. Resize and add a drop shadow.
At the right end of the books place ribbon 1 and flip horizontally. Resize and add a drop shadow.
Behind the books on the right place the pinecone. Rotate to the right so it's laying down. Resize and add a drop shadow.
Behind the pinecone place the lamp. Resize and add a drop shadow.
Behind the lamp place berries 4. Resize and add a drop shadow.
Behind the tube's leg and in front of the fence place mushroom2 from before.
Behind the mushroom place frame2 so the leaf and berry are sticking up. Resize and add a drop shadow.
Below the mushroom and frame place the leaf scatter from earlier along the bottom of the fence.
behind the fence on the left place the crates and flip horizontally. Resize and add a drop shadow.
Place them behind the trees but in front of the sign and don't have them stick out too far outside the fence area.
On top of the crate on the left place the pumpkin. Resize and add a drop shadow.
Between the crate and fence place the berries. Resize and add a drop shadow.
In front of the berries place the wheat. Resize and add a drop shadow.
To the right of the berries place the gourd. Rotate so that it's standing upright. Resize and add a drop shadow.
Behind everything behind the fence place the leaf bundle a few times to fill in the empty space. Resize and add a drop shadow.
Duplicate one more copy of the leaf bundle and place it so it sticks outside the fence on the right along the bottom and flip vertically. Resize and add a drop shadow.
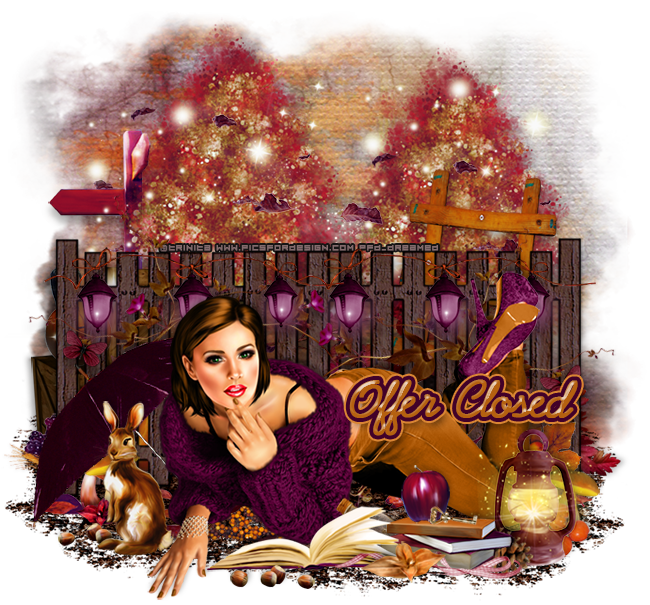
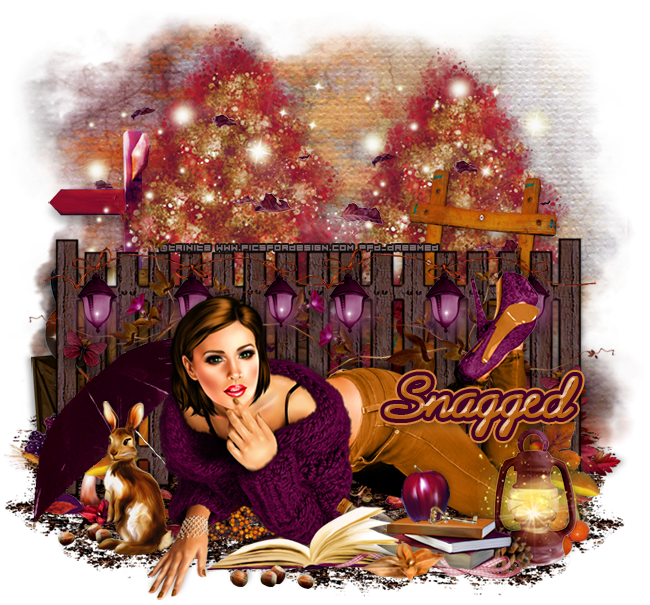
Add your tagger mark and copyright information.
Crop off any extra canvas and resize the tag as needed.
Save as a .psd & .png.
Free snags!
Thanks for coming by!