Showing posts with label Jackie's Jewels. Show all posts

Wednesday, March 18, 2015

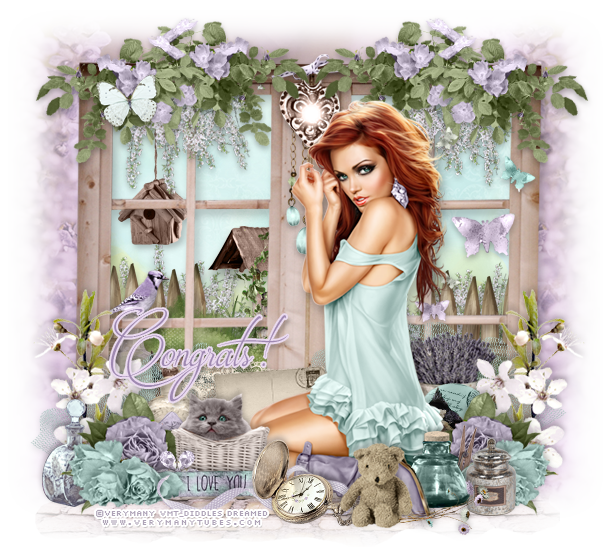
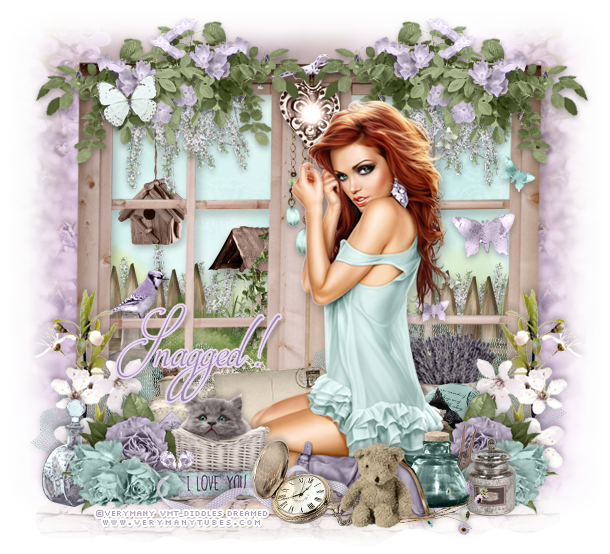
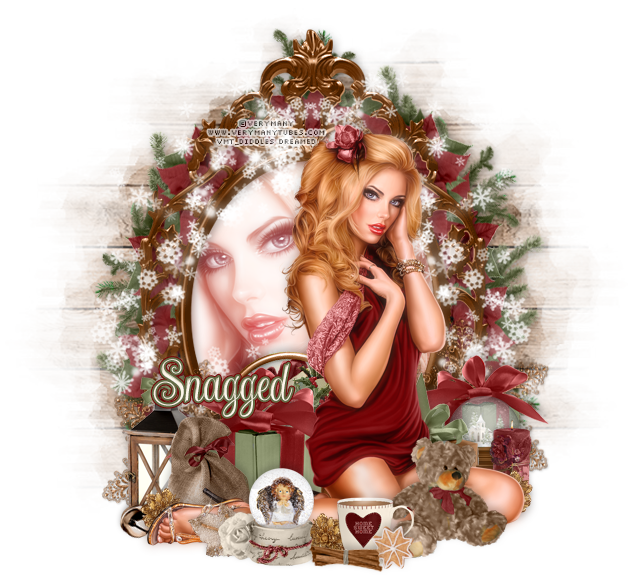
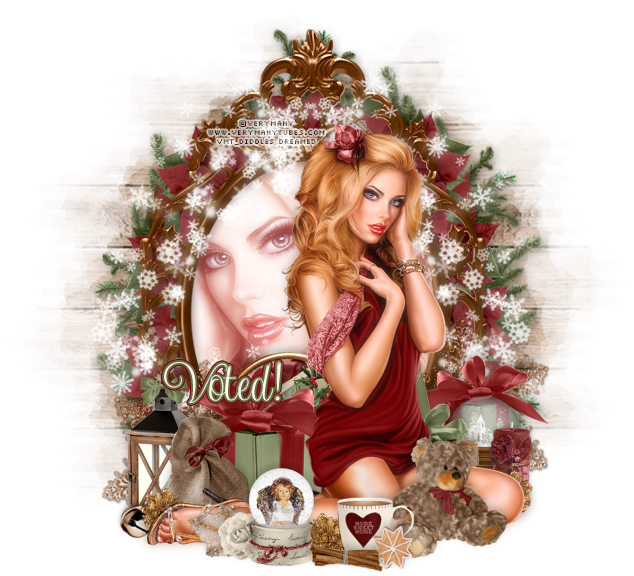
CT Tags - L'Amour De Ma Vie


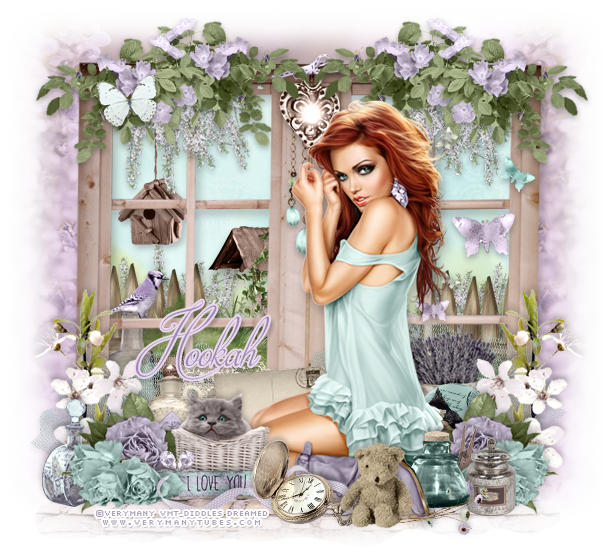
I played with a beautiful kit by Jackie's Jewels called L'Amour De Ma Vie. It's as pretty as the name! It comes with 82 elements and 14 papers and makes the prettiest tags!

Tubes used:
Verymany
Purchase it here!

Free Snags!

Monday, February 16, 2015

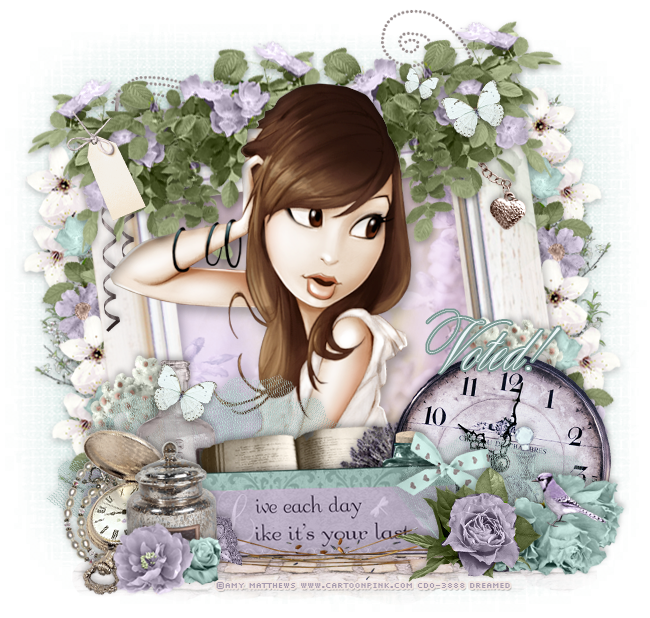
CT Tags - Cindi's Lilac Dream


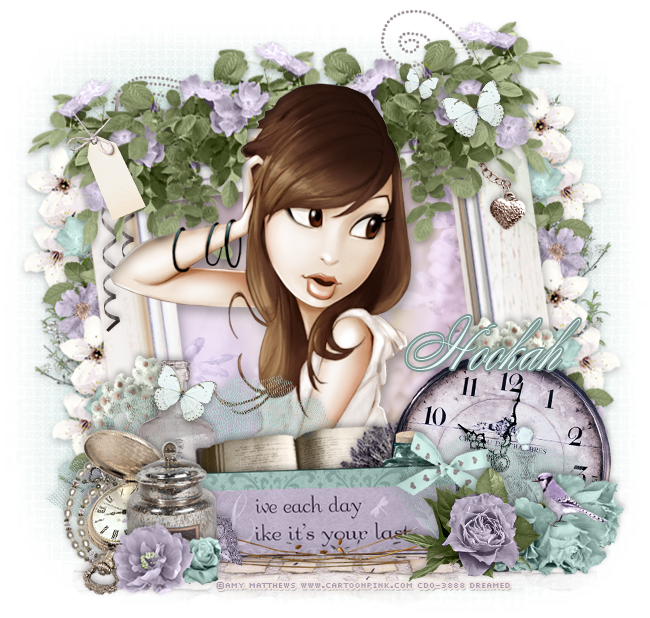
I played with Cindi's Lilac Dream by Jackie's Jewels and made two tags. It's packed full of beautiful soft, spring elements and perfectly matched soft papers. You cannot go wrong with this kit!
It contains 84 elements and 13 papers and is tagger size.

Free Snags!

Thanks for coming by!


Saturday, January 10, 2015

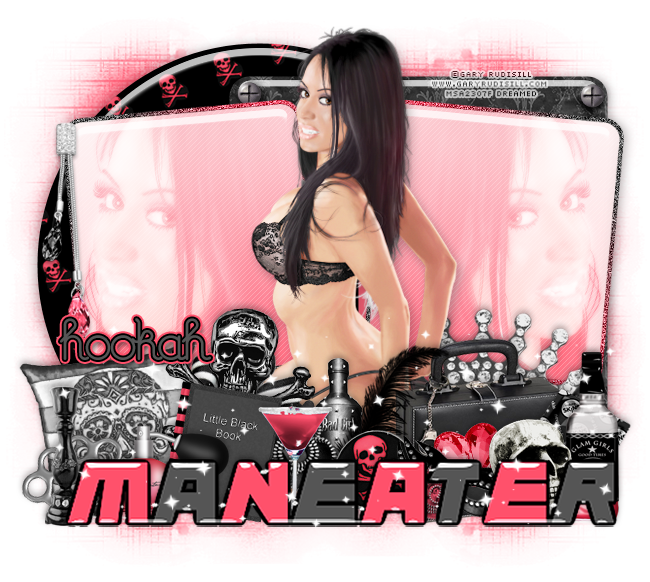
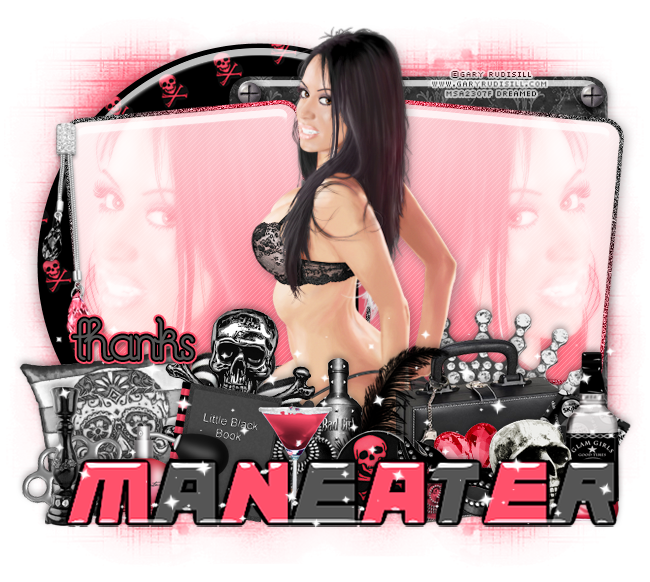
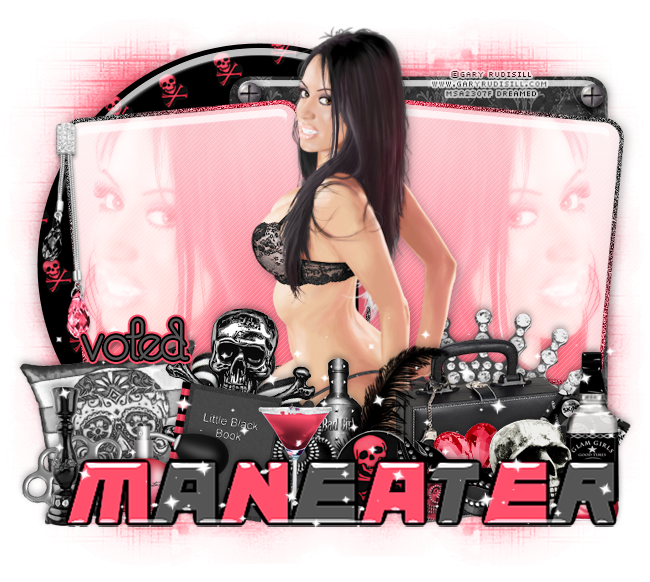
CT Tags - Maneater


I played with a Jackie's Jewels Mystical Scraps exclusive called Maneater. It's a match for a tube of the same name by Gary Rudisill available at Mystical Scraps! She will chew you up and spit you out, because she's a bad chick and doesn't give a damn! She's a Maneater! The kit comes with 43 elements and 10 papers.
Purchase the kit here.
Purchase the tube here.
I also used a new Robert Alvarado 
tube available at CDO here.

Free Snags

Thursday, January 8, 2015

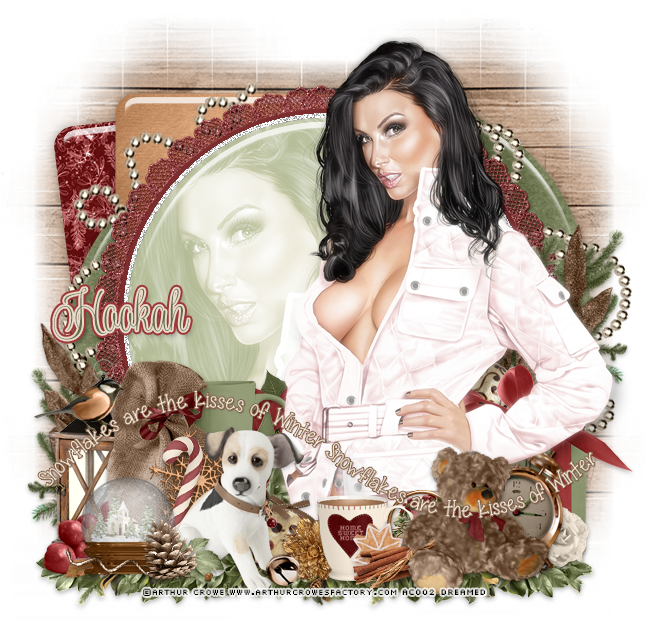
CT Tags - A Countryside Winter


I played with A Countryside Winter by Jackie's Jewels and made two tags. It's packed full of rustic and winter elements and papers to make your winter tags have that cozy feel.
It contains 96 elements and 13 papers and is tagger size.
Free Snags!
Thanks for stopping by!

Monday, November 10, 2014

Jackie's Jewels Birthday Sale!!

~*~*BIRTHDAY SALE!!!*~*~
TODAY ONLY!!!! 
Buy $5 worth of kits from Jackie's Jewels at Pimpin' PSPers and get another $3 GC for Jackie's Jewels products for free! Kits are already on sale for .88 cents!!!

Purchase them here:
Pimpin' PSPers Warehouse

Tuesday, September 30, 2014

CT Tags - Punk Rock Girl by Trinita!

Check out this kick ass tube, Punk Rock Girl, by Trinita! She has that punk rocker look down and fits any punk/rock tag perfectly!
There are so many layers to tell you about that it would take too long! Her shirt, skirt, socks, boots, hair, and leggings are all changeable! Awesome, right??

Purchase Punk Rock Girl, over at PFD today!

Both tags were made with the matching collab kits designed by myself and Jackie's Jewels! The kit contains 102 elements and 24 papers! It's exclusive to the Pimpin' PSPers Warehouse so head on over there and pick it up!
Purchase Punk Rock Girl Collab here!

Free Snags!
 Thanks for stopping by!

Saturday, September 27, 2014

New PTU Collab - Punk Rock Girl!

It's stocked full of 102 badass elements and 24 rockin' papers!
Pick it up today exclusively at Pimpin' PSPers Warehouse!
♪ ♫♩♬
The Punk Rock Girl collab was designed by myself and Jackie @ Jackie's Jewels to match the new, wickedly gorgeous tube, Punk Rock Girl, by Trinita!
Purchase the tube at PicsForDesigns!


Saturday, September 20, 2014

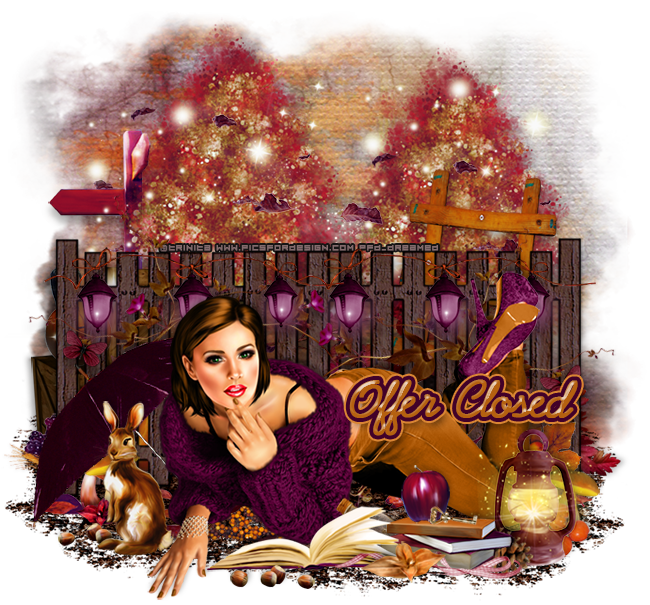
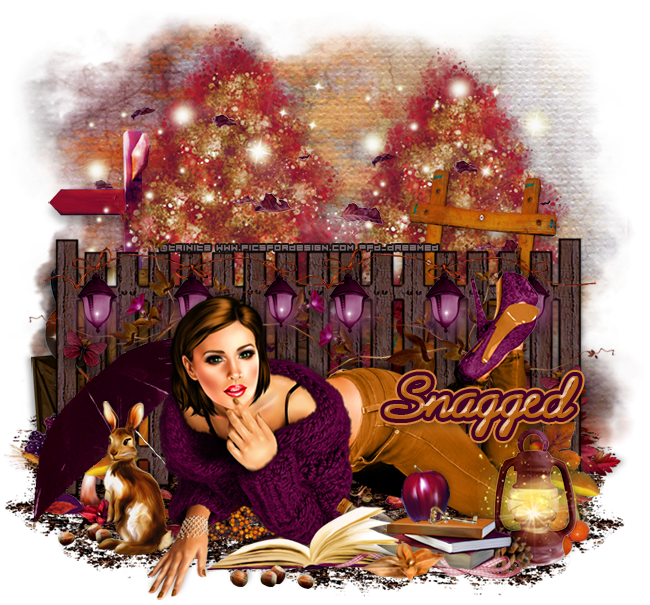
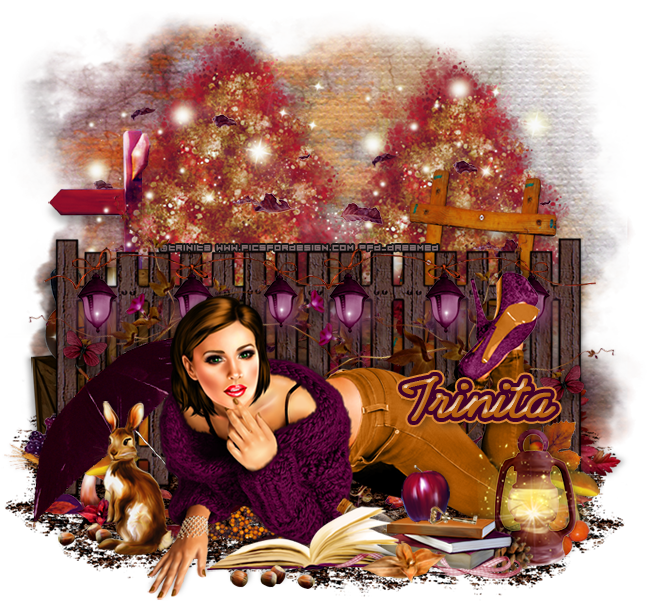
PTU Tutorial - Autumn Melody


*This tutorial was written by me and any resemblance is purely coincidental. It is written for those with a working knowledge of Photoshop.**

Scrap Kit

Tube
*You must obtain a license to use this tube.*

Elements
acorns
apple
berries2
berries4
books
bottle
butterfly
crates
fence
flower1
flower2
flowers2
frame1
frame 2
gourd
key
ladder
lamp
lanterns
leaf bundle
leaf scatter
mushroom1
mushroom2
open book
pinecone
pumpkin
rabbit
ribbon1
sign
starlight
tree
umbrella
wheat
wind and leaves

Papers
1

Let's start!
Open a new canvas, size 700x700.
Place the tube on the canvas and resize. Add a drop shadow.
Behind the tube place the fence toward the left. Resize and add a drop shadow.
Duplicate the fence and flip horizontally and move to the right of the first. They will overlap in the middle so make sure you can't tell they are doubled. Merge the layers. Resize and add a drop shadow.
Behind the fence place a tree. Resize and add a drop shadow.
Duplicate the tree and move to the right of the first one. Make it lower than the first and behind it.
Behind the tree on the left side place the sign and flip horizontally. Resize and add a drop shadow.
Between the trees and fence place the ladder and flip horizontally. Resize and add a drop shadow.
Behind the fence and in between the trees, ladder, and sign place a few copies of the wind and leaves. Resize to cover the area without too much pattern. Erase anything off the tag too far.
On top the trees and behind the wind and leaves place the starlight on the left tree. Resize and erase so they don't hang off the tag too far.
Duplicate the starlight and move to the tree on the right side. Again, erase so they don't hang off the tag too far.
On top of the fence along the fence line place the lanterns on the left side. Resize and add a drop shadow.
Duplicate the lanterns and move across to stretch the lanterns across the fence.
Behind the lanterns on the fence place flowers2 on the right side. Resize and add a drop shadow.
Duplicate the flowers and flip horizontally and move to the left of the first flowers.
Below the lanterns on the left side of the fence place the butterfly. Rotate so it looks toward the tube. Resize and add a drop shadow.
Duplicate the butterfly and move to the right side of the fence and place to the right of the tube, lower than the first.
Behind the tube and on top of everything of the fence place the umbrella on the left side. Resize and add a drop shadow.
In front of the umbrella place the rabbit behind the tube. Resize and add a drop shadow.
Behind the rabbit and to the left place the acorns. Resize and add a drop shadow.
Behind the acorns and in front of the mushroom place flower 1 and flip horizontally. Resize and add a drop shadow.
Behind the umbrella place mushroom1 and mushroom2 along the bottom of the fence. Resize both and add a drop shadow.
Underneath the mushrooms place the leaf scatter. Resize and add a drop shadow.
Behind the tube where there is empty space between her arm and chest place frame 1. Resize and add a drop shadow.
In front of the tube place the open book. Resize and add a drop shadow.
In front of the book place the acorns from before. Resize and add a drop shadow.
Behind and to the left of the open book place the books and flip horizontally. Resize and add a drop shadow.
On top of the books place the apple and flip horizontally. Resize and add a drop shadow.
In front of the apple place the key. Resize and add a drop shadow.
In front of the open book and books, where they meet in the middle, place flower 2. Resize and add a drop shadow.
At the right end of the books place ribbon 1 and flip horizontally. Resize and add a drop shadow.
Behind the books on the right place the pinecone. Rotate to the right so it's laying down. Resize and add a drop shadow.
Behind the pinecone place the lamp. Resize and add a drop shadow.
Behind the lamp place berries 4. Resize and add a drop shadow.
Behind the tube's leg and in front of the fence place mushroom2 from before.
Behind the mushroom place frame2 so the leaf and berry are sticking up. Resize and add a drop shadow.
Below the mushroom and frame place the leaf scatter from earlier along the bottom of the fence.
behind the fence on the left place the crates and flip horizontally. Resize and add a drop shadow.
Place them behind the trees but in front of the sign and don't have them stick out too far outside the fence area.
On top of the crate on the left place the pumpkin. Resize and add a drop shadow.
Between the crate and fence place the berries. Resize and add a drop shadow.
In front of the berries place the wheat. Resize and add a drop shadow.
To the right of the berries place the gourd. Rotate so that it's standing upright. Resize and add a drop shadow.
Behind everything behind the fence place the leaf bundle a few times to fill in the empty space. Resize and add a drop shadow.
Duplicate one more copy of the leaf bundle and place it so it sticks outside the fence on the right along the bottom and flip vertically. Resize and add a drop shadow.

Add your tagger mark and copyright information.
Crop off any extra canvas and resize the tag as needed.
Save as a .psd & .png.

Free snags!
Thanks for coming by!

post signature

Thursday, September 18, 2014

PTU Tutorial - Spellbound!


**This tutorial was written by me and any resemblance is purely coincidental. It is written for those with a working knowledge of Photoshop.**

Scrap Kit

Tube
*You must obtain a license to use this tube.*

Elements
4
8
18
19
21
22
34
35
36
37
55
56
59
85
89
91
96
102
103
104
105
106
114
115

Papers
11
13

Let's start!
Open a new canvas, size 700x700.
Place the tube on the canvas. Resize and add a drop shadow.
Place 56 below the tube so she is standing on it. Resize and add a drop shadow.
Below everything place 19 and resize. Move it to the left side to create the ground. Make sure it doesn't hang off the canvas.
Duplicate 19 and move it to the right side making sure it does not hang off the canvas. Duplicate it two more times and move both layers below the first two layers. Use these to cover the middle and finish the ground.
Behind the tube and the platform place 103. Resize and add a drop shadow. Move it to the left a little.
Behind the bookshelf place 4. Resize and add a drop shadow.
Duplicate 4 and move it to the right of the first one with a little space in between.
Move both windows to the right of the tag leaving a little space on the left side.
Behind the windows place paper 13. Resize and erase anything outside the windows.
On top of the paper place 96 and resize. Erase anything outside the frames.
Behind the cloud place 55 and flip horizontally. Place it in the frame on the left and resize. Erase anything outside the window.
On top of the windows place 59 and flip horizontally then have it lay on both windows with some of the web in the middle.
On the right side of the window on the right place 91 upright so it's stretched out hand is hanging off the corner. Resize and add a drop shadow.
To the right of the bookshelf and in front of the windows place 22. Resize and add a drop shadow.
Duplicate 22 and move it to the right of the first one. Make it a little smaller than the first.
To the right of the platform and in front of the candles place 89 and flip horizontally. Resize and add a drop shadow.
In front of the cauldron along the bottom, and to the right of the platform, place 114. Resize and add a drop shadow.
Behind the skull place 85. Resize and add a drop shadow.
In front of the pumpkin and to the right place 38. Resize and add a drop shadow.
Behind the hourglass place 37. Resize and add a drop shadow.
Behind the platform and in front of the bookshelf place 115 behind the cauldron and to the left a little. Resize and add a drop shadow.
On top of the platform and behind the tube's foot place 34. Resize and add a drop shadow.
Behind the tube and between her legs place 8 and flip horizontally. Resize and add a drop shadow.
Underneath the tube's foot on the left place 106. Resize and add a drop shadow.
On top of the papers and to the left place 40. Resize and add a drop shadow.
Between the bookshelf and the platform on the left place 44. Resize and add a drop shadow.
Leaning against the bookshelf in front of the bones on the left place 21. Resize and add a drop shadow.
Place 105 on the bookshelf toward the top. Resize and add a drop shadow.
To the left of the platform and in front of the broom and pile of bones place 18. Resize and add a drop shadow.
In front of the book on the left place 36. Resize and add a drop shadow.
On the right side of the book place 33. Resize and add a drop shadow.
Behind 33 place 35. Resize and add a drop shadow.
On top of the trophy on the bookshelf place 46. Resize and add a drop shadow.
On top of the pumpkin place 104. Resize and add a drop shadow.
On top of the tube around the middle place 102. Because the tube is dark you'll need to add a little to the awesome word art. Select the pixels and expand by 2. Add a layer below the word art and fill with black. Add a drop shadow to the black layer.
Resize both as necessary.

Add your tagger mark and copyright information.
Crop off any extra canvas and resize the tag as needed.
Save as a .psd & .png.

Free snags!
Thanks for coming by!
post signature

New Name, New Blog!
Hello friends! I have decided to change my designer name to reflect that I make kits more than I do CT work. I made a new blog so the old links for this blog will remain active for future visits. Please visit me at Drea's Designs ! I'll see you there!
Related Posts Plugin for WordPress, Blogger...