Visit: http://canotubes.com/
Showing posts with label José Cano. Show all posts
Wednesday, May 28, 2014
Tuesday, May 27, 2014
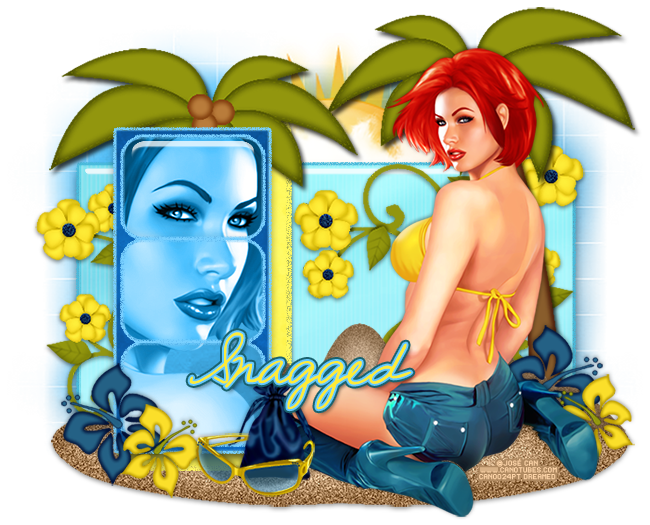
PTU Tutorial - Lori by José Cano!
**Coming Soon!**
**This tutorial was written by me and any resemblance is purely coincidental. It is written for those with a working knowledge of Photoshop.**
Scrap Kit
Template
Tube
*You must obtain a license to use this tube.*
Elements
2
8
13
17
18
19
20
21
25
26
Papers
4
5
7
8
Let's start!
Open a new canvas, size 650x650.
Open the template and move it on to the canvas. Resize as necessary.
Remove layers 2, 3, and cr.
Place paper 4 over layer 1 and create a clipping mask. Add noise in #49bbdb, bevel, and a drop shadow.
Place paper 7 over layer 4 and create a clipping mask. Add noise in #fff960 and a drop shadow.
Place paper 8 over layer 5 and create a clipping mask. Add noise in #78d0ff and a drop shadow.
Place paper 5 over layers 6, 7, and 8 and create a clipping mask. Add noise in #78d0ff to each layer.
In front of the template and to the right place the tube. Resize and add a drop shadow.
Underneath the tube and template place 20. Duplicate the sand to cover the width of the template. Merge the layers together and add a light drop shadow.
Behind layer 5 (and tube) place 21. Resize and add a drop shadow.
Between layers 4 and 5 place 19. Resize and add a drop shadow.
Duplicate the palm tree and flip horizontally. Move it to the right behind the tube and sands on top of layer 1.
Behind the palm tree on the right place 13. Resize and add a drop shadow.
Duplicate 13 and flip it horizontally. Move it to the left side behind layer 4 so only a little sticks out to the left. Erase anything below or sticking out the right side.
Behind the template and between the palm trees place 25 and resize.
On top of the sun place 26.
On top of layers 6, 7, and 8 place a close up of the tube and create a clipping mask. Change each tube close up to luminosity.
In front of the template and on the sand place 18 on the left. Resize and add a drop shadow.
Place 17 on top of 18, resize, and flip it horizontally. Add a drop shadow.
Duplicate 17 and 18 then move together to the right of the tube and behind her.
Between the flowers and tube on the right place 8. Resize and add a drop shadow.
In front of the bag place 2. Resize and add a drop shadow.
Erase the arm of the sunglasses on the left so it appears to wrap around the bag.
Open the template and move it on to the canvas. Resize as necessary.
Remove layers 2, 3, and cr.
Place paper 4 over layer 1 and create a clipping mask. Add noise in #49bbdb, bevel, and a drop shadow.
Place paper 7 over layer 4 and create a clipping mask. Add noise in #fff960 and a drop shadow.
Place paper 8 over layer 5 and create a clipping mask. Add noise in #78d0ff and a drop shadow.
Place paper 5 over layers 6, 7, and 8 and create a clipping mask. Add noise in #78d0ff to each layer.
In front of the template and to the right place the tube. Resize and add a drop shadow.
Underneath the tube and template place 20. Duplicate the sand to cover the width of the template. Merge the layers together and add a light drop shadow.
Behind layer 5 (and tube) place 21. Resize and add a drop shadow.
Between layers 4 and 5 place 19. Resize and add a drop shadow.
Duplicate the palm tree and flip horizontally. Move it to the right behind the tube and sands on top of layer 1.
Behind the palm tree on the right place 13. Resize and add a drop shadow.
Duplicate 13 and flip it horizontally. Move it to the left side behind layer 4 so only a little sticks out to the left. Erase anything below or sticking out the right side.
Behind the template and between the palm trees place 25 and resize.
On top of the sun place 26.
On top of layers 6, 7, and 8 place a close up of the tube and create a clipping mask. Change each tube close up to luminosity.
In front of the template and on the sand place 18 on the left. Resize and add a drop shadow.
Place 17 on top of 18, resize, and flip it horizontally. Add a drop shadow.
Duplicate 17 and 18 then move together to the right of the tube and behind her.
Between the flowers and tube on the right place 8. Resize and add a drop shadow.
In front of the bag place 2. Resize and add a drop shadow.
Erase the arm of the sunglasses on the left so it appears to wrap around the bag.
Add your tagger mark and copyright information.
Crop off any extra canvas.
Save as a .psd & .png.
Free snags!
Thank you for coming by!
Thursday, May 8, 2014
New Releases from Jose Cano!
Spend $10 and get this awesome bonus tube!
Visit: http://canotubes.com/
Monday, May 5, 2014
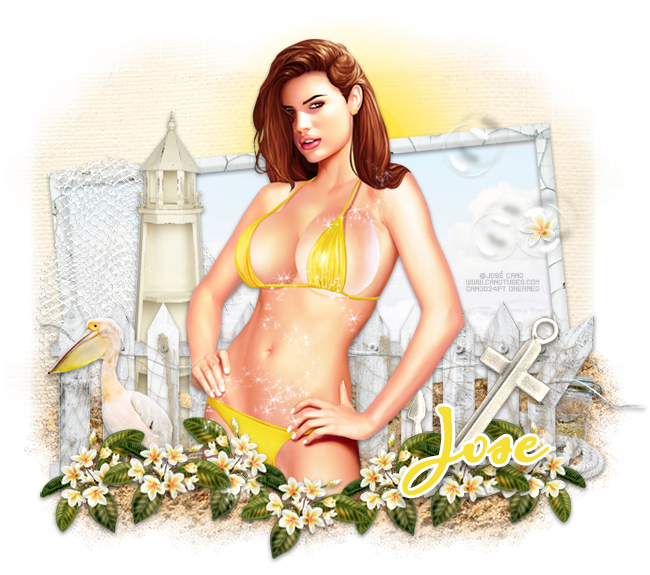
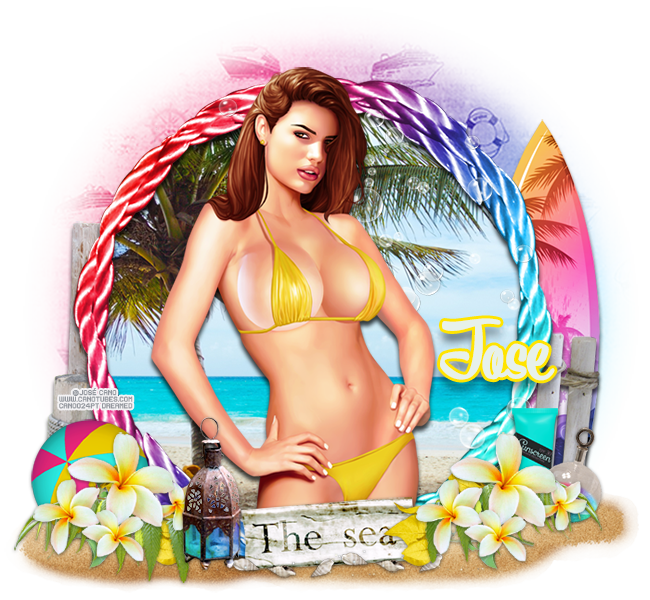
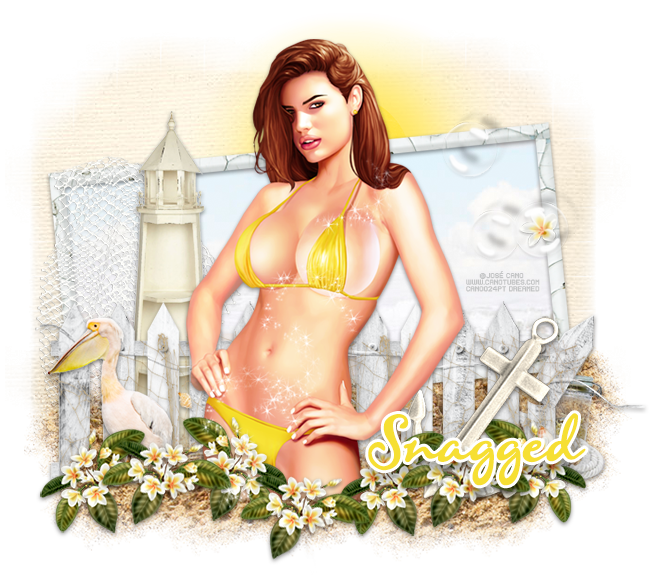
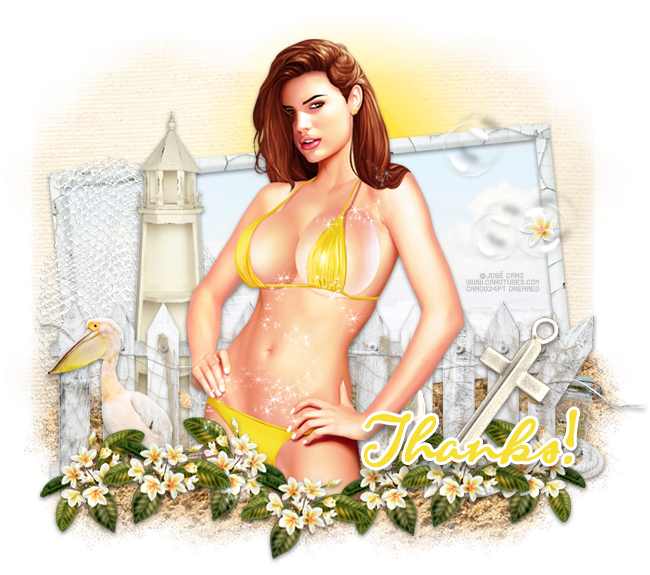
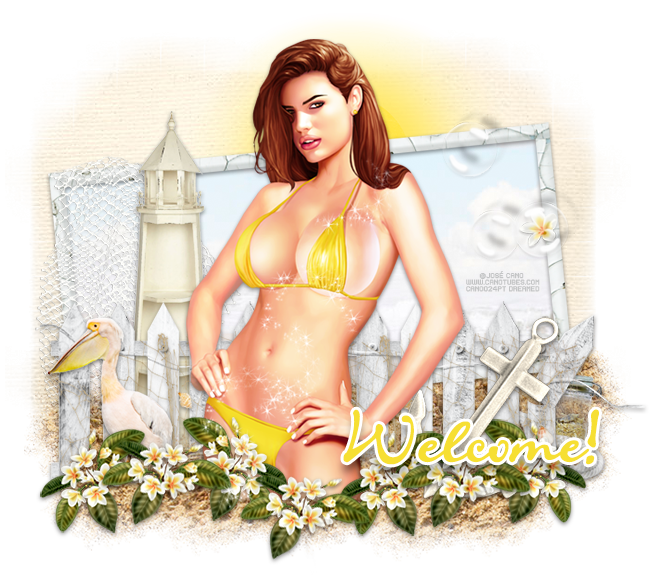
CT Tags - Yellow Bikini by Jose Cano!
Newly released Yellow Bikini by Jose Cano and the matching kit by Creation by Sanie!
Wednesday, April 9, 2014
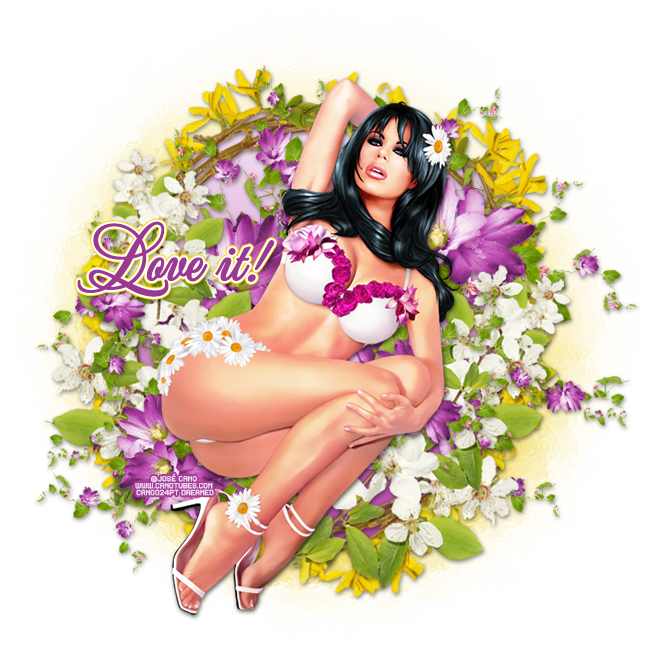
PTU Tutorial - Flower Girl by José Cano!
**Coming Soon!**
**This tutorial was written by me and any resemblance is purely coincidental. It is written for those with a working knowledge of Photoshop.**
Scrap Kit
Tube
*You must obtain a license to use this tube.*
Elements
20
23
24
Let's start!
Open a new canvas, size 650x650.
Place 20 on the canvas and resize.
Duplicate and rotate until the two pieces join together to make a frame.
Merge the layers together and add a drop shadow.
Place the tube on top of the frame you just created.
Behind the tube on top of the frame place 24 on the right side. Resize and add a drop shadow.
Duplicate 24 and move to the left side of the tube along the frame.
Now take 23 and place it below the white flower so the big purple flower on the bunch is behind the tube's head. Make sure the bunches do not hang too far off the tag. Resize and add a drop shadow.
Duplicate 23 and place it to the lower left of the tube. Rotate a little to get some variety.
Take another duplicate of 23 and fill in some space behind tube's arm and head.
Add another duplicate of 23 and place it below the tube near her rear end and resize.
Duplicate 23 one more time and use it to fill in some empty space.
Now the paper behind the frame will be a gradient of the purples form the flowers.
The dark, bottom gradient color is #b44aa8 and the top color is #f1ddf0. Rotate so the paper lays the same way as the tube and the frame. Erase anything hanging outside the frame.
For the mask create a new canvas, size 600x600 and add a new layer. Fill with white then add a gradient with #f8db17 at the bottom and #fcf6d8 at the top. Rotate the mask to lay the same way as the frame and the paper.
Place 20 on the canvas and resize.
Duplicate and rotate until the two pieces join together to make a frame.
Merge the layers together and add a drop shadow.
Place the tube on top of the frame you just created.
Behind the tube on top of the frame place 24 on the right side. Resize and add a drop shadow.
Duplicate 24 and move to the left side of the tube along the frame.
Now take 23 and place it below the white flower so the big purple flower on the bunch is behind the tube's head. Make sure the bunches do not hang too far off the tag. Resize and add a drop shadow.
Duplicate 23 and place it to the lower left of the tube. Rotate a little to get some variety.
Take another duplicate of 23 and fill in some space behind tube's arm and head.
Add another duplicate of 23 and place it below the tube near her rear end and resize.
Duplicate 23 one more time and use it to fill in some empty space.
Now the paper behind the frame will be a gradient of the purples form the flowers.
The dark, bottom gradient color is #b44aa8 and the top color is #f1ddf0. Rotate so the paper lays the same way as the tube and the frame. Erase anything hanging outside the frame.
For the mask create a new canvas, size 600x600 and add a new layer. Fill with white then add a gradient with #f8db17 at the bottom and #fcf6d8 at the top. Rotate the mask to lay the same way as the frame and the paper.
Add your tagger mark and copyright information.
Crop off any extra canvas.
Save as a .psd & .png.
Free snags!
Thank you for coming by!
Monday, March 24, 2014
PTU Tutorial - Inked Goddess from José Cano!
**Coming Soon!**
PTU tutorial with Inked Goddess by José Cano using the matching kit made by Creation by Sanie!
Purchase both here soon!
**This tutorial was written by me and any resemblance is purely coincidental. It is written for those with a working knowledge of Photoshop.**
Scrap Kit
Tube
*You must obtain a license to use this tube.*
Elements
1
2
3
4
7
12
13
14
15
16
18
19
22
28
Papers
9
10
11
Let's start!
Open a new canvas, size 700x650.
Place ele13 on the canvas. Rotate down to the right a little. Duplicate the frame and place it behind the first. Rotate the opposite way. Resize and add a drop shadow to both.
Place the tube in front of the frames. Resize and add a drop shadow.
Place paper10 behind both frames. This paper will fill the back frame and any part of the paper sticking out should be erased.
Place paper9 between the frames. This paper will fill the front frame. Erase anything outside the frame.
Place the close up of the tube over paper9. Resize and drop the fill to 29%.
In front of the tube down by her feet, place eles4 and 22. Resize and add a drop shadow.
Along the frames vertically on the right place ele12. Resize and add a drop shadow.
Behind and above ele12, place ele3. Resize and add a drop shadow.
Duplicate eles 12 and 3 and place them on the left side of the frames.
Behind the frames on the left place ele1 and flip horizontally. Resize and add a drop shadow.
Place ele7 on top of the frames in the upper right hand corner. Resize and add a drop shadow.
On top of the flowers on both sides of the frames, place ele28. Resize and erase anything sticking off the flowers.
In front of the tube's arm on the left, place ele18. Resize and add a drop shadow.
Behind the tube's legs near the flowers, place ele14. Resize and add a drop shadow.
Next to the lipstick place ele15. Resize and add a drop shadow.
Next to ele15, place ele16. Resize and add a drop shadow.
Next to the mascara, place ele19. Resize and add a drop shadow.
Place ele2 on top of the flowers on the left. Resize and add a drop shadow.
Place ele13 on the canvas. Rotate down to the right a little. Duplicate the frame and place it behind the first. Rotate the opposite way. Resize and add a drop shadow to both.
Place the tube in front of the frames. Resize and add a drop shadow.
Place paper10 behind both frames. This paper will fill the back frame and any part of the paper sticking out should be erased.
Place paper9 between the frames. This paper will fill the front frame. Erase anything outside the frame.
Place the close up of the tube over paper9. Resize and drop the fill to 29%.
In front of the tube down by her feet, place eles4 and 22. Resize and add a drop shadow.
Along the frames vertically on the right place ele12. Resize and add a drop shadow.
Behind and above ele12, place ele3. Resize and add a drop shadow.
Duplicate eles 12 and 3 and place them on the left side of the frames.
Behind the frames on the left place ele1 and flip horizontally. Resize and add a drop shadow.
Place ele7 on top of the frames in the upper right hand corner. Resize and add a drop shadow.
On top of the flowers on both sides of the frames, place ele28. Resize and erase anything sticking off the flowers.
In front of the tube's arm on the left, place ele18. Resize and add a drop shadow.
Behind the tube's legs near the flowers, place ele14. Resize and add a drop shadow.
Next to the lipstick place ele15. Resize and add a drop shadow.
Next to ele15, place ele16. Resize and add a drop shadow.
Next to the mascara, place ele19. Resize and add a drop shadow.
Place ele2 on top of the flowers on the left. Resize and add a drop shadow.
Add your tagger mark and copyright information.
Crop off any extra canvas.
Save as a .psd & .png.
Free snags!
Thank you for coming by!
Tuesday, March 11, 2014
Monday, March 10, 2014
PTU Tutorial - Carnival from José Cano!
**Coming Soon!**
PTU tutorial with Carnival by José Cano using the matching kit made by Desirena Designs!
Purchase both here soon!
**This tutorial was written by me and any resemblance is purely coincidental. It is written for those with a working knowledge of Photoshop.**
Scrap Kit
Template
Tube
*You must obtain a license to use this tube.*
Elements
3
5
7
9
17
22
24
30
Papers
2
8
Let's start!
Open a new canvas, size 650x650.
Open the template and remove layers 10 - 13 & cr.
Move the rest of the template on the canvas. Resize as necessary.
Place the tube in front of the template in the middle. Resize and add a drop shadow.
Add a bevel to each template layer except 2.
Select the pixels of 8 and 9 and fill with black. While the pixels are selected, expand by 2. Add a blank layer below it and fill with black. Add noise and a drop shadow.
On top of the black square on the right, place ele9 and flip it horizontally. Resize and add a drop shadow.
Duplicate ele9 and flip it horizontally. Move it to the square on the left.
Move paper 2 over layers 4 and 5. Resize and create a clipping mask.
Select the pixels of each layer and expand by 2. Add a blank layer below it and fill with black. Add noise and a drop shadow.
Select the pixels of layers 6 and 7. Fill with color #b00000.
While the pixels are selected, expand by 2. Add a blank layer below it and fill with #b00000. Add noise and a drop shadow.
Select the pixels of layers 3 and fill with black. Add a drop shadow.
Change the color of layer 2 to black.
Place paper 8 over layer 1, resize, and create a clipping mask. Flip the paper 90 degrees CW so the lines are horizontal. Add a drop shadow to the layer.
Behind the template, place ele24 along the top. Resize and add a drop shadow.
Duplicate the dots and flip horizontally. Move them to the bottom so they are the opposite of the first set placed.
Behind the big black dots, place ele30 so mostly just the red dots show along the top. Duplicate it again to fill the space.
Take a close up of the tube and place it over layer 3 to the right of the tube and create a clipping mask. Change to luminosity and lower the fill to 62%.
Duplicate the tube close up and flip horizontally. Resize and move to the left of the tube. Change to luminosity and lower the fill to 53%.
Place ele3 on top of the template toward the upper right hand corner. Resize and add a drop shadow.
Duplicate the rose, flip horizontally, and resize. Move it the left of the first rose.
Duplicate the two roses together then flip horizontally. While they are still selected together, move them to the left side of the template in the same spot.
Over the roses on the left side, place ele17. Flip the butterfly horizontally, resize, and add a drop shadow.
From the bottom of the roses on the left side across the tube and over the skull on the right side of the template, place ele22. Resize and erase anything covering the tube's face or hanging off the tag.
Place ele7 on top of the tube at the bottom. Resize and add a drop shadow.
To the right of the bow, place ele3. Resize and add a drop shadow. Rotate so the rose is pointing toward the upper right hand corner.
Duplicate the rose, flip horizontally, and move to the left side of the rose.
Duplicate the rose to the right of the bow then resize. Move it to the right of the big one toward the bottom right hand corner of the template. Add a drop shadow.
Duplicate the smaller rose then flip horizontally. Move it to the left side of the template in the same spot.
Duplicate the butterfly from earlier them flip it horizontally. Move it down to the smaller rose on the lower right corner.
Between the two roses along the bottom, place ele5. Resize and rotate it so it's pointing toward the tube.
Duplicate the black flower then flip horizontally. Move to the left side between the roses.
Open the template and remove layers 10 - 13 & cr.
Move the rest of the template on the canvas. Resize as necessary.
Place the tube in front of the template in the middle. Resize and add a drop shadow.
Add a bevel to each template layer except 2.
Select the pixels of 8 and 9 and fill with black. While the pixels are selected, expand by 2. Add a blank layer below it and fill with black. Add noise and a drop shadow.
On top of the black square on the right, place ele9 and flip it horizontally. Resize and add a drop shadow.
Duplicate ele9 and flip it horizontally. Move it to the square on the left.
Move paper 2 over layers 4 and 5. Resize and create a clipping mask.
Select the pixels of each layer and expand by 2. Add a blank layer below it and fill with black. Add noise and a drop shadow.
Select the pixels of layers 6 and 7. Fill with color #b00000.
While the pixels are selected, expand by 2. Add a blank layer below it and fill with #b00000. Add noise and a drop shadow.
Select the pixels of layers 3 and fill with black. Add a drop shadow.
Change the color of layer 2 to black.
Place paper 8 over layer 1, resize, and create a clipping mask. Flip the paper 90 degrees CW so the lines are horizontal. Add a drop shadow to the layer.
Behind the template, place ele24 along the top. Resize and add a drop shadow.
Duplicate the dots and flip horizontally. Move them to the bottom so they are the opposite of the first set placed.
Behind the big black dots, place ele30 so mostly just the red dots show along the top. Duplicate it again to fill the space.
Take a close up of the tube and place it over layer 3 to the right of the tube and create a clipping mask. Change to luminosity and lower the fill to 62%.
Duplicate the tube close up and flip horizontally. Resize and move to the left of the tube. Change to luminosity and lower the fill to 53%.
Place ele3 on top of the template toward the upper right hand corner. Resize and add a drop shadow.
Duplicate the rose, flip horizontally, and resize. Move it the left of the first rose.
Duplicate the two roses together then flip horizontally. While they are still selected together, move them to the left side of the template in the same spot.
Over the roses on the left side, place ele17. Flip the butterfly horizontally, resize, and add a drop shadow.
From the bottom of the roses on the left side across the tube and over the skull on the right side of the template, place ele22. Resize and erase anything covering the tube's face or hanging off the tag.
Place ele7 on top of the tube at the bottom. Resize and add a drop shadow.
To the right of the bow, place ele3. Resize and add a drop shadow. Rotate so the rose is pointing toward the upper right hand corner.
Duplicate the rose, flip horizontally, and move to the left side of the rose.
Duplicate the rose to the right of the bow then resize. Move it to the right of the big one toward the bottom right hand corner of the template. Add a drop shadow.
Duplicate the smaller rose then flip horizontally. Move it to the left side of the template in the same spot.
Duplicate the butterfly from earlier them flip it horizontally. Move it down to the smaller rose on the lower right corner.
Between the two roses along the bottom, place ele5. Resize and rotate it so it's pointing toward the tube.
Duplicate the black flower then flip horizontally. Move to the left side between the roses.
Add your tagger mark and copyright information.
Crop off any extra canvas.
Save as a .psd & .png.
Free snags!
Thank you for coming by!
Tuesday, February 18, 2014
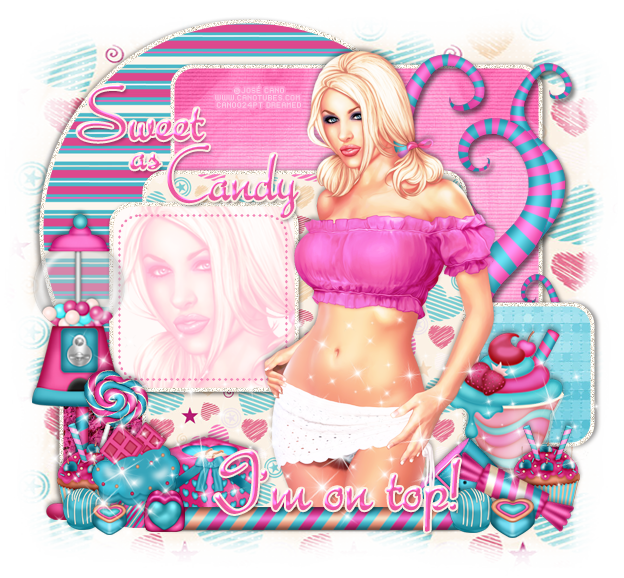
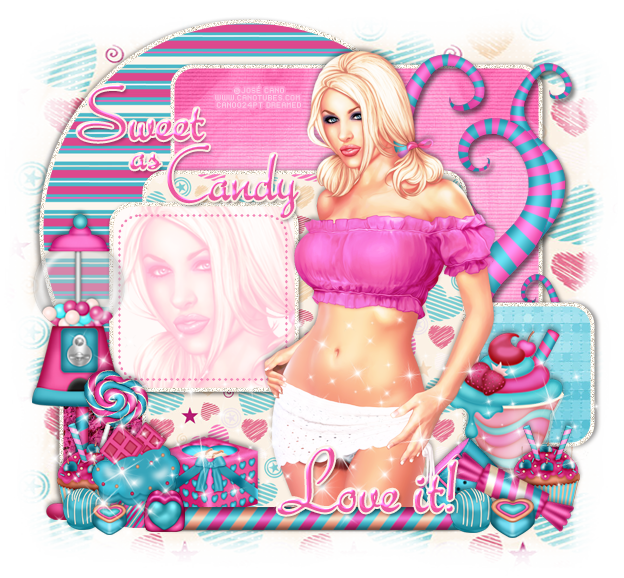
PTU Tutorial - Candy from José Cano!
PTU tutorial with Candy by José Cano using the matching kit made by Creation by Sanie!
You can purchase them both here!
**This tutorial was written by me and any resemblance is purely coincidental. It is written for those with a working knowledge of Photoshop.**
Supplies
Mask
Scrap Kit
Template
Tube
*You must obtain a license to use this tube.*
Elements
1
3
6
8
12
15
16
17
20
21
23
26
27
30
Papers
7
8
9
10
11
Let's start!
Open a new canvas, size 650x650.
Open the template and remove layer 8, 9, & cr.
Move the rest of the template on the canvas. Resize as necessary.
With each template layer (except 7) select the pixels, expand by 4, add a blank layer below it and fill with #fbf2e4, add noise, and a drop shadow.
Place paper 7 over layer 1 and flip 90 degrees CW and create a clipping mask.
Place paper 9 over layer 2 and create a clipping mask.
Place paper 11 over layer 3 and create a clipping mask.
Place paper 10 over layer 4 and create a clipping mask.
Place paper 8 over layer 5 and create a clipping mask.
Open the template and remove layer 8, 9, & cr.
Move the rest of the template on the canvas. Resize as necessary.
With each template layer (except 7) select the pixels, expand by 4, add a blank layer below it and fill with #fbf2e4, add noise, and a drop shadow.
Place paper 7 over layer 1 and flip 90 degrees CW and create a clipping mask.
Place paper 9 over layer 2 and create a clipping mask.
Place paper 11 over layer 3 and create a clipping mask.
Place paper 10 over layer 4 and create a clipping mask.
Place paper 8 over layer 5 and create a clipping mask.
Select the pixels of layer 6 and fill with #fbf1e5.
Duplicate layer 6 and select the pixels, fill with #fdadc8. Change to Screen.
Between the two squares, place a close up of the tube's face and create a clipping mask to the bottom square.
Change the color of layer 7 to #f383b5.
Place the tube in front of the template and to the right of the close up. Resize and add a drop shadow.
Place ele21 behind the tube and behind layer 4. Flip horizontally, resize and add a drop shadow.
Place ele12 behind the tube and to the right, flip horizontally. Resize and add a drop shadow.
In front of ele12, place ele23 to the right. Resize and add a drop shadow.
To the left of the cupcake, place ele20. Resize and add a drop shadow.
Along the front of the tube and the bottom of the template, place ele8 and flip 90 degrees CW. Resize and add a drop shadow.
In front of the stick, place ele6 & ele3. Resize and add a drop shadow.
On top of ele6 and behind ele3, place ele17. Resize and add a drop shadow.
To the left of the tube and behind the stick, place ele26. Resize and add a drop shadow.
In front of the stick on the left, place ele1. Resize and add a drop shadow.
Duplicate ele23 from earlier and move it behind ele1 and resize.
Behind the cupcakes, place ele27 and rotate to the right. Resize and add a drop shadow.
Behind the cupcakes and lollipop, place ele30. Resize and add a drop shadow.
In front of the cupcakes, place ele 6, 3, & 15. Resize and add a drop shadow.
On top of everything, place ele16 on the lower half of the tag. Make sure nothing sticks off the canvas or tag.
Add your tagger mark and copyright information.
Crop off any extra canvas.
Save as a .psd & .png.
Free snags!
Thank you for coming by!
Subscribe to:
Posts (Atom)