**This tutorial was written by me and any resemblance is purely coincidental. It is written for those with a working knowledge of Photoshop.**
Scrap Kit
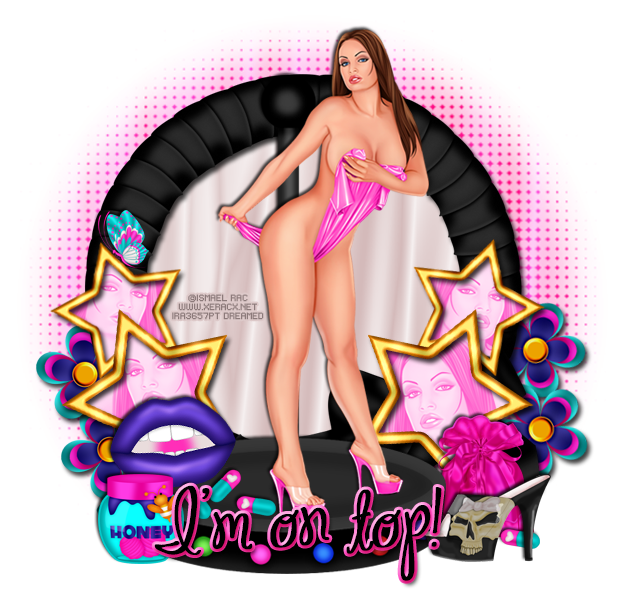
Template
Tube
*You must obtain a license to use this tube.*
Elements
2
3
4
14
21
30
Papers
1
3
9
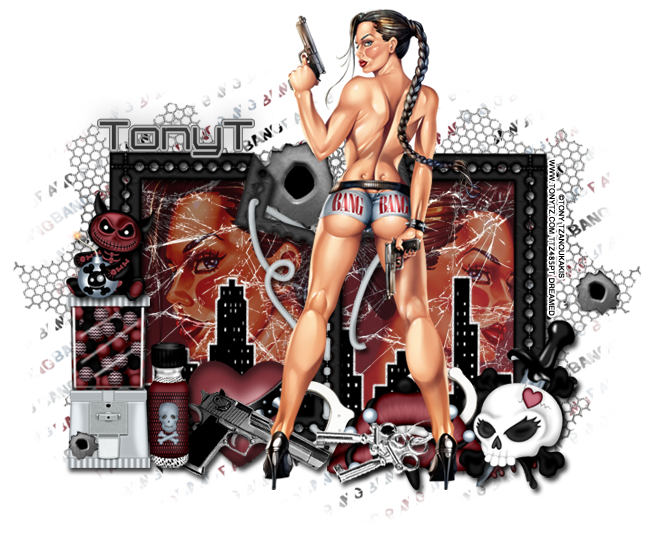
Let's start!
Open a new canvas, size 650x650.
Open the template and remove layer 8 and the cr.
Move the rest on to the canvas and resize as necessary.
Place the tube in front of the template and a little to the left. Resize and add a drop shadow.
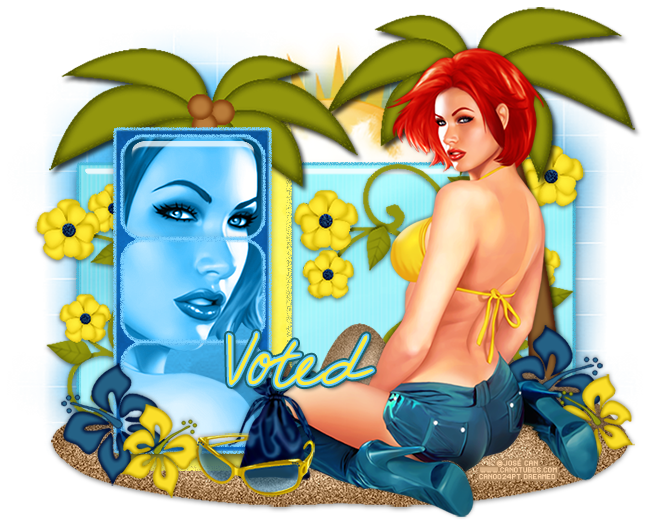
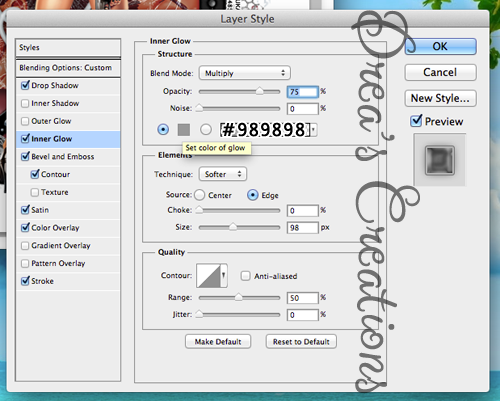
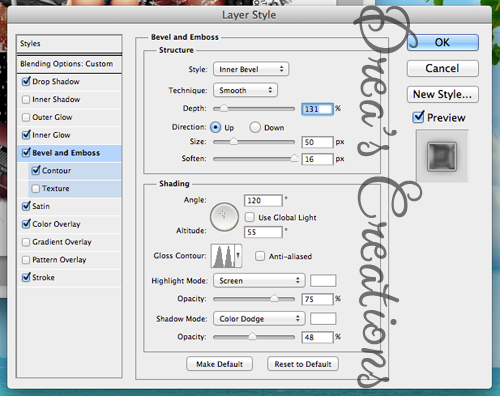
Place paper 3 over layer 3 and clip to the layer. Add a stroke, size 3, in #526379. Add a white outer glow in white with noise, bevel, and drop shadow.
Change the color of layer 2 using the hue/saturation. Select blues and then use the top bar to get a blue close to the blue in the paper. Change the saturation and lightness as well. Copy the layer style from layer 1.
Place paper 9 over layer 3 and clip it.
Place paper 1 over layers 4 and 5. Add a stroke, size 3, in #223a5d. Add a bevel, drop shadow, and outer glow in white with noise.
Select the pixels of 6 and 7 and fill with #526379.
Place a close up of the tube over layer 6 and clip to the square. Change the tube to luminosity.
Duplicate the tube and flip it horizontally. Move it to layer 7 and clip.
Between layers 5 and 6 place 4. Resize and add a drop shadow.
Behind layer 5 and the guitar place 14. Resize and add a drop shadow.
On top of the speaker place 2. Resize and add a drop shadow. Erase part of the headphones so it looks like they are hanging on the side.
On top of the speaker just placed on the right and behind layers 4-7 place 3 and flip horizontally. Resize and add a drop shadow.
Duplicate the speaker from before and flip horizontally. Move it behind the drums and tube on the left.
On top of layer 3 place 21 so they are pointing toward the upper right hand corner of the tag and resize.
Select the pixels of the stars and expand by 2. Add a layer below and fill with #d9d5d1. Add a drop shadow.
Along the bottom of the tag behind the tube and on top of the guitar place 30. Resize and erase anything hanging too far off the tag.
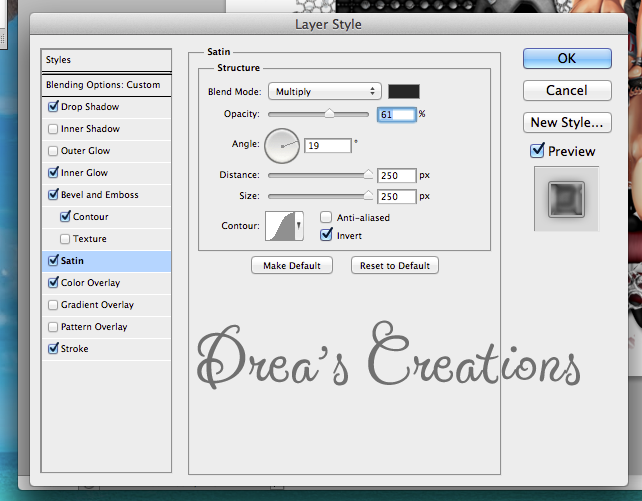
For the word art:
Change the main color to #e8e1da.
Add a stroke, size 3, #03070c.
Add an outer glow, size 5, #526379.
Add a drop shadow.
Add a bevel changing the shadow mode to #e9e2db and the bevel to ring.


Open the template and remove layer 8 and the cr.
Move the rest on to the canvas and resize as necessary.
Place the tube in front of the template and a little to the left. Resize and add a drop shadow.
Place paper 3 over layer 3 and clip to the layer. Add a stroke, size 3, in #526379. Add a white outer glow in white with noise, bevel, and drop shadow.
Change the color of layer 2 using the hue/saturation. Select blues and then use the top bar to get a blue close to the blue in the paper. Change the saturation and lightness as well. Copy the layer style from layer 1.
Place paper 9 over layer 3 and clip it.
Place paper 1 over layers 4 and 5. Add a stroke, size 3, in #223a5d. Add a bevel, drop shadow, and outer glow in white with noise.
Select the pixels of 6 and 7 and fill with #526379.
Place a close up of the tube over layer 6 and clip to the square. Change the tube to luminosity.
Duplicate the tube and flip it horizontally. Move it to layer 7 and clip.
Between layers 5 and 6 place 4. Resize and add a drop shadow.
Behind layer 5 and the guitar place 14. Resize and add a drop shadow.
On top of the speaker place 2. Resize and add a drop shadow. Erase part of the headphones so it looks like they are hanging on the side.
On top of the speaker just placed on the right and behind layers 4-7 place 3 and flip horizontally. Resize and add a drop shadow.
Duplicate the speaker from before and flip horizontally. Move it behind the drums and tube on the left.
On top of layer 3 place 21 so they are pointing toward the upper right hand corner of the tag and resize.
Select the pixels of the stars and expand by 2. Add a layer below and fill with #d9d5d1. Add a drop shadow.
Along the bottom of the tag behind the tube and on top of the guitar place 30. Resize and erase anything hanging too far off the tag.
For the word art:
Change the main color to #e8e1da.
Add a stroke, size 3, #03070c.
Add an outer glow, size 5, #526379.
Add a drop shadow.
Add a bevel changing the shadow mode to #e9e2db and the bevel to ring.
Add your tagger mark and copyright information.
Crop off any extra canvas.
Save as a .psd & .png.
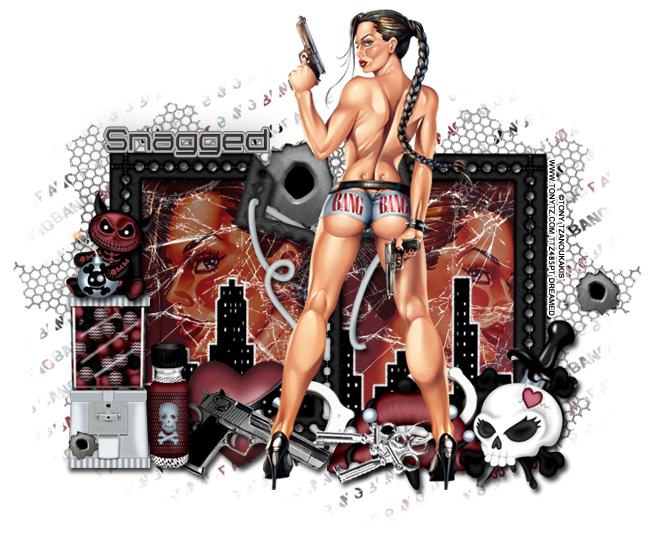
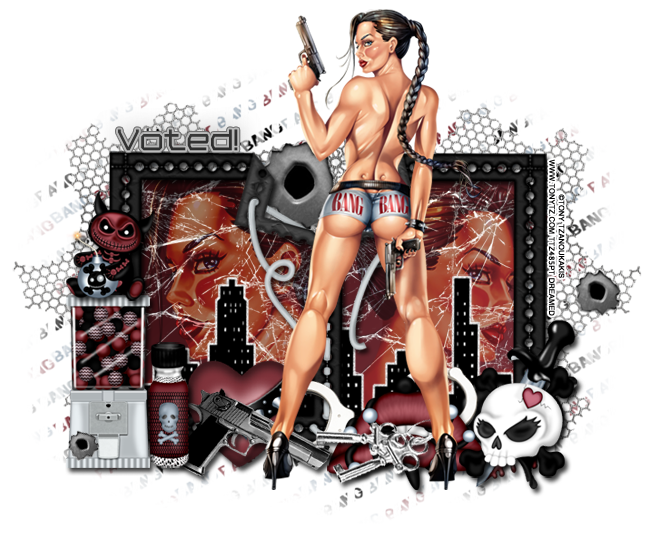
Free snags!


Thank you for coming by!