Showing posts with label CT KIT. Show all posts

Monday, March 17, 2014

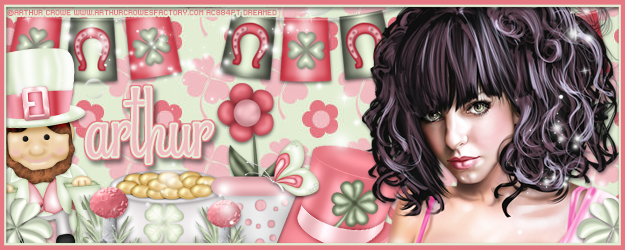
Spring Into St. Paddy's Day Collab!

Spring time is almost here and now is the time to start stocking up on fun springtime kits! You can't go wrong with this collab; the tagging possibilities are endless!
You can purchase this collab at Arthur Crowe's Factory!
post signature

Saturday, March 15, 2014

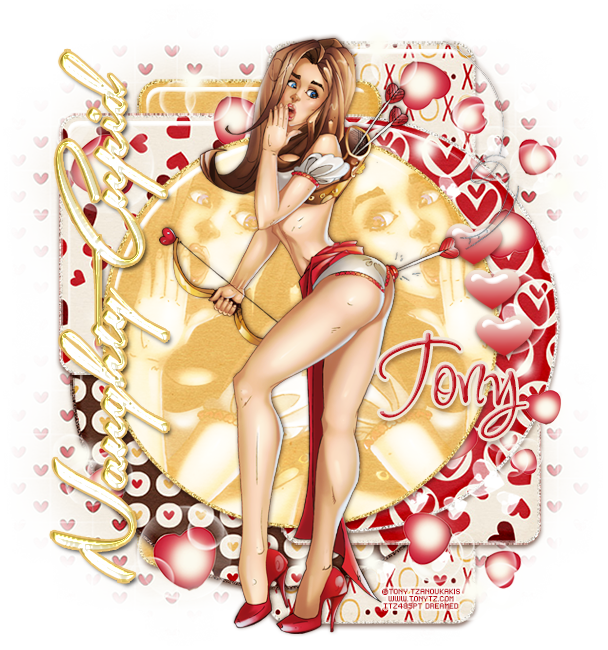
CT Tags with Selfie by Tony T!

Tags and snags with the cute new Selfie tube by Tony Tzanoukakis and the matching kit by Misty Lynn's Creations!
Purchase both here!
Free snags!
Thank you for coming by!post signature

Monday, March 10, 2014

**Rac Special - Today 3/10 Only!**

Spend any $$ in store and get the awesome Sweet tube for free; she’s two tubes in one! Just add her to your cart at check out. GC not accepted as a form of payment.
Free Snags!
Thanks for stopping by!
post signature

Sunday, March 9, 2014

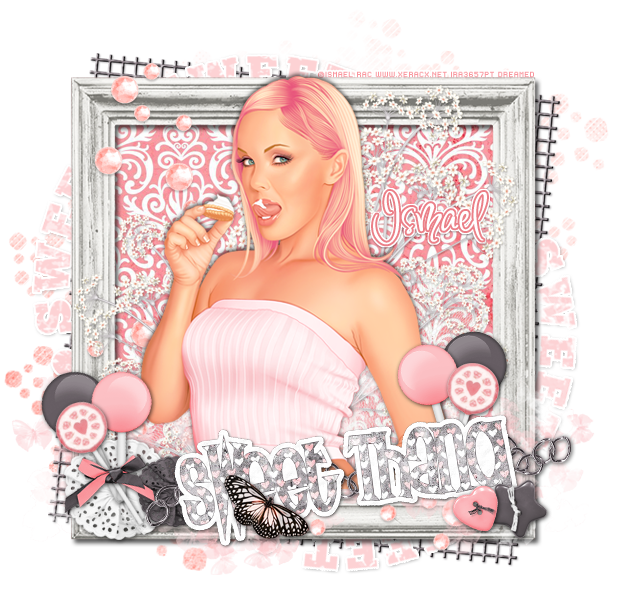
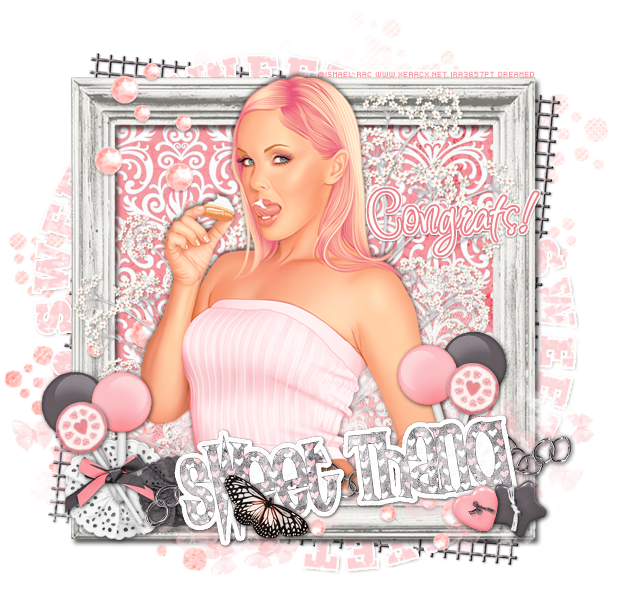
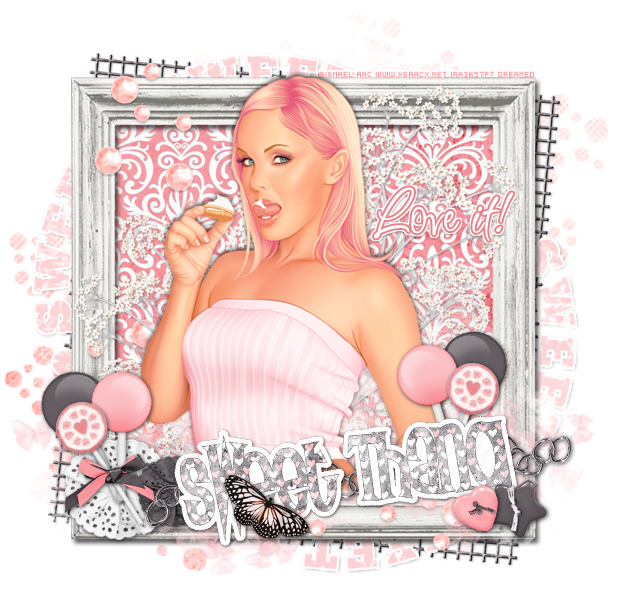
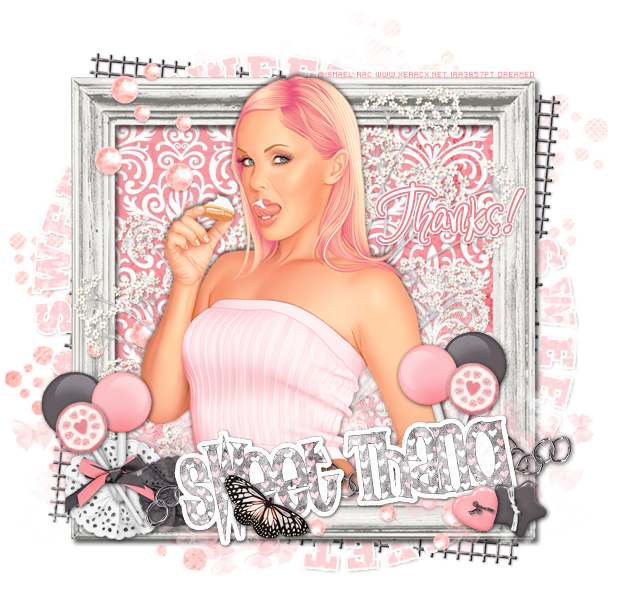
**Coming Soon!** 2014 Pin Up Fantasy!

CT Tags using 2014 Pinup Fantasy Girl by Ismael Rac and the matching kit by Lysira's Graphic World!
Keep an eye on the XeracX Store for all the sexy new releases!
Free Snags!
Thanks for stopping by!
post signature

Friday, February 14, 2014

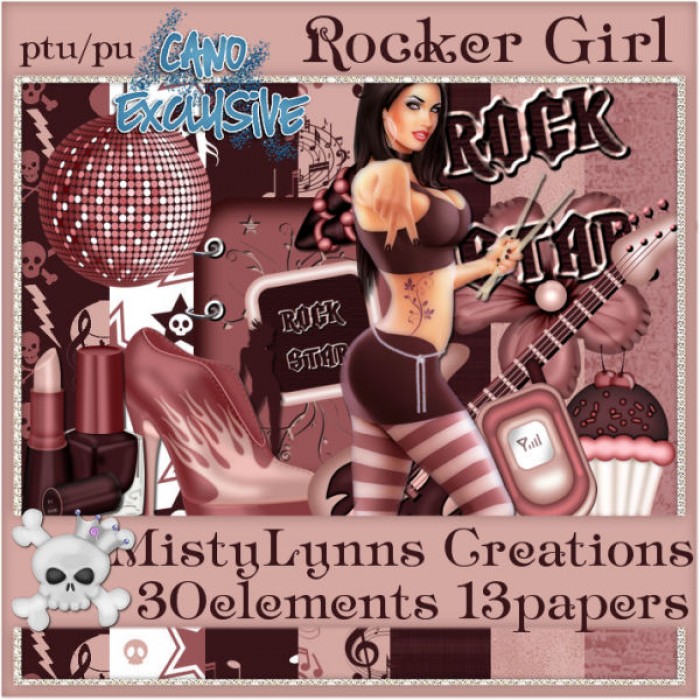
CT Tags with Rocker Girl by Jose Cano!

I made two tags using Rocker Girl by Jose Cano and the newly revamped awesome kit by MistyLynn's Creations!
Purchase the tube & kit here.
Free snags!
Thank you for stopping by!
post signature

Sunday, February 9, 2014

PTU Tutorial - Samba Baby by Tony T!

*Coming Soon!*
PTU tutorial using Samba Baby by Tony Tzanoukakis and the matching kit by Irish Princess Designs!
You can purchase them both here!
**This tutorial was written by me and any resemblance is purely coincidental. It is written for those with a working knowledge of Photoshop.**

Supplies
Mask

Scrap Kit

Template

Tube
*You must obtain a license to use this tube.*

Elements
Bubbles
Cash
Champagne
Chips
City
Coins
Confetti
DiscoBall
Fan
Light
Mask
ShotGlass
Sparkles
Papers
8
12

Let's start!
Open a new canvas, size 725x700.
Open the template and select only layers 1, 2, & 5. Move them on to the canvas and resize as needed.
Add a bevel and a drop shadow to each layer.
Take paper 8 and place it over layers 1 & 2. Resize and create a clipping mask to the circles.
Take paper 12 and place it over layer 5. Resize and create a clipping mask.
Place the tube in front of the template. Resize and add a drop shadow.
Place the city behind the tube. Resize and add a drop shadow.
Behind the city, place the disco ball. Resize and add a drop shadow.
Behind the disco ball, place the fan. Resize and add a drop shadow.
Behind the city, place the confetti.
On  top of the city, place the sparkles.
Take the cash and place a couple of copies on the right side of the tube. Resize and add a drop shadow.
Duplicate the cash and move to the left of the tube, flip horizontally.
Take the chips and place them between the cash on the right and next to the tube. Resize and add a drop shadow.
Duplicate the chips and place them on the left side to the left of the cash.
Place the coins in front of the cash on the right side. Resize and add a drop shadow.
Duplicate the coins and place them on the left side.
Behind the cash on the left side and in front of the chips, place the shot glass. Resize and add a drop shadow.
Place the mask between the cash and coins on the right side. Resize and add a drop shadow.
Place the champagne in front of the coins and to the right of the tube. Resize and add a drop shadow.
Place the lights in front of the tube so they shine on her and the tag.

Mask
Open a new canvas, size 650x650.
Make a new layer and fill with #c89e36.
Open the mask and move on top of the gold layer.
Remove the white background and place the mask behind the tag. 
Make it evenly stretched on all sides.

Add your tagger mark and copyright information.
Crop off any extra canvas.
Save as a .psd & .png.

Free snags!

Thank you for coming by!
post signature

Monday, February 3, 2014

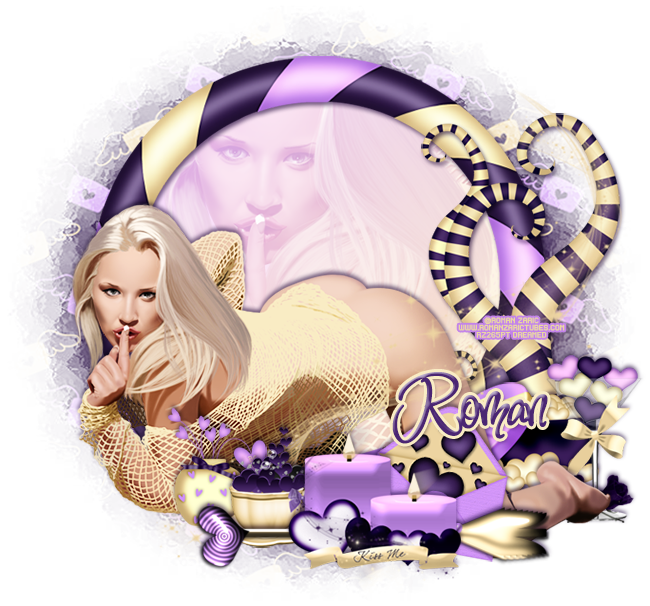
PTU Tutorial - Mercy by Roman Zaric!

PTU tutorial using Mercy by Roman Zaric! 
Matching kit made by Wicked Creationz!
You can purchase them both here!
**This tutorial was written by me and any resemblance is purely coincidental. It is written for those with a working knowledge of Photoshop.**

Supplies
Mask

Scrap Kit

Tube
*You must obtain a license to use this tube.*

Elements
2
8
10
12
15
16
23
26
28
Papers
3
Let's start!
Open a new canvas, size 700x650.
Place ele28 on the canvas. Resize & add a drop shadow.
Place the tube in front of the frame. Resize & add a drop shadow.
Make a new layer behind frame and fill with white. Add a blank layer below the white layer and leave it be. Add a gradient overlay to the white layer using #cd92f5 & #edd4a1. Now merge down so you have your gradient paper. Erase anything outside the frame. Duplicate the paper.
Take a close up of the tube and place it between the two papers behind the frame. Use her as a close up. Change the close up to Screen.
Behind the tube's leg, place ele26. Resize & add a drop shadow.
In front of ele26 and behind her foot, place ele23. Resize & add a drop shadow.
Behind ele26, place ele8 on top of the frame. Resize & add a drop shadow.
In front of the tube, place ele12. Resize & add a drop shadow.
Behind ele12 and little to the right, place ele16. Resize & add a drop shadow.
To the left and behind ele12, place ele15. Resize & add a drop shadow.
Behind ele15 and to the left of it, place ele2. Resize & add a drop shadow.
Behind ele12, place ele13. Resize & add a drop shadow.
Place ele10 above the tube's layer, flip horizontally, and resize.

 Name
Main color is #4b2673.
Add a stroke, size 3, in #f9ecc4.
Add a bevel and a drop shadow.

Mask
Open a new canvas, size 600x600.
Place paper 3 on top of the canvas.
Open the mask and move on top of the paper layer.
Remove the white background and place the mask behind the tag. 
Make it evenly stretched on all sides.

Add your tagger mark and copyright information.
Crop off any extra canvas.
Save as a .psd & .png.

Free snags!
Thank you for coming by!
post signature

Friday, January 31, 2014

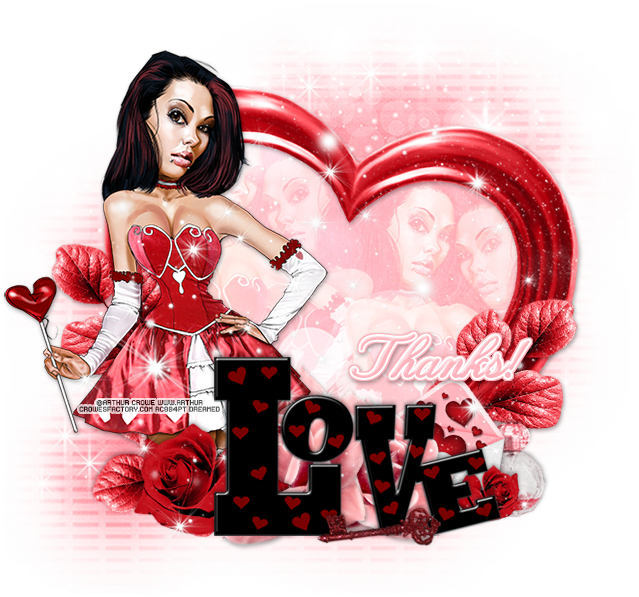
CT Tag - 2014 February Desktop Calendar by Arthur Crowe

I played around with the awesome 2014 February Desktop Calendar by Arthur Crowe & the matching kit by Drama Bomb Designs!
Purchase the desktop calendar with matching kit here:

Free Snags!
Thank you for stopping by!
post signature

Wednesday, January 29, 2014

PTU Tutorial - Oops!! by Tony T!

*Coming Soon!*
PTU tutorial using Oops!! by Tony Tzanoukakis and the matching kit by Rieneke DesignsShe is just too cute! 
You can purchase them both here!
**This tutorial was written by me and any resemblance is purely coincidental. It is written for those with a working knowledge of Photoshop.**

Supplies
Mask

Scrap Kit

Template

Tube
*You must obtain a license to use this tube.*

Elements
24
25
Papers
2
5
8
9
11
12

Let's start!
Open a new canvas, size 700x700.
Open the template and select the layers and move on to the canvas. Erase raster1 and background.
Place paper 2 over layer 7 and create a clipping mask. Add a bevel to the circle layer.
Select the pixels of the circle and expand by 3. Add a new layer below the circle and fill with #f1c676. Add noise and a drop shadow.
Place paper 9 over layer 6 and create a clipping mask. Add a bevel to the circle layer.
Select the pixels of the circle and expand by 3. Add a new layer below the circle and fill with #f0e8db. Add noise and a drop shadow.
Place paper 9 over layer 6 and create a clipping mask. Add a bevel to the circle layer.
Select the pixels of the circle and expand by 3. Add a new layer below the circle and fill with #f0e8db. Add noise and a drop shadow.
Place paper 12 over layers 4 & 5 and create a clipping mask. Add a bevel to the layers.
Select the pixels of the both layers and expand by 3. Add a new layer below them and fill with #f0e8db. Add noise and a drop shadow.
Place paper 2 over layer 3 and create a clipping mask. Add a bevel to the circle layer.
Select the pixels of the circle and expand by 3. Add a new layer below the circle and fill with #f1c676. Add noise and a drop shadow.
Place paper 11 over layer 2 and create a clipping mask. Add a bevel to the circle layer.
Select the pixels of the circle and expand by 3. Add a new layer below the circle and fill with #553122. Add noise and a drop shadow.
Place paper 8 over layer 1 and create a clipping mask. Add a bevel to the circle layer.
Select the pixels of the circle and expand by 3. Add a new layer below the circle and fill with #f0e8db. Add noise and a drop shadow.
Place the tube in front of the template. Resize and add a drop shadow. 
Take the full size tube and place a close up over layer 7 and create a clipping mask.
Duplicate the close up, flip horizontally, and move to the other side of the tube.
Place paper 2 over the tubes and create a clipping mask. Change the paper to Screen.
Add a bevel to the three hearts, layers 8-10. Add a gradient to each one using #c9212c & #f3ebde. Add a drop shadow.
Take eles 24 & 25 and place them around the template behind the tube and the front circle. Resize and rotate to achieve the look.
Make sure nothing hangs too far off the tag.

Mask
Open a new canvas, size 650x650.
Open paper 5 and resize to 650x650. Place on top of the canvas.
Open the mask and move on top of the paper.
Remove the white background and place the mask behind the tag. 
Make it evenly stretched on all sides.

Name
Main color is #bb101b.
Add a stroke, size 3, in #f0e7d8.
Add a bevel and a drop shadow.

Add your tagger mark and copyright information.
Crop off any extra canvas.
Save as a .psd & .png.

Free snags!
Thank you for coming by!
post signature

New Name, New Blog!

Hello friends! I have decided to change my designer name to reflect that I make kits more than I do CT work. I made a new blog so the old links for this blog will remain active for future visits. Please visit me at Drea's Designs ! I'll see you there!
Related Posts Plugin for WordPress, Blogger...