Showing posts with label Rieneke Designs. Show all posts

Wednesday, January 29, 2014

PTU Tutorial - Oops!! by Tony T!

*Coming Soon!*
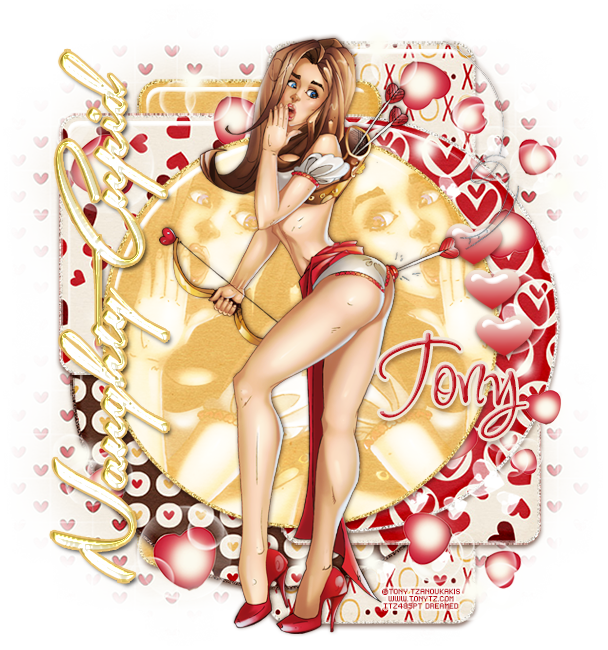
PTU tutorial using Oops!! by Tony Tzanoukakis and the matching kit by Rieneke DesignsShe is just too cute! 
You can purchase them both here!
**This tutorial was written by me and any resemblance is purely coincidental. It is written for those with a working knowledge of Photoshop.**

Supplies
Mask

Scrap Kit

Template

Tube
*You must obtain a license to use this tube.*

Elements
24
25
Papers
2
5
8
9
11
12

Let's start!
Open a new canvas, size 700x700.
Open the template and select the layers and move on to the canvas. Erase raster1 and background.
Place paper 2 over layer 7 and create a clipping mask. Add a bevel to the circle layer.
Select the pixels of the circle and expand by 3. Add a new layer below the circle and fill with #f1c676. Add noise and a drop shadow.
Place paper 9 over layer 6 and create a clipping mask. Add a bevel to the circle layer.
Select the pixels of the circle and expand by 3. Add a new layer below the circle and fill with #f0e8db. Add noise and a drop shadow.
Place paper 9 over layer 6 and create a clipping mask. Add a bevel to the circle layer.
Select the pixels of the circle and expand by 3. Add a new layer below the circle and fill with #f0e8db. Add noise and a drop shadow.
Place paper 12 over layers 4 & 5 and create a clipping mask. Add a bevel to the layers.
Select the pixels of the both layers and expand by 3. Add a new layer below them and fill with #f0e8db. Add noise and a drop shadow.
Place paper 2 over layer 3 and create a clipping mask. Add a bevel to the circle layer.
Select the pixels of the circle and expand by 3. Add a new layer below the circle and fill with #f1c676. Add noise and a drop shadow.
Place paper 11 over layer 2 and create a clipping mask. Add a bevel to the circle layer.
Select the pixels of the circle and expand by 3. Add a new layer below the circle and fill with #553122. Add noise and a drop shadow.
Place paper 8 over layer 1 and create a clipping mask. Add a bevel to the circle layer.
Select the pixels of the circle and expand by 3. Add a new layer below the circle and fill with #f0e8db. Add noise and a drop shadow.
Place the tube in front of the template. Resize and add a drop shadow. 
Take the full size tube and place a close up over layer 7 and create a clipping mask.
Duplicate the close up, flip horizontally, and move to the other side of the tube.
Place paper 2 over the tubes and create a clipping mask. Change the paper to Screen.
Add a bevel to the three hearts, layers 8-10. Add a gradient to each one using #c9212c & #f3ebde. Add a drop shadow.
Take eles 24 & 25 and place them around the template behind the tube and the front circle. Resize and rotate to achieve the look.
Make sure nothing hangs too far off the tag.

Mask
Open a new canvas, size 650x650.
Open paper 5 and resize to 650x650. Place on top of the canvas.
Open the mask and move on top of the paper.
Remove the white background and place the mask behind the tag. 
Make it evenly stretched on all sides.

Name
Main color is #bb101b.
Add a stroke, size 3, in #f0e7d8.
Add a bevel and a drop shadow.

Add your tagger mark and copyright information.
Crop off any extra canvas.
Save as a .psd & .png.

Free snags!

Thank you for coming by!
post signature

Monday, January 27, 2014

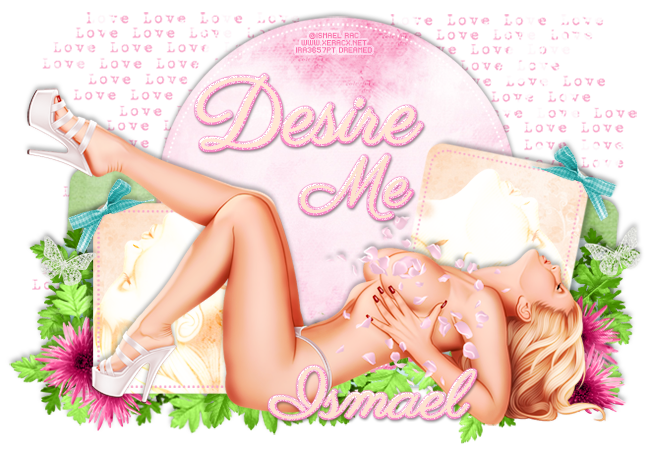
PTU Tutorial - 2014 Desire Me by Ismael Rac!

*Coming Soon!*
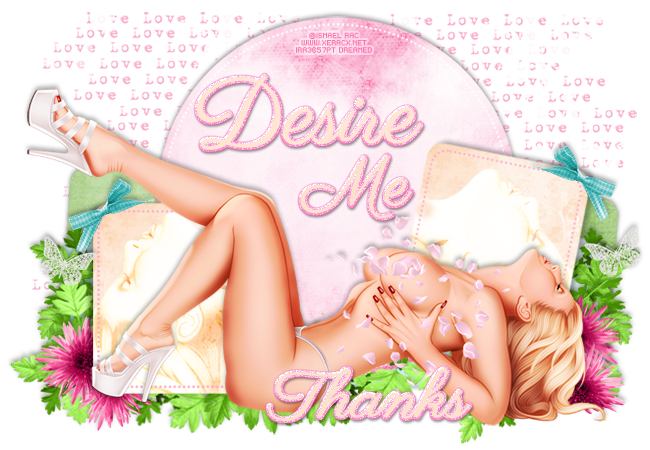
PTU tutorial using 2014 Desire Me by Ismael Rac!
Matching kit made by Rieneke Designs.
**This tutorial was written by me and any resemblance is purely coincidental. It is written for those with a working knowledge of Photoshop.**

Supplies
Font

Scrap Kit

Template

Tube
*You must obtain a license to use this tube.*

Elements
2
16
19
25
26
30
Papers
6
10
11

Let's start!
Open a new canvas, size 700x650.
Move the template onto the canvas and resize. Erase layers 9, 10, and cr.
Place paper 10 over layer 1 and create a clipping mask. Add a drop shadow to the layer.
Duplicate paper 10 and place over layer 2. Add a drop shadow to the layer.
Place paper 11 over layer 3 and create a clipping mask. Add a drop shadow to the layer.
Change layer 4 to white.
Place paper 6 over layer 5. Resize and create a clipping mask. Duplicate paper 6 and move it over layer 6. Add a drop shadow to both layers.
Change the color of layers 7 & 8 to #f9a9ca.
Place the tube in front of the template and resize. Add a drop shadow.
Take a larger size of the tube and place her close up in layer 5. Flip horizontally and resize more if necessary. Change her to Overlay.
Duplicate the close up and flip horizontally. Move over to layer 6.
Use ele2 and 30 to fill in the space around the tube. Move some behind her and some behind layers 5 & 6. Add a drop shadow to each layer.
Place a couple of ele26 behind ele5. Resize and add a drop shadow.
Duplicate one of the flowers and move to the right side of layer 6. Duplicate the flower and move it above the other.
Place ele 16 over layer 6 so it lays the same way. Resize and add a drop shadow.
Duplicate the bow, flip horizontally, and move to layer 5.
Place ele19 behind the template on the left. Resize and move around so it's positioned to fill the empty space. Duplicate and move to the right side.
Add a blank layer over the first layer of ele19 and fill with #f9a8ca then create a clipping mask. Repeat this for the copy of ele19.
Take one of the smaller butterflies of ele25 and place it over the leaves on the left side. Add a drop shadow.
Duplicate the butterfly, flip horizontally, and move to the right side on the leaves.

Name
Main color is #fce2cd.
Select the pixels of the name and expand by 2.
Add a new layer below the namer and fill with pink noise (glitter).
Add noise and a drop shadow.

Add your tagger mark and copyright information.
Crop off any extra canvas.
Save as a .psd & .png.

Free snags!
Thank you for coming by!
post signature

Wednesday, December 11, 2013

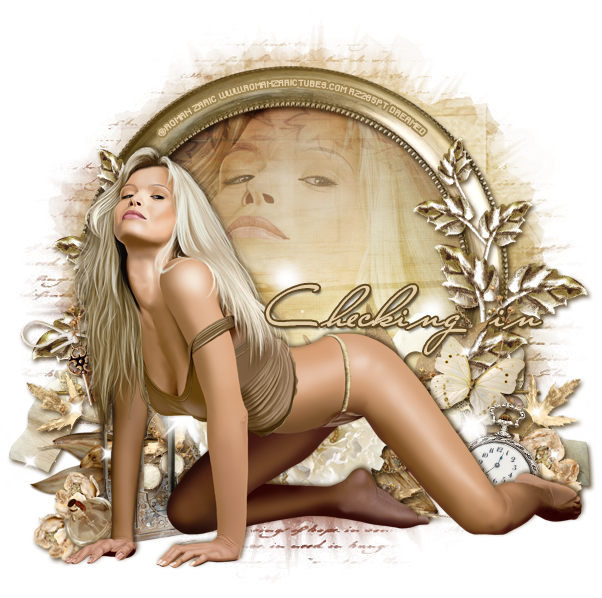
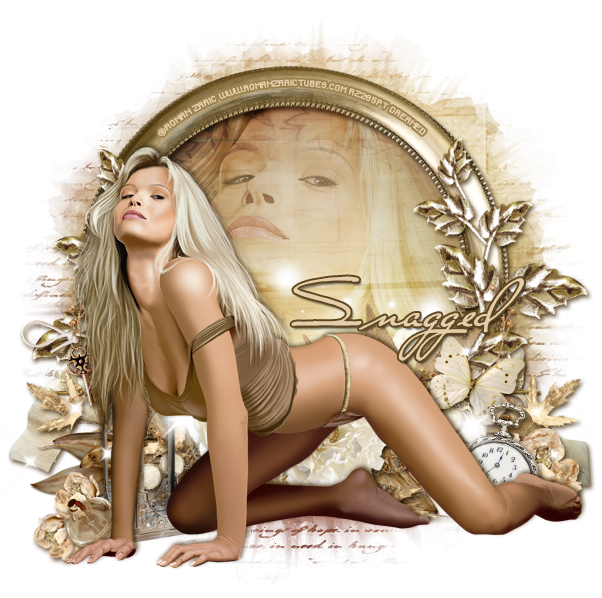
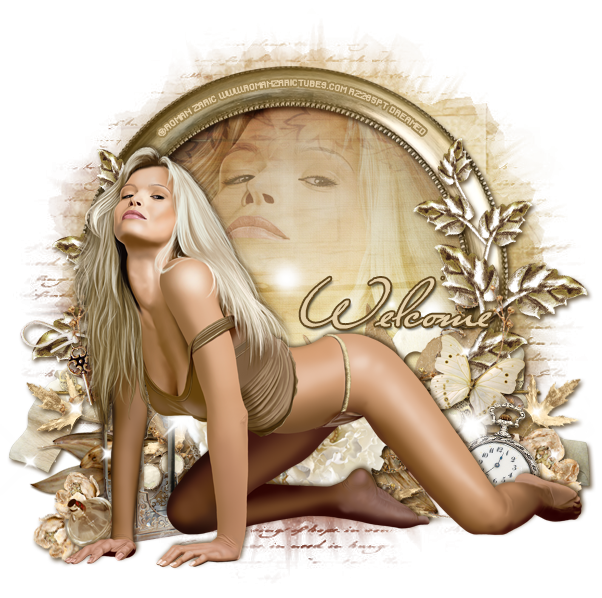
PTU Tutorial - Lionele by Roman Zaric!

*Coming Soon!*
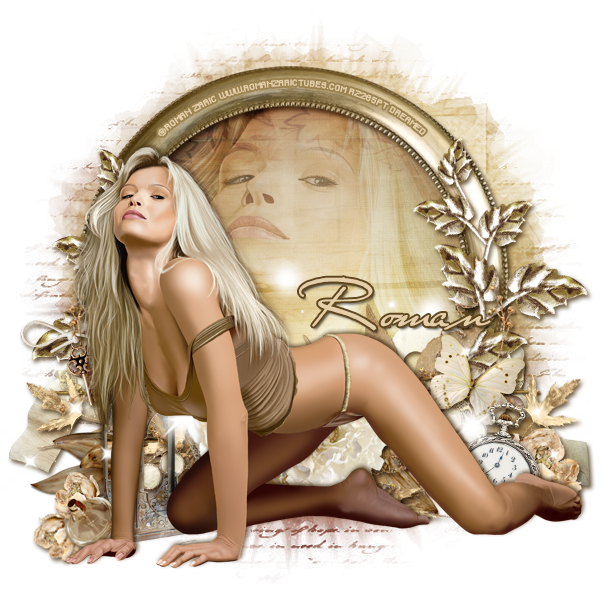
PTU tutorial using Lionele by Roman Zaric! 
Matching kit made by Rieneke Designs!
You can purchase them both here!
**This tutorial was written by me and any resemblance is purely coincidental. It is written for those with a working knowledge of Photoshop.**

Supplies

Font

Mask

Scrap Kit

Tube
*You must obtain a license to use this tube.*

Elements
3
5
6
10
12
13
14
15
16
17
18
21
23
24
26
27
28
29
30
Papers
5
11

Let's start!
Open a new canvas, size 650x650.
Place ele21 on the canvas. Resize and add a drop shadow.
Place paper 5 behind the frame and resize. Erase anything outside the frame.
Place the tube in front of the frame. Resize and add a drop shadow.
Take a larger size of the tube and place it over the paper so the tube's face shows. Create a clipping mask and change to soft light.
Take elements 10, 13, & 16 and place them in a cluster. Place them in the middle lower part of the frame behind the tube. Resize and add a drop shadow.
Take elements 15, 17, 18, 28, & 30 and fan them out to the right of the flower cluster. Resize and add a drop shadow.
Duplicate the elements above and flip horizontally. Move the layers to the left of the flower cluster.
 Along the left and right sides of the frame, place ele 5. Place one copy higher than the other. Resize and add a drop shadow.
Between the tube and the cluster, place ele14 by her arms. Resize and add a drop shadow.
Between the lantern and the tube's hand, place ele3 and flip horizontally. Resize and add a drop shadow.
In front of ele3, place ele 23. Resize and add a drop shadow.
Duplicate ele 23 and place it behind ele 3.
On the cluster toward the top, place ele27. Resize and add a drop shadow.
On the right side behind the tube, place ele29. Resize and add a drop shadow.
Behind the cluster and on top of the frame, place ele6. Resize and add a drop shadow.
Duplicate ele23 from earlier and place it behind ele29.
Above and behind the clock on the right, place ele12. Resize and add a drop shadow.
Place ele26 on top of everything behind the tube. Rotate so they are horizontal and resize. Erase anything hanging off the tag.

 Name
Main color is #e4cfaa. 
Add a stroke, size 2, in #5f461e.
Add a drop shadow.

Mask
Open a new canvas, size 600x600.
Place paper 11 on top of the canvas.
Open the mask and move on top of the paper layer.
Remove the white background and place the mask behind the tag. 
Make it evenly stretched on all sides.

Add your tagger mark and copyright information.
Crop off any extra canvas.
Save as a .psd & .png.

Free snags!

Thank you for coming by!

post signature

Monday, December 2, 2013

*Coming Soon!* PTU Tutorial - School Girl 2 by José Cano!

*Coming Soon!*
PTU tutorial using School Girl 2 by José Cano!
Matching kit made by Rieneke Designs!
You can purchase them both here soon!
**This tutorial was written by me and any resemblance is purely coincidental. It is written for those with a working knowledge of Photoshop.**

Supplies

Font

Mask

Scrap Kit

Tube
*You must obtain a license to use this tube.*

Elements
4
5
7
8
9
10
11
14
15
25
32
34
35
39
40
Papers
2
3

Let's start!
Open a new canvas, size 650x650.
Place the frame on the canvas. Resize and add a drop shadow.
Place paper 3 behind the frame and resize. Erase anything outside the frame.
Place the tube in front of the frame. Resize and add a drop shadow.
Place ele9 in front of the tube on the left and flip horizontally. Resize and add a drop shadow.
Behind the books and tube, place ele11. Resize and add a drop shadow.
Between the books and tube, place ele 34. Resize and add a drop shadow.
On top of the stack of books, place ele4. Resize and add a drop shadow.
To the right of the tube and behind her, place ele8 and rotate to the left a little. Resize and add a drop shadow.
Behind ele8, place ele14 and rotate to the right. Resize and add a drop shadow.
Place ele7 in front of ele8. Resize and add a drop shadow.
In front of the tube and to the right of the stack of books, place ele10. Resize and add a drop shadow.
Behind the laptop, place ele40 and rotate to the left. Resize and add a drop shadow.
In front of the stacked books and laptop, place ele38. Resize and add a drop shadow.
Behind ele38, place ele32. Flip it vertically and then horizontally. Resize and add a drop shadow.
In front of the books on the left, place ele5. Resize and add a drop shadow.
In front of the laptop, place ele 39. Resize and add a drop shadow.
Place ele15 on top of the tube and resize. Erase anything that hangs off the tag or covers her face.

 Name
Main color is #cabca1.
Add a bevel and change to rounded steps.
Change the shadow mode to #3f2621.

Mask
Open a new canvas, size 600x600.
Open paper 3 and resize to 600x600. Place on top of the canvas.
Open the mask and move on top of the paper.
Remove the white background and place the mask behind the tag. 
Make it evenly stretched on all sides.

Add your tagger mark and copyright information.
Crop off any extra canvas.
Save as a .psd & .png.

Free snags!

Thank you for coming by!

post signature

Saturday, October 26, 2013

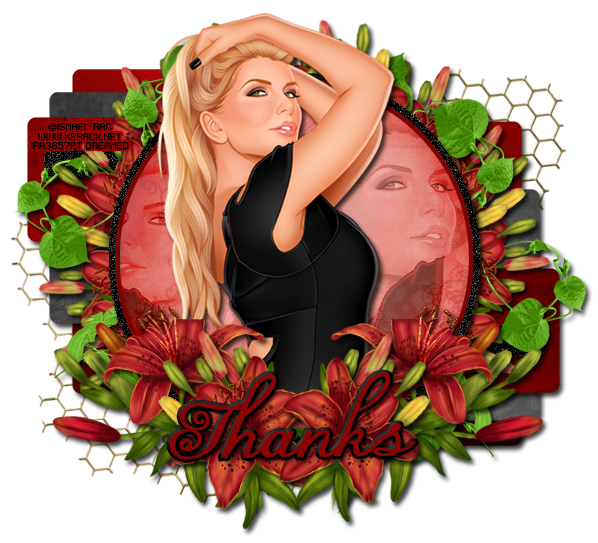
PTU Tutorial - 2013 Dress Attitude by Ismael Rac!

*Coming Soon!*
PTU tutorial using 2013 Dress Attitude by Ismael Rac!
Matching kit made by Rieneke Designs!
You can purchase them both here!
**This tutorial was written by me and any resemblance is purely coincidental. It is written for those with a working knowledge of Photoshop.**

Supplies

Font of choice.

Scrap Kit

Template

Tube
*You must obtain a license to use this tube.*

Elements
17
20
32
34
Papers
1
6
11
12

Let's start!
Open a new canvas, size 650x650.
Open the template and select all layers. Move it on to the canvas and resize, if necessary.
Delete these layers:
font info
info
both word art layers
all three leaves layers
dotted leaves
Place paper 6 over the red circle and create a clipping mask.
Select the pixels of the yellow circle and fill with #770303.
Select the pixels of the green circle and fill with black. Add noise and a drop shadow.
Select the pixels of both yellow strips and fill with black. Add noise and a drop shadow to both.
Place paper 11 over the green strips. Create a clipping mask for one and then duplicate the paper and move it above the other green strip and create a clipping mask again. Add a drop shadow to both layers.
Take paper 11 and place it over the right red square and create clipping mask. Duplicate the paper layer and move it over the left red square and create a clipping mask. Add a drop shadow to both layers.
Place paper 1 over the right orange strip and create a clipping mask. Duplicate the paper layer and move it over the left orange strip and create a clipping mask. Add a drop shadow to both layers.
Place ele 34 behind the template. Resize and add a drop shadow.
Place the tube in front of the template so just her top half is visible. Erase the rest and add a drop shadow.
Take a larger closeup of the tube and create a clipping mask to paper 6 on the circle in front. Place one copy on the right side of the tube. Change to luminosity and drop the fill to 41%. Duplicate the closeup and flip horizontally. Make it smaller than the first and move to the left of the tube,
Behind the black circle, place ele 17. Duplicate the flower bunch until it covers the back of the black circle. Add a drop shadow to each layer.
In front of the tube, place two more copies of ele 17. Behind the two ele 17s, place ele 20. Add a drop shadow.
On top of the flowers behind the black cirlce, place ele 32 on the left. Resize and add a drop shadow. Duplicate the leaves and place it on the right side.

 Name
Main color is #8a0403. 
Add a stroke, size 3, in black.
Add a drop shadow and a bevel.
Change the Style of the bevel to Stroke Emboss and change the size to 2 and Soften to 6.

Add your tagger mark and copyright information.
Crop off any extra canvas.
Save as a .psd & .png.

Free snags!

Thank you for coming by!
post signature

Tuesday, October 15, 2013

PTU Tutorial - Pink Heart by Tony Tzanoukakis!

*Coming Soon!*
PTU tutorial using Pink Heart by Tony Tzanoukakis!
Matching kit made by Rieneke Designs!
You can purchase them both here!
**This tutorial was written by me and any resemblance is purely coincidental. It is written for those with a working knowledge of Photoshop.**

Supplies

Font

Mask

Scrap Kit

Tube
*You must obtain a license to use this tube.*

Elements
2
11
13
16
18
19
20
22
23
24
25
26
27
28
Papers
1
4

Let's start!
Open a new canvas, size 650x650.
Move ele20 on to the canvas. Resize and add a drop shadow.
Move paper4 behind the frame. Resize and erase anything outside the frame.
Place the tube in front of the frame. Resize and add a drop shadow.
Place ele27 on the right side of the frame. Rotate so it's vertical along the right side. Resize and add a drop shadow.
Duplicate ele27  and flip horizontally. Move to the left side of the frame.
Place ele2 behind ele 27 on the right so they come out of the top. Resize and add a drop shadow.
Duplicate ele2, flip horizontally, and move behind ele27 on the left side.
Take ele11 and move them on the frame above the hearts just placed on the right. Just use the small cluster and erase the rest. Add a drop shadow.
Duplicate ele11 and place it on the left side of the frame.
Place ele26 to the left of the tube in the little opening between the frame and the tube. Resize and add a drop shadow.
Place ele23 over ele27 on the left side. Resize and add a drop shadow.
Take a small pink heart from ele19 and place it over the pointed edge of the heart sticker. Resize and add a drop shadow.
Place ele18 over the pink heart just placed. Resize and add a drop shadow.
Place ele13 behind everything and on top of the frame. Make it peek out behind the tube on the right and the pink flowers. Have the green leaves peek out the right side. Resize and add a drop shadow.
Duplicate ele13, flip horizontally, and place on the left side of the tube the same way as before.
Place ele16 behind the tube on the right side. Resize and add a drop shadow.
Duplicate ele16 and place on the left side of the tube.
On top of ele16 and behind the tube, place ele28. Resize and add a drop shadow.
Behind ele16, place ele24 and resize and add a drop shadow.
Duplicate ele24 and move to the right side and behind ele16.
Place ele19 (just use one of the beige hearts and erase the rest) to the right of ele 24. Resize and add a drop shadow.
Behind the tube on the right, place ele22. Resize and add a drop shadow.
Behind ele22, place ele19, but this time just use a pink heart and erase the rest. Resize and add a drop shadow.

 Name
Main color is #f0e5df. 
Add a stroke, size 2, in #c5ad97.
Add a drop shadow.
Add a default bevel and change the shadow mode to #b69881.

Mask
Open a new canvas, size 600x600.
Open paper 1 and resize to 600x600. Place on top of the canvas.
Open the mask and move on top of the paper.
Remove the white background and place the mask behind the tag. 
Make it evenly stretched on all sides.

Add your tagger mark and copyright information.
Crop off any extra canvas.
Save as a .psd & .png.

Here are free snags!

Thank you for coming by!

post signature

New Name, New Blog!

Hello friends! I have decided to change my designer name to reflect that I make kits more than I do CT work. I made a new blog so the old links for this blog will remain active for future visits. Please visit me at Drea's Designs ! I'll see you there!
Related Posts Plugin for WordPress, Blogger...