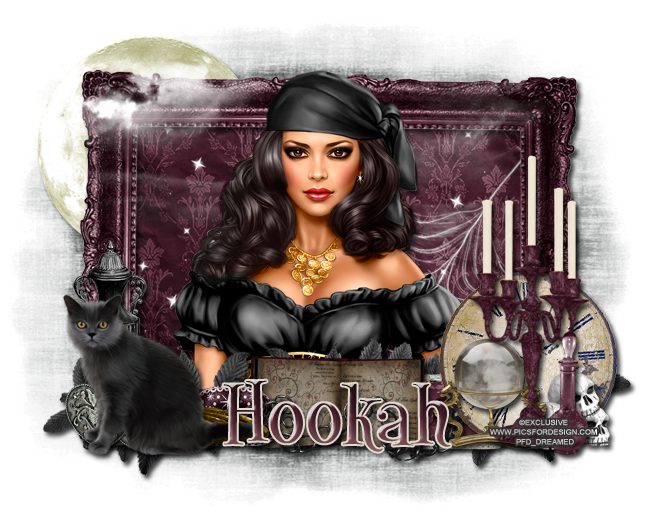
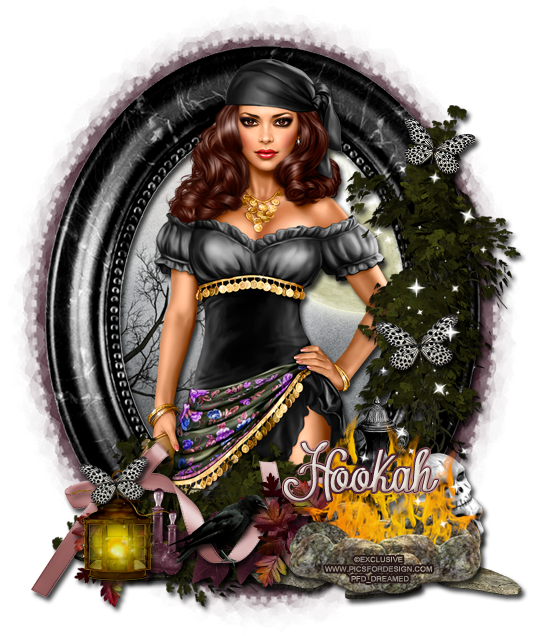
I have a new PTU tutorial using
Jackie's Jewels kit "A Gypsy's Revenge". It goes perfectly with a new exclusive tube, Gypsy Girl, over at PicsforDesign!
Jackie's Jewels is also having a sale until the 15th of June so visit her blog now for more information! You don't want to miss this AWESOME sale!
**This tutorial was written by me and any resemblance is purely coincidental. It is written for those with a working knowledge of Photoshop.
What you will need:
Font
Mask
Rebel Designz - April 7
Tube
An exclusive from Pics For Design
**You must obtain a license to use this tube.**
Elements
BlackCat
Bottle
Candle2
Chain1
Clock
CrystalBall
DoubleHearts
Fog
Frame2
GoldBangles
GroupofSkulls
Jewel
Leaves2
Mask
Moon
Sparkle
SpellBook1
Urn
Web
Papers
Paper8
Paper15
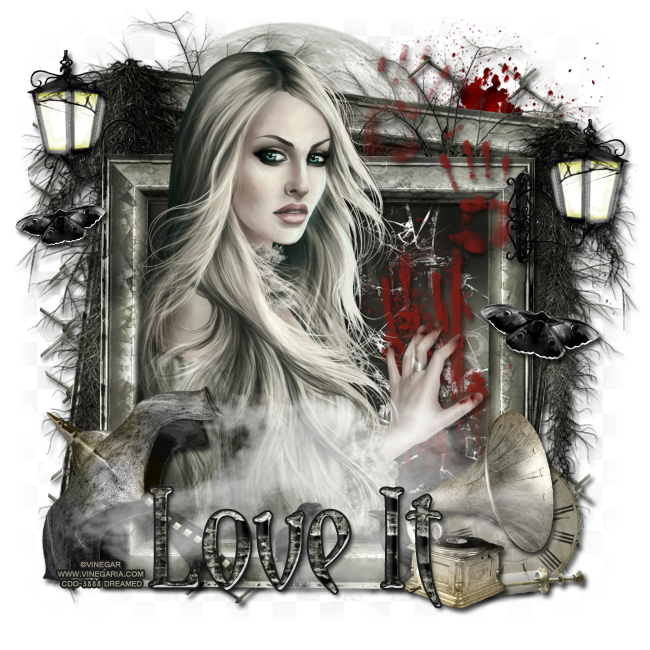
Let's go!
Start with a 650x650 blank canvas.
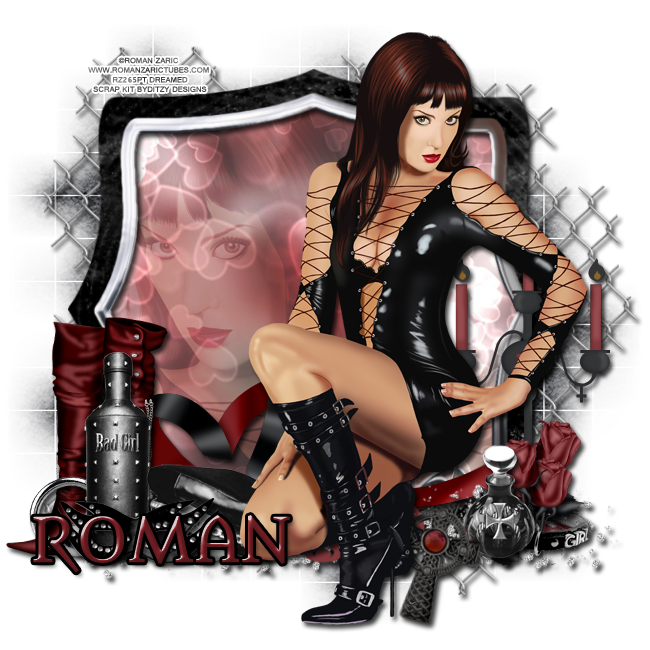
Move Frame2 on to the canvas.
Place the tube inside the frame. I first placed the tube over the frame and resized it. After you have her placed and sized the way you would like click on the frame layer and erase parts of the frame behind the tube's head and any parts of the body overlapping. Once you have it erased, move the tube behind the frame and make sure you didn't miss any parts of the frame. Erase any parts of the tube that stick out below the frame. Now you can add the drop shadow to both the tube & frame.
Move Paper8 behind the frame & tube. Resize so it covers the opening of the frame. Erase any parts outside the frame.
Place the Web in the bottom right hand corner behind the frame and on top of the paper. Erase any parts outside the frame. No drop shadow necessary.
Move the Sparkles on top of the Web and behind the frame. Resize so it meets the inside edges of the frame and move toward the top. Duplicate and fill in the bottom half of the frame.
Place the moon behind the frame in the upper left hand corner. Resize and add a drop shadow.
Now take the fog and move it in front of the tube and frame. Flip it horizontally and resize so it lays on the moon and the frame. Erase the fog that covers the tube.
Take the BlackCat and place it over the left hand side of the frame. Resize and add a drop shadow.
Move the DoubleHearts behind the cat and resize. Add a drop shadow.
Move the Urn behind the Cat & DoubleHearts. Make it a little taller than the cat and add a drop shadow.
Place the GoldBangles behind the cat so the tail meets the end of the bangles. Resize and add a drop shadow.
Behind the bangles, place the Mask. Resize and add a drop shadow.
On the right side of the frame place the Clock. Resize and add a drop shadow.
Move Candle2 on top of the Clock and resize and add a drop shadow.
Place the Crystal Ball, Bottle, and GroupofSkulls behind the Candle2 and in front of the Clock. Resize and add a drop shadow to each.
Move the SpellBook1 behind the mask and move it so the left side of the SpellBook is overlapped by the Mask just a little. Resize and add a drop shadow.
Place the Jewel behind the SpellBook & Clock. Rotate the Jewel so it becomes horizontally.
Move the Chain1 in front of the spell book but have it hide behind the clock. Resize it so it meets the middle of the SpellBook. Rotate, resize, and add a drop shadow.
Now take Leaves2 and move it behind everything. Use it to fill empty spaces. You will need to rotate it horizontally and resize. Add a drop shadow to each duplicate.
Now for the name:
I used the color palette to make a gradient overlay.
Evenly space out the darker colors starting with the darkest one first and finish with the lighter color.
In this order, from left to right:
#241414
#421c29
#6e3846
#bd8b8a
Now use the lightest color for the stroke. Stroke 2 and the color #dedacf.
Add a drop shadow and a bevel in Cove-Deep and change the shadow to #241414.
Let's make the mask.
Open a new blank canvas, size 600x600.
Open your mask and resize to 600x600, if it's not already.
Open Paper15 and resize 600x600.
Move the paper on the blank canvas and then move the mask on top. Remove the white background.
Place the mask behind the frame and moon. Resize so a little sticks out on all four sides.
Crop off any extra parts of the canvas and be careful not to cut off parts of the tag.
Add your copyright information and tagger mark.
Save as a .psd & .png.
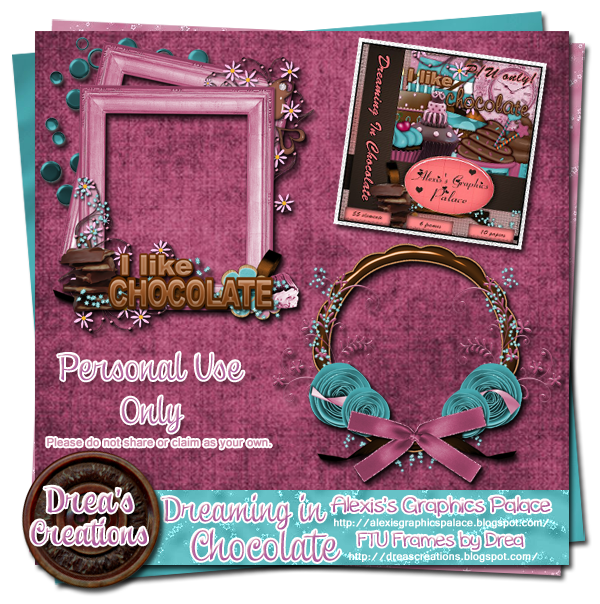
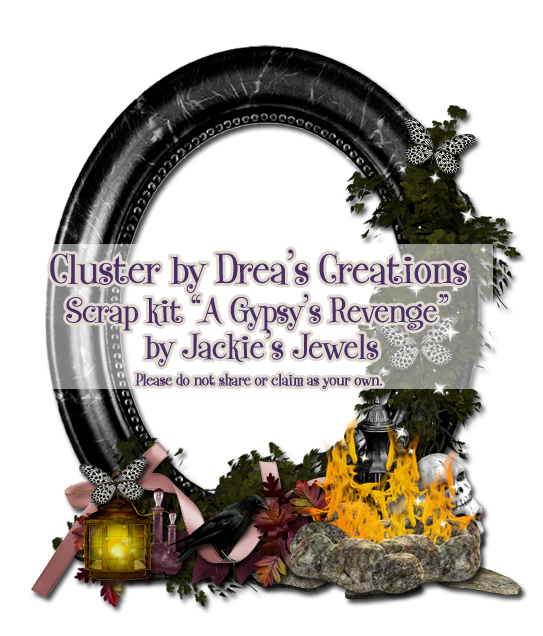
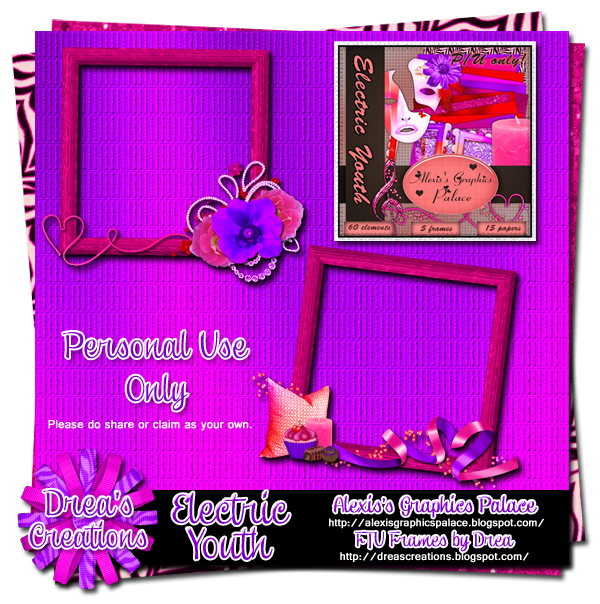
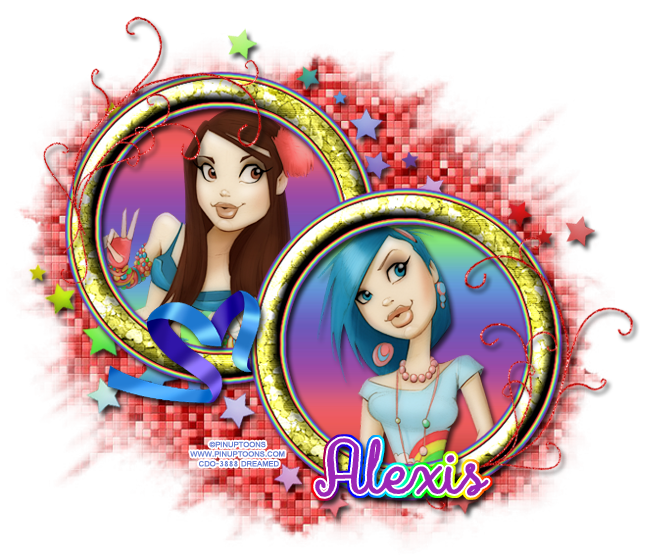
I also have a freebie cluster frame for you to play with!
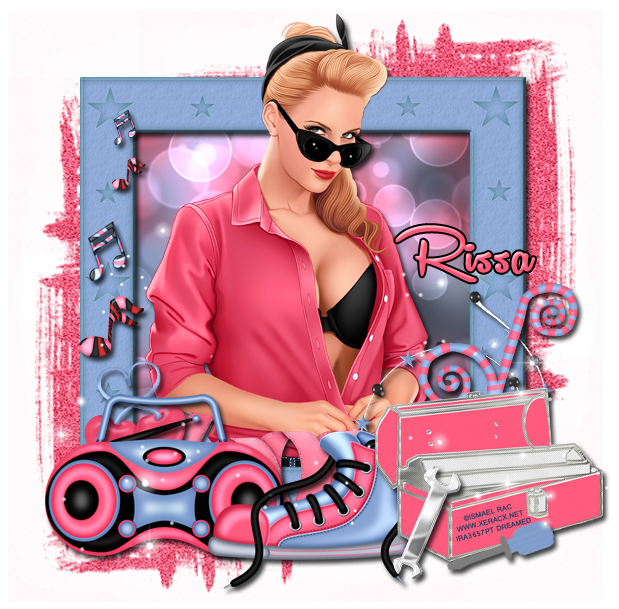
Here is a preview of the cluster frame.
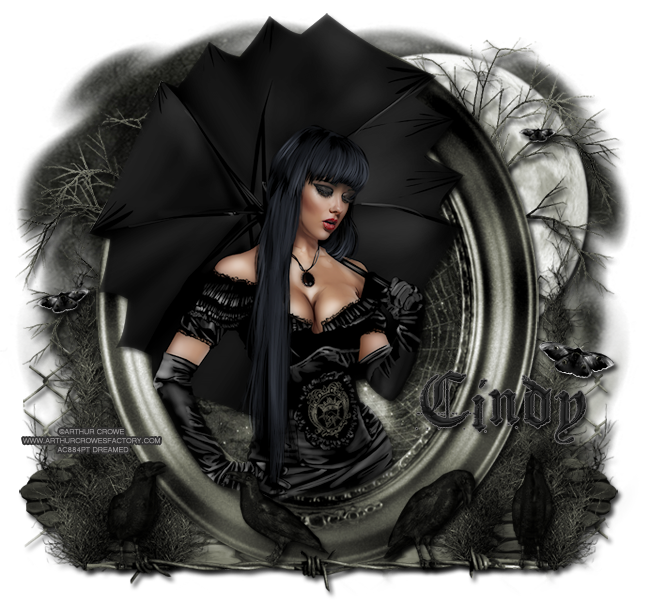
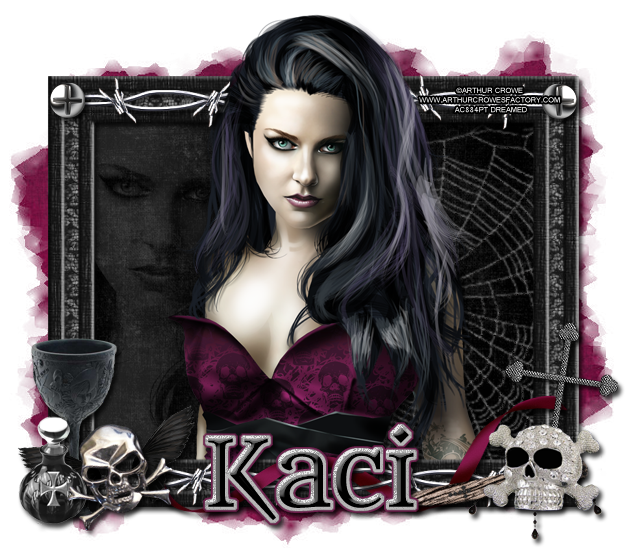
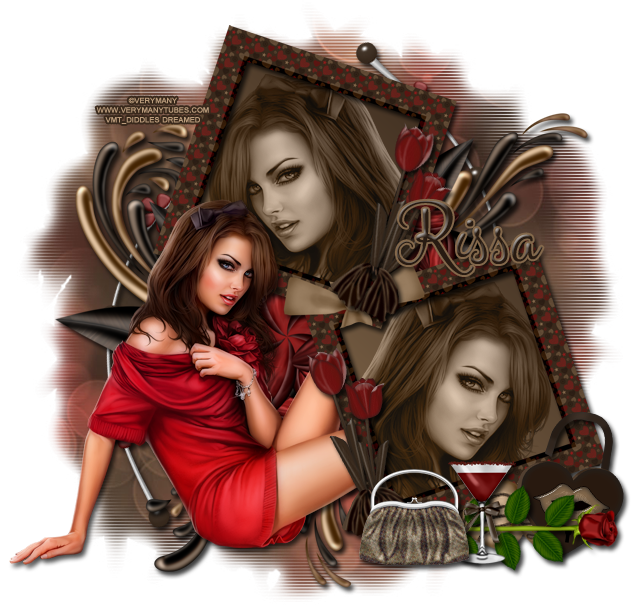
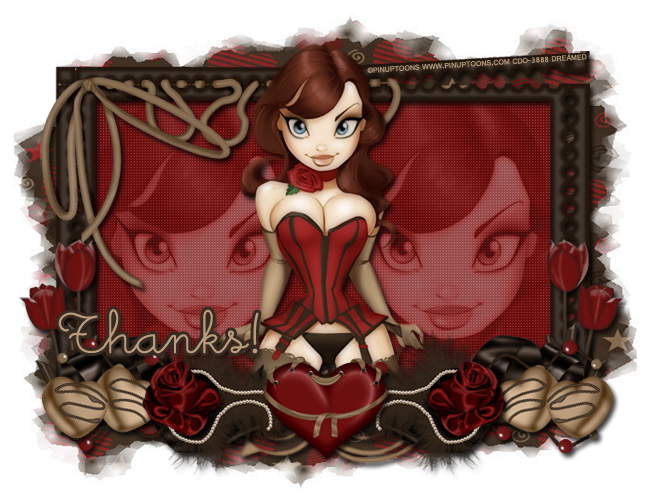
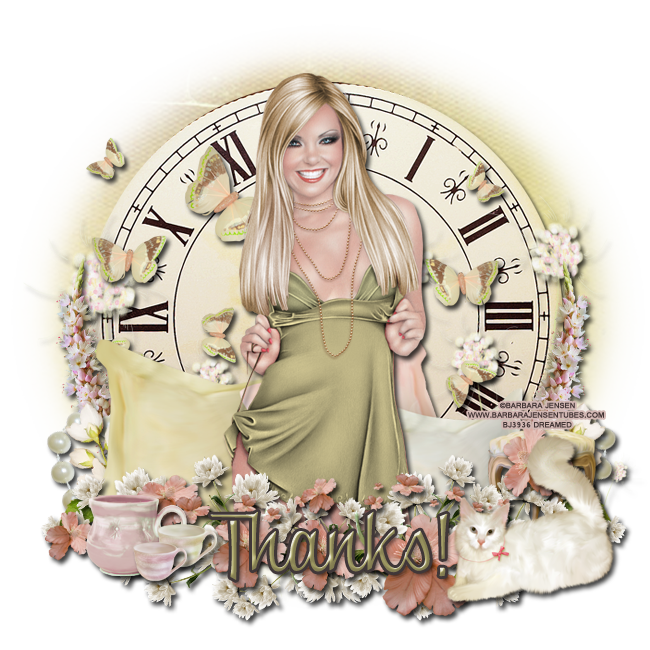
Here is the tag I made for Jackie.
You can download the cluster frame
here. I hope you enjoy :)
Leave some love when you download!