**This tutorial was written by me and any resemblance is purely coincidental. It is written for those with a working knowledge of Photoshop.**
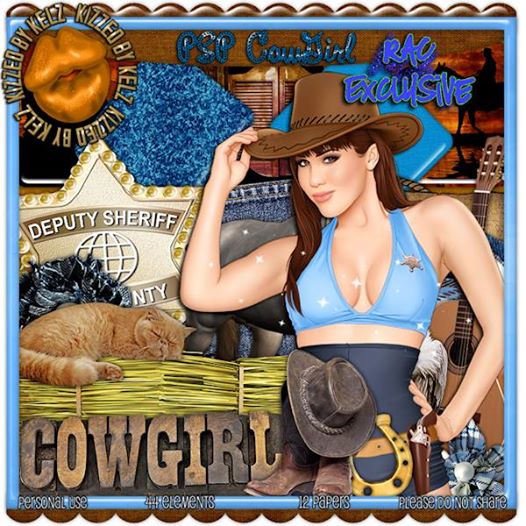
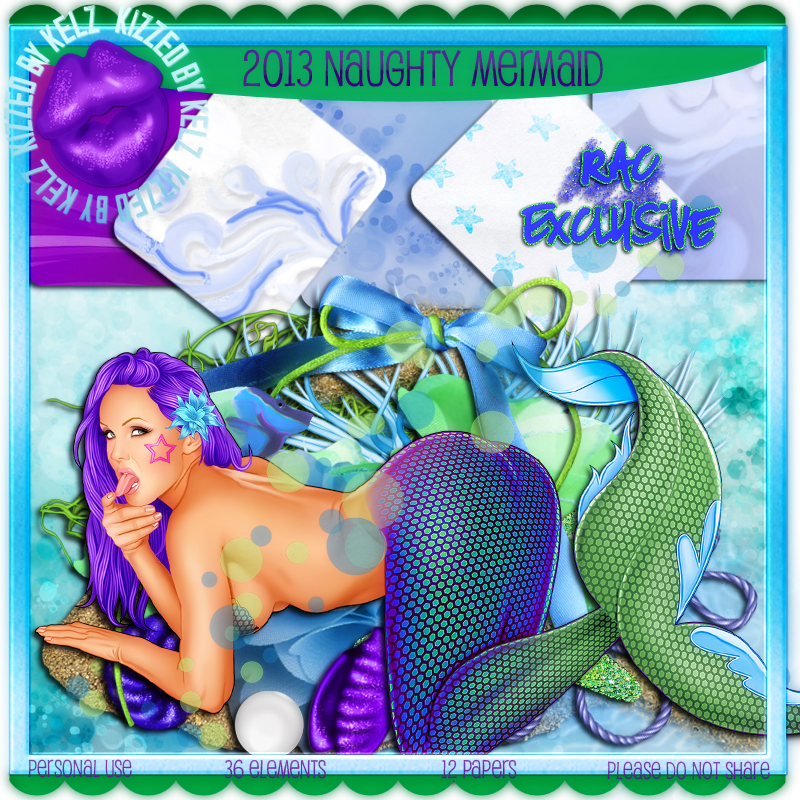
Scrap Kit
Template
Tube
*You must obtain a license to use this tube.*
Elements
lolli
monster 2
monster 4
monster 5
potion
skull cupcake
sparkles
Papers
6
10
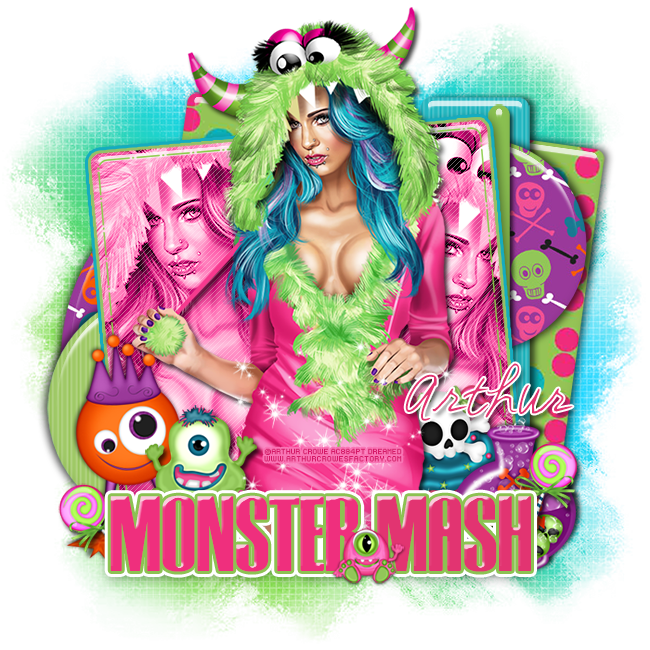
Let's start!
Open a new canvas, size 650x650.
Open the template and remove the word art, info, raster layers 9 & 11, and the blue star.
Move the rest on to the canvas and resize as necessary.
Add a bevel and drop shadow to each layer.
Place paper 10 over the green square and clip.
Over both the large and small purple circles place paper 6 and clip.
Change the color of the blue strip to #0cb0ba.
Change the color of the blue circle to #95c355.
Change the color of the green strip to #95c355.
Change the color of the orange square to #e62e84.
Change the color of the dashed square to #8acc48.
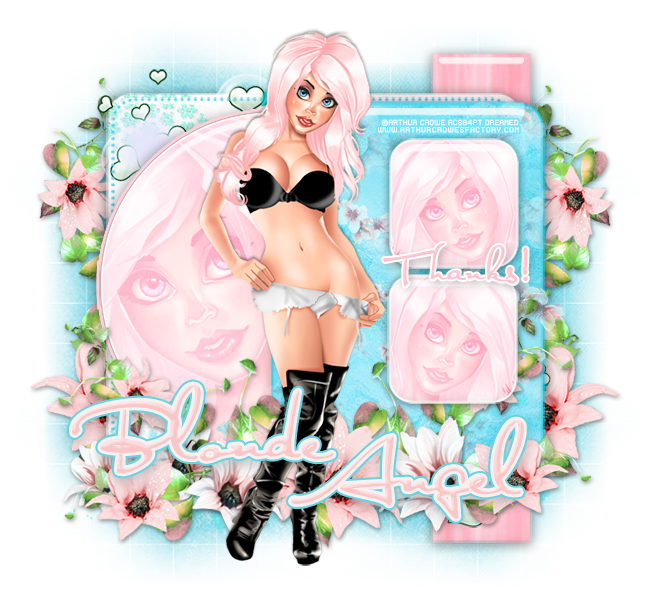
Place the tube in front of the pink square. Resize and add a drop shadow.
Take a close up of the tube and place it inside the pink square on the left side of the tube. Duplicate the close up and flip then move to the right side of the tube. Change both to luminosity.
Resize and add a drop shadow.
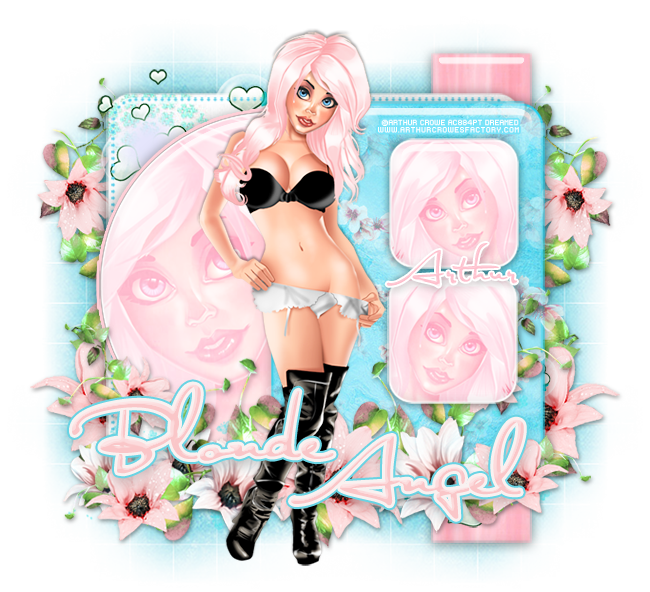
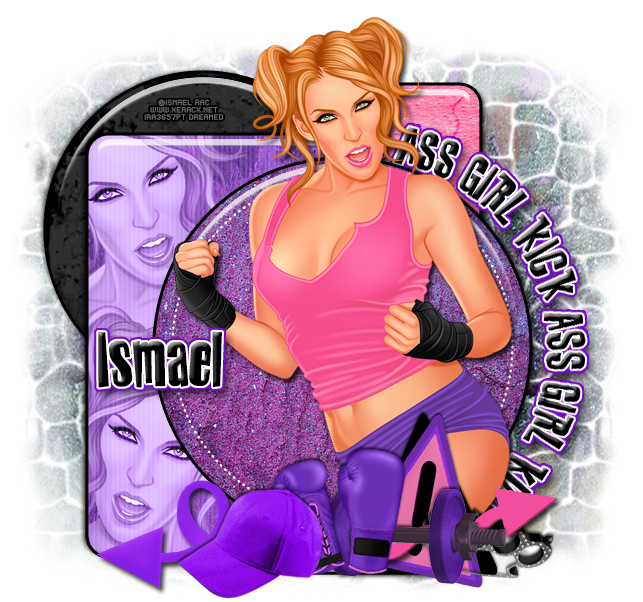
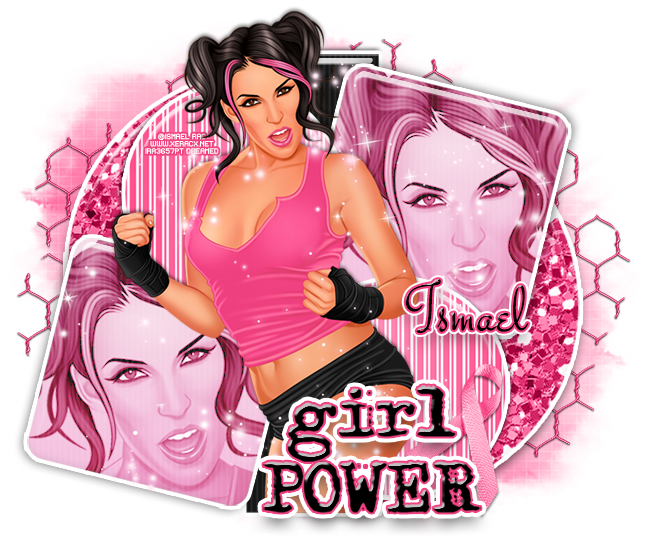
For the word art I used Tipo Press.
Main color: #e23471
Stroke: #8cc252
Outer Glow: white
Add a bevel and drop shadow.
Between the word art and the tube place monster 2. Resize and add a drop shadow.
To the left of monster 2 place monster 5. Resize and add a drop shadow.
Sticking out the side of the word art on the left place the lolli. Resize and add a drop shadow.
Behind the tube on the right place the skull cupcake. Resize and add a drop shadow.
In front of the cupcake and to the right place the potion. Resize and add a drop shadow.
In front of the potion place the lolli. Resize and add a drop shadow.
On top of the tube place the sparkles and resize.
In front of the word art between the word place monster 4. Resize and add a drop shadow.


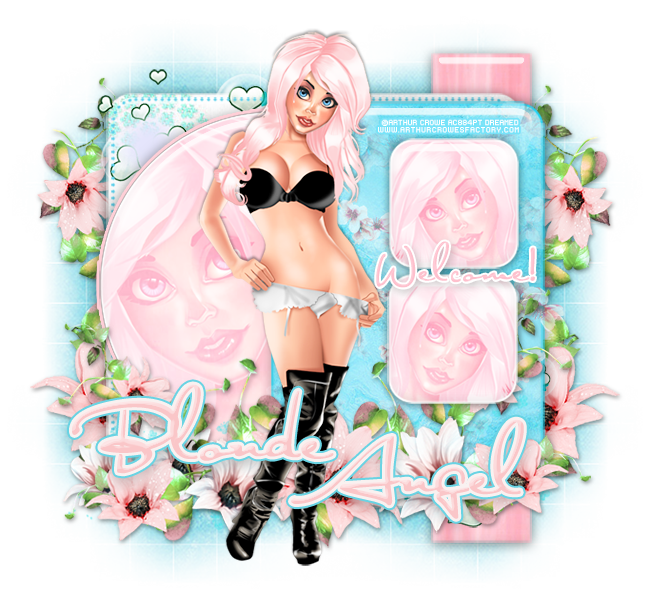
Open the template and remove the word art, info, raster layers 9 & 11, and the blue star.
Move the rest on to the canvas and resize as necessary.
Add a bevel and drop shadow to each layer.
Place paper 10 over the green square and clip.
Over both the large and small purple circles place paper 6 and clip.
Change the color of the blue strip to #0cb0ba.
Change the color of the blue circle to #95c355.
Change the color of the green strip to #95c355.
Change the color of the orange square to #e62e84.
Change the color of the dashed square to #8acc48.
Place the tube in front of the pink square. Resize and add a drop shadow.
Take a close up of the tube and place it inside the pink square on the left side of the tube. Duplicate the close up and flip then move to the right side of the tube. Change both to luminosity.
Resize and add a drop shadow.
For the word art I used Tipo Press.
Main color: #e23471
Stroke: #8cc252
Outer Glow: white
Add a bevel and drop shadow.
Between the word art and the tube place monster 2. Resize and add a drop shadow.
To the left of monster 2 place monster 5. Resize and add a drop shadow.
Sticking out the side of the word art on the left place the lolli. Resize and add a drop shadow.
Behind the tube on the right place the skull cupcake. Resize and add a drop shadow.
In front of the cupcake and to the right place the potion. Resize and add a drop shadow.
In front of the potion place the lolli. Resize and add a drop shadow.
On top of the tube place the sparkles and resize.
In front of the word art between the word place monster 4. Resize and add a drop shadow.
Add your tagger mark and copyright information.
Crop off any extra canvas.
Save as a .psd & .png.
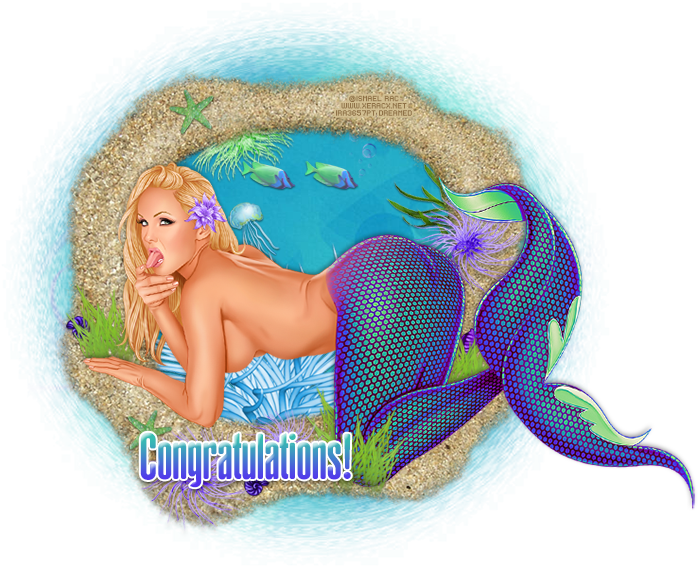
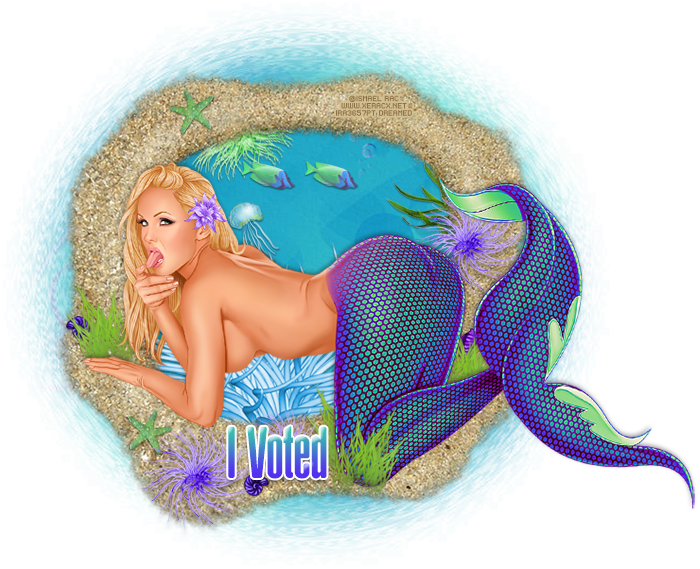
Free snags!


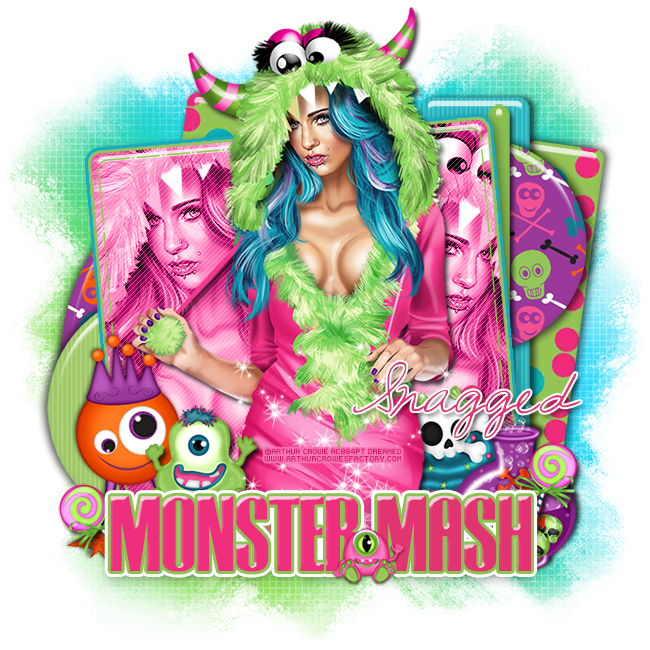
Thank you for coming by!