Showing posts with label Redefined Designs. Show all posts

Tuesday, November 26, 2013

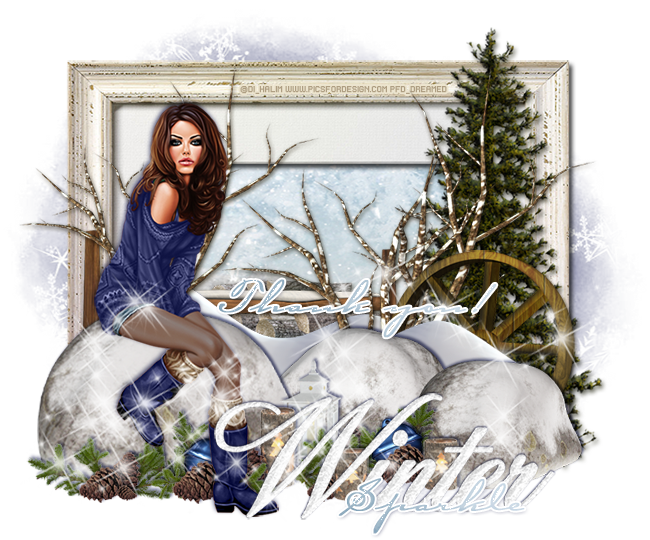
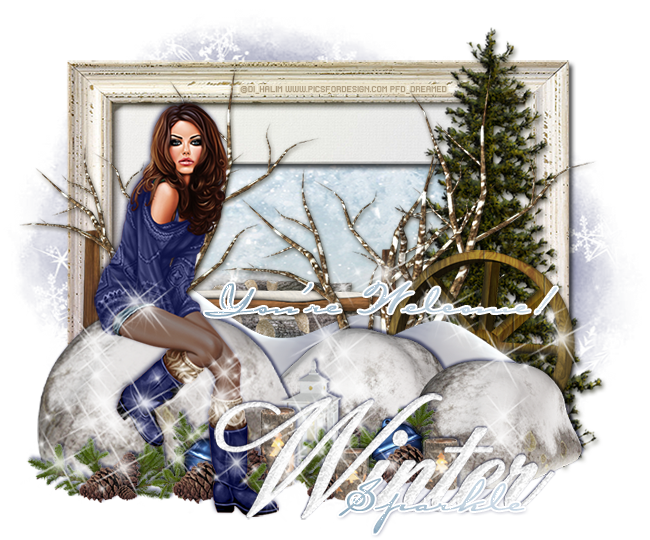
PTU Tutorial - Winter Frost!

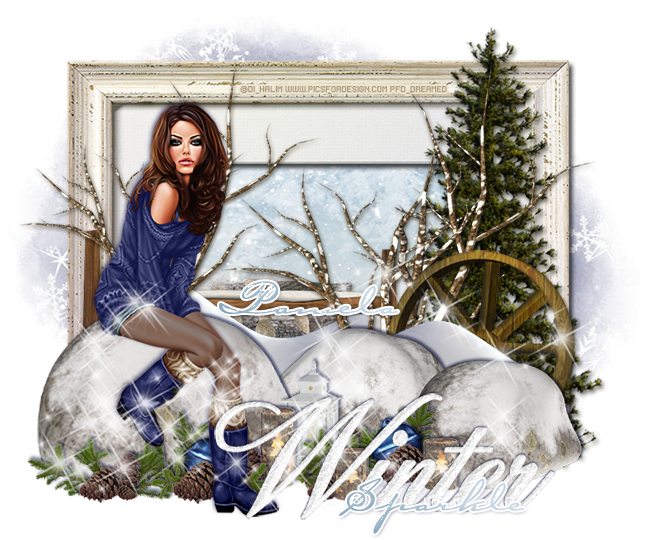
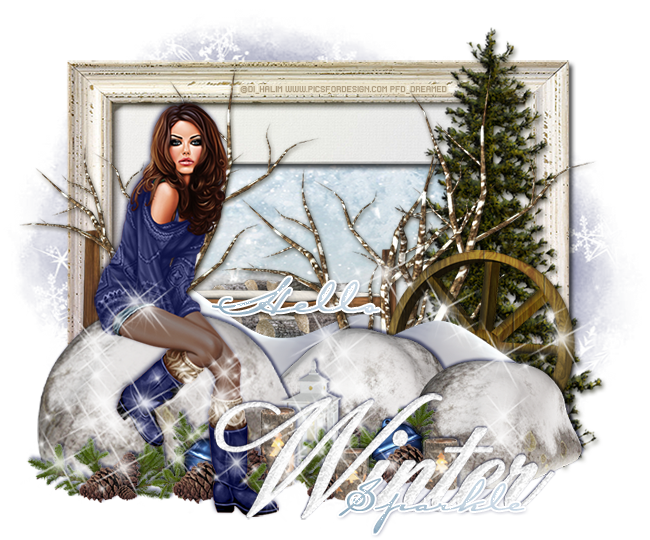
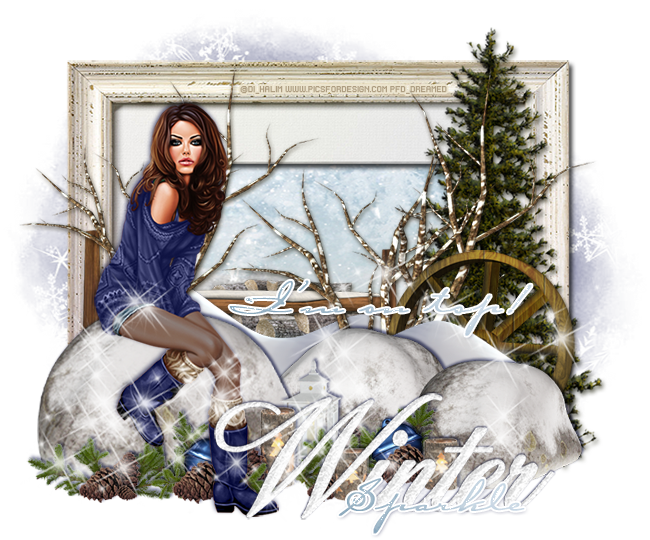
PTU tutorial using Winter Frost by Redefined Designs!
Find out where you can buy this kit on her blog.
**This tutorial was written by me and any resemblance is purely coincidental. It is written for those with a working knowledge of Photoshop.**

Supplies

Font

Mask

Scrap Kit

Tube
*You must obtain a license to use this tube.*

Elements
Bell
Branch
Candle
Fence 
Lantern
Logs
Pinecone
Rocks
Snow
Sparkles
Tree
Wagon Wheel
Winter Tree
Winter WA
Frame1
Papers
2
8

Let's start!
Open a new canvas, size 650x650.
Place the frame on the canvas. Resize and add a drop shadow.
Place paper 2 behind the frame and resize.
Place the rocks in front of the frame. Keep the large one on the left and erase the other tube.
Place the tube on the rock. Resize the tube and the rock until you get the look she's sitting on the rock.
Add a drop shadow to both.
Take a second copy of the rocks and place them behind and to the right of the first rock. Resize and add a drop shadow.
Behind the rocks, place the snow. Duplicate the snow and place one on the left and to the right to fill the background. Resize and add a drop shadow.
Behind the snow on the right, place the wagon wheel. Resize and add a drop shadow.
Place the tree behind the wheel. Resize and add a drop shadow.
Between the wheel and the tree, place the winter tree. Resize and add a drop shadow.
Place the fence behind the tree and have it extend to the left side of the frame. Resize and add a drop shadow.
Behind the fence, place the logs. Resize and add a drop shadow.
Behind the tube, place the winter tree and flip horizontally. Resize and add a drop shadow.
Along the front of the big rock on the left, place the branch and pinecones in a bunch. Continue the bunch behind the tube's foot. Add in the bell with this bunch. Resize and add a drop shadow.
To the right of the tube, place the lantern and two candles in a cluster. Using the branch and pine cones as filler. Resize and add a drop shadow.
Duplicate the cluster you made behind the tube's foot and flip it horizontally. Move the cluster and place them against the rock on the right.
In front of the tag, place the winter wa. Resize and add a drop shadow.
Add the word, Sparkle, over the winter wa and copy the layer styles from the name.
Place the sparkles along the bottom half of the tag. Place it over the top of everything and make sure it doesn't hang off the tag or canvas too far.

 Name
Main color is a gradient of #c4d3dd & #e6edf3. 
Add a stroke, size 2, in white and a drop shadow.

Mask
Open a new canvas, size 600x600.
Open paper 8 and resize to 600x600. Place on top of the canvas.
Open the mask and move on top of the paper.
Remove the white background and place the mask behind the tag. 
Make it evenly stretched on all sides.

Add your tagger mark and copyright information.
Crop off any extra canvas.
Save as a .psd & .png.

Free snags!
Thank you for coming by!

post signature

Tuesday, October 29, 2013

PTU Tutorial - Victorian Blue!

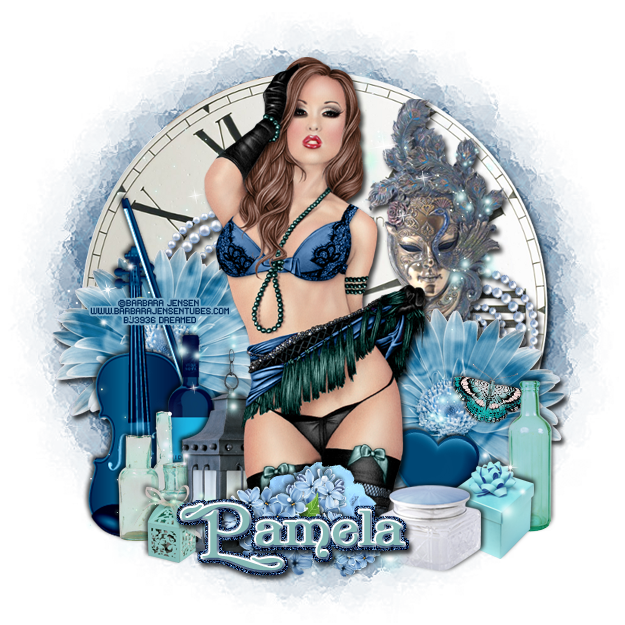
PTU tutorial using Victorian Blue by Redefined Designs!
Find out where you can buy this kit on her blog.
**This tutorial was written by me and any resemblance is purely coincidental. It is written for those with a working knowledge of Photoshop.**

Supplies

Font

Mask

Scrap Kit

Tube
*You must obtain a license to use this tube.*

Elements
Bottle
Butterfly
Cage
Canister
Clock
FloralHeart
Flower2
Flower4
Gift
Glassware
Heart
Lantern
Mask
Necklace
Sparkles
Violin
Wine
Papers
7

Let's start!
Open a new canvas, size 650x650.
Place the clock on the canvas. Resize and add a drop shadow.
Place the tube in front of the clock. Resize and add a drop shadow.
Take flower 2 and place it behind the tube on the left. Resize and add a drop shadow.
Duplicate the flower and move it to the right of the tube and flip horizontally. Place it lower than the first.
Place the butterfly on the flower on the right. Resize and add a drop shadow.
In front of the tube and to the right a little, place the canister and flip horizontally. Resize and add a drop shadow.
Behind the canister, place the gift. Resize and add a drop shadow.
Behind the gift, place the bottle. Resize and add a drop shadow.
Behind the canister and tube and on top of the flower, place the heart. Resize and add a drop shadow.
In front of the tube, place the floral heart. Resize and add a drop shadow. Rotate to the left a little.
Duplicate the floral heart and make it smaller. Rotate it to the right a little. Use both to cover the tube's leg cutoff. Erase her legs that stick out below the hearts.
Place flower 4 behind the floral hearts. Resize and add a drop shadow.
Erase any part of flower4 than hangs below the floral hearts.
Place the lantern behind the tube on the left. Resize and add a drop shadow.
Place the glass ware behind the lantern and to the left a little. Resize and add a drop shadow.
In front of the lantern and glassware, place the cage. Resize and add a drop shadow.
Behind the glassware, place the violin. Resize and add a drop shadow.
To the right of the violin, place the wine. Resize and add a drop shadow.
Place the mask behind everything and on the clock on the right. Resize and add a drop shadow.
Place the sparkles over everything. Resize if necessary.
Erase any part of the sparkles that covers the tube or hangs off the tube too far.
Place the necklace behind the flower and tube on the right side. Just have a little peek out. Resize and add a drop shadow.
Duplicate the necklace and move it behind the flower and mask on the left.

 Name
Main color is #87bab6. 
Add a stroke, size 2, in white and a drop shadow.
Add a bevel and change to Outer Bevel and lower the size to 4. 
Change the shadow mode to #00204d.
Select the pixels of the name and expand by 5. 
Add a new layer below the name and full with #002956. Add a drop shadow.

Mask
Open a new canvas, size 600x600.
Open paper 7 and resize to 600x600. Place on top of the canvas.
Open the mask and move on top of the paper.
Remove the white background and place the mask behind the tag. 
Make it evenly stretched on all sides.

Add your tagger mark and copyright information.
Crop off any extra canvas.
Save as a .psd & .png.

Free snags!
Thank you for coming by!
post signature

Saturday, October 26, 2013

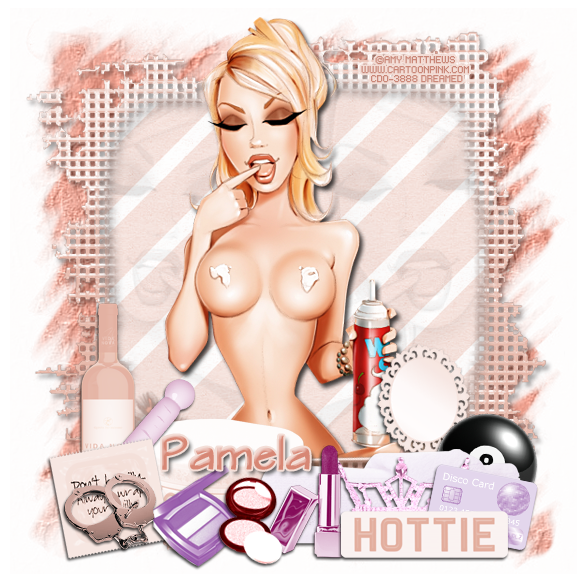
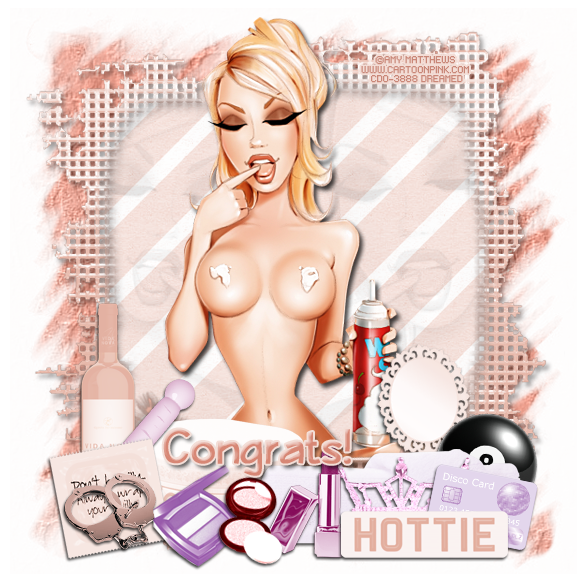
PTU Tutorial - Spank Me Naughty!

PTU tutorial using Spank Me Naughty by Redefined Designs!
Find out where you can buy this kit on her blog.
**This tutorial was written by me and any resemblance is purely coincidental. It is written for those with a working knowledge of Photoshop.**

Supplies

Font of choice.

Mask

Scrap Kit

Tube
*You must obtain a license to use this tube.*

Elements
8-Ball
Condom
Credit Card
Crown
Cuffs
Eyeshadow
Foundation
GlassToy
HottieSign
Lipstick
Mirror
Purse
Towels
Wine
Frame1
Papers
5
13

Let's start!
Open a new canvas, size 650x650.
Place Frame1 on the canvas. Resize and add a drop shadow.
Place paper 13 behind the frame. Erase anything sticking outside the frame.
Place the tube over the frame. Erase her bottom part that sticks over the frame. Resize and add a drop shadow.
Take the close up of the tube and place it over the paper to the right of the tube. Change it to Luminosity and drop the opacity to 58% and the fill to 17%. Duplicate the tube and place it on the left side of the tube.
Place the towels on the right side toward the middle a little. Resize and add a drop shadow.
Place the 8-ball on the right side of the towels and behind it. Resize and add a drop shadow.
Place the mirror to the left of the 8-ball. Resize and add a drop shadow.
Place the HottieSign in front of the towels. Resize and add a drop shadow.
Behind the sign, place the crown. Resize and add a drop shadow.
To the right of the crown, place the credit card. Resize and add a drop shadow.
To the left of the sign, place the lipstick. Resize and add a drop shadow.
Then place the foundation to the left of the lipstick and then the eyeshadow to the left of it. Resize and add a drop shadow.
Place the purse on top of the frame and to the left a little. Resize and add a drop shadow.
To the left of the eyeshadow, place the condom. Resize and add a drop shadow.
On top of the condom, place the handcuffs. Resize and add a drop shadow.
Behind the condom, place the wine. Resize and add a drop shadow.
To the right of the wine, place the glasstoy. Resize and add a drop shadow.

 Name
Main color is #d78775. 
Add a stroke, size 2, #f3ded7.
Add the default bevel and change the shadow mode to white.
Add a drop shadow.

Mask
Open a new canvas, size 600x600.
Open paper 5 and resize to 600x600. Place on top of the canvas.
Open the mask and move on top of the paper.
Remove the white background and place the mask behind the tag. 
Make it evenly stretched on all sides.

Add your tagger mark and copyright information.
Crop off any extra canvas.
Save as a .psd & .png.

Here are free snags!

Thank you for coming by!

post signature

Monday, September 30, 2013

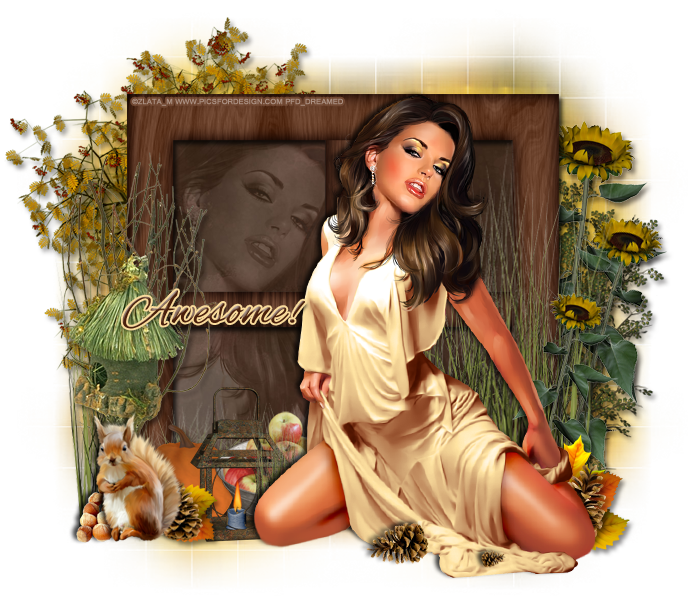
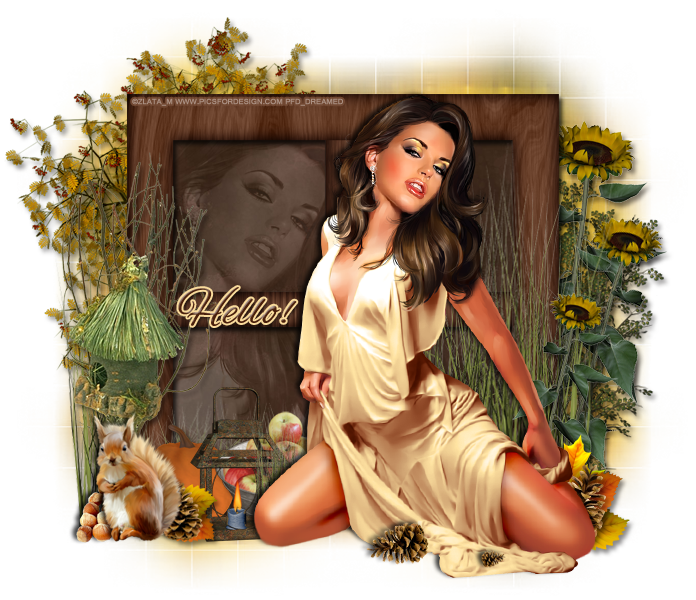
PTU Tutorial - Fall Blessings!

PTU tutorial using Fall Blessings by Redefined Designs!
Find out where you can buy this kit on her blog.
**This tutorial was written by me and any resemblance is purely coincidental. It is written for those with a working knowledge of Photoshop.**

Supplies

Font

Mask

Scrap Kit

Tube
*You must obtain a license to use this tube.*

Elements
Acorns
Apples
Birdhouse
Candle
Grass
Leave1
Leave2
Leave3
Pinecone
Pumpkin
Shrub
Squirrel
Sunflower
Tree
Frame3
Papers
5
9

Let's start!
Open a new canvas, size 650x650.
Place the frame on the canvas. Resize and add a drop shadow.
Place paper 5 behind the frame. Resize and erase anything sticking out.
Place the tube in front of the frame and move to the right a little. Resize and add a drop shadow.
Take the tube again and place it on the paper behind the frame. Place the close up on the left side of the frame opening.
Change the tube close up to Luminosity and drop the opacity to 22%.
Place the grass between the tube and the frame. Resize the grass so it stands almost as tall as the tube on the right. Add a drop shadow.
Place the shrub on the right side behind the frame. Resize and add a drop shadow.
Place two sunflowers on top of the shrub behind the frame. Resize and add a drop shadow.
Place one sunflower above the frame.Resize and add a drop shadow.
Behind the tube's leg, place a pinecone. Resize and add a drop shadow.
Behind the pinecone, place a cluster of leaf 1, 2, & 3. Resize and add a drop shadow.
In front of the tube, place a copy of the pinecone. Shrink fairly small.
Take another copy of the pinecone, rotate so it lays down and points to the left. Resize and add a drop shadow.
Behind the tube to the left, place the apples. Resize and add a drop shadow.
In front of the apples, still behind the tube, place the candle. Resize and add a drop shadow.
Between the candle and the tube, place a smaller copy of the grass. Resize and add a drop shadow.
Behind the apples to the left a little, place the pumpkin. Resize and add a drop shadow.
In front of the pumpkin and to left of the candle, place the squirrel. Resize and add a drop shadow.
Between the squirrel and candle, place a copy of the pinecone, leaf 1, and leaf 2. Resize and add a drop shadow.
To the left of the squirrel, place the acorns. Resize and add a drop shadow.
Behind the squirrel, place the birdhouse. Resize and add a drop shadow.
Between the birdhouse and frame, place the grass and flip horizontally. Resize so it meets about the middle of the birdhouse. Add a drop shadow.
Behind the frame, on the right, place the tree. Resize and add a drop shadow.

 Name
Main color is #4b220e. 
Add a stroke, size 2, #f9db9c.
Add the default bevel and change the shadow mode to #efcd91.
Add a drop shadow.

Mask
Open a new canvas, size 600x600.
Open paper 9 and resize to 600x600. Place on top of the canvas.
Open the mask and move on top of the paper.
Remove the white background and place the mask behind the tag. 
Make it evenly stretched on all sides.

Add your tagger mark and copyright information.
Crop off any extra canvas.
Save as a .psd & .png.

Here are free snags!
Thank you for coming by!
Friday, September 20, 2013

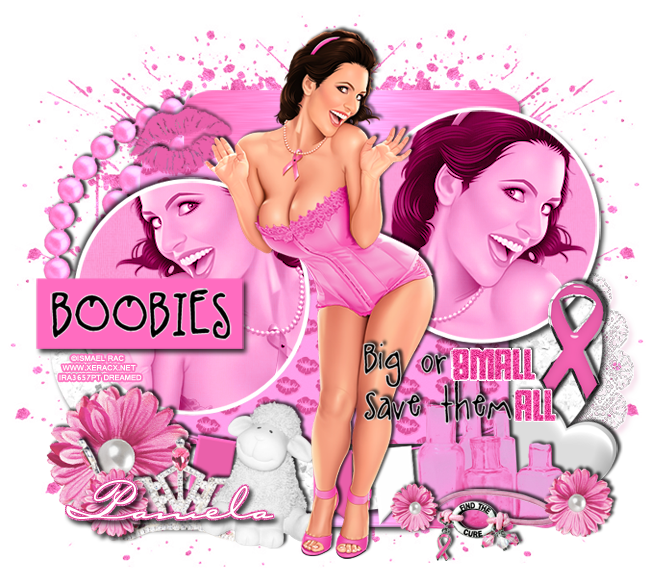
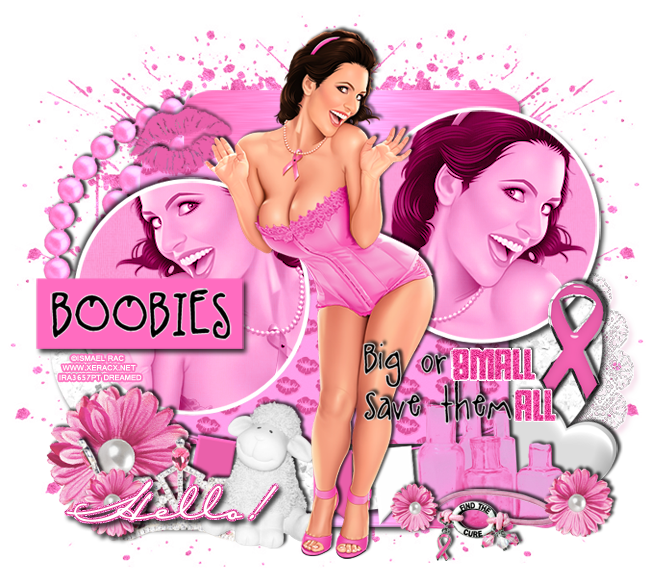
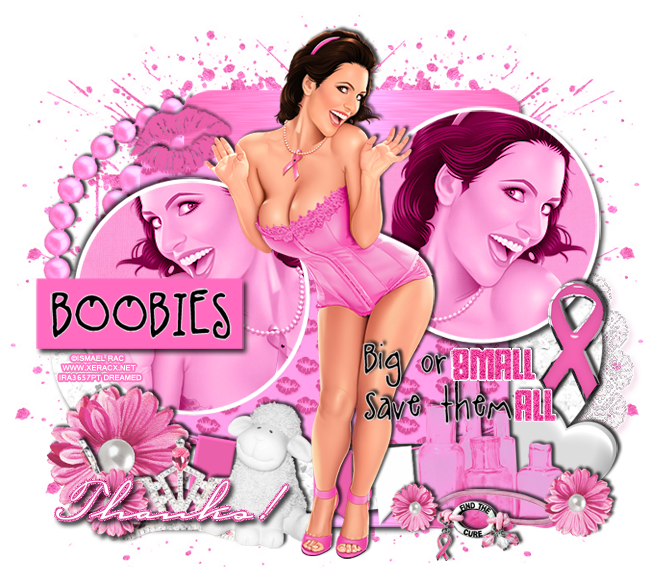
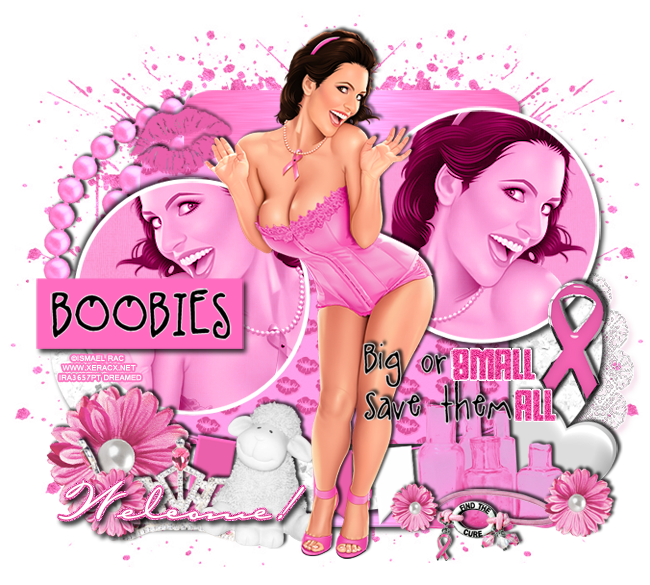
PTU Tutorial - Breast Cancer

PTU tutorial using Breast Cancer by Redefined Designs!
You can purchase it at Pimpin' PSPers Warehouse!
**This tutorial was written by me and any resemblance is purely coincidental. It is written for those with a working knowledge of Photoshop.**

Supplies

Font

Mask of choice

Scrap Kit

Template

Tube
*You must obtain a license to use this tube.*

Elements
Banner
Bracelet
Crown
Flower
Glassware
Heart
Lamb
Lips
Mask
Necklace
Ribbon
Papers
1
2
3
7
10

Let's start!
Open a new canvas, size 650x650.
Open the template and unclick the copyright layer. Select all layers, but the copyright and move on to the canvas and resize.
Place paper 1 over layers 1 & two so it covers both. Create a clipping mask to layer 1. Duplicate the paper and move it above layer 2 and create a clipping mask. Add a drop shadow to both layers.
Place paper 10 over layer three and create a clipping mask. Resize the paper and add a drop shadow to the layer.
Place paper 3 over layer 4 and create a clipping mask. Resize the paper and add a drop shadow to the layer.
Place paper 7 over layers 5 & 6. Create a clipping mask with both. Select the pixels of layer 5 and expand by 4. Add a new layer under the circle and fill with white. Add a drop shadow to the white layer. Duplicate these steps for layer 6.
You can change layer 7, the word art, or leave as is.
Duplicate layer 7. On the copy, erase the black text and leave the pink text.
On the original word art copy, erase the pink text and leave the black text.
Now you can change the black and pink text as you like.
With layer 8, change the color overlay to #ff6cc0 and add a drop shadow.
Leave layer 9 as is.
Now place the full size tube in front of the template and between the two small circles. Resize and add a drop shadow.
Take a close up of the tube and place it over layer 5, on top of the paper. Create a clipping mask and change the tube to Luminosity. Flip her horizontally and resize. Move her so the face isn't blocked by layer 8 & 9.
Duplicate the pink paper over layer 5 and move it above the tube close up. Select the paper and tube close up layers and create a clipping mask to the bottom paper layer. Change the top paper to soft light.
Repeat the same steps for layer 6.
Move the necklace behind the template and move to the upper left hand corner. Resize and add a drop shadow.
Move the mask behind the template in the lower right hand corner. Resize and add a drop shadow in #f2cde0.
Place the banner behind the tube along the bottom of layer 4. Resize and add a drop shadow.
Place the flower over the banner on the left side. Resize and add a drop shadow.
Duplicate the flower and move it to the bottom of the larger flower and resize.
Between the two flowers, place the crown. Resize and add a drop shadow.
Between the tube and the crown, place the white lamb. Resize and add a drop shadow.
Place the glassware on the right side of the tube. Resize and add a drop shadow.
Place the heart behind the glassware on the right. Resize and add a drop shadow.
Move the bracelet in front of the glassware. Resize and add a drop shadow.
Duplicate the flower from before and place one over the right corner of the glassware and resize.
Duplicate the flower and move it to the left side of the glassware. Place it on top of the bracelet.
Place the ribbon on the right side of the template behind the wordart. Resize and add a drop shadow.
Place the lips in the top left hand corner behind the tube. Resize and add a drop shadow.

 Name
Main color is white. Add a stroke, size 1, in #dd4d93.
Select the pixels of the name and expand by 2. Add a new layer below and fill with #fd74be. Add noise and a drop shadow.

Mask
Open a new canvas, size 600x600.
Open paper 2 and resize to 600x600. Place on top of the canvas.
Open the mask and move on top of the paper.
Remove the white background and place the mask behind the tag. 
Make it evenly stretched on all sides.

Add your tagger mark and copyright information.
Crop off any extra canvas.
Save as a .psd & .png.

Here are free snags!

Thank you for coming by!
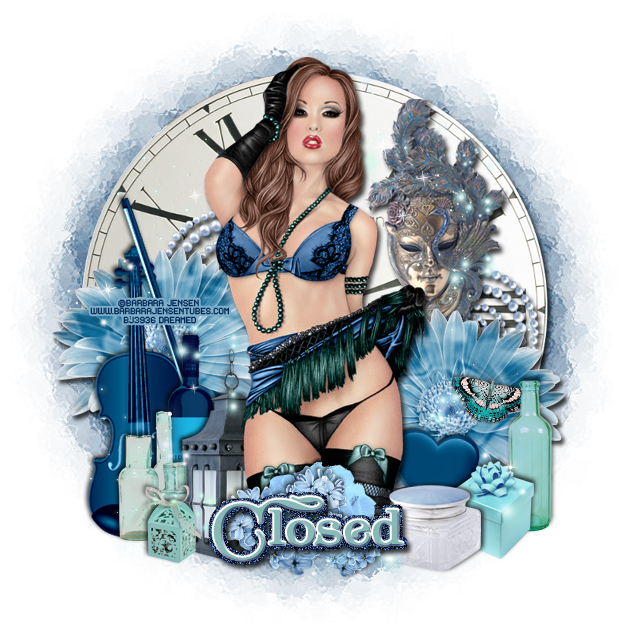
Monday, August 26, 2013

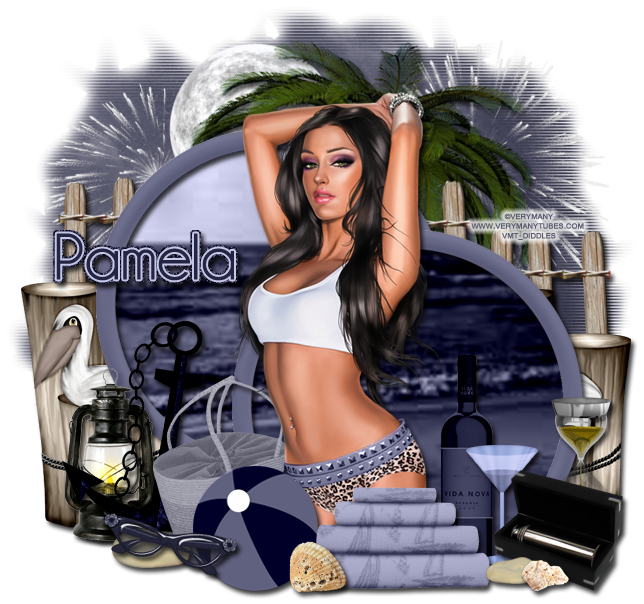
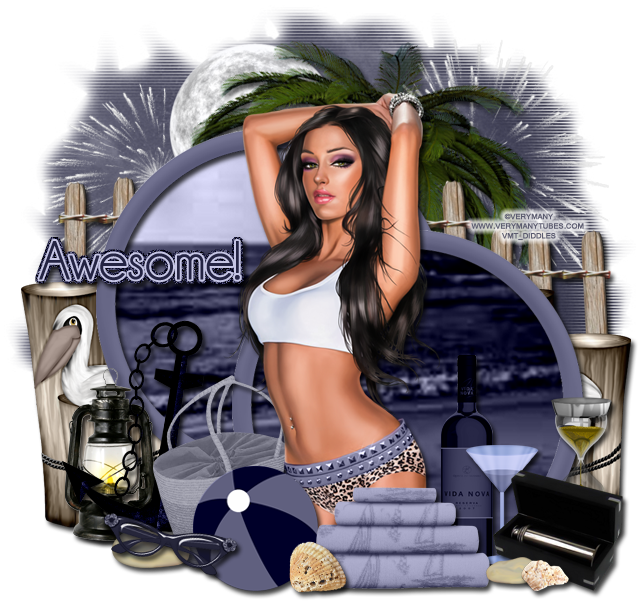
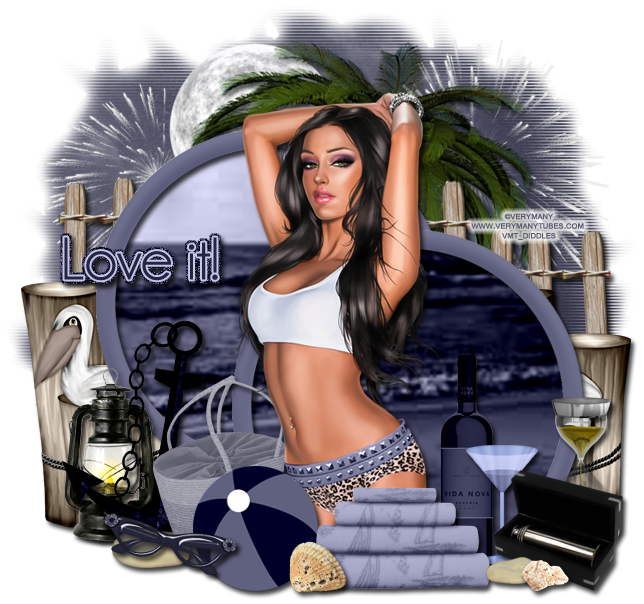
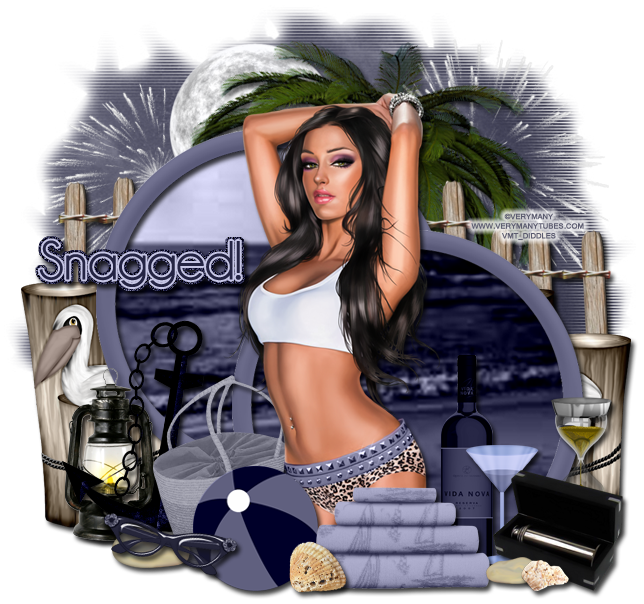
PTU Tutorial - Blue Moon

PTU tutorial using Blue Moon by Redefined Designs!
Check out her blog HERE to see where it's on sale.
**This tutorial was written by me and any resemblance is purely coincidental. It is written for those with a working knowledge of Photoshop.**

Supplies

Font

Scrap Kit
Blue Moon by Redefined Designs
You can purchase it at the Pimpin' PSPers Warehouse!

Tube
*You must obtain a license to use this tube.*

Elements
Anchor
Bag 
Ball
Box
Fence
Fireworks
Frame2
Glasses
Globe 
Lantern
Martini Glass
Moon
Pelican
Rock
Shell
Shell2
Towels
Tree
Wine

Papers
2
4

Let's start!
Open a new canvas, size 650x650.
Take Frame 2 and place it on the canvas. Resize and then duplicate and move the copy on top of the first one and to the right a little. Erase parts of the frame that over lap and add a drop shadow to both.
Place paper 2 behind the frame and erase anything that sticks out.
Place the fence behind the frame on the right toward the top. Resize and add a drop shadow.
Duplicate the fence and move it to the left and lower than the first.
Take the pelican and place it between the fence and frame on the left. Resize and add a drop shadow.
Duplicate the pelican and place it on the left side the same way.
Move the fireworks behind the fence on the right. Make it smaller, but not too small. Now duplicate it and move it to the left side and make it smaller and lower than the first one.
Between the fence and fireworks, place the tree in the middle. Resize and add a drop shadow. Rotate to the right a little.
Now between the tree and fireworks, place the moon to the left of the tree a little and resize.
Place the tube in front of the frame. Resize and add a drop shadow.
In the front of the tube, starting from the left, place the lantern. Resize and add a drop shadow.
Place the bag next to the tube on the left. Flip horizontally then resize and add a drop shadow.
Between the bag and lantern, place the anchor, and flip horizontally. Resize and add a drop shadow.
In front of the bag, place the rock. Resize and add a drop shadow.
On top of the rock and bag, place the sunglasses. Resize and add a drop shadow.
Behind the glasses and on top of the bag, place the ball. Resize and add a drop shadow.
Next to the ball, place the towels. Resize and add a drop shadow.
In front of the towels, place shell 2. Rotate and then resize and add a drop shadow.
To the right of the tube and behind the towels, place the wine. Resize and add a drop shadow.
In front of the wine, place the martini glass. Resize and add a drop shadow.
In front of the martini glass, place the box. Flip horizontally then resize and add a drop shadow.
Between the towels and box, place the shell and rock. Resize both and add a drop shadow.
Behind the box, place the globe. Flip horizontally then resize and add a drop shadow.

 Name
Main color is #242443.
Add a stroke, size 2, in #c6c6e5.
Select the pixels of the name and expand by 4.
Create a new layer under the name and fill with #1f1f40.
Add noise and a drop shadow to the lower layer.

Mask
Open a new canvas, size 600x600.
Open p4 and resize to 600x600. Place on top of the canvas.
Open the mask and move on top of the paper.
Remove the white background and place the mask behind the tag. 
Make it evenly stretched on all sides.

Add your tagger mark and copyright information.
Crop off any extra canvas.
Save as a .psd & .png.

Here are free snags!

Thank you for coming by!
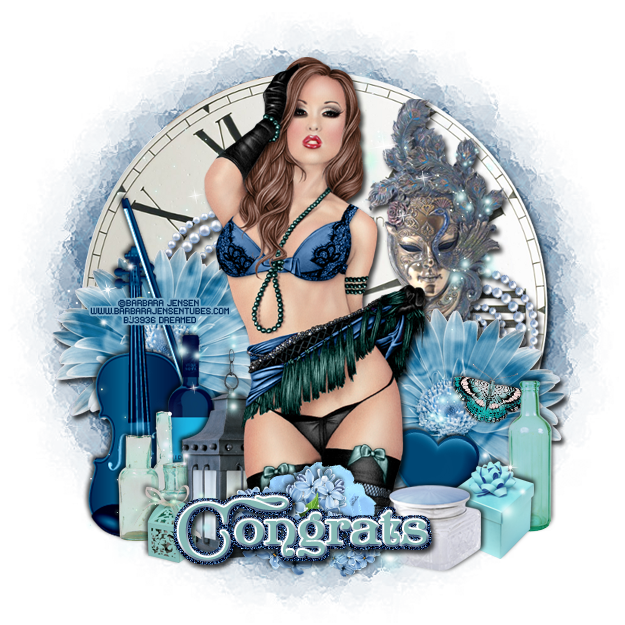
Friday, August 23, 2013

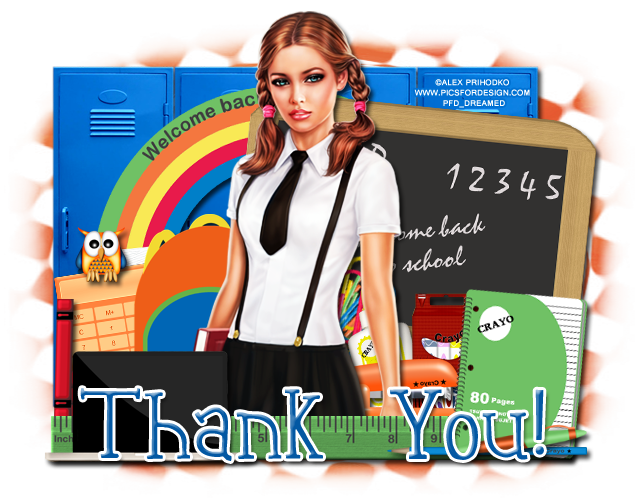
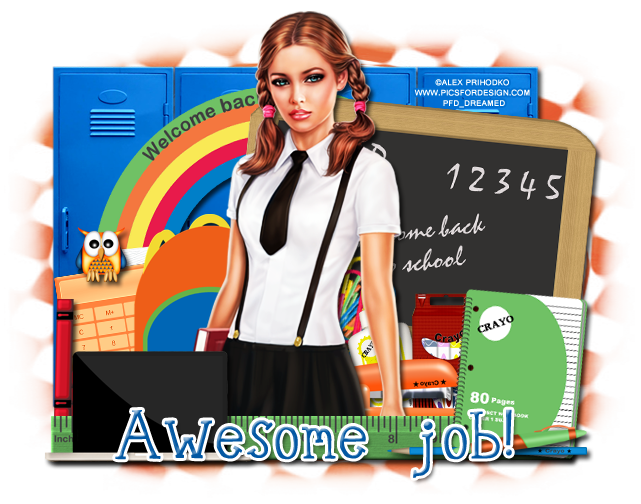
PTU Tutorial - Back To School

PTU tutorial using Back To School by Redefined Designs!
You can check it out on her blog HERE!
**This tutorial was written by me and any resemblance is purely coincidental. It is written for those with a working knowledge of Photoshop.**

Supplies

Font

Mask

Scrap Kit

Tube
*You must obtain a license to use this tube.*

Elements
Board
BookBag
Books
Calculator
CrayonBox
Glue
Laptop
Lockers
Notebook3
Owl
Paperclips
Pen
Pencil
Ruler
Stapler
Welcome

Papers
4

Let's start!
Open a new canvas, size 650x650.
Place the lockers on to the canvas. Resize and add a drop shadow.
Place the tube on top of the lockers. Resize and add a drop shadow.
Behind the tube, place the board and rotate to the right a little. Resize and add a drop shadow.
Behind the board and tube on the left, place welcome. Resize and add a drop shadow.
In front of the tube, place the ruler. Resize and add a drop shadow.
On the left side of the tube, place the books. Resize and add a drop shadow.
Place the bookbag behind the tube. Resize and add a drop shadow.
Behind the books and bookbag, place the calculator and rotate to the left a little. Resize and add a drop shadow.
Set Owl1 on top of the calculator. Resize and add a drop shadow.
In front of the tube and ruler, place the laptop. Resize and add a drop shadow. If you like, add a black backing to the laptop screen.
On the right side of the tube, place the notebook on top of the ruler. Resize and add a drop shadow.
On top of the notebook, place the pen and pencil. Resize and add a drop shadow to both.
Behind the ruler and tube, place the stapler and flip horizontally. Resize and add a drop shadow.
Place the glue, crayon box, and paper clips behind the tube.

 Name
Main color is #0358a3.
Add a stroke, size 3, in white and a drop shadow.
Add a bevel, leave as default, and only change the shadow to white.

Mask
Open a new canvas, size 600x600.
Open p11 and resize to 600x600. Place on top of the canvas.
Open the mask and move on top of the paper.
Remove the white background and place the mask behind the tag. 
Make it evenly stretched on all sides.

Add your tagger mark and copyright information.
Crop off any extra canvas.
Save as a .psd & .png.

Free Snags!


Thank you for coming by!
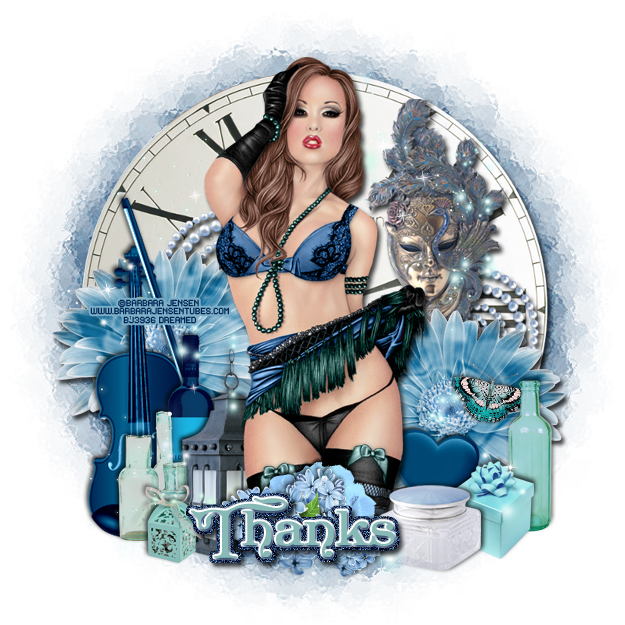
Friday, July 26, 2013

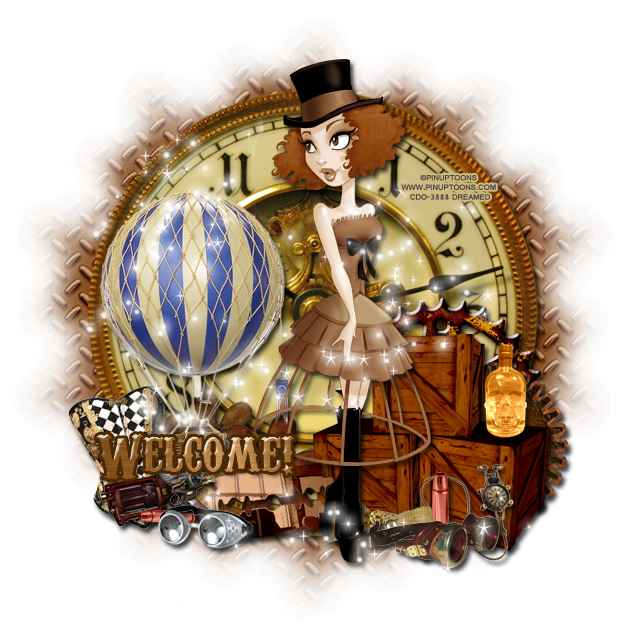
PTU Tutorial - Steam Punk Freakshow!

PTU tutorial with Steam Punk Freakshow by Redefined Designs!
You can find out where she sells here!
**This tutorial was written by me and any resemblance is purely coincidental. It is written for those with a working knowledge of Photoshop.**

Supplies
Font

Mask

Scrap Kit

Tube
*You must obtain a license to use this tube.*

Elements
ballon
base-goggles
blade
Bottle
bow
Bullet
clock
cog-wheel
compass
corset
Crates
Flower1
Flower3
gear3
goggles
gun
Sparkle

Papers
5
8

Let's start!
Open a new canvas, size 650x650.
Move the clock on to the canvas and resize a little. You want it to be big, but not too big. Add a drop shadow.
Place the tube in front of the clock. Add a drop shadow.
Place the balloon on the left side of the tube. Resize and add a drop shadow.
On the right side of the tube, place the crates. Resize and add a drop shadow.
Behind the crates place the cog-wheel and gear 3. Resize and add a drop shadow.
Set the Bottle on the lower crate on the right. Resize and add a drop shadow.
In front of the crates, place the base-goggles, bullet, bow, and compass. Resize and add a drop shadow.
To the left of the balloon, place the corset. Resize and add a drop shadow.
Behind the balloon, place Flower 1 & 3. Resize and add a drop shadow.
In front of the balloon and and corset, place the gun. Resize and add a drop shadow.
In front of the gun, place the goggles. Resize and add a drop shadow.
Between the gun and the goggles place a bullet laying down horizontally. Resize and add a drop shadow.
Behind the gun and goggles and in front of the balloon, place the blade. Resize and add a drop shadow.
Move the Sparkle on top of everything. Resize a little so it only covers the tag. Erase anything covering the tube's face.

Name:
Main color is Paper5 resized to 400x400.
Place it over the text and create a clipping mask. 
Add a stroke of size 3 and use #492801.
Change the bevel to Cove-Deep and the shadow to #eecda6.
Add a drop shadow.

Mask
Open a new canvas, size 600x600.
Open Paper8 and resize to 600x600. and move on top of the canvas.
Open the mask, make sure it's 600x600, and move on top of the paper.
Remove the white background and place the mask behind the tag. Make it evenly stretched on all sides.

Add your tagger mark and copyright information.
Crop off any extra canvas.
Save as a .psd & .png.
We're done! :)

Here are a few snags for you!

Thank you for coming by!
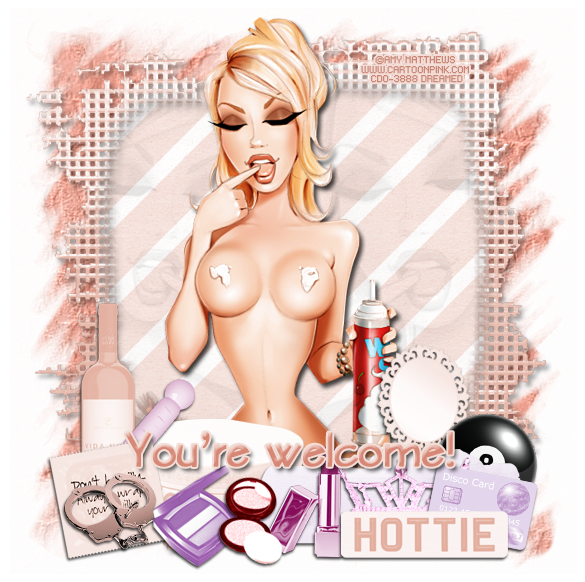
Saturday, July 13, 2013

PTU Tutorial with Sweet Lemonade!

I have a new PTU tutorial with Sweet Lemonade from Redefined Designs
**This tutorial was written by me and any resemblance is purely coincidental. It is written for those with a working knowledge of Photoshop.**

Supplies

Font

Mask

Scrap Kit

Tube
*You must obtain a license to use this tube.*

Elements
Bush
Butterfly
Dust
Flower1
Glass
Lemon
Lemonade
Frame2

Papers
4
12

Let's start!

Open a new canvas, size 650x650.
Move Frame2 on to the canvas. Resize & add a drop shadow.
Place Paper4 behind the frame and erase parts outside the frame.

Move the tube on top of the frame and to the left of the frame a little. I used the close up. 
Resize and erase the bottom parts of her that hang over the bottom of the frame. Add a drop shadow.

Place the bush behind the frame and paper. Move around until you have some leaves above, below, and to the left of the tube. Resize & add a drop shadow.

In front of the tube, place the lemonade. Move it off to the right a little. Resize & add a drop shadow.

Behind the lemonade, move the flower1. Erase the stem if it sticks out. Rotate a little then resize & add a drop shadow.
Behind the lemonade and in front of the flowers place the lemon slice. Resize & add a drop shadow.

Take another copy of the flower1 and move it behind the lemonade but off to the left. Erase the stem if it sticks out. Resize & add a drop shadow.

Duplicate the lemon slice layer and move it between the lemonade and the flower1 copy layers. Resize smaller & add a drop shadow.

In front of the tube and behind the flowers, place another lemon slice layer. Resize & add a drop shadow.

To the left of the tube and behind her elbow, place the Glass. Flip horizontally and resize. Erase the orange part that shows behind the tube. Add a drop shadow.

Move the Butterfly on to a leaf of the bush behind the frame. Resize & add a drop shadow.

Now take the dust and place it on top of everything. Resize so it covers the elements along the front of the frame and to the left. Erase the dust that lays over the tube.

Word Art
Use KG Strawberry Limeade for the words "Sweet" & "Summer".
Fill both with #ebe157 and add a white stroke, size 3 then add the drop shadow.
Make "Sweet" smaller than "Summer".

Now for "taste of" use the Champagne & Limousine font and fill with white and add a stroke, size 2, in color #ebe157. Add a drop shadow.
Make it small so it can fit between "Sweet" & "Summer".
Move the new word art to the right of the tube and above the elements.

Name
Font is Champagne & Limousines. Fill with #ebe157 and add a white stroke, size 3 then add the drop shadow. Place below the tube and on top of the dust layer and resize.

Mask
Open a new canvas, size 600x600.
Open Paper12 and resize to 600x600. Place on top of the canvas.
Open Circle Mask 1 by Sue and resize to 600x600 and place on top of the paper.
Remove the white background and place behind the bush layer.
Resize the mask so it is evenly seen around the frame. 
Make sure not to have it hang off the canvas.

Add your copyright information and tagger mark.
Crop off the extra canvas.
Save as a .psd & .png.

Thanks for coming by!
Saturday, June 15, 2013

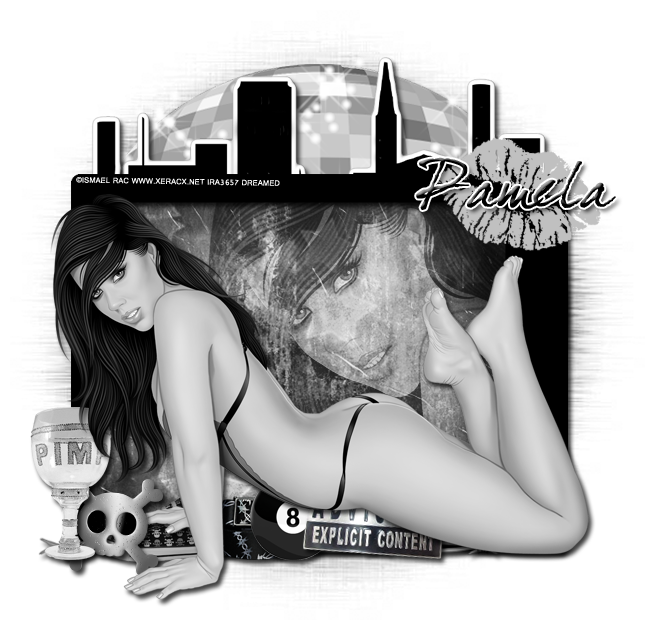
New PTU Tutorial "Kiss My Attitude"

I have a new PTU Tutorial using "Kiss My Attitude" by Redefined Designs. I matched it with a tube by Ismael Rac.
You can find it in the Pimpin' PSPers Warehouse. If you hurry, you can still buy it while it's on sale!

**This tutorial is written by me and any resemblance is purely coincidental. It is written for those with a working knowledge of Photoshop.**

What you will need:
Font

Mask

Tube
*You must purchase this tube &
 obtain a license to use it.*

Elements
8-Ball
Advisory
BarbedWire
Belt 
Cityscape
DiscoBall
Frame3
Lips
PimpCup
skull sneaker
Skull
Sparkles

Papers
7
10

Let's start!
Open a new canvas, size 650x650.

Move Frame 3 on to the canvas, flip horizontally, resize, and add a drop shadow.

Move Paper7 behind the frame. Resize and erase extras.
Place Paper10 on top of Paper7 and change blending option to overlay.

Place tube in front of the frame. Resize, change to black & white, and add a drop shadow.

Take a larger size of the tube and place it on top of the papers behind the frame. Change the blending option to Luminosity with a fill at 60%.

Move the Cityscape behind the frame and papers. Resize a little and erase parts that stick out the sides of the frame. Add a drop shadow.

Place the DiscoBall behind the Cityscape and frame. Resize so the ball does not show on the sides. Erase the parts that stick below the frame. Add a drop shadow.

Move the Sparkles behind the Cityscape and above the DiscoBall. Move around until you have enough  Sparkles covering the top of the ball. Erase Sparkles that do not touch the ball.

Place the Lips in the upper left hand corner of the frame. Resize and rotate toward the tube.

Take the BarbedWire in front of the frame, but behind the tube at the bottom. Resize so it meets both ends and add a drop shadow.

Place the PimpCup on the left side of the frame above the BarbedWire. Resize and add a drop shadow.
Move the Skull behind the PimpCup. Resize and add a drop shadow.
Place the skull sneaker behind the Skull. Resize and add a drop shadow.
Place the Belt next to the sneaker and above it. Resize and add a drop shadow.
Place the 8-Ball above the Belt. Resize and add a drop shadow.
Place the Advisory sign above the 8-Ball. Resize and add a drop shadow.

For the mask:
Open a new canvas, size 600x600.
Make a new layer and fill with black.
Open your mask and make sure it's 600x600.
Place the mask on top of the black layer.
Remove the white background.
Move behind the DiscoBall.
Resize so you can see it on all four sides, but don't have it hang off the edges of the canvas.

For the name:
DearJoe4 is the font.
Fill with black.
Add a drop shadow.
Add a white stroke, size 2.
Use the default bevel.
Place over the Lips.

Add your tagger mark and copyright information.

Crop if necessary.
Save as .psd and .png.

Thanks for stopping by!
Saturday, June 8, 2013

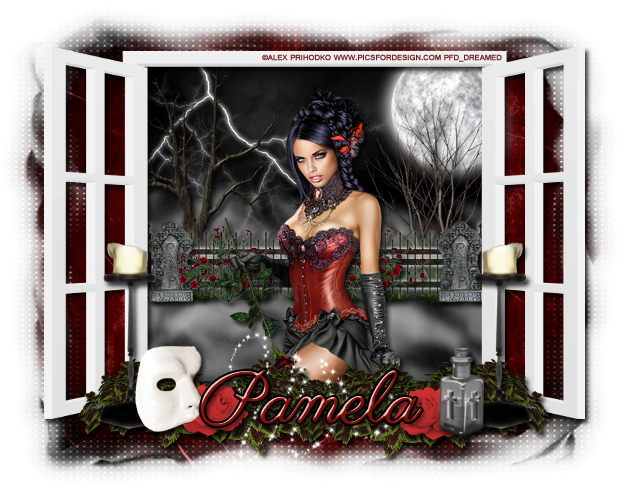
New PTU Tutorial using "Phantom of the Opera"

I have a new PTU Tutorial using Phantom of the Opera by Redefined Designs. Check out her blog for more information!


**This tutorial was written by me and any resemblance is purely coincidental. It is written for those with a working knowledge of Photoshop.**

What you will need:

Font
Parisienne
You can find it on FontSpace.

Mask
WSL_Mask248
You can download it from Weescottslass Creations.

Tube
Devil's Bride 2 by Alex Prihdko
You can purchase it from PicsForDesign.
*You must obtain a license to use this tube.*

Elements
Candle
Fence2
Flower
Frame2 (In the frame folder)
Grass
HolyWater
Lightning
Mask
Moon3
Plant
Rose
Smoke
Sparkle
Tombstone
Tree2
Tree3

Papers
9
10

Have everything? Let's get started :)

Open a new canvas, size 650x650.

Move Frame2 on to the canvas and resize as you like. Add a drop shadow.

Move Paper8 behind the frame and resize. Erase any extras hanging outside the frame.

Place Fence2 about midway on the paper. Resize a little and add an outer glow in white with a spread of zero and a size of 5. Also add a drop shadow.

Take the Grass, place it behind the fence, and resize so it's similar to the size of the fence. Duplicate the grass until you cover the back of the fence.

Place the Flowers in front of the fence on the left. Resize so it's about as tall as the fence and add a drop shadow. Duplicate once and move to the other side of the fence.

Move the tombstone to the left edge of the frame. Resize it so it's a little taller than the fence and add a drop shadow. Duplicate it and move it to the other side of the frame.

Move Tree 2 behind the Fence & Grass on the right side and resize. Add a drop shadow.
Move Tree3 behind the Fence & Grass on the left side and resize. Add a drop shadow.

Place the Lightning in the upper left hand corner of the frame and place it on top of the paper background so it is behind everything. Resize and add an outer glow in white with a size of zero and a spread of 5.

Move Moon3 in the upper right hand corner and place it just above the paper so it is behind everything. Resize it and have a little hidden behind the corner of the frame. Add an outer glow with a size of zero and a spread of 21. Erase any parts of the moon sticking outside the frame.

Move the Smoke behind the Fence and Grass. You can have in front of the trees. Resize a little if you like. Make sure a little sticks over the fence and it fully covers the space below the fence and flowers. Erase any smoke hanging outside the frame.

Now let's move in front of the frame. Place the Candle in front of the right side of the frame. Resize so it just stands taller than the lower section of the window. Add a drop shadow. Duplicate the candle, flip horizontally, and move to the other side of the window.

Place the Plant behind the Candle on the right side. Rotate a little so it seems more horizontal than at an angle. Resize and add a drop shadow. Duplicate, flip horizontally, and move to the opposite side. Do this two more times flipping the horizontal direction until you cover the front of the frame.

Move the HolyWater in front of the plants and candle on the right side. Resize a little and add a drop shadow.

Move the Mask in front of the candle and plants on the left side. Resize and add a drop shadow.

Place the Rose behind the HolyWater on the right side, but in front of the plants. Resize and add a drop shadow. Duplicate the rose and place it behind the mask on the left side.

Take the Sparkle and move it in the middle of the roses. Rotate so it looks horizontal. Resize a little and erase little parts so it looks intertwined in the roses.

Let's make the mask.
Open a new canvas, size 600x600.
Open WSL_Mask248.
Open Paper10 and resize to 600x600.
Move the paper on to the canvas and then the mask on top. Remove the white background.
Move the new mask behind the frame and resize so it sticks out evenly on all four sides.

For the name:
Again the font is P22 Cezanne Regular (similar to the Phantom of the Opera original font).
Fill it with this color: #a81b12.
Add a drop shadow.
Add a bevel in Cove-Deep with a shadow of black.
Add a black stroke, size 2.

Finishing Touches
Add your copyright information & tagger mark.
Crop the tag being careful not to cut off any parts of the tag.
Save as .psd & .png.

I had fun with this kit! I hope you enjoy the tut. Thanks for stopping by :)

New Name, New Blog!

Hello friends! I have decided to change my designer name to reflect that I make kits more than I do CT work. I made a new blog so the old links for this blog will remain active for future visits. Please visit me at Drea's Designs ! I'll see you there!
Related Posts Plugin for WordPress, Blogger...