**Rac Special Buy 3/5 - 3/6**
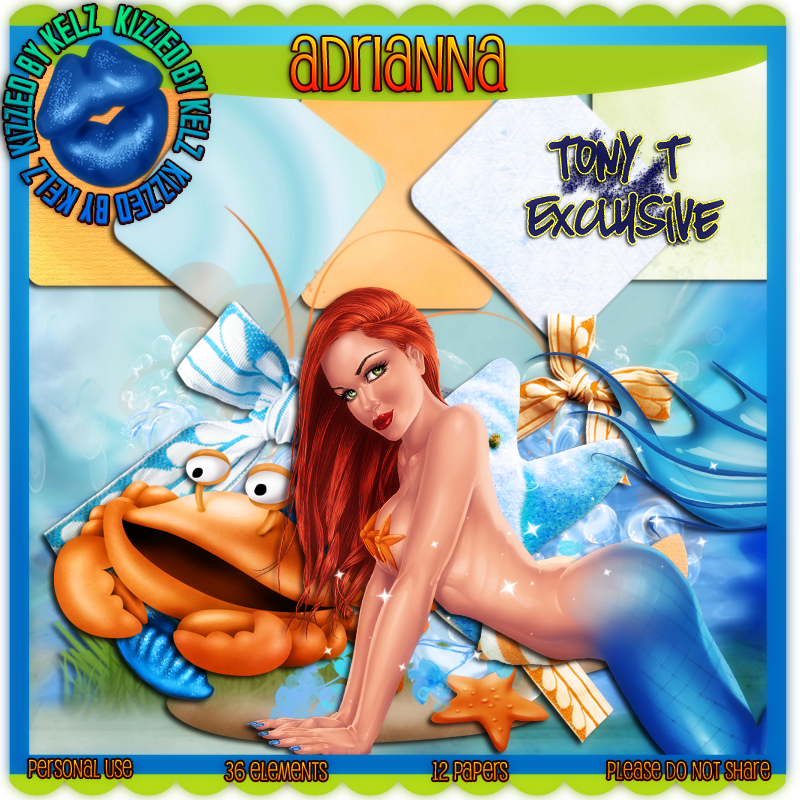
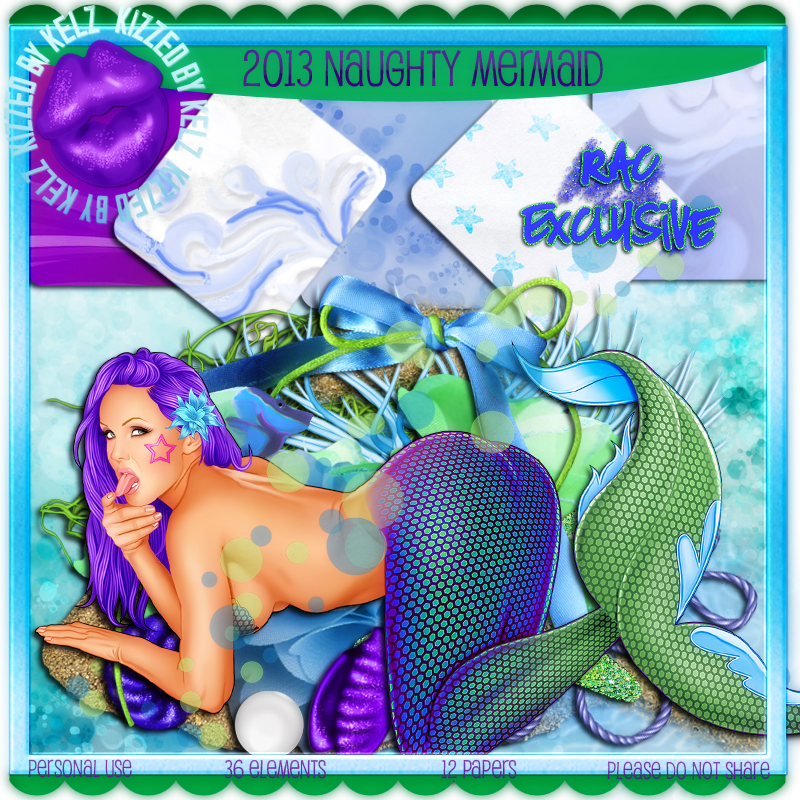
Spend any $$ in store and get this cheeky mermaid and matching kit free! Just add her to your cart at checkout. GC not accepted as a form of payment.
Visit: http://xeracx.net/store/
PTU tutorial using 2013 Naughty Mermaid by Ismael Rac and the matching kit by Kizzed by Kelz!

**This tutorial was written by me and any resemblance is purely coincidental. It is written for those with a working knowledge of Photoshop.**
Scrap Kit
Tube
*You must obtain a license to use this tube.*
Elements
6
10
13
14
16
22
28
30
31
33
34
36
Papers
9
Let's start!
Open a new canvas, size 750x650.
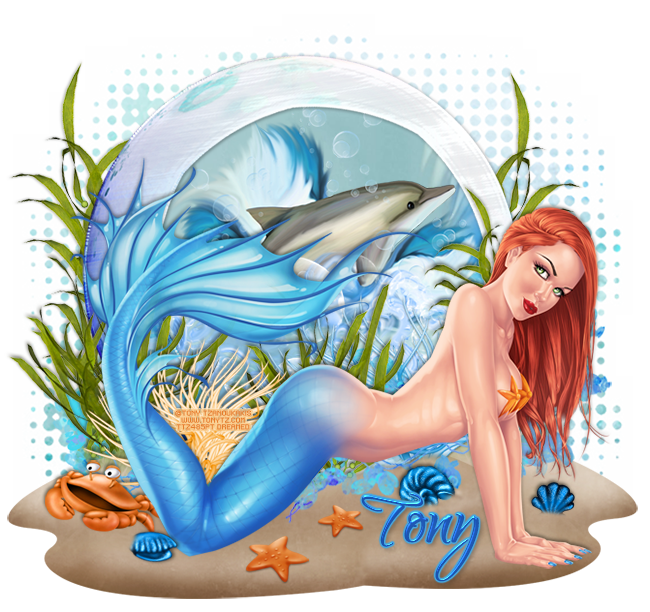
Place ele13 on the canvas. Resize and add a drop shadow.
Place the tube on top of the frame. Resize and add a drop shadow.
Behind the frame, place paper9. Resize and erase anything outside the frame.
On top of the paper, place ele10. Resize and add a drop shadow.
Duplicate the fish and place it next to the first fish.
Place ele6 above the second fish's head. Resize the bubbles so they are an appropriate size.
Place ele14 below the fish and behind the tube. Resize and add a drop shadow.
Take ele36 and flip it vertically. Move it behind the frame at the top so it is peeking out. Resize and add a drop shadow.
Place ele28 behind the frame on the right. Rotate it so just a little sticks out at an angle. Resize and add a drop shadow.
At the bottom of the frame, place ele31 behind the frame and resize.
On top of the frame, place ele30 behind the tube's tail. Resize and add a drop shadow.
Take another copy of ele30 and place it on the frame below the tube. Resize and add a drop shadow.
Duplicate ele30 and resize. Place it next to the second one placed.
Behind the tube's hand on the frame, place ele16. Resize and add a drop shadow.
Duplicate the grass and place one copy behind the tube's tail bend on the frame. Duplicate the grass, flip horizontally, and place in front of the tube's tail bend (knee).
Duplicate another copy of the grass and place it behind the tube where the tail forms a V.
Place ele22 on the top of the frame. Resize and add a drop shadow.
Duplicate the star fish and place it below the tube on the frame.
Place ele33 on the frame behind the grass that's behind the tube's hand. Resize small and add a drop shadow.
Duplicate ele33 and place it between the two ele30s below the tube.
Place ele34 behind the grass placed behind the tube's tail. Resize and add a drop shadow.


Place ele13 on the canvas. Resize and add a drop shadow.
Place the tube on top of the frame. Resize and add a drop shadow.
Behind the frame, place paper9. Resize and erase anything outside the frame.
On top of the paper, place ele10. Resize and add a drop shadow.
Duplicate the fish and place it next to the first fish.
Place ele6 above the second fish's head. Resize the bubbles so they are an appropriate size.
Place ele14 below the fish and behind the tube. Resize and add a drop shadow.
Take ele36 and flip it vertically. Move it behind the frame at the top so it is peeking out. Resize and add a drop shadow.
Place ele28 behind the frame on the right. Rotate it so just a little sticks out at an angle. Resize and add a drop shadow.
At the bottom of the frame, place ele31 behind the frame and resize.
On top of the frame, place ele30 behind the tube's tail. Resize and add a drop shadow.
Take another copy of ele30 and place it on the frame below the tube. Resize and add a drop shadow.
Duplicate ele30 and resize. Place it next to the second one placed.
Behind the tube's hand on the frame, place ele16. Resize and add a drop shadow.
Duplicate the grass and place one copy behind the tube's tail bend on the frame. Duplicate the grass, flip horizontally, and place in front of the tube's tail bend (knee).
Duplicate another copy of the grass and place it behind the tube where the tail forms a V.
Place ele22 on the top of the frame. Resize and add a drop shadow.
Duplicate the star fish and place it below the tube on the frame.
Place ele33 on the frame behind the grass that's behind the tube's hand. Resize small and add a drop shadow.
Duplicate ele33 and place it between the two ele30s below the tube.
Place ele34 behind the grass placed behind the tube's tail. Resize and add a drop shadow.
Add your tagger mark and copyright information.
Crop off any extra canvas.
Save as a .psd & .png.
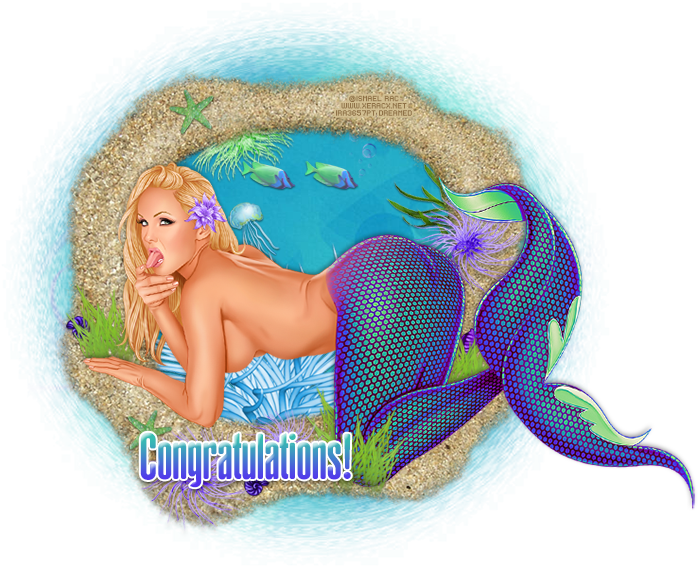
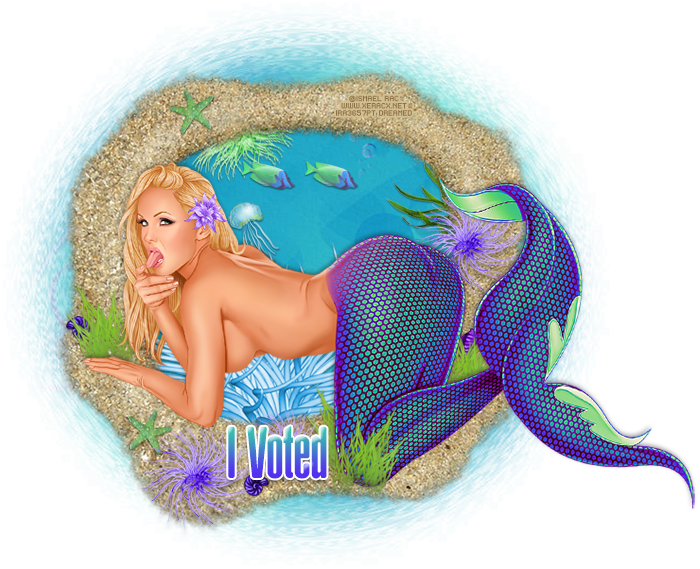
Free snags!

Thank you for coming by!