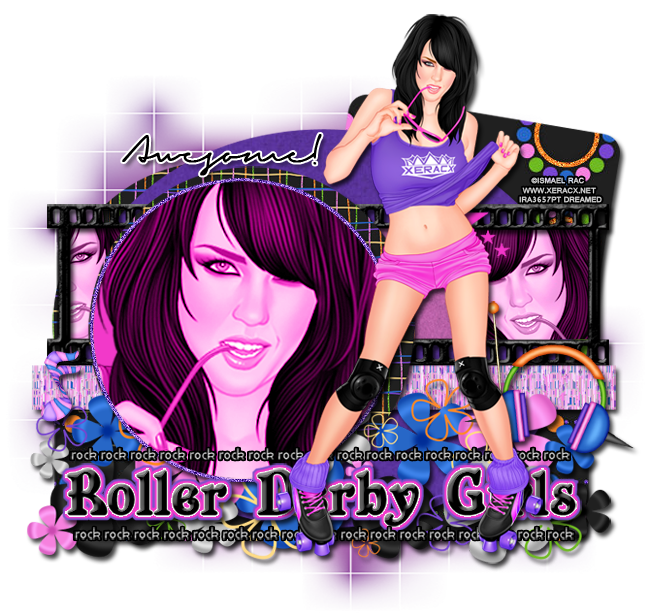
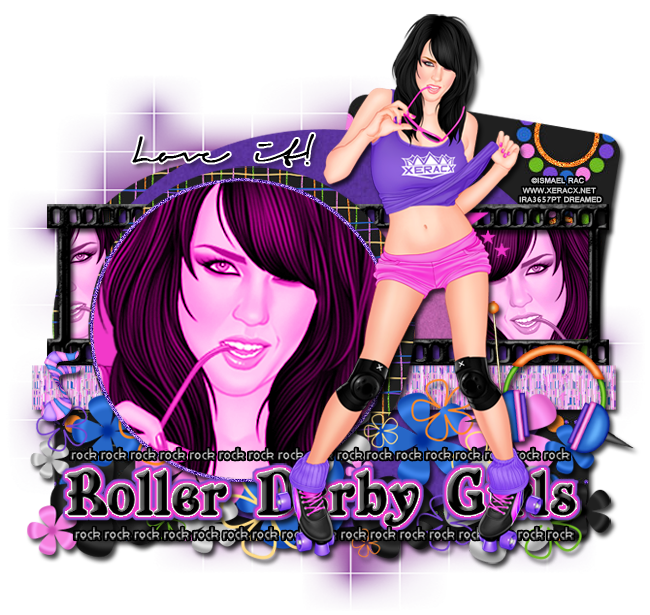
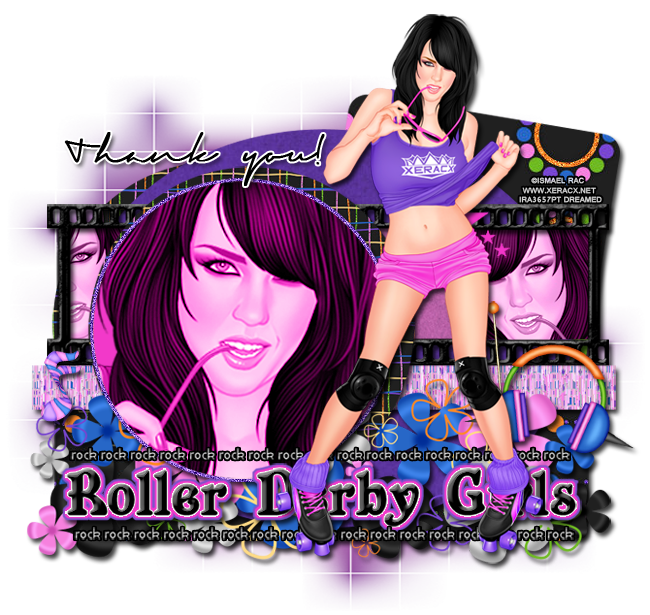
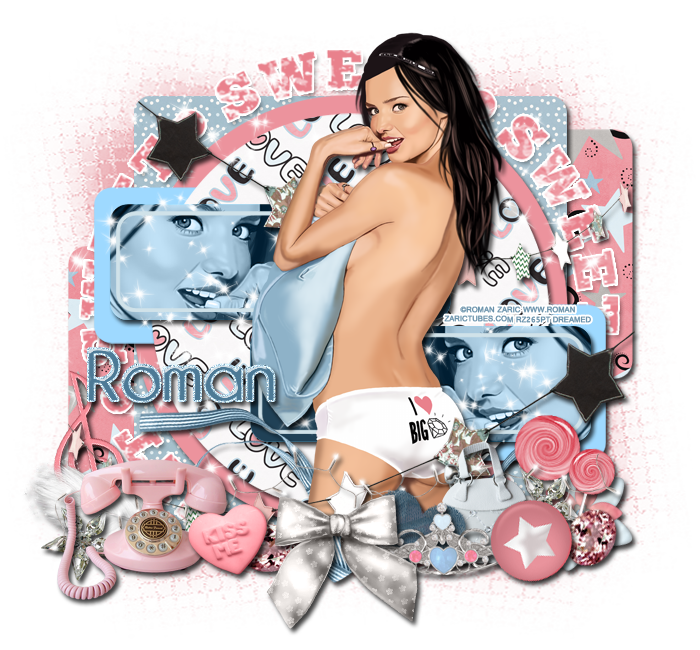
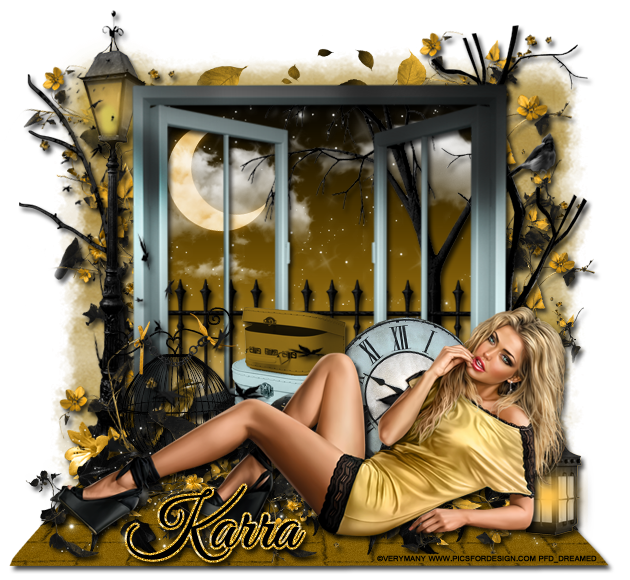
PTU tutorial using Mirabell by Roman Zaric!
You can purchase the kit & tube at his
store!!
**This tutorial was written by me and any resemblance is purely coincidental. It is written for those with a working knowledge of Photoshop.**
Supplies
Font
Mask
Scrap Kit
by BLT Dezignz
Template
Template 232
Tube
*You must obtain a license to use this tube.*
Elements
Bow2
Feather
Flair
Flower5
Gem2
Heart1
Heart2
Lolli
Music
Phone
Purse
Ribbon1
Sparkles
Stars
StringLights
Tiara
WA
Papers
6
8
10
Let's start!
Open a new canvas, size 650x650.
Open the template and link the layers together then move it on to the canvas.
Delete the Raster and background layers of the template.
Move pp8 over layer 1 of the template. Create a clipping mask and resize the paper. Add a drop shadow to the shape. Repeats these steps for layer 2.
With layer 3, move pp6 over it and create a clipping mask then resize. Add a drop shadow to the shape.
Fill layer 4 with #ec939d and add a drop shadow.
For layers 5 & 6, fill with #9ed9ff and add a drop shadow.
Move pp10 over layer 7 and create a clipping mask then resize. Add a drop shadow to the shape.
Now fill layers 8 & 9 with #204156 and add a drop shadow to each.
With layers 10 & 11, fill with #d0e2e9 .
Place the tube on top of the template. Resize & add a drop shadow.
Take another copy of the tube and move it on top of layer 8 then create a clipping mask. Resize so her face is up close, flip horizontally, and change to luminosity. Repeat steps for layer 9 but flip the tube horizontally.
Take the sparkles and place one copy behind the tube. Rotate so it is vertical and covers half the tag on the right side of the tube. Duplicate and and place it on the left side of the tube. Erase any extras on both layers that hang off the template.
Place the Stars in front of the tube. Resize so one end meets the outer edge of layer 1 and the opposite edge of layer 2. Add a drop shadow.
Take another copy of the stars and flip horizontally. Have the black star end meet the edge of layer 3 and the other end meet the edge of layer 1. Add a drop shadow.
Now move the WA between layers 3 and 4. Add a white stroke, size 2 and a light drop shadow.
In front of the tube, place these elements.
Move the Phone to the left of the tube a little. Resize & add a drop shadow.
Place the Feather behind the Phone and have it point to the left. Resize & add a drop shadow.
Between the Phone and the Feather place star Gem. Resize & add a drop shadow.
Behind the Feather place the Music symbol. Resize & add a drop shadow.
To the right of the phone and in front of it place Heart1. Resize & add a drop shadow.
Behind the heart1 place the Gem2. Resize & add a drop shadow.
Place Bow2 in front of the gem and heart1. Resize & add a drop shadow.
Behind the Bow place the Tiara. Resize & add a drop shadow.
Behind the bow and tiara place Heart2.Resize & add a drop shadow.
Behind Heart2 place the Purse. Resize & add a drop shadow.
In front of the tiara and purse place the Flair. Resize & add a drop shadow.
Behind the Purse and Flair place Flower5. Resize & add a drop shadow.
On top of Flower5 place the star Gem. Resize & add a drop shadow.
Below that place the pink Gem. Resize & add a drop shadow.
Between the two gems, place the Lolli. Resize & add a drop shadow. Duplicate the lolli and resize smaller and move it next to the larger lolli.
Place the StringLights behind the Phone and in between other elements. Resize and add a drop shadow.
Behind the tube, place Ribbon2. Flip vertically and horizontally. Resize & add a drop shadow.
Name
Font is Champagne & Limousines.
Main color is #4d7a96.
Select the pixels of the font, expand by 2, and fill with #9ed9ff.
Add noise at 16% and add a drop shadow.
For the bevel, change the gloss contour to Cove-Deep & shadow to white.
Mask
Open a new canvas, size 600x600.
Open another canvas and fill a layer with #ec939d. Flatten image and move on to the blank canvas.
Open WSL_Mask152 and move on top of the paper.
Remove the white background and place the mask behind the tag. Make it evenly stretched on all sides.
Add your tagger mark and copyright information.
Crop off any extra canvas.
Save as a .psd & .png.
We're done :)
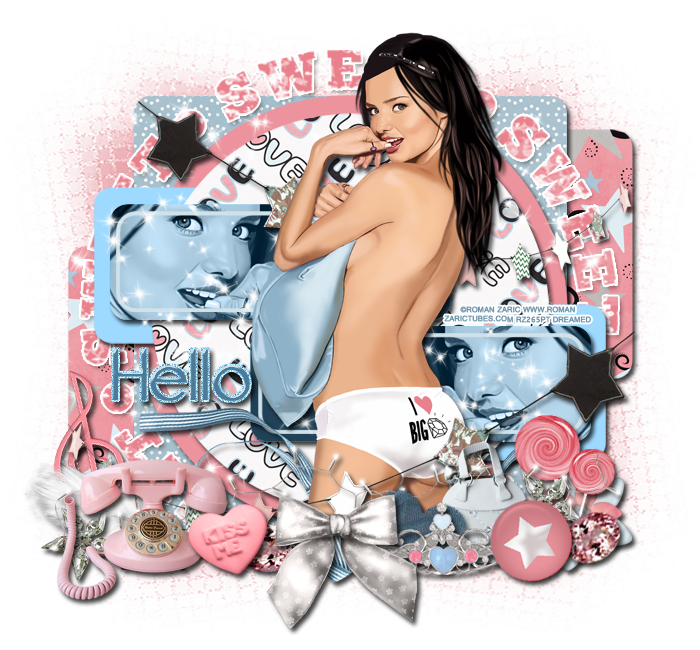
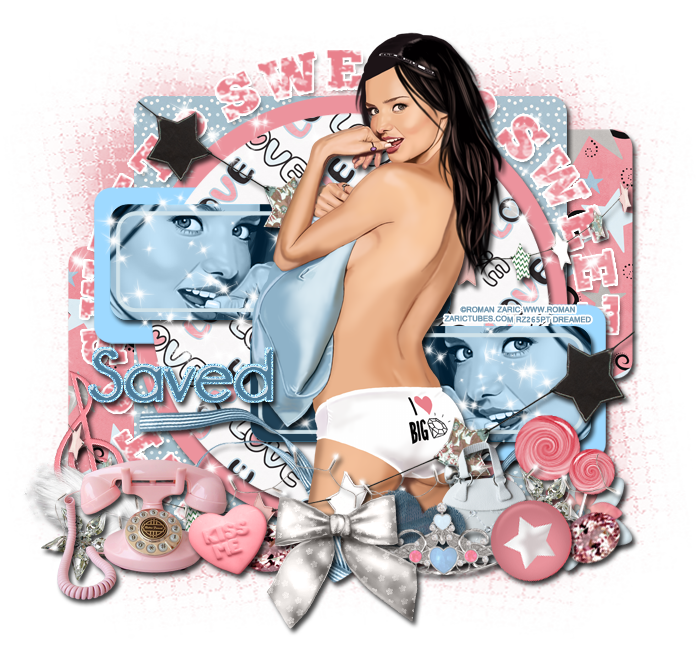
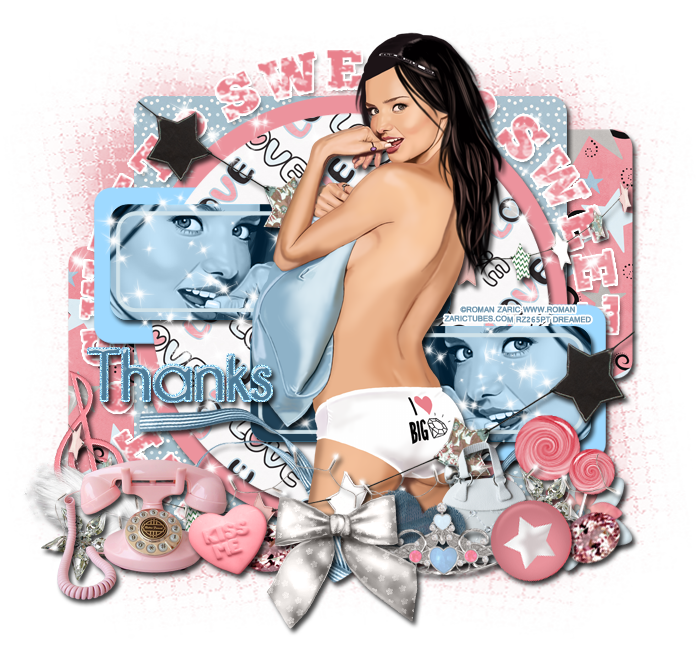
Here are some free snags for you!
Thank you for coming by!