Friday, September 20, 2013

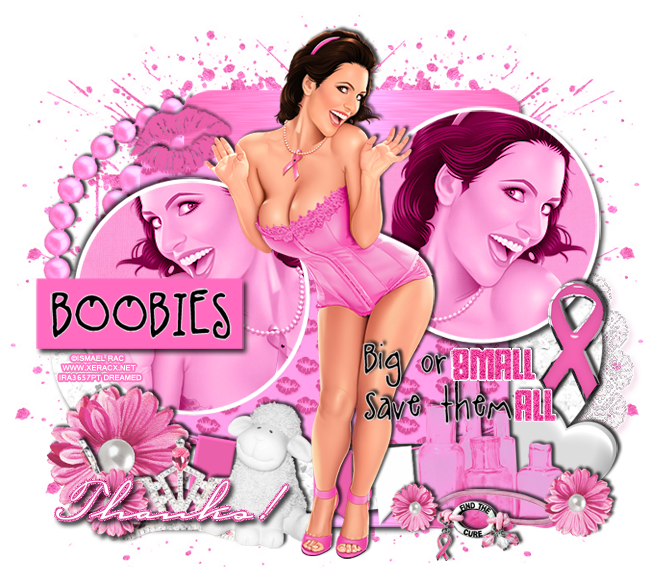
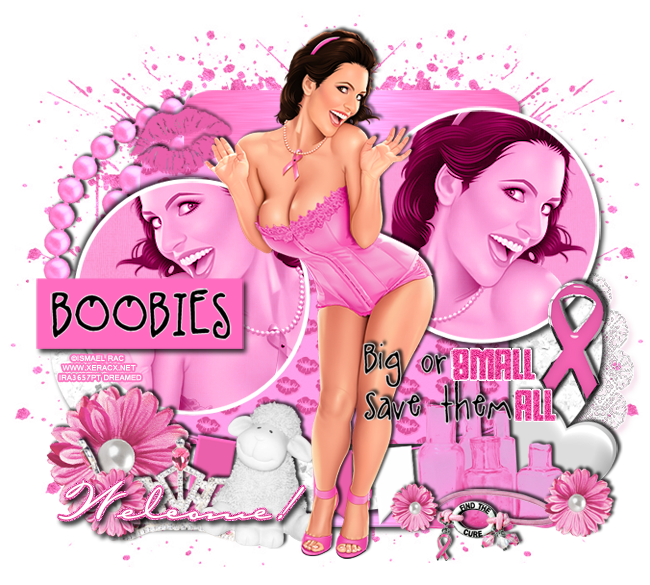
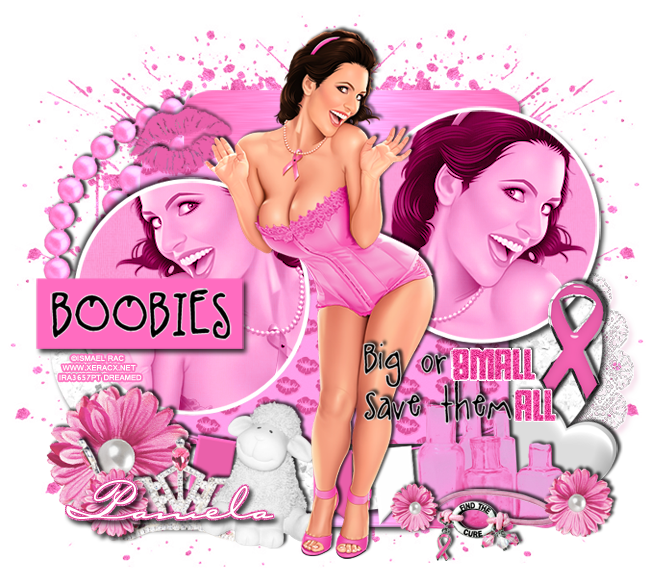
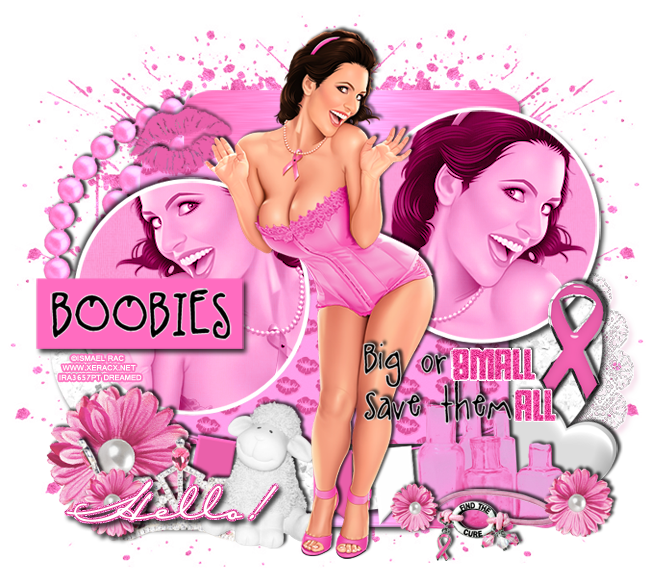
PTU Tutorial - Breast Cancer

PTU tutorial using Breast Cancer by Redefined Designs!
You can purchase it at Pimpin' PSPers Warehouse!
**This tutorial was written by me and any resemblance is purely coincidental. It is written for those with a working knowledge of Photoshop.**

Supplies

Font

Mask of choice

Scrap Kit

Template

Tube
*You must obtain a license to use this tube.*

Elements
Banner
Bracelet
Crown
Flower
Glassware
Heart
Lamb
Lips
Mask
Necklace
Ribbon
Papers
1
2
3
7
10

Let's start!
Open a new canvas, size 650x650.
Open the template and unclick the copyright layer. Select all layers, but the copyright and move on to the canvas and resize.
Place paper 1 over layers 1 & two so it covers both. Create a clipping mask to layer 1. Duplicate the paper and move it above layer 2 and create a clipping mask. Add a drop shadow to both layers.
Place paper 10 over layer three and create a clipping mask. Resize the paper and add a drop shadow to the layer.
Place paper 3 over layer 4 and create a clipping mask. Resize the paper and add a drop shadow to the layer.
Place paper 7 over layers 5 & 6. Create a clipping mask with both. Select the pixels of layer 5 and expand by 4. Add a new layer under the circle and fill with white. Add a drop shadow to the white layer. Duplicate these steps for layer 6.
You can change layer 7, the word art, or leave as is.
Duplicate layer 7. On the copy, erase the black text and leave the pink text.
On the original word art copy, erase the pink text and leave the black text.
Now you can change the black and pink text as you like.
With layer 8, change the color overlay to #ff6cc0 and add a drop shadow.
Leave layer 9 as is.
Now place the full size tube in front of the template and between the two small circles. Resize and add a drop shadow.
Take a close up of the tube and place it over layer 5, on top of the paper. Create a clipping mask and change the tube to Luminosity. Flip her horizontally and resize. Move her so the face isn't blocked by layer 8 & 9.
Duplicate the pink paper over layer 5 and move it above the tube close up. Select the paper and tube close up layers and create a clipping mask to the bottom paper layer. Change the top paper to soft light.
Repeat the same steps for layer 6.
Move the necklace behind the template and move to the upper left hand corner. Resize and add a drop shadow.
Move the mask behind the template in the lower right hand corner. Resize and add a drop shadow in #f2cde0.
Place the banner behind the tube along the bottom of layer 4. Resize and add a drop shadow.
Place the flower over the banner on the left side. Resize and add a drop shadow.
Duplicate the flower and move it to the bottom of the larger flower and resize.
Between the two flowers, place the crown. Resize and add a drop shadow.
Between the tube and the crown, place the white lamb. Resize and add a drop shadow.
Place the glassware on the right side of the tube. Resize and add a drop shadow.
Place the heart behind the glassware on the right. Resize and add a drop shadow.
Move the bracelet in front of the glassware. Resize and add a drop shadow.
Duplicate the flower from before and place one over the right corner of the glassware and resize.
Duplicate the flower and move it to the left side of the glassware. Place it on top of the bracelet.
Place the ribbon on the right side of the template behind the wordart. Resize and add a drop shadow.
Place the lips in the top left hand corner behind the tube. Resize and add a drop shadow.

 Name
Main color is white. Add a stroke, size 1, in #dd4d93.
Select the pixels of the name and expand by 2. Add a new layer below and fill with #fd74be. Add noise and a drop shadow.

Mask
Open a new canvas, size 600x600.
Open paper 2 and resize to 600x600. Place on top of the canvas.
Open the mask and move on top of the paper.
Remove the white background and place the mask behind the tag. 
Make it evenly stretched on all sides.

Add your tagger mark and copyright information.
Crop off any extra canvas.
Save as a .psd & .png.

Here are free snags!

Thank you for coming by!

Thursday, September 19, 2013

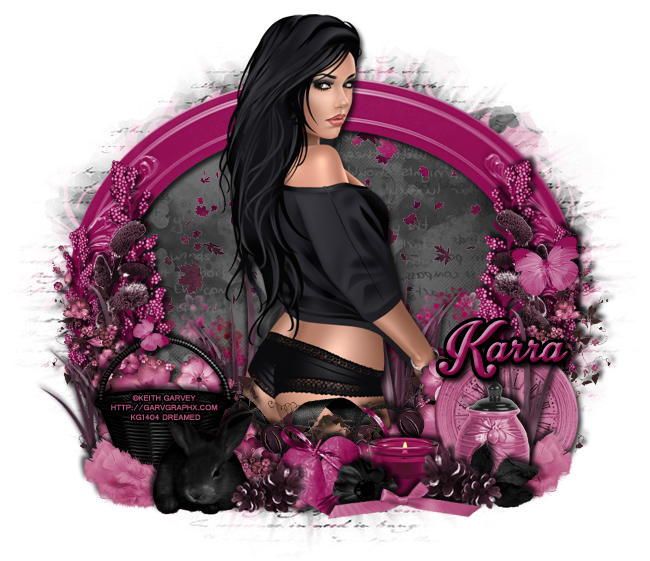
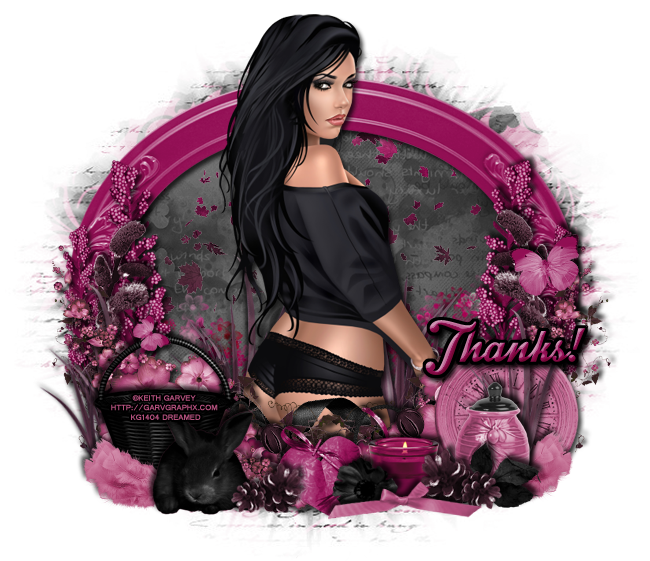
PTU Tutorial - Autumn's Aroma

PTU tutorial using Autumn's Aroma by Karra's Kreative Korner!
You can purchase it at Pimpin' PSPers Warehouse!
**This tutorial was written by me and any resemblance is purely coincidental. It is written for those with a working knowledge of Photoshop.**

Supplies

Font

Mask

Scrap Kit
Autumn's Aroma by Karra's Kreative Korner

Tube
*You must obtain a license to use this tube.*

Elements
basket
berries
bow2
butterfly
candle
clock
feather1
flower trail
flower3
flowers1
flowers2
frame2
grass
heart1
leaves3
pine cones
plant2
rabbit
ribbon2
string
Papers
5
12

Let's start!
Open a new canvas, size 650x650.
Place frame2 on the canvas. Resize and add a drop shadow.
Place paper 12 behind the frame and resize. Erase anything that sticks outside the frame.
Place leaves3 on top of the paper and behind the frame. Flip horizontally and resize a little.
Place the tube in front of the frame. Resize and add a drop shadow.
Place flowers2 along the bottom left of the frame. Resize and add a drop shadow.
Duplicate the flowers and flip horizontally. Mirror the flowers on the right side of the frame.
Place flowers1 behind flowers2 on the left side. Lay the same way and resize. Add a drop shadow.
Duplicate flowers1 and place them behind flowers2 on the right side.
Behind flowers1 on the left, place the berries. Resize and add a drop shadow.
Duplicate the berries and place on the right side of the frame.
In front of the berries on the right, place plant2. Make plant2 vertical and resize. Add a drop shadow.
Duplicate plant2 and flip horizontally. Place on the left hand side of the frame behind flowers1.
Place the butterfly on plant2 on the right side. Rotate to the left a little. Resize and add a drop shadow.
Place the basket on the left hand side. Resize and add a drop shadow.
Duplicate the butterfly from before and place it on the basket handle. Rotate to the right a little. Resize and add a drop shadow.
In front of the basket, place feather1. Resize and add a drop shadow.
In front of feather1, place the rabbit. Resize and add a drop shadow.
Behind the basket, place the grass. Resize and add a drop shadow.
Next to the rabbit, place the pine cones and flip horizontally. Resize and add a drop shadow.
To the right of the pine cones, place heart1. Resize and add a drop shadow.
In front of heart1 and to the right, place flower 3. Resize and add a drop shadow.
Behind flower3, place the candle. Resize and add a drop shadow.
To the right and in front of the candle, place the pine cones. Resize and add a drop shadow.
In front of flower 3, candle, and the pine cones, place bow2. Resize and add a drop shadow.
Behind the pine cones, place leaf 3. Flip horizontally and resize. Add a drop shadow.
Behind leaf 3, place the jar. Resize and add a drop shadow.
Behind the jar, place another copy of the grass. Resize and add a drop shadow.
Between the jar and feathers, place another copy of the grass. Resize and add a drop shadow.
Behind the grass and feathers, place the clock. Resize and add a drop shadow.
Between the tubes and flowers in the front, place ribbon 2. Resize and add a drop shadow.
Behind heart1, place the string, Resize and add a drop shadow.
Behind the tube and to the left, place another copy of the grass. Use it to fill a little empty space. Resize and add a drop shadow.
Duplicate the grass and move it to the right of the tube to fill empty space.
Take the flower trail and move it behind the grass on the right. Just use a little and erase anything not laying over the paper.
Duplicate the flower trail and move it to the right of the tube.

 Name
Main color is #930f55.
Add a bevel. Change the Gloss Contour  to Rounded Steps and change the shadow to #b4517e.
Select the pixels of the name and expand by 3. Add a new layer below and fill with black. Add a drop shadow.

Mask
Open a new canvas, size 600x600.
Open paper 5 and resize to 600x600. Place on top of the canvas.
Open the mask and move on top of the paper.
Remove the white background and place the mask behind the tag. 
Make it evenly stretched on all sides.

Add your tagger mark and copyright information.
Crop off any extra canvas.
Save as a .psd & .png.

Here are free snags!

Thank you for coming by!

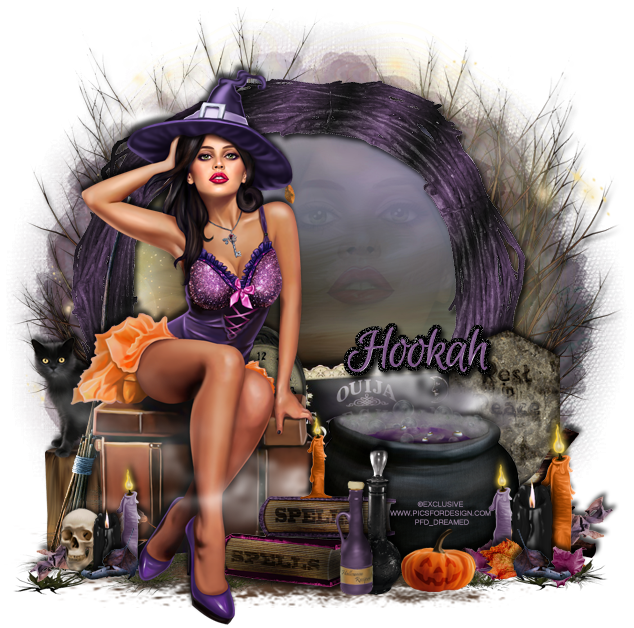
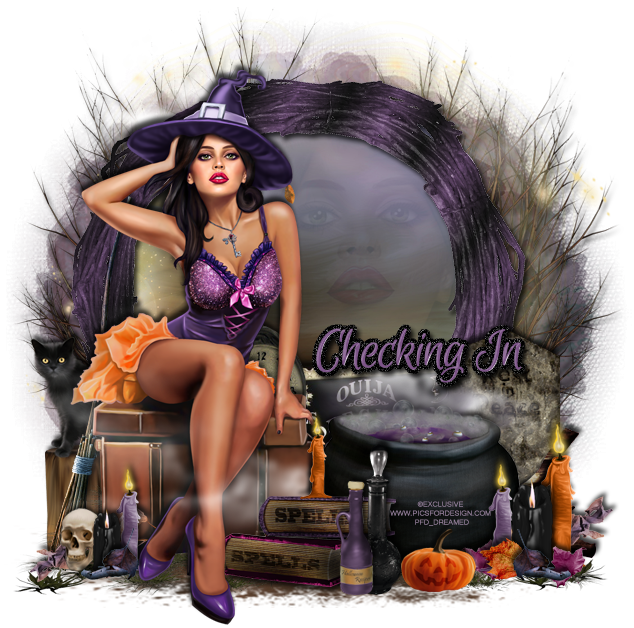
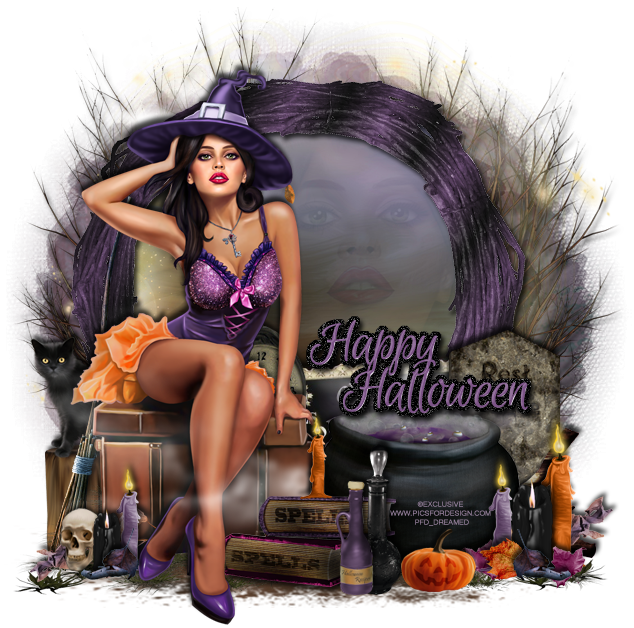
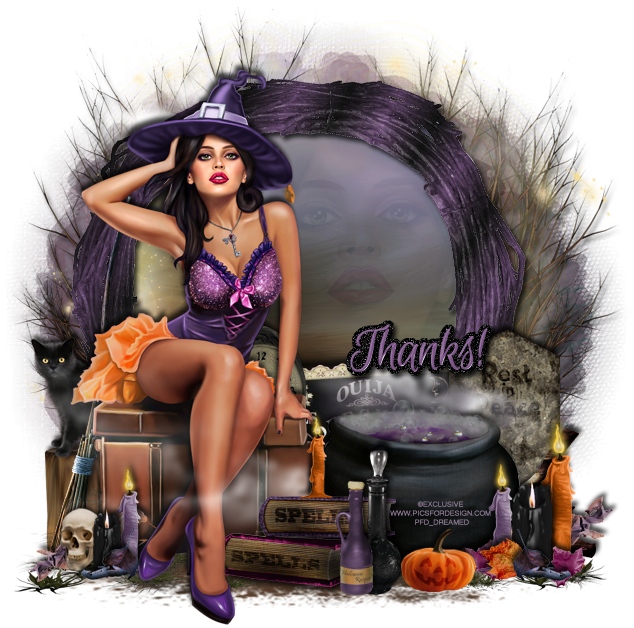
PTU Tutorial - A Chilling Night

PTU tutorial using A Chilling Night by Jackie's Jewels!
Check it out on her blog HERE and find out more about her September Sale.
You can purchase it at Pimpin' PSPers Warehouse!
**This tutorial was written by me and any resemblance is purely coincidental. It is written for those with a working knowledge of Photoshop.**

Supplies

Font

Mask

Scrap Kit
A Chilling Night by Jackie's Jewels

Tube
"Box with Magic"
*You must obtain a license to use this tube.*

Elements
Bottle
Bottle2
Branch1
Broom2
Candle2
Candle3
Candle4
Cat
Cauldron
Clock
Deadbush1
Deadbush2
Fog
Frame3
Grass
Gravestone1
Ground
Leaf1
Leaf2
Leaf3
Leaves
OuijaBoard
Pumpkin2
Skull
SpellBooks
Swirl
TreeStump
Papers
5
7

Let's start!
Open a new canvas, size 650x650.
Place Frame3 on the canvas. Resize and add a drop shadow.
Place paper 5 behind the frame. Resize the paper and erase anything sticking outside the frame.
Place the tube in front of the frame and a little to the left. Resize and add a drop shadow.
Underneath the tube and frame, place the ground and resize a little.
On top of the ground, place the grass and resize to the same size as the ground.
Behind the tube on the left, place the tree stump. Resize and add a drop shadow.
Place the cat on top on the tree stump and behind the tube. Resize and add a drop shadow.
Between the tree stump and the tube, place broom2. Resize and add a drop shadow.
At the bottom of the tube, place the skull. Resize and add a drop shadow.
Next to the skull and in front of it, place candle4. Resize and add a drop shadow.
Behind the black candle, place candle 2 and resize. Erase a little of the candle so it appears to be behind the tube's foot. Add a drop shadow.
Behind the skull and candles, place the leaves and flip vertically. Resize and add a drop shadow.
To the right of the tube, place the SpellBooks. Resize and add a drop shadow. Erase parts of the books so they appear to go behind the tube's feet.
Place candle3 on top of the spell books. Resize and add a drop shadow.
Behind the spell books, place the cauldron and flip horizontally. Resize and add a drop shadow.
In front of the spell books, place Bottle 1 and 2. Resize and add a drop shadow.
Next to the bottles, place pumpkin2 on the right. Resize and add a drop shadow.
Place a cluster of candle 2, 3, and 4. Resize so they are different sizes then add a drop shadow.
Between the candles and the pumpkin, place leaf 2 and 3. Resize and add a drop shadow.
On top of leaf 2, place leaf 1. Resize and add a drop shadow.
Duplicate leaf 2 and move it behind leaf 1. Move a little to the right and resize.
Behind the cauldron and a little to the right, place gravestone1. Resize and add a drop shadow.
Between the cauldron and the gravestone, place branch1. Resize and add a drop shadow.
In front of the branch, place the leaves. Flip horizontally and resize then add a drop shadow.
Behind the tube and the cauldron, place the Ouija Board. Resize and add a drop shadow.
Behind the tube and to the left of the board, place the clock. Resize and add a drop shadow.
Lay the fog so it lays over the tube's legs and behind the cauldron and resize.
Behind the frame on the right, place deadbush2. Resize and add a drop shadow.
Duplicate the dead bush and flip horizontally. Place to the left of the first one and a little higher.
Duplicate the bush on the right and make it smaller. Move it so it fills the empty space behind the gravestone.
Duplicate the bush on the left and make it smaller. Move it so it fills the empty space behind the cat.
Duplicate the fog from earlier and place it behind the frame and on top of the bushes and flip horizontally.
Behind the fog, place the swirl and resize.

 Name
Main color is #7c5487.
Add a drop shadow.
Add a bevel. Change the Gloss Contour  to Rolling Slope - Descending and change the shadow to white.
Select the pixels and expand by 4.
Add a new layer under the name and fill with black. Add noise and a drop shadow.

Mask
Open a new canvas, size 600x600.
Open paper 7 and resize to 600x600. Place on top of the canvas.
Open the mask and move on top of the paper.
Remove the white background and place the mask behind the tag. 
Make it evenly stretched on all sides.

Add your tagger mark and copyright information.
Crop off any extra canvas.
Save as a .psd & .png.

Here are free snags!
Thank you for coming by!

New Name, New Blog!

Hello friends! I have decided to change my designer name to reflect that I make kits more than I do CT work. I made a new blog so the old links for this blog will remain active for future visits. Please visit me at Drea's Designs ! I'll see you there!
Related Posts Plugin for WordPress, Blogger...