Friday, September 19, 2014

Tag Show Off!


I wanted to show off the awesome tags made with my newest kit "Fall by the Fireside"! You can purchase it at these two stores:
Pimpin' PSPers Warehouse
Tiny Turtle Designs Store

Made by Jackie @ Jackie's Jewels

Made by Jessica @ Kisses N Dreams


Made by Callie @ Pink Princess Tutorials
Thank you ladies!!
post signature

Thursday, September 18, 2014

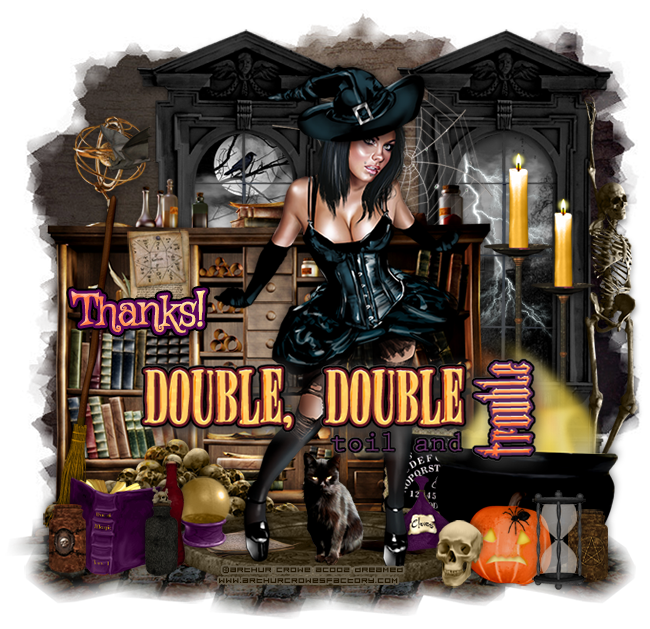
PTU Tutorial - Spellbound!


**This tutorial was written by me and any resemblance is purely coincidental. It is written for those with a working knowledge of Photoshop.**

Scrap Kit

Tube
*You must obtain a license to use this tube.*

Elements
4
8
18
19
21
22
34
35
36
37
55
56
59
85
89
91
96
102
103
104
105
106
114
115

Papers
11
13

Let's start!
Open a new canvas, size 700x700.
Place the tube on the canvas. Resize and add a drop shadow.
Place 56 below the tube so she is standing on it. Resize and add a drop shadow.
Below everything place 19 and resize. Move it to the left side to create the ground. Make sure it doesn't hang off the canvas.
Duplicate 19 and move it to the right side making sure it does not hang off the canvas. Duplicate it two more times and move both layers below the first two layers. Use these to cover the middle and finish the ground.
Behind the tube and the platform place 103. Resize and add a drop shadow. Move it to the left a little.
Behind the bookshelf place 4. Resize and add a drop shadow.
Duplicate 4 and move it to the right of the first one with a little space in between.
Move both windows to the right of the tag leaving a little space on the left side.
Behind the windows place paper 13. Resize and erase anything outside the windows.
On top of the paper place 96 and resize. Erase anything outside the frames.
Behind the cloud place 55 and flip horizontally. Place it in the frame on the left and resize. Erase anything outside the window.
On top of the windows place 59 and flip horizontally then have it lay on both windows with some of the web in the middle.
On the right side of the window on the right place 91 upright so it's stretched out hand is hanging off the corner. Resize and add a drop shadow.
To the right of the bookshelf and in front of the windows place 22. Resize and add a drop shadow.
Duplicate 22 and move it to the right of the first one. Make it a little smaller than the first.
To the right of the platform and in front of the candles place 89 and flip horizontally. Resize and add a drop shadow.
In front of the cauldron along the bottom, and to the right of the platform, place 114. Resize and add a drop shadow.
Behind the skull place 85. Resize and add a drop shadow.
In front of the pumpkin and to the right place 38. Resize and add a drop shadow.
Behind the hourglass place 37. Resize and add a drop shadow.
Behind the platform and in front of the bookshelf place 115 behind the cauldron and to the left a little. Resize and add a drop shadow.
On top of the platform and behind the tube's foot place 34. Resize and add a drop shadow.
Behind the tube and between her legs place 8 and flip horizontally. Resize and add a drop shadow.
Underneath the tube's foot on the left place 106. Resize and add a drop shadow.
On top of the papers and to the left place 40. Resize and add a drop shadow.
Between the bookshelf and the platform on the left place 44. Resize and add a drop shadow.
Leaning against the bookshelf in front of the bones on the left place 21. Resize and add a drop shadow.
Place 105 on the bookshelf toward the top. Resize and add a drop shadow.
To the left of the platform and in front of the broom and pile of bones place 18. Resize and add a drop shadow.
In front of the book on the left place 36. Resize and add a drop shadow.
On the right side of the book place 33. Resize and add a drop shadow.
Behind 33 place 35. Resize and add a drop shadow.
On top of the trophy on the bookshelf place 46. Resize and add a drop shadow.
On top of the pumpkin place 104. Resize and add a drop shadow.
On top of the tube around the middle place 102. Because the tube is dark you'll need to add a little to the awesome word art. Select the pixels and expand by 2. Add a layer below the word art and fill with black. Add a drop shadow to the black layer.
Resize both as necessary.

Add your tagger mark and copyright information.
Crop off any extra canvas and resize the tag as needed.
Save as a .psd & .png.

Free snags!
Thanks for coming by!
post signature

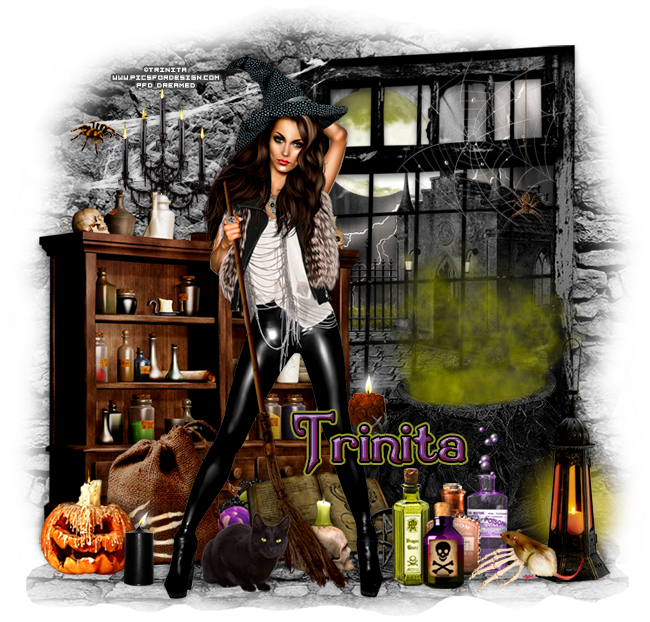
PTU Tutorial - Sexy Witch


**This tutorial was written by me and any resemblance is purely coincidental. It is written for those with a working knowledge of Photoshop.**

Scrap Kit

Tube
*You must obtain a license to use this tube.*

Elements
3
7
13
14
18
20
21
22
23
24
25
30
34
37
42
43
44
47
48
49
50
54
57
58
68
69
70
78
99
100
104
105
109
119
120

Papers
8

Let's start!
Open a new canvas, size 700x700.
Place the tube on the canvas. Resize and add a drop shadow.
Place 100 below the tube and resize. Make sure it does not hang off the canvas.
I duplicated the ground for more depth. You can do so if you like. Merge the layers if you do.
Behind the tube and to the right place 34. Resize and add a drop shadow.
In front of the window and on the left side, behind the tube, place 54 and flip horizontally. Resize and add a drop shadow.
Behind everything place 58 on the left side and resize. Duplicate 58 and move it to the right side. This will be your back wall and act as a mask also. Duplicate 58 one more time and move it behind the first two to fill in the middle. Make sure none of the layers hang off the canvas.
Now duplicate the three layers you just placed and move them behind the first three. move them below them and fill in the empty space above the ground layer. Make sure nothing hangs off the canvas and erase any wall layers below the ground.
In front of the window on the right side place 37. Resize and add a drop shadow.
In front of the cauldron and to the right place 22 and flip horizontally. Resize and add a drop shadow.
In front of 22 place 69 and flip horizontally. Resize and add a drop shadow.
Behind 22 place 25 and flip horizontally. Resize and add a drop shadow.
Still in front of the cauldron place 48 to the left of the skeleton hand. Resize and add a drop shadow.
in front of 48 place 49. Resize and add a drop shadow.
In front of and to the left of 49 place 47. Resize and add a drop shadow.
In front of 49 place 50. Resize and add a drop shadow.
To the left of 47 place 7 behind the tube. Resize and add a drop shadow.
Reposition the tube so she stands in the middle of the window and bookshelf.
Between her legs place 68. Flip horizontally, resize, and add a drop shadow.
Behind her broom place 18. Resize and add a drop shadow.
Behind 7 and 18 place 57. Resize and add a drop shadow.
In front of the book shelf on the left place 3 and flip horizontally. Resize and add a drop shadow.
To the left of the bag place 30 in front of it. Resize and add a drop shadow.
Between the bag and the pumpkin candle place and flip it 90° clockwise. Resize and add a drop shadow.
In front of the pumpkin candle on the right place 20 and flip horizontally. Resize and add a drop shadow.
Behind the bag and the book in the middle where there's an empty space place 14. Resize and add a drop shadow.
Behind 14 place 13. Resize and add a drop shadow.
Behind the bookshelf and the cauldron in the middle where there's an empty space place 21 and flip horizontally. Resize and add a drop shadow.
Let's move back to the window.
Place paper 8 behind the frame and erase anything outside it.
Place 48 on top of the paper and flip horizontally and resize.
Below the building place 99 and resize.
Toward the back of the ground just placed place 78 and resize so it's fairly small.
In front of the grass place 42 behind the building so just the lower part of the fence shows. Resize small and make sure all sizes are proportionate for a far distance.
Behind the building in the upper left hand corner place the moon and resize.
On top of the moon place 119 and resize. Duplicate it again and cover more of the moon.
Place the lightning so it comes from the upper right hand corner of the window frame and goes behind the building.
On top of the window frame on the right place 120 and resize.
On top of the spider web place 104 and resize.
Erase parts of both the spider and spider web that hang off the frame.
Behind the bookshelf on the left place 23 so it appears to still be resting on the top of the bookshelf. flip horizontally. Resize and add a drop shadow.
On the wall behind the candelabra place 105. Flip it horizontally and vertically. Change the color to a very light gray so it shows up on the back wall. Make sure it doesn't hang off the wall on the left and connects to the top of the window frame's left side.
On top of the web place 70 and flip horizontally. Resize and add a drop shadow.

Add your tagger mark and copyright information.
Crop off any extra canvas and resize the tag as needed.
Save as a .psd & .png.

Free snags!
Thanks for coming by!
post signature

New Name, New Blog!

Hello friends! I have decided to change my designer name to reflect that I make kits more than I do CT work. I made a new blog so the old links for this blog will remain active for future visits. Please visit me at Drea's Designs ! I'll see you there!
Related Posts Plugin for WordPress, Blogger...