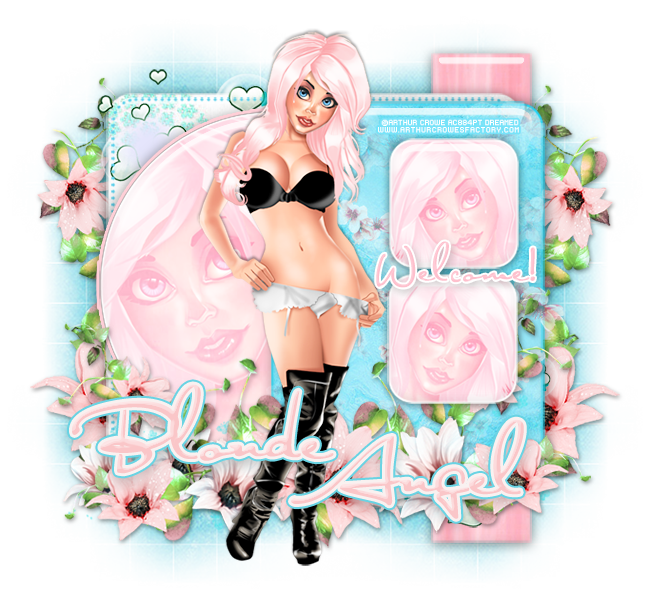
**This tutorial was written by me and any resemblance is purely coincidental. It is written for those with a working knowledge of Photoshop.**
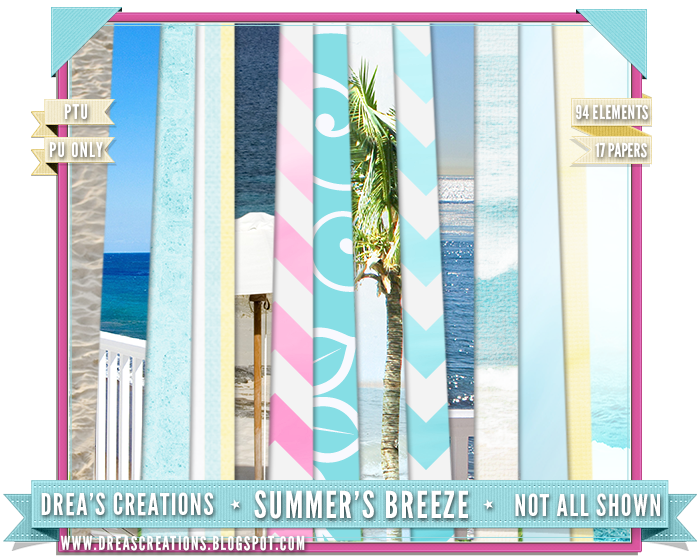
Scrap Kit
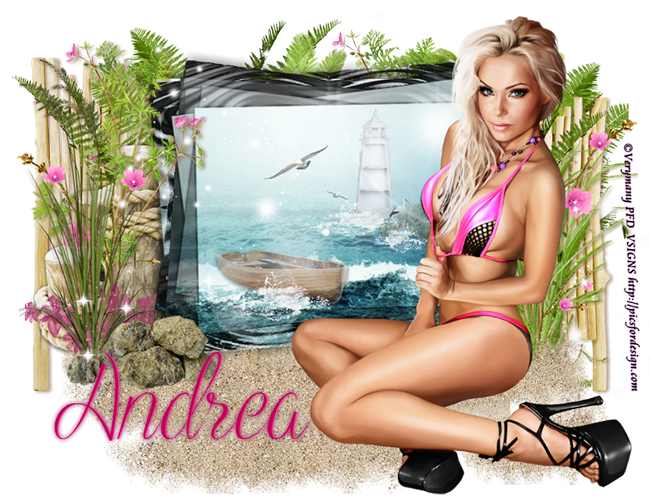
Tube
*You must obtain a license to use this tube.*
Elements
2
3
5
6
8
9
11
17
19
20
23
25
26
29
30
33
34
36
38
43
45
47
51
52
67
69
71
72
74
75
76
78
82
84
93
Papers
12
Let's start!
Open a new canvas, size 650x650.
Move 93, the frame, on to the canvas. Resize and add a drop shadow.
Place the tube in front of the frame. Resize and add a drop shadow.
Place paper 12 behind the frame. Resize the paper and erase anything outside the frame.
Place 19 on top of the paper behind the frame and behind the tube. Flip it horizontally, then resize and add a drop shadow.
Behind the bird place 38. Resize and clip to the paper.
Behind the frame on the left place 71. Resize and add a drop shadow.
Duplicate the fence and move it to the right side. Make sure only a little sticks out on both sides.
Behind the frame on the right place 11. Resize and add a drop shadow. Duplicate 11 and make it smaller than the first. Move it to the right, toward the end of the fence.
Duplicate both copies of the grass and flip horizontally. Move it to the fence on the left side of the frame.
Between the grass and the fence on the right place 84. Resize and add a drop shadow.
Behind the fence on both sides place 78. Resize and add a drop shadow.
Behind the netting on the right place 8 and 9. Resize and add a drop shadow.
Duplicate 8 and 9 and flip horizontally. Move to the left side behind the netting.
Behind everything place 17 in the middle of the back of the frame. Resize and add a drop shadow.
Between the grass and the fence on the left place 20 and flip horizontally. Resize and add a drop shadow.
In front of the grass on the left place 76. Between the grass and the fence on the right place 84. Resize and add a drop shadow.
Behind the tube and in front of the frame on the left place 29. Resize and add a drop shadow.
In front of the stack of rocks place 47. Resize and add a drop shadow.
On top of the back of the basket place 27. Resize and add a drop shadow.
In front of the basket of fruit place 6 and flip horizontally. Resize and add a drop shadow.
Behind the tube and to the left of the pitcher place 23. Resize and add a drop shadow.
behind the basket of fruit and the tube in the middle place 69 and rotate at an angle. Resize and add a drop shadow.
In front of the sun hat place 44 and flip horizontally. Resize and add a drop shadow.
Behind the sun hat on the right place 82. Resize and add a drop shadow.
In front of the hat and pitcher and behind the tube place 52. Resize and add a drop shadow.
Between the pillow and the frame on the right place 74 and flip horizontally. Resize and add a drop shadow.
In front of the bottle place 6. Resize and add a drop shadow.
Behind the frame on the right place 45. Resize and add a drop shadow.
Behind the frame and bottle place 30. Resize and add a drop shadow.
In front of the the basket and lantern on the left side place 51. Resize and add a drop shadow.
Place 43 in front of the bowl and to the right a little. Resize and add a drop shadow.
In front of the drink place 34. Resize and add a drop shadow.
In front of everything and in the middle place 67. Resize and add a drop shadow.
In front of the sign in the middle place 2 and 3 together. Resize and add a drop shadow.
Behind the flowers place 5. Resize and add a drop shadow.
To the right of the sign and behind it place 25. Resize and add a drop shadow.
Behind that shell place 26. Resize and add a drop shadow.
Behind the shells just placed place 33. Resize and add a drop shadow.
Place 24 behind the sign on the left side and flip horizontally. Resize and add a drop shadow.
Behind everything along the bottom place 75 and resize.
On top of everything place 36. Duplicate so it covers the tag. Erase anything that hangs off the tag or covers the tube's face.
Add your tagger mark and copyright information.
Crop off any extra canvas.
Save as a .psd & .png.
Free snags!
Thanks for coming by!