Monday, September 30, 2013

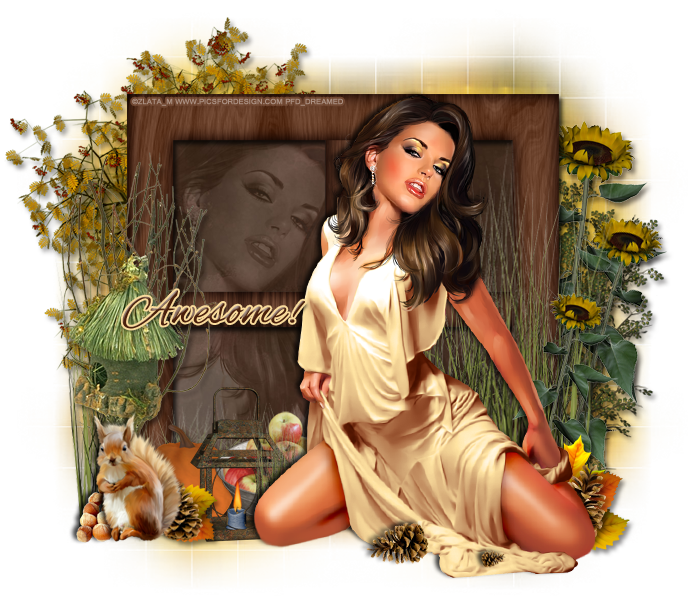
PTU Tutorial - Fall Blessings!

PTU tutorial using Fall Blessings by Redefined Designs!
Find out where you can buy this kit on her blog.
**This tutorial was written by me and any resemblance is purely coincidental. It is written for those with a working knowledge of Photoshop.**

Supplies

Font

Mask

Scrap Kit

Tube
*You must obtain a license to use this tube.*

Elements
Acorns
Apples
Birdhouse
Candle
Grass
Leave1
Leave2
Leave3
Pinecone
Pumpkin
Shrub
Squirrel
Sunflower
Tree
Frame3
Papers
5
9

Let's start!
Open a new canvas, size 650x650.
Place the frame on the canvas. Resize and add a drop shadow.
Place paper 5 behind the frame. Resize and erase anything sticking out.
Place the tube in front of the frame and move to the right a little. Resize and add a drop shadow.
Take the tube again and place it on the paper behind the frame. Place the close up on the left side of the frame opening.
Change the tube close up to Luminosity and drop the opacity to 22%.
Place the grass between the tube and the frame. Resize the grass so it stands almost as tall as the tube on the right. Add a drop shadow.
Place the shrub on the right side behind the frame. Resize and add a drop shadow.
Place two sunflowers on top of the shrub behind the frame. Resize and add a drop shadow.
Place one sunflower above the frame.Resize and add a drop shadow.
Behind the tube's leg, place a pinecone. Resize and add a drop shadow.
Behind the pinecone, place a cluster of leaf 1, 2, & 3. Resize and add a drop shadow.
In front of the tube, place a copy of the pinecone. Shrink fairly small.
Take another copy of the pinecone, rotate so it lays down and points to the left. Resize and add a drop shadow.
Behind the tube to the left, place the apples. Resize and add a drop shadow.
In front of the apples, still behind the tube, place the candle. Resize and add a drop shadow.
Between the candle and the tube, place a smaller copy of the grass. Resize and add a drop shadow.
Behind the apples to the left a little, place the pumpkin. Resize and add a drop shadow.
In front of the pumpkin and to left of the candle, place the squirrel. Resize and add a drop shadow.
Between the squirrel and candle, place a copy of the pinecone, leaf 1, and leaf 2. Resize and add a drop shadow.
To the left of the squirrel, place the acorns. Resize and add a drop shadow.
Behind the squirrel, place the birdhouse. Resize and add a drop shadow.
Between the birdhouse and frame, place the grass and flip horizontally. Resize so it meets about the middle of the birdhouse. Add a drop shadow.
Behind the frame, on the right, place the tree. Resize and add a drop shadow.

 Name
Main color is #4b220e. 
Add a stroke, size 2, #f9db9c.
Add the default bevel and change the shadow mode to #efcd91.
Add a drop shadow.

Mask
Open a new canvas, size 600x600.
Open paper 9 and resize to 600x600. Place on top of the canvas.
Open the mask and move on top of the paper.
Remove the white background and place the mask behind the tag. 
Make it evenly stretched on all sides.

Add your tagger mark and copyright information.
Crop off any extra canvas.
Save as a .psd & .png.

Here are free snags!
Thank you for coming by!

CT Tags Show Off with Autumn Moments!

I made two tags using Autumn Moments by Tiny Turtle Designs!
You can check it out at her store HERE!


Kits are $0.99 and she's still running her BOGO (buy one get one free sale!). 
You don't want to miss out :)

Here are free snags for you!
Thank you for coming by!

Friday, September 27, 2013

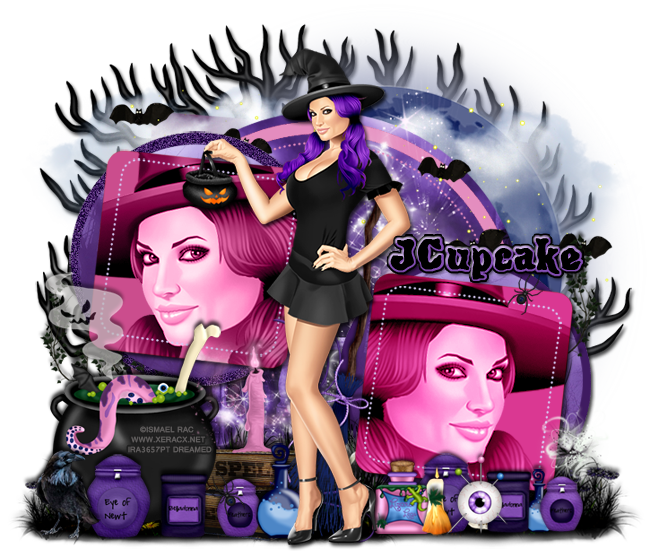
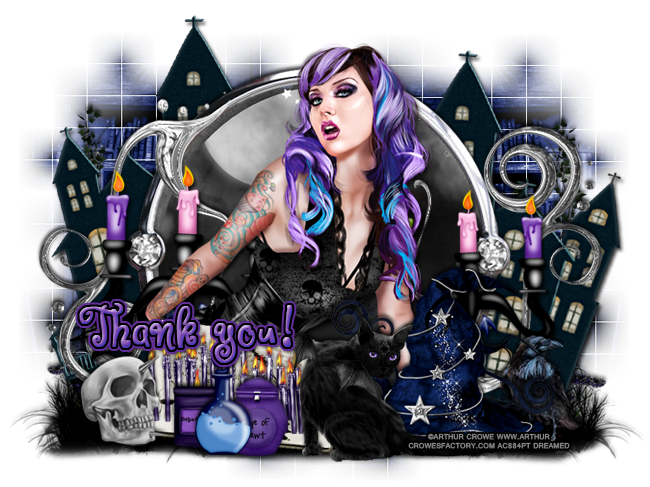
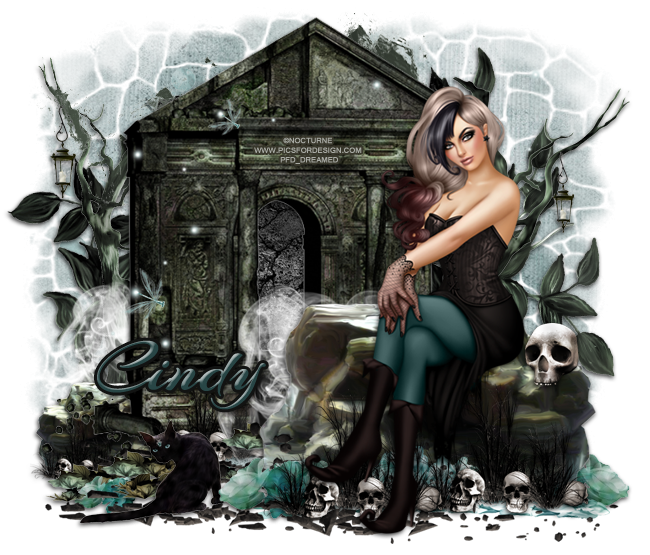
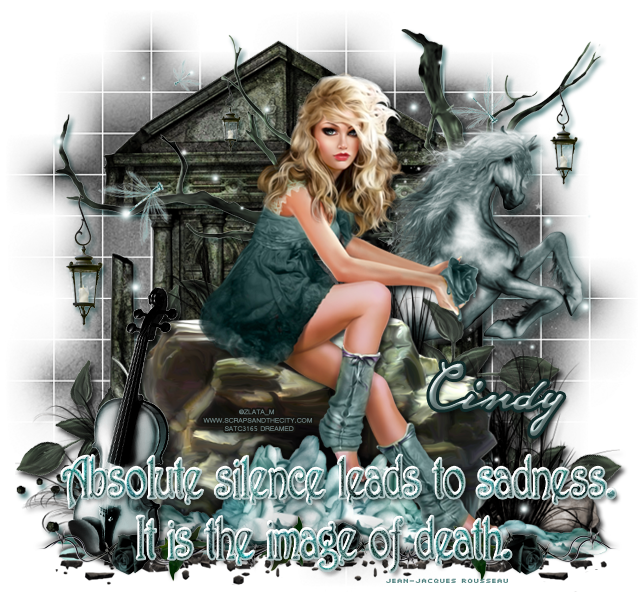
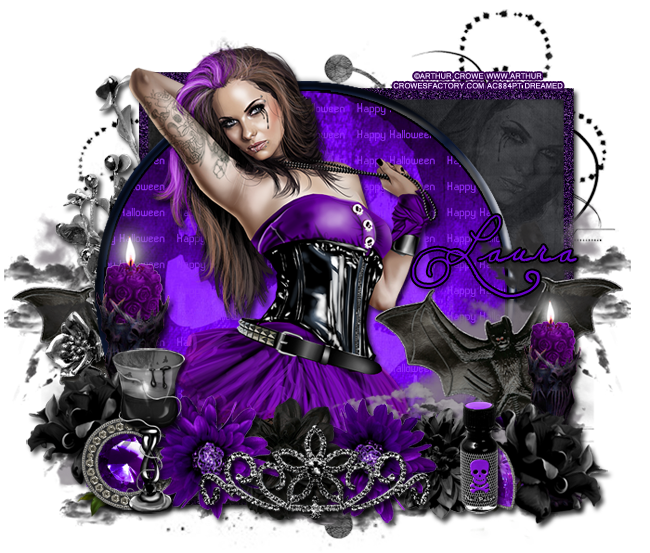
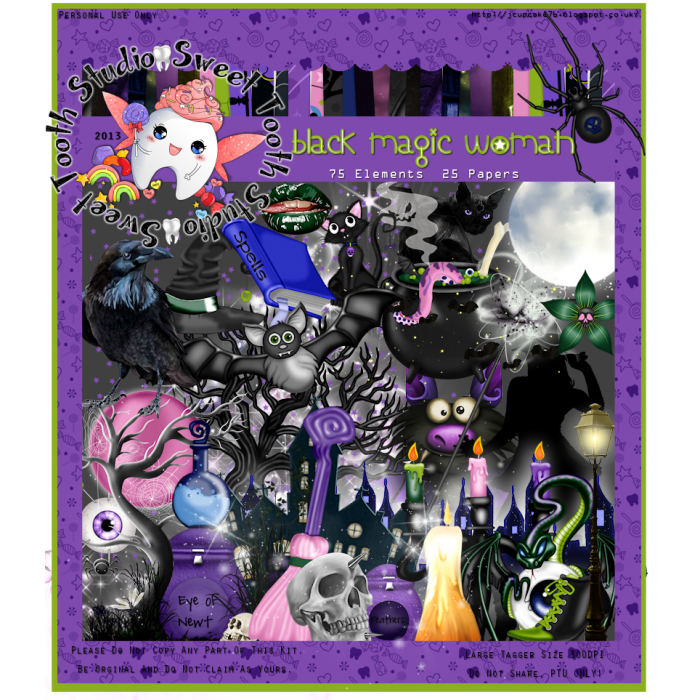
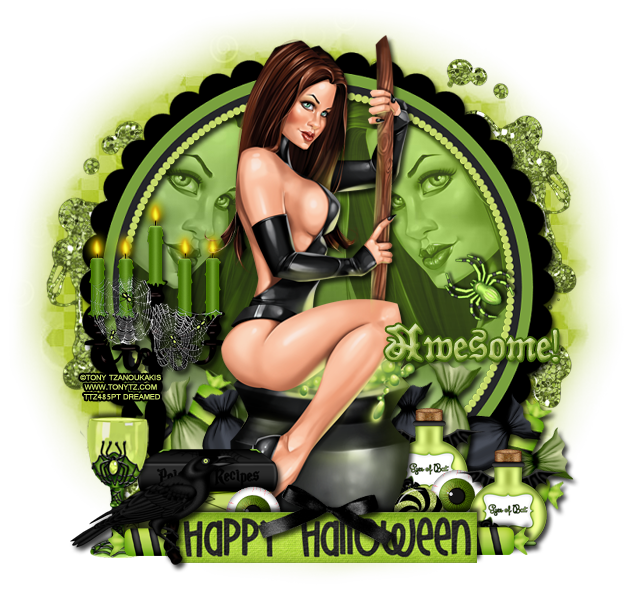
CT Tags Show Off with Black Magick Woman!

I made these two tags using the AWESOME new kit by Sweet Tooth Studio!
This kit has many tagging possibilities! 
Check it out today!
You can purchase this awesome Halloween-y kit at the Scrap Candy Store!

Here are two free snags for you :)
Thank you for coming by!

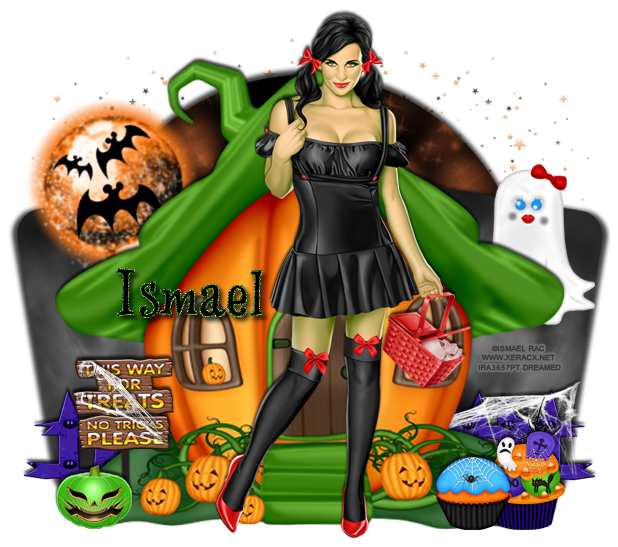
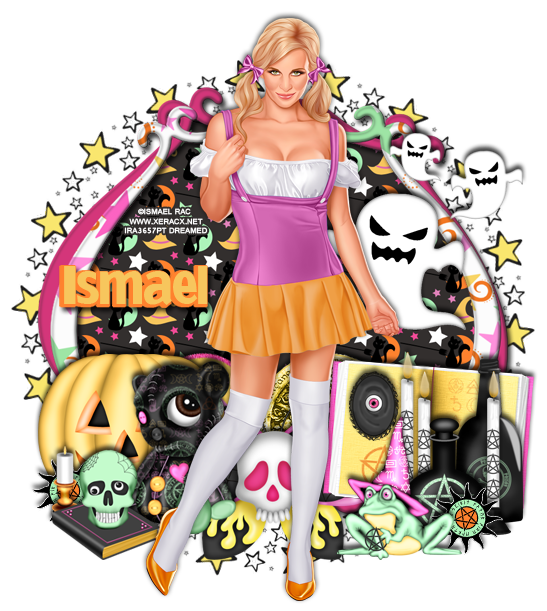
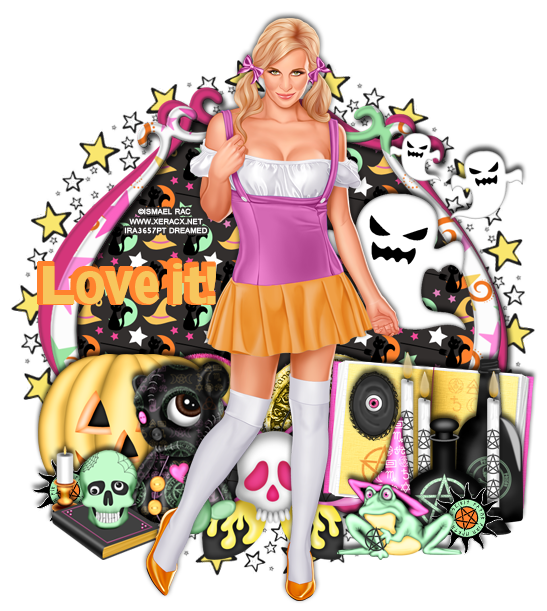
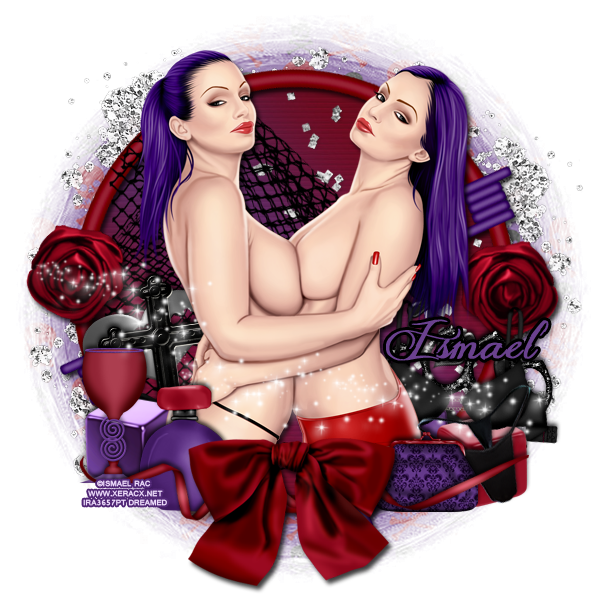
CT Tags with 2013 Classic Costume by Ismael Rac!

I made two tags using 2013 Classic Costume by Ismael Rac!
You can buy her and the rest of the awesome new releases here!

The first tag is made with the awesome matching kit by Kizzed by Kelz!
Here is the second tag!

Here are two free snags for you :)

Thank you for coming by!

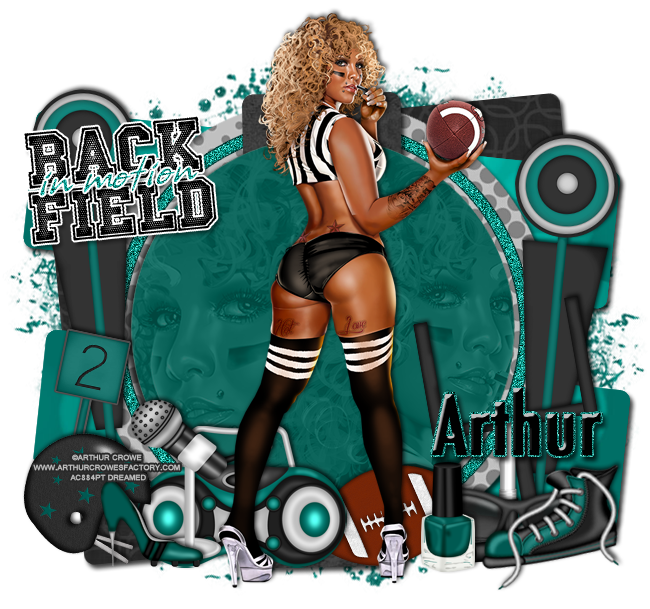
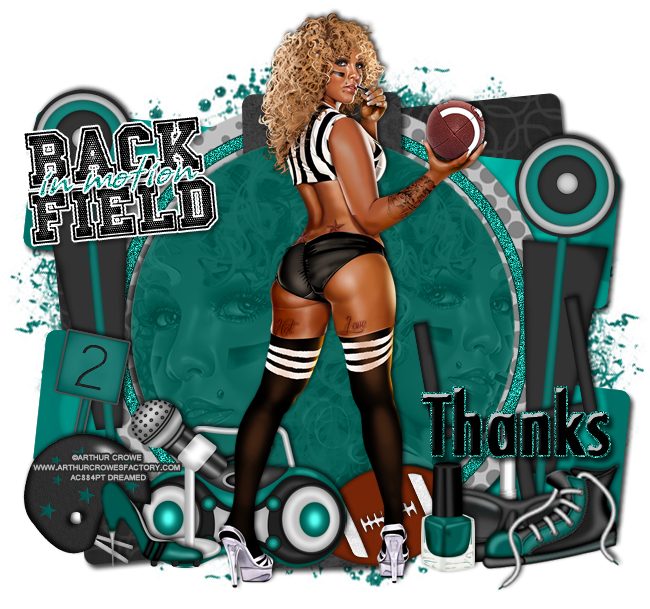
PTU Tutorial - Football Madame by Arthur Crowe!

*Coming Soon!*
PTU tutorial using Football Madame by Arthur Crowe!
Matching kit made by Rissa's Designs!
You can purchase them both here!
**This tutorial was written by me and any resemblance is purely coincidental. It is written for those with a working knowledge of Photoshop.**

Supplies

Font of choice.

Mask

Scrap Kit

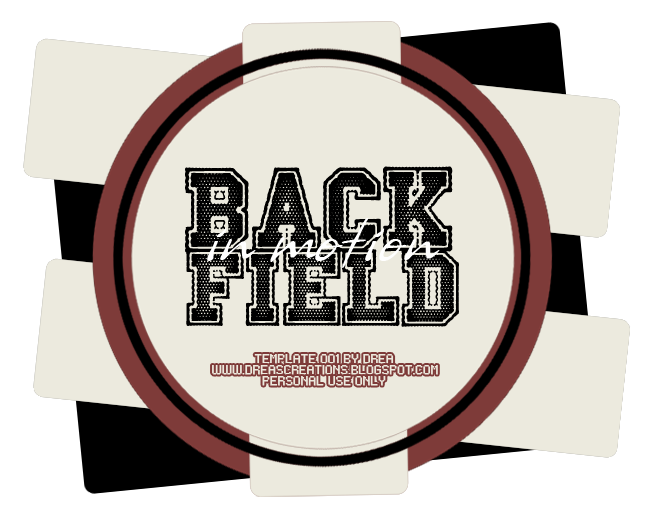
Template
Template 001 by Me!
Download here!

Tube
*You must obtain a license to use this tube.*

Elements
1
2
3
4
5
6
11
12
19
20
21
27
Papers
7
8
10
11
12

Let's start!
Open a new canvas, size 650x650.
Open the template, link the layers together, and move on to the canvas. (Delete the delete layer)
Place paper 12 over layer 1. Resize and create a clipping mask. Add a drop shadow to the layer.
Place paper 11 over layer 2, resize, add create a clipping mask. Add a drop shadow to the layer.
Repeat the steps above for layer 3.
Place paper 10 over layer 4. Resize and create a clipping mask. Add a drop shadow to the layer.
Place paper 7 over layer 5. Resize and create a clipping mask. Add a drop shadow to the layer.
Select the pixels of layer 6 and fill with #00b5a6. Add noise and a stroke, size 1, in #003c37.
Select the pixels of layer 7 and fill with #00594f. Add a drop shadow to the layer.
Place the full size tube in front of the template. Place her right in front of layer 5. Resize and add a drop shadow.
Take the super close up of the tube and place it over layer 7 and create a clipping mask. Move one copy to the right of the tube. Resize a little and change it to luminosity and drop the 20%.
Take another copy of the close up and place it on the left of the tube. Make this copy larger than the first. Change it to luminosity and drop the 20%. Erase parts of the second tube that show between the tube's legs and to the right of her.
Place ele 1on the right side of the template and rotate to the left. Add a drop shadow.
Duplicate ele 1 and place it on the left. Rotate a little to the left and move it higher than the first.
Place ele 2 on top of ele 1 on the left side. Rotate to the right a little and move it lower than ele 1. Add a drop shadow.
Place ele 3 on the right side, on top of ele 1. Resize and rotate to the left a little. Add a drop shadow.
Place ele 5 on the lower left hand corner. Flip horizontally and resize. Add a drop shadow.
Behind the tube and ele 5, place ele 11. Resize and add a drop shadow.
Place ele 4 in front of the helmet and flip horizontally. Resize and add a drop shadow.
Between the high heel and radio, place ele 12 and flip horizontally. Resize and add a drop shadow.
In front of ele 3 on the right side, place ele 27. Resize and add a drop shadow.
Place ele 20 to the left of the tennis shoe. Resize and add a drop shadow.
Behind the shoe, place ele 21. Resize and add a drop shadow.
Behind the sunglasses, place ele 19. Resize and add a drop shadow.
Behind the tube and the radio, place ele 6, Resize and add a drop shadow.

 Name
Main color is black. 
Select the pixels of the name and expand by 2. 
Add a new layer under the name and fill with #167c74.
Add noise, around 20%, to the bottom layer.
Add a drop shadow.

Word Art
Leave BACK and FIELD black. Add a stroke, size 2, in white and add a drop shadow.
Select the pixels of "in motion"and fill with #00594f and add noise.
Add a white stroke, size 2, and a drop shadow.

Mask
Open a new canvas, size 600x600.
Open paper 8 and resize to 600x600. Place on top of the canvas.
Open the mask and move on top of the paper.
Remove the white background and place the mask behind the tag. 
Make it evenly stretched on all sides.

Add your tagger mark and copyright information.
Crop off any extra canvas.
Save as a .psd & .png.

Here are free snags!

Thank you for coming by!

Wednesday, September 25, 2013

PTU Tutorial - 2013 DoublePleasure by Ismael Rac!

*Coming Soon!*
PTU tutorial using 2013 DoublePleasure by Ismael Rac!
Matching kit made by Kandii Popz!
You can purchase them both here!
**This tutorial was written by me and any resemblance is purely coincidental. It is written for those with a working knowledge of Photoshop.**

Supplies

Font

Mask

Scrap Kit

Tube
*You must obtain a license to use this tube.*

Elements
Bag
Blade
Bottle
Bow2
Bra
Cross2
Dice
Frame1
Glitter
GlitterSplat
Goblet
Hearts
Knuckles
Netting
Panties
Ribbon2
Roses
Sparkles2
Papers
7
11

Let's start!
Open a new canvas, size 650x650.
Place Frame1 on the canvas. Resize and add a drop shadow.
On top of the frame on the left, place the Roses along the frame. Resize and rotate until they curve with the frame. Add a drop shadow and duplicate the roses. Flip the roses horizontally and place on the right side. Rotate again until they curve with the frame.
Place paper 11 behind the frame. Resize and erase anything outside the frame.
Place the tubes in front of the frame. Resize and add a drop shadow.
Between the tube and frame, place the Netting. Resize and erase anything hanging off the frame.
Take the glitter and place them on top of the paper and behind the frame. Resize and create a clipping mask to the paper.
In front of the frame, place Bow2. Resize and add a drop shadow.
Behind the bow, place Ribbon2. Flip horizontally, resize, and add a drop shadow.
To the left of the tube, place the Bottle. Resize and add a drop shadow.
Behind the bottle, place the dice behind the tube. Flip horizontally and move the red dice behind the tube and only show the purple dice.
In front of the purple dice and behind the bottle, place the goblet. Resize and add a drop shadow.
Behind the tube on the left, place Cross2. Resize and add a drop shadow.
Behind the cross, place the Blade. Resize and add a drop shadow.
Behind the ribbon on the right side, place the Bag. Resize and add a drop shadow.
Behind the tube and bag, place the dice. Resize and add a drop shadow.
Place the Panties between the dice and the bag and rotate to the left a little. Resize and add a drop shadow.
Behind the panties and on top of the dice, place the Bra and rotate to the right a little. Resize and add a drop shadow.
Behind the dice and bra, place the Knuckles. Resize and add a drop shadow.
Place the Hearts behind the knuckles. Resize and add a drop shadow.
Behind the frame, place the glitter splatter in the upper left hand side. Resize the splatter so you just see a little peeking out. Erase any parts that stick out too far. Duplicate or use a new splatter and place it in three more spots around the frame alternating how much peeks out.

 Name
Main color is #6a418f. 
Add a stroke, size 3, in black.
Add a drop shadow.

Mask
Open a new canvas, size 600x600.
Open paper 11 and resize to 600x600. Place on top of the canvas.
Open the mask and move on top of the paper.
Remove the white background and place the mask behind the tag. 
Make it evenly stretched on all sides.

Add your tagger mark and copyright information.
Crop off any extra canvas.
Save as a .psd & .png.

Here are free snags!

Thank you for coming by!
Tuesday, September 24, 2013

CT Tags Show off with CD_IB-TiffanyTolandScott 2-2!

I made two tags using CD_IB-TiffanyTolandScott 2-2 by ChiChi Designz!
You can check it out on her blog HERE!
Check out this awesome kit at the Creative Design Outlet!
This kit was inspired by Tiffany TolandScott 2-2.
Check the tube out here!

Here are free snags for you!

Thank you for stopping by!

Monday, September 23, 2013

PTU Tutorial - Yami by Roman Zaric!

*Coming Soon!*
PTU tutorial using Yami by Roman Zaric!
Matching kit made by Sandy's Designs!
You can purchase them both here!
**This tutorial was written by me and any resemblance is purely coincidental. It is written for those with a working knowledge of Photoshop.**

Supplies

Font

Mask

Scrap Kit

Tube
*You must obtain a license to use this tube.*

Elements
lipstick1
bow2
frame2
glitter2
glitter3
handbag2
heart pendant1
lip gloss2
nail polish1
netting1
new bow1
perfume2
purse2
rose1
rose2
satin ribbon1
sparkles2
Papers
2
11

Let's start!
Open a new canvas, size 650x650.
Place frame2 on the canvas and flip 90 degrees CCW. Resize and add a drop shadow.
Place paper 11 behind the frame. Resize and erase anything sticking outside the frame.
Place the tube in front of the frame. Resize and add a drop shadow.
On top of the tube, place sparkles1. Lay the sparkles over the lower half of the tube. Erase anything that sticks too far off the tag.
Take a larger size of the tube and place it on the paper behind the frame. Resize and create a clipping mask to the paper. Change the tube close up to Luminosity and drop the opacity to 70%.
Between the frame and the tube on the right side, place rose2. Resize and add a drop shadow.
Place rose1 behind and higher than rose2. Resize and add a drop shadow.
Place new bow1 over the two roses. Resize and add a drop shadow.
Between rose2 and the tube, place handbag2. Resize and add a drop shadow.
Between the tube and frame, alone the middle, place netting1. Resize and add a drop shadow. Duplicate enough to cover the back of the tube.
On the lower middle of the frame, place bow2. Resize and add a drop shadow.
Behind the tube's boots, place purse2. Resize and add a drop shadow.
Place perfume2 in front of the purse2. Move to the left a little. Resize and add a drop shadow.
In front of the perfume, place nail polish1. Move to the right a little, resize, and add a drop shadow.
Between the tube and the perfume, place the lipgloss. Rotate to the right a little. Resize and add a drop shadow.
In front of the lip gloss, place lipstick1. Resize and add a drop shadow.
Behind the purse, place satin ribbon1. Resize and add a drop shadow.
Duplicate rose 1 from earlier and move behind the satin ribbon on the left. Resize more if needed.
Above the ribbon and rose, place heart pendant1. Resize and add a drop shadow.
Behind the frame, alternate glitters 2 & 3. Resize and duplicate to lightly cover the back.

 Name
Main color is #4f5462. 
Add a stroke, size 3, in #f2e8e2.
Add a drop shadow.

Mask
Open a new canvas, size 600x600.
Open paper 2 and resize to 600x600. Place on top of the canvas.
Open the mask and move on top of the paper.
Remove the white background and place the mask behind the tag. 
Make it evenly stretched on all sides.

Add your tagger mark and copyright information.
Crop off any extra canvas.
Save as a .psd & .png.

Here are free snags!
Thank you for coming by!

Saturday, September 21, 2013

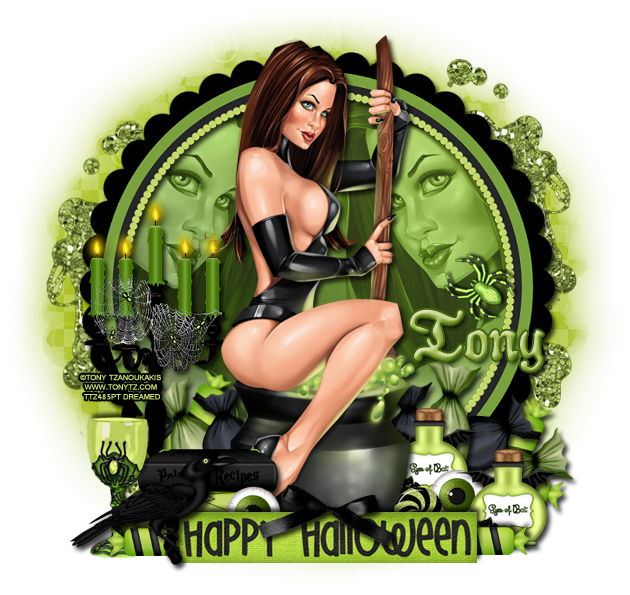
PTU tutorial - Stirring Magic by Tony Tzanoukakis!

*Coming Soon!*
PTU tutorial using Stirring Magic by Tony Tzanoukakis!
Matching kit made by Crystal's Creations!
You can purchase them both here!
**This tutorial was written by me and any resemblance is purely coincidental. It is written for those with a working knowledge of Photoshop.**

Supplies

Font

Mask

Scrap Kit

Tube
*You must obtain a license to use this tube.*

Elements
1
3
5
8
11
14
15
18
19
20
24
26
27
28
30
Papers
1
12

Let's start!
Open a new canvas, size 650x650.
Move ele 26 on to the canvas. Resize and add a drop shadow.
Place paper 12 behind the frame. Resize and erase anything sticking outside the frame.
Place the tube in front of the frame and flip horizontally. Resize and add a drop shadow.
Take a close up of the tube and place it on the paper behind the frame. Move to the right and have it facing the full size tube. Create a clipping mask to the paper and change to Luminosity. Drop the opacity to 60%. Duplicate the close up copy and move to the left of the tube and flip horizontally. Repeat the steps from the first copy.
On the left side of the tube in front of the frame, place ele 11. Resize and add a drop shadow.
In front of the candles, place ele 30. Resize and add a drop shadow.
In front of the books, place ele 20 and move a little to the left. Resize and add a drop shadow.
In front of the tube, place ele 15. Resize and add a drop shadow.
On the left edge of ele 15, place ele 19. Resize and add a drop shadow.
In front of the books and behind the sign, place ele 14. Resize and add a drop shadow.
To the right of the tube and behind the sign, place ele 3. Have it stick out the right a little. Resize and add a drop shadow.
Duplicate ele 3 and have it stick out behind the sign on the left side a little.
Place ele 28 behind the sign and right next to the tube. Resize and add a drop shadow.
Behind ele 28, place ele 14. Resize and add a drop shadow.
In front of the eye ball and to the right, place ele 24. Resize and add a drop shadow.
Duplicate the bottle and move it behind the eyeball and tube. Move to the left of the first bottle copy.
Behind the bottles, place ele 5 and 8.
Have ele 5 above ele 8. Make them close in size and sticking out behind the bottles.
Take another copy of ele 3 and have one behind ele 8 facing down. Take another copy and have it behind and between ele 5 & 8 and facing up. Resize and add a drop shadow.
Duplicate ele 5 & 8 and flip horizontally. Move behind the candles and tubes on the left side.
Duplicate ele 5 & 8 again and move behind the tube on the right. Move them to the left of the first copy of candies.
Place ele 1 on the right side of the tube in the middle and close to the edge. Resize and add a drop shadow.
Take ele 18 and move it behind the frame and paper on the right. Have it stick out a little and resize.
Duplicate ele 18 and move it to the lower, left side of the frame.

 Name
Main color is #aec061. 
Add a stroke, size 2, in #40650a.
Add a drop shadow.

Mask
Open a new canvas, size 600x600.
Open paper 1 and resize to 600x600. Place on top of the canvas.
Open the mask and move on top of the paper.
Remove the white background and place the mask behind the tag. 
Make it evenly stretched on all sides.

Add your tagger mark and copyright information.
Crop off any extra canvas.
Save as a .psd & .png.

Here are free snags!
Thank you for coming by!

Friday, September 20, 2013

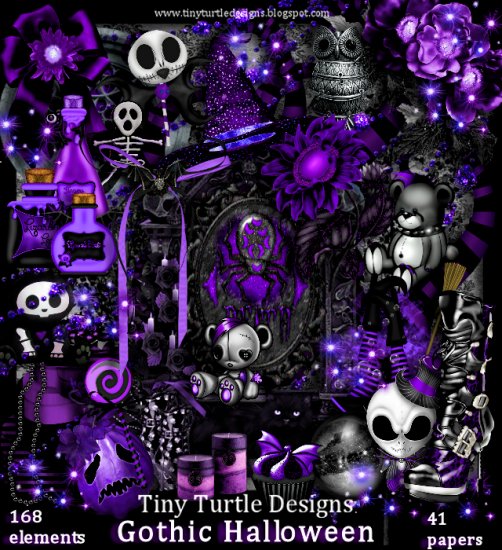
CT Tags Show off with Gothic Halloween!

I made two tags using Gothic Halloween by Tiny Turtle Designs!
You can check it out at her personal store HERE!

Check out this awesome kit at her personal store here!


Kits are $0.99 and she's still running her BOGO (buy one get one free sale!). 
You don't want to miss out :)

Here are free snags for you!

Thank you for coming by!
New Name, New Blog!
Hello friends! I have decided to change my designer name to reflect that I make kits more than I do CT work. I made a new blog so the old links for this blog will remain active for future visits. Please visit me at Drea's Designs ! I'll see you there!
Related Posts Plugin for WordPress, Blogger...