*Coming Soon!*
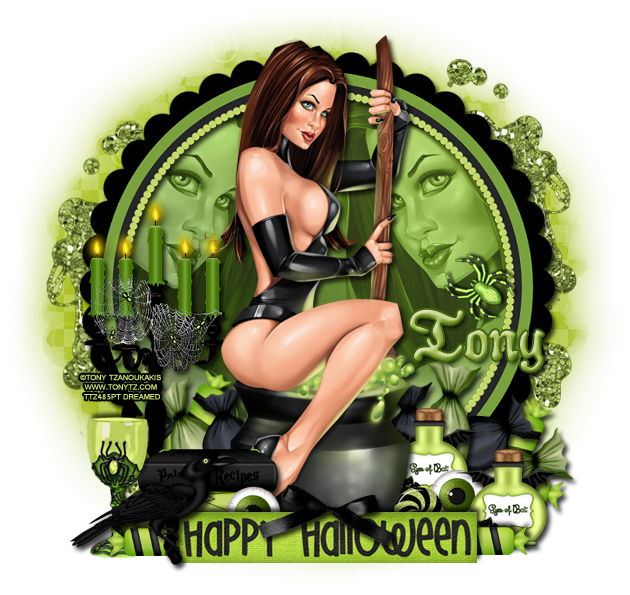
PTU tutorial using Stirring Magic by Tony Tzanoukakis!
Matching kit made by Crystal's Creations!
You can purchase them both here!
**This tutorial was written by me and any resemblance is purely coincidental. It is written for those with a working knowledge of Photoshop.**
Supplies
Font
Mask
Scrap Kit
Tube
*You must obtain a license to use this tube.*
Elements
1
3
5
8
11
14
15
18
19
20
24
26
27
28
30
Papers
1
12
Let's start!
Open a new canvas, size 650x650.
Move ele 26 on to the canvas. Resize and add a drop shadow.
Place paper 12 behind the frame. Resize and erase anything sticking outside the frame.
Place the tube in front of the frame and flip horizontally. Resize and add a drop shadow.
Take a close up of the tube and place it on the paper behind the frame. Move to the right and have it facing the full size tube. Create a clipping mask to the paper and change to Luminosity. Drop the opacity to 60%. Duplicate the close up copy and move to the left of the tube and flip horizontally. Repeat the steps from the first copy.
On the left side of the tube in front of the frame, place ele 11. Resize and add a drop shadow.
In front of the candles, place ele 30. Resize and add a drop shadow.
In front of the books, place ele 20 and move a little to the left. Resize and add a drop shadow.
In front of the tube, place ele 15. Resize and add a drop shadow.
On the left edge of ele 15, place ele 19. Resize and add a drop shadow.
In front of the books and behind the sign, place ele 14. Resize and add a drop shadow.
To the right of the tube and behind the sign, place ele 3. Have it stick out the right a little. Resize and add a drop shadow.
Duplicate ele 3 and have it stick out behind the sign on the left side a little.
Place ele 28 behind the sign and right next to the tube. Resize and add a drop shadow.
Behind ele 28, place ele 14. Resize and add a drop shadow.
In front of the eye ball and to the right, place ele 24. Resize and add a drop shadow.
Duplicate the bottle and move it behind the eyeball and tube. Move to the left of the first bottle copy.
Behind the bottles, place ele 5 and 8.
Have ele 5 above ele 8. Make them close in size and sticking out behind the bottles.
Take another copy of ele 3 and have one behind ele 8 facing down. Take another copy and have it behind and between ele 5 & 8 and facing up. Resize and add a drop shadow.
Duplicate ele 5 & 8 and flip horizontally. Move behind the candles and tubes on the left side.
Duplicate ele 5 & 8 again and move behind the tube on the right. Move them to the left of the first copy of candies.
Place ele 1 on the right side of the tube in the middle and close to the edge. Resize and add a drop shadow.
Take ele 18 and move it behind the frame and paper on the right. Have it stick out a little and resize.
Duplicate ele 18 and move it to the lower, left side of the frame.
Name
Main color is #aec061.
Add a stroke, size 2, in #40650a.
Add a drop shadow.
Mask
Open a new canvas, size 600x600.
Open paper 1 and resize to 600x600. Place on top of the canvas.
Open the mask and move on top of the paper.
Remove the white background and place the mask behind the tag.
Make it evenly stretched on all sides.
Add your tagger mark and copyright information.
Crop off any extra canvas.
Save as a .psd & .png.
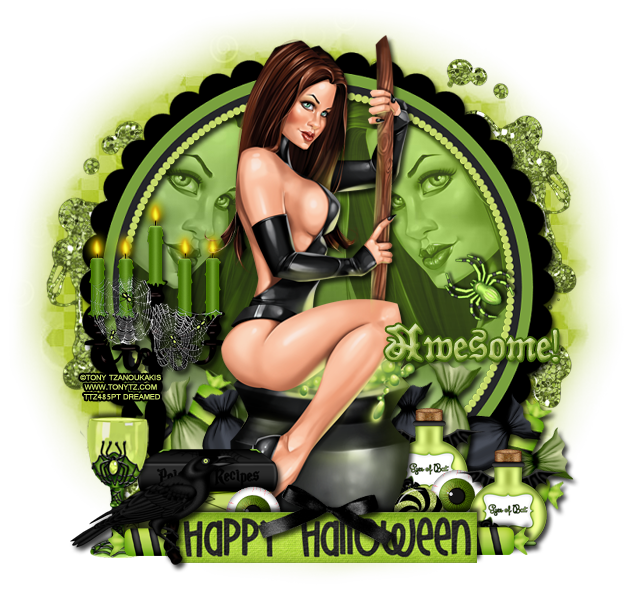
Here are free snags!
Thank you for coming by!


