
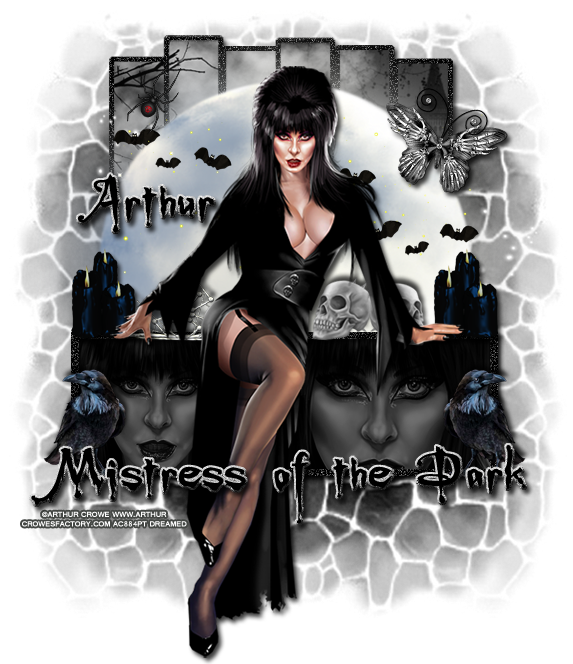
PTU tutorial using Dark Goddess by Arthur Crowe!
You can purchase the tube and the matching kit HERE soon!
**This tutorial was written by me and any resemblance is purely coincidental. It is written for those with a working knowledge of Photoshop.**
Supplies
Font
Mask
Scrap Kit
Dark Goddess by Sweet Tooth Studio
Template
(This is a direct link given to me from Jen's Sweet Temptations.)
Tube
*You must obtain a license to use this tube.*
Elements
1
15
15
17
18
19
20
30
31
Papers
1
Let's start!
Open a new canvas, size 650x750. (You can resize later.)
Open the template and select all layers. Move it on to the canvas.
Resize the template as needed.
Delete the white background from the template.
Merge layers 1 through 6 together. Take paper 1 and place it over them. Create a clipping mask and resize the paper. Move it around so you don't see the moon.
Select the merged layers and expand by 5. Add a layer below and fill with black. Add a noise and a drop shadow.
Take element 17, the moon, and place it over the circle frame and circle. Resize a little and add a drop shadow at # c0bfbf.
Erase the circle frame and circle layers now.
Select the pixels the rect frame and fill with black. Add noise and a drop shadow.
Select the pixels of the rect layer and fill with black. Add a drop shadow.
Place the tube over the rect frame. Resize so her hands rest on the rect. Add a drop shadow.
Place ele1, the candle cluster, on the left side of the rect frame. Resize and add a drop shadow.
Duplicate the candle cluster and place it on the right side.
To the right of the candle cluster on the left, place ele 31. Resize and add a drop shadow.
To the left of the candle cluster on the right side, place ele 20. Resize and add a drop shadow. Duplicate the skull and flip horizontally. Move it next to the first skull. Arrange them so the look like they are setting on the rect frame behind the tube.
Place ele 18 on top of the moon and behind the tube. Resize so it just lays over the moon.
Place ele 30 in the top left hand corner above the moon. Flip horizontally, resize and add a drop shadow.
Place ele 15 on the right side where the moon and the back layer meet. Resize and add a drop shadow.
Place ele 19 on the bottom of the rect on the right side. Resize and add a drop shadow.
Duplicate the crow and flip horizontally. Move to the left side.
Inside the rect, place two close ups of the tube. Set them to Luminosity and drop the fill to 60%.
Duplicate the rect layer and move on top of the tube close ups. Create a clipping mask of the tube and rect duplicate to the bottom rect layer. Change the top rect layer to Soft Light and drop the opacity to 65%.
Place the word art along the bottom of the rect on top of the tube.
Name
Main color is black.
Select pixels and expand by 2.
Add a new layer below the name and fill with 50% Gray.
Add noise and drop shadow to the gray layer.
Add a bevel to the lower, gray layer.
Leave everything default except change the gloss contour to Half Round.
Repeat the same steps for the word art.
Mask
Open a new canvas, size size it the same as the mask.
Add a new layer and fill it with black.
Open the mask and move on top of the black layer.
Remove the white background and place the mask behind the tag.
Make it evenly stretched on all sides.
Add your tagger mark and copyright information.
Crop off any extra canvas.
Save as a .psd & .png.
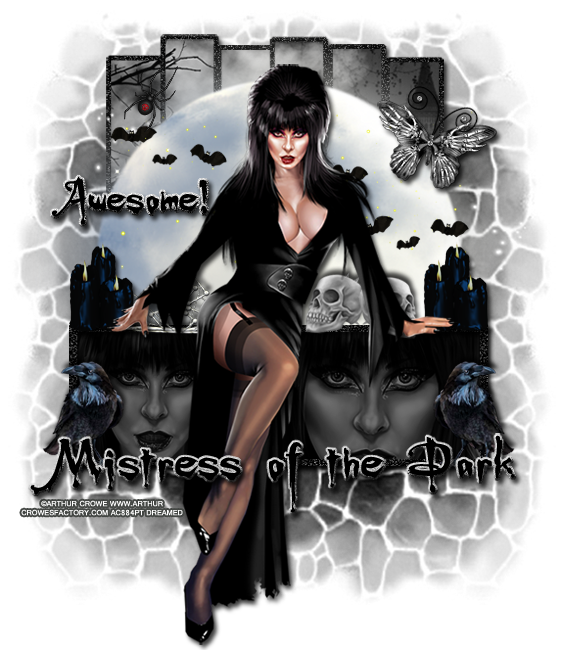
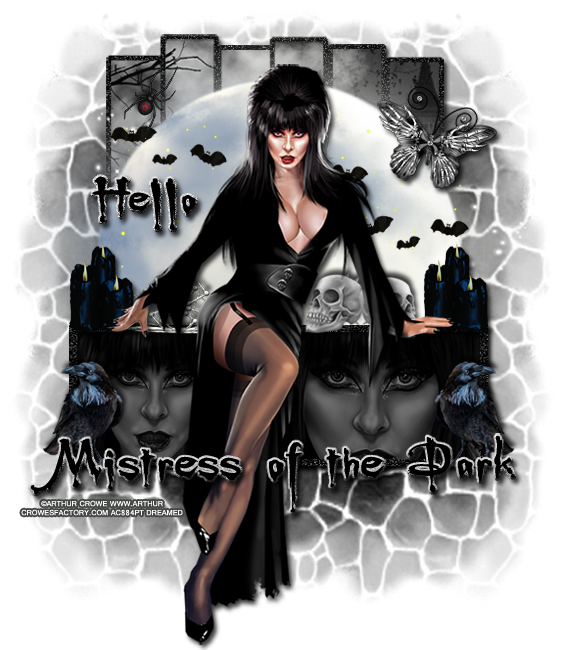
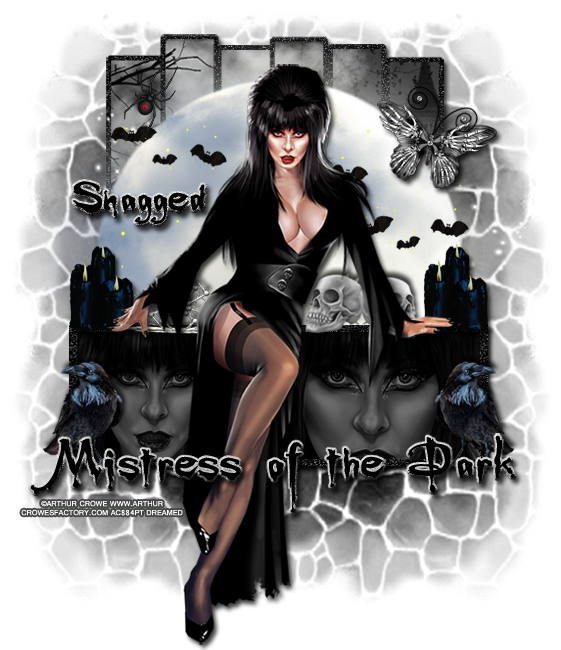
Here are free snags!
Thank you for coming by!