
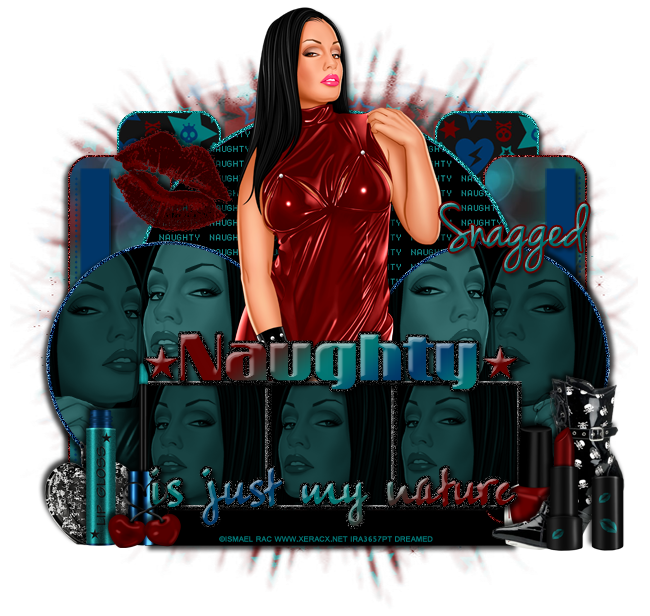
PTU tutorial using 2013 Sexy Pose by Ismael Rac!
You can purchase the gorgeous tube and matching kit HERE!

**This tutorial was written by me and any resemblance is purely coincidental. It is written for those with a working knowledge of Photoshop.**
Supplies
Font
Mask of Choice
Scrap Kit
Template
Tube
*You must obtain a license to use this tube.*
Elements
1
10
17
23
24
27
28
Papers
2
10
11
Let's start!
Open a new canvas, size 650x650.
Open the template and resize. Delete the copyright and back layer.
Select the pixels of the thin rectangle and fill with black.
Take paper 11 and place it over rounded edge rectangle1. Resize and create a clipping mask.
Duplicate paper 11 and place it over rounded edge rectangle2.
Select the pixels of the first rectangle and add a new layer underneath. Fill with #179797. Add noise and a drop shadow. Do the same for the second rectangle.
Place paper 02 over rounded edge rectangle3. Resize and create a clipping mask.
Duplicate paper 02 and place it over rounded edge rectangle4.
Select the pixels of the third rectangle and add a new layer underneath. Fill with #630100. Add noise and a drop shadow. Do the same for the fourth rectangle.
For Dotted Lines 1 & 2 change the color to #013668.
For thin rectangle 1 & 2 add a drop shadow and change the color to #013668.
Select the pixels of the circle and fill with black.
With the pixels of the circle still selected, fill with #179797, add noise, and a drop shadow.
In blending options, change the color of color overlay of the Pixel words to #179999.
Select the pixels of circle back1 and fill with #013668. Add noise and a drop shadow. Repeat the steps for circle back2.
Place the tube behind the wordart and frame and in front of the smaller circles. Resize and add a drop shadow.
Place two close ups of the tube in the small circle1. Set them to Luminosity and different opacities.
Duplicate the black circle and move it above the two tube copies. Select the pixels of the circle and fill with #179797 and set to Soft Light. Select the layers of the green circle and tube close ups and create a clipping mask to the black circle.
Repeat the same steps for the small circle2.
Do the same steps for the frame back as you did for the small circles.
Select the pixels of the frame and fill with black. Add noise and change to a default bevel.
Add noise to the Wordart Backing and then a drop shadow.
For the Stars and Wordart, add a gradient overlay using these three colors: #013668, #037673, #630100. Add bevel: change the gloss contour to Rounded Steps and change the shadow to white.
Take elements10, 23, and 28 place them on the right side of the frame. Place the nail polish first, flip horizontally, then the booth in front, and then the lipstick in front of the boot. Resize and add a drop shadow.
Take elements 1, 24, and 27 and place them on the left side of the frame. Place 24 and resize then place 27 and then 01 in front. Resize and add a drop shadow.
Place element 17 to the left of the tube toward the top left hand corner. Resize and add a drop shadow.
Name
Main color is #006f6f.
Add a stroke, size 2, in #630100. Add a drop shadow.
Add bevel: change the gloss contour to Rounded Steps and change the shadow to white.
Mask
Open a new canvas, size 600x600.
Open paper 10 and resize to 600x600. Place on top of the canvas.
Open the mask and move on top of the paper.
Remove the white background and place the mask behind the tag.
Make it evenly stretched on all sides.
Add your tagger mark and copyright information.
Crop off any extra canvas.
Save as a .psd & .png.
Here are free snags!
Thank you for coming by!
