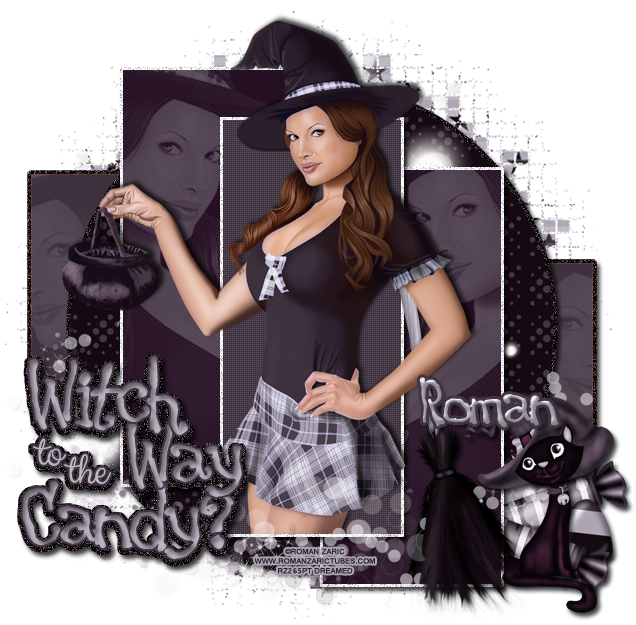
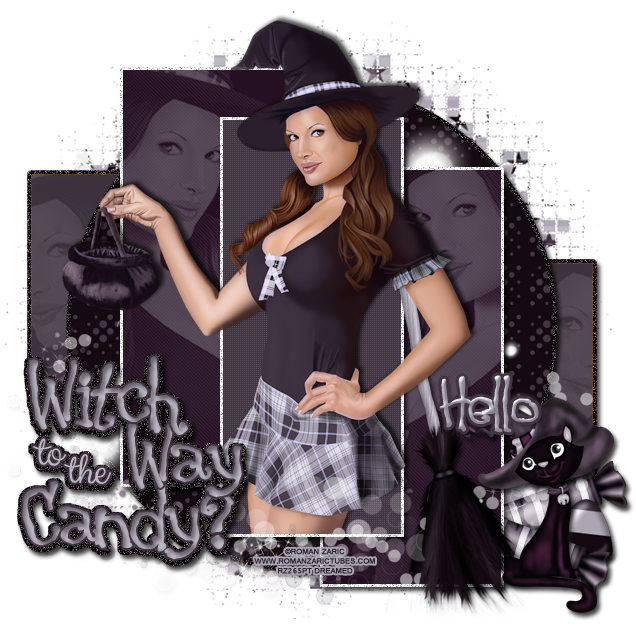
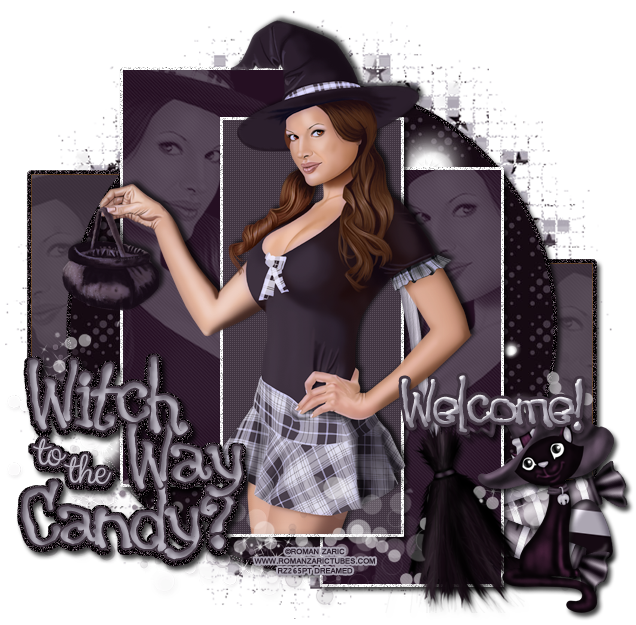
PTU tutorial using Sexy Halloween by Roman Zaric!
You can purchase the tube and the matching kit HERE soon!
**This tutorial was written by me and any resemblance is purely coincidental. It is written for those with a working knowledge of Photoshop.**
Supplies
Font
Mask
Scrap Kit
Template
Tube
*You must obtain a license to use this tube.*
Elements
2
5
12
21
23
25
Papers
2
9
Let's start!
Open a new canvas, size 650x650.
Open the template and select all layers. Move it on to the canvas.
Resize the template as needed.
The frames around the three rectangles in front will remain white. Add noise to each one, around 15%.
Fill rect 1 with #403440. Add a drop shadow.
Fill rect 2 and 3 with #250f22. Add a drop shadow.
Place paper 9 over the circle. Resize and create a clipping mask.
Fill rect 4 and 5 with #413541.
With rect 4 & 5 and the circle, select the pixels of each one and expand by 4. Add a layer underneath and fill with #150a12. Add noise to each one and then a drop shadow.
Place the tube over rect 1 and resize. Erase or cut off the bottom of the tube that sticks over the frame of rect 1. Add a drop shadow.
Take the tube again and place copies in each of the rectangles. Change each one to luminosity.
For rect 2 & 3, change the opacity to 50% and fill to 40%.
For rect 4 & 5, change the opacity 30% and 40%.
Place the broom behind the tube and flip horizontally. Lean it against rect 1 and resize. Add a drop shadow.
Next to the broom, place the cat. Flip horizontally and resize. Add a drop shadow.
Take 21 and 12 and place them behind the cat. Duplicate both a couple of times and resize. Add a drop shadow to each one.
Place 23 over the tube. Resize.
Place 25 between the three rectangles in front and the circle. Resize and erase anything that lays over the tube's face.
The word art should be placed over the lower left hand corner of the template.
For the word art, use the same colors from the name, but add an inner shadow. Select the pixels by 3 or 4 and then add a bottom layer. In the bottom layer, fill with #150a12 and add noise. Add a drop shadow to the noise layer.
You can download the word art here!
Name
Main color is #bdb9c4.
Add a stroke, size 3, in #413541.
Add a drop shadow.
Add a bevel.
Change to Cove Deep and change the shadow to #413541.
Mask
Open a new canvas, size 600x600.
Open paper 2 and resize to 600x600. Place on top of the canvas.
Open the mask and move on top of the paper.
Remove the white background and place the mask behind the tag.
Make it evenly stretched on all sides.
Add your tagger mark and copyright information.
Crop off any extra canvas.
Save as a .psd & .png.
Here are free snags!
Thank you for coming by!


