
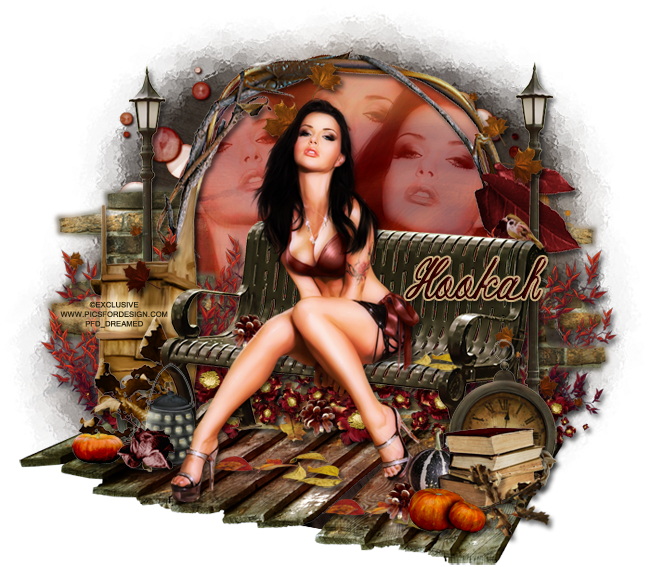
PTU tutorial using Summer's Dying Wish by Jackie's Jewels!
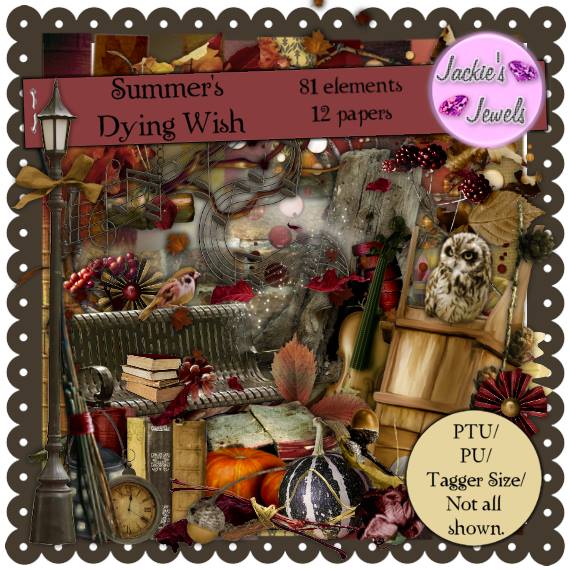
You can purchase the gorgeous kit HERE!
**This tutorial was written by me and any resemblance is purely coincidental. It is written for those with a working knowledge of Photoshop.**
Supplies
Font
Mask
Scrap Kit
Tube
*You must obtain a license to use this tube.*
Elements
Bench
Bird
Books2
BrickWall
Brush
Cart
Dots
FallingLeaves
FlowerScatter
Frame1
Lantern1
Leaves2
Leaves3
Leaves4
Path
PineCone
Pumpkin1
Pumpkin2
Pumpkins
Rose1
Rose2
ScatteredLeaves
StreetLamp
Watch
Papers
1
4
Let's start!
Open a new canvas, size 650x650.
Place the bench on the canvas. Resize and add a drop shadow.
Place the path underneath the bench and resize.
Place the tube on the bench. Resize and add a drop shadow.
Move frame1 behind the bench and path. Resize and add a drop shadow.
Take the brick wall and place it between the bench and frame and also behind it.
Now take the brush and place a couple copies on each side of the bench. Resize and add a drop shadow to each one.
To the left of the bench and in front of the brush, place the cart. Rotate and resize so it appears to be leaning against the brick wall and frame. Add a drop shadow.
Now place the street lamp behind the cart. Resize and add a drop shadow.
Duplicate the street lamp and move it between the bench and frame on the right side.
In front of the bench on the right side, place books2 and flip horizontally. Resize and add a drop shadow.
Place the watch behind the books. Resize and add a drop shadow.
Between the books and watch, place rose 2. Resize and add a drop shadow.
To the left of the books, place pumpkin1. Resize and add a drop shadow.
In front of the books, place leaves3 and flip horizontally. Resize and add a drop shadow.
In front of the leaves, place the pumpkins. Resize and add a drop shadow.
To the left of the pumpkins, place a pine cone. Resize and add a drop shadow.
On the left side of the bench, place the lantern and flip horizontally. Resize and add a drop shadow.
Place rose1 in front of the lantern. Resize and add a drop shadow.
To the left of the lantern, place pumpkin2. Resize and add a drop shadow.
Between the lantern and the cart, place leaves 2. Resize and add a drop shadow.
Take the falling leaves and place them over the left side. Resize and add a drop shadow.
Duplicate the leaves and move them on the right side of the tag.
Place the flower scatter below the bench along the brick wall. Duplicate and resize until it covers the length behind the bench. Resize and add a drop shadow.
Place leaves 4 behind the flower scatter to fill any empty space. Resize and add a drop shadow.
Duplicate the pine cone from before and place it in front of the flower scatter below the bench.
Duplicate the pine cone again and place it on the bench to the left of the tube.
Place the scattered leaves on the path to cover some of the empty space between the tube's feet.
Behind the frame, place pp1. Resize and erase anything outside the frame.
Duplicate the paper and change it to Screen.
On the lower paper, place a close up of the tube to the left of her and flip horizontally. Take another close up and place it behind her then place another copy to the left of her. Resize all so they're not too big and mask them to the paper.
Change the three copies to Luminosity and drop the opacity to 40%.
Place the dots behind the frame. Resize and add a drop shadow.
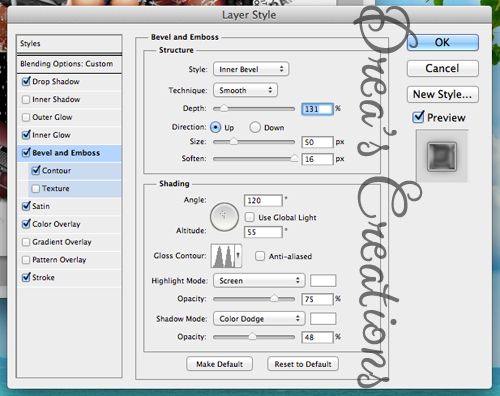
Name
Main color is #400101.
Add a stroke, size 2, in #cbac7e.
Add a drop shadow.
Add these bevel settings:
Mask
Open a new canvas, size 600x600.
Open paper 4 and resize to 600x600. Place on top of the canvas.
Open the mask and move on top of the paper.
Remove the white background and place the mask behind the tag.
Make it evenly stretched on all sides.
Add your tagger mark and copyright information.
Crop off any extra canvas.
Save as a .psd & .png.
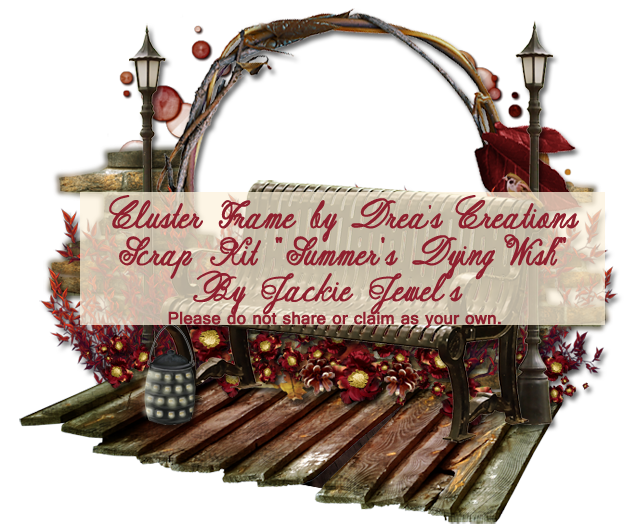
Here's a free cluster frame!
Click the preview to download.
Please leave some love when you download!
Check out all of Jackie's Jewels kits soon. They're all 35% off!!

Thanks for coming by!
