Showing posts with label Free Cluster Frame. Show all posts

Saturday, September 7, 2013

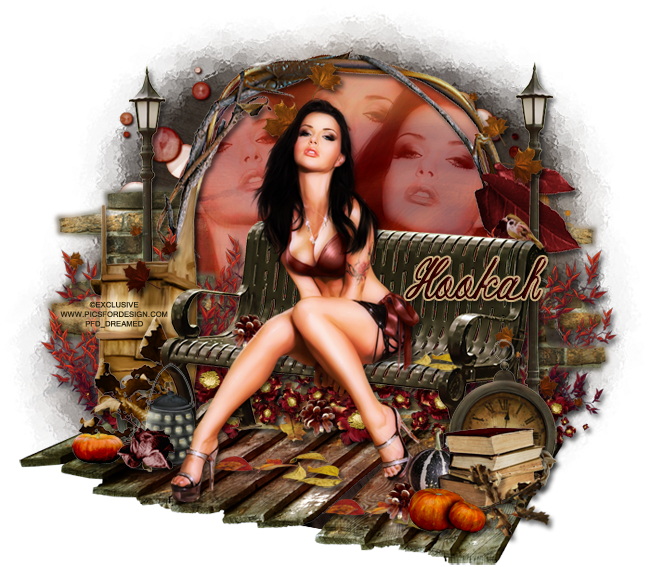
PTU Tutorial - Summer's Dying Wish!

PTU tutorial using Summer's Dying Wish by Jackie's Jewels!
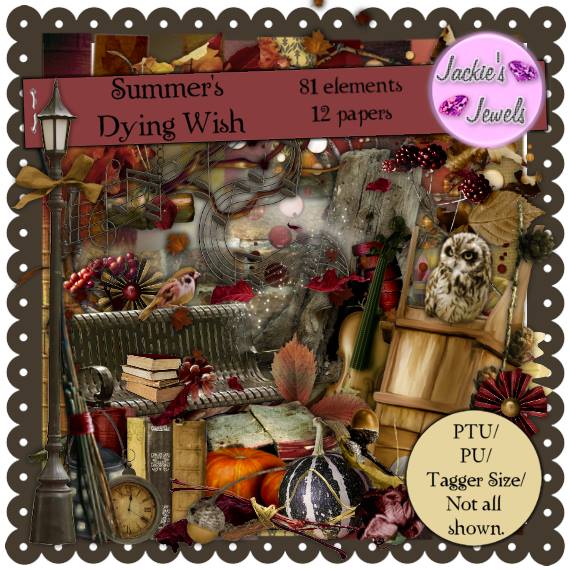
You can purchase the gorgeous kit HERE!
**This tutorial was written by me and any resemblance is purely coincidental. It is written for those with a working knowledge of Photoshop.**
Supplies

Font

Mask

Scrap Kit

Tube
*You must obtain a license to use this tube.*

Elements
Bench
Bird
Books2
BrickWall
Brush
Cart
Dots
FallingLeaves
FlowerScatter
Frame1
Lantern1
Leaves2
Leaves3
Leaves4
Path
PineCone
Pumpkin1
Pumpkin2
Pumpkins
Rose1
Rose2
ScatteredLeaves
StreetLamp
Watch
Papers
1
4

Let's start!
Open a new canvas, size 650x650.
Place the bench on the canvas. Resize and add a drop shadow.
Place the path underneath the bench and resize.
Place the tube on the bench. Resize and add a drop shadow.
Move frame1 behind the bench and path. Resize and add a drop shadow.
Take the brick wall and place it between the bench and frame and also behind it.
Now take the brush and place a couple copies on each side of the bench. Resize and add a drop shadow to each one.
To the left of the bench and in front of the brush, place the cart. Rotate and resize so it appears to be leaning against the brick wall and frame. Add a drop shadow.
Now place the street lamp behind the cart. Resize and add a drop shadow.
Duplicate the street lamp and move it between the bench and frame on the right side.
In front of the bench on the right side, place books2 and flip horizontally. Resize and add a drop shadow.
Place the watch behind the books. Resize and add a drop shadow.
Between the books and watch, place rose 2. Resize and add a drop shadow.
To the left of the books, place pumpkin1. Resize and add a drop shadow.
In front of the books, place leaves3 and flip horizontally. Resize and add a drop shadow.
In front of the leaves, place the pumpkins. Resize and add a drop shadow.
To the left of the pumpkins, place a pine cone. Resize and add a drop shadow.
On the left side of the bench, place the lantern and flip horizontally. Resize and add a drop shadow.
Place rose1 in front of the lantern. Resize and add a drop shadow.
To the left of the lantern, place pumpkin2. Resize and add a drop shadow.
Between the lantern and the cart, place leaves 2. Resize and add a drop shadow.
Take the falling leaves and place them over the left side. Resize and add a drop shadow.
Duplicate the leaves and move them on the right side of the tag.
Place the flower scatter below the bench along the brick wall. Duplicate and resize until it covers the length behind the bench. Resize and add a drop shadow.
Place leaves 4 behind the flower scatter to fill any empty space. Resize and add a drop shadow.
Duplicate the pine cone from before and place it in front of the flower scatter below the bench.
Duplicate the pine cone again and place it on the bench to the left of the tube.
Place the scattered leaves on the path to cover some of the empty space between the tube's feet.
Behind the frame, place pp1. Resize and erase anything outside the frame.
Duplicate the paper and change it to Screen.
On the lower paper, place a close up of the tube to the left of her and flip horizontally. Take another close up and place it behind her then place another copy to the left of her. Resize all so they're not too big and mask them to the paper.
Change the three copies to Luminosity and drop the opacity to 40%.
Place the dots behind the frame. Resize and add a drop shadow.
 Name
Main color is #400101.
Add a stroke, size 2, in #cbac7e.
Add a drop shadow.
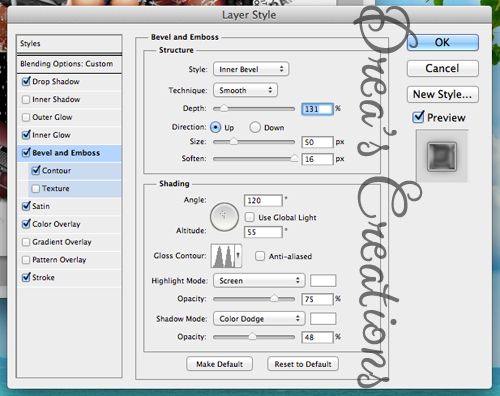
Add these bevel settings:
Mask
Open a new canvas, size 600x600.
Open paper 4 and resize to 600x600. Place on top of the canvas.
Open the mask and move on top of the paper.
Remove the white background and place the mask behind the tag. 
Make it evenly stretched on all sides.

Add your tagger mark and copyright information.
Crop off any extra canvas.
Save as a .psd & .png.

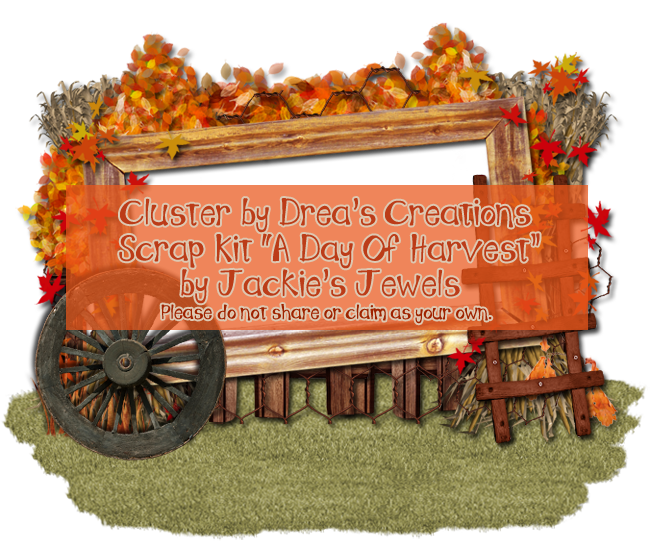
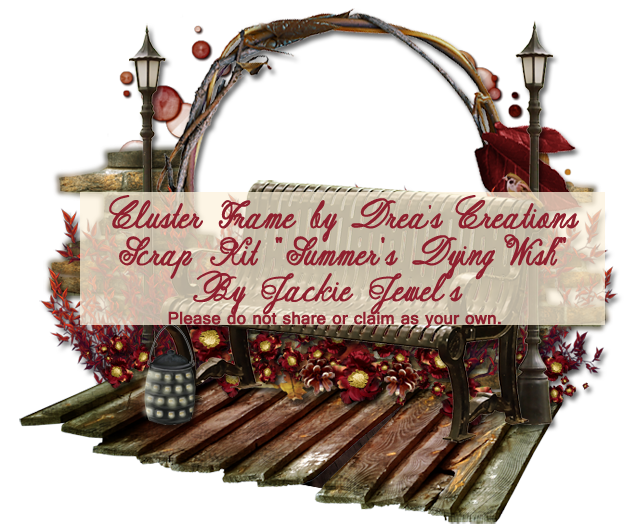
Here's a free cluster frame!
Click the preview to download.
Please leave some love when you download!
Check out all of Jackie's Jewels kits soon. They're all 35% off!!
Thanks for coming by!

Tuesday, August 20, 2013

PTU Tutorial - A Day Of Harvest

PTU tutorial using a beautiful kit by Jackie's Jewels called A Day Of Harvest!
You can purchase the kit at the Pimpin' PSPers Warehouse!
**This tutorial was written by me and any resemblance is purely coincidental. It is written for those with a working knowledge of Photoshop.**

Supplies
Font

Scrap Kit

Tube
*You must obtain a license to use this tube.*

Elements
Acorn&Nuts
Acorn
Bird
Branch3
Bursts
ChickenWire
CornStalkBunch
FallingLeaves
Fence
Frame3
Frame5
Grass1
GrassPatch
Hay
Kitty1
Latter
Log
Mushrooms1
Mushrooms2
PineCone1
PumpkinBin
Pumpkins
ScatteredLeaves
Squirrel
Tree3
WagonWheel

Papers
7
10

Let's start!
Open a new canvas, size 650x650.
Place Frame3 on the canvas. Resize and add a drop shadow. 
Place paper10 behind the frame and resize. Erase anything outside the frame.
Place a copy of the fence behind the frame. Resize and duplicate so it covers the backside. Add a drop shadow.
Place a CornStalkBunch behind the fence and frame on the right side. Resize and add a drop shadow. 
Duplicate the bunch and place it on the left side.
Take the chicken wire and place it on the lower right side behind the frame. Resize the wire so just a little peeks out. Add a drop shadow.
Duplicate the wire and move it to the left side so a little peeks out there too. 
Take a full size copy of the wire and place it so it's between the fence and frame at the bottom. Resize and add a drop shadow. 
Take another copy of the wire and place it toward the top of the frame so just a little sticks out behind it.
Resize and add a drop shadow. 
Take Tree3 and place it behind the frame on the right side. Have a little stick out the top and to the side. Resize and add a drop shadow. 
Duplicate the tree and flip horizontally. Place it on the left side. Only have this one stick out the top. Duplicate the tree again and have a little stick out the side of the frame. Resize and add a drop shadow. 
Now take another copy of the tree and flip 90° CW so the long flat side is behind everything. It should cover the empty space behind the chicken wire and between the cornstalk bunches.
Below everything, place a grass patch. Duplicate the grass until it covers the front of the tag. Rotate as needed.
Take a close up of the tube and place it on the paper behind the frame. Make one larger close up and one smaller close up. Change both to Luminosity and drop fill to 15%. Duplicate the paper behind the frame and move it on top of the tubes and change it to SoftLight.
Place the full size tube in front of the frame on the left. Resize and add a drop shadow. 
Behind the tube on the left, place the wagon wheel. Resize and add a drop shadow. 
Set the bird on top of the wheel. Resize and add a drop shadow. 
Place a copy of grass1 behind the wheel so a little peeks out the left side. 
In front of wheel, place mushrooms2. Resize and add a drop shadow. 
Place the pumpkins in front of the wheel and a little behind the tube. Resize and add a drop shadow. 
Place the FallingLeaves behind the tube and wheel. Resize and make it so it just to the left of the frame. Add a drop shadow. Duplicate the leaves and place it on the right side of the frame.
Behind the FallingLeaves, place the ladder. Resize and add a drop shadow. 
Place the log in front of the ladder. Resize and add a drop shadow. 
Place the branch behind the ladder at the bottom. Resize and add a drop shadow. 
Place Pinecone1 at the base of the ladder. Resize and add a drop shadow. 
Move Kitty1 in front of the log. Resize and add a drop shadow. 
Along the front of the log, place scattered leaves. Resize and add a drop shadow. 
At the left end of the log, place Mushrooms2. Resize and add a drop shadow. 
Move pumpkins behind the log. Resize and add a drop shadow. 
To the left of the pumpkins, place the hay. Resize and add a drop shadow. 
In front of the hay and behind the tube, place the pumpkin bin. Resize and add a drop shadow. 
Place more scattered leaves in front of the bin. Resize and add a drop shadow.
To the left of the bin and a little behind the tube, place a duplicate copy of the Mushrooms1 from in front of the wheel. 
In front where the hay and pumpkins meet, place the acorn & nuts. Resize and add a drop shadow. 
Take a side from Frame5 and lay it along the bottom the of the frame. Erase anything that sticks off the frame. Add a drop shadow in #870f10.
Along the elements at the bottom, place several copies of Grass1 in between the elements. Resize each copy appropriately and add a drop shadow.
In front of the pumpkin bin, place the squirrel. Resize and add a drop shadow. In front of the squirrel, place the acorns. Resize and add a drop shadow. 
Take the Bursts and lay them around the tag. Make sure nothing covers the tube or the middle of the frame. Duplicate and resize as needed.

Mask
Open a new canvas, size 600x600.
Move paper 7 on to the blank canvas. 
Open the mask and move on top of the paper.
Remove the white background and place the mask behind the tag. 
Make it evenly stretched on all sides, but not hang off the canvas.

 Name
Main color is #e07921.
Add a stroke, size 2, in color #f8cab2.
Select the pixels of the name and expand by 2.
Make a new layer below the name and fill it with #a31f00.
Add noise and add a drop shadow.

Add your tagger mark and copyright information.
Crop off any extra canvas.
Save as a .psd & .png.
We're done :)

Here is a free cluster frame:
You can download it HERE.

Thank you for coming by!

Friday, August 2, 2013

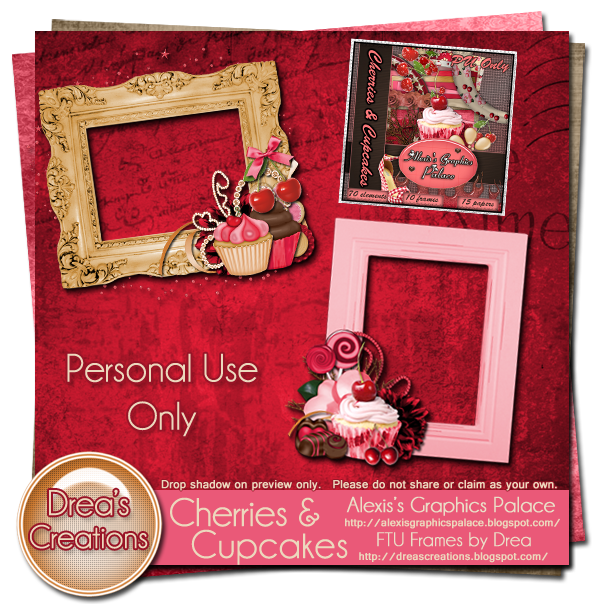
FTU Cluster Frames using Cherries & Cupcakes!

New cluster frames using Cherries & Cupcakes by Alexis's Graphics Palace!
Check out her blog here.

This kit was inspired by the new Anna Marine tube 47-3. 
You can purchase her here.

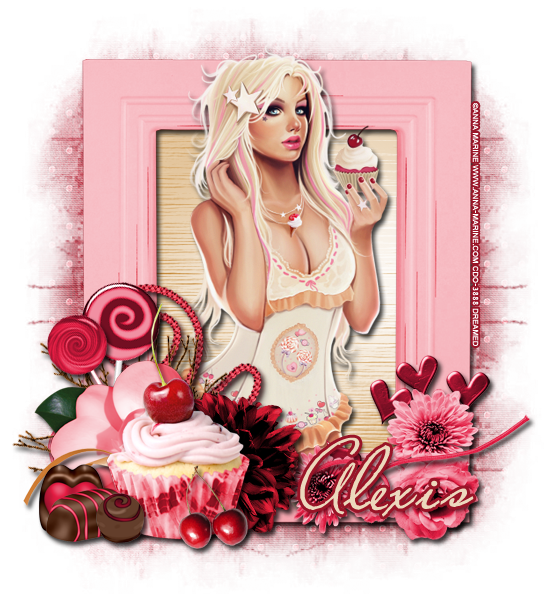
And here are the tags I made for Alexis
Please leave some love when you download! 
Thank you for coming by :)

Monday, July 22, 2013

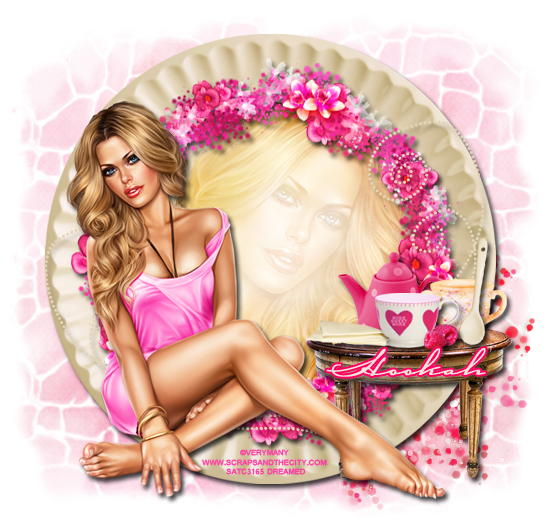
PTU Tutorial - Tea Party Dream

PTU tutorial using Tea Party Dream by Jackie's Jewels!
You can purchase the kit here!!

**This tutorial was written by me and any resemblance is purely coincidental. It is written for those with a working knowledge of Photoshop.**

Supplies
Font
Carlotta

Mask

Scrap Kit
Tea Party Dream

Tube
*You must obtain a license to use this tube.*

Elements
CircleScatter
DottedArt
Frame1
Frame4
Napkin
Rasberry1
Rasberry2
Spoon
SugarBowl
Table
TeaCup
TeaPot2

Papers
2
10

Let's start!
Open a new canvas, size 650x650.

Move Frame1 on to the canvas. Resize & add a drop shadow.
Place paper2 behind the frame. Resize and erase anything outside the frame.
Place Frame4 on top of Frame1. Resize so it meets the opening of the inside of Frame1. Add a drop shadow.
On top of Frame4, place the DottedArt vertically then resize. Duplicate the art and place it horizontally at the bottom of the frame and behind the tube.
Move the table in front of the frame on the right. Resize & add a drop shadow.
On top of the table:
Place the SugarBowl and resize.
Rest the Spoon against the SugarBowl and resize.
Move Teapot2 behind the SugarBowl and resize.
Place the Teacup in front of the SugarBowl & Teapot and resize.
To the left of the teacup place the napkin and resize.
Now take one of each of the raspberries and move them between the teacup and sugarbowl.
Place the CircleScatter behind the frame and table and resize. 

Place the tube in front of everything and resize. Add a drop shadow.
Take the full size tube and move her behind the frames and on top of the paper. Resize a little and change it to overlay. Create a clipping mask to the paper.

 Name
Main color is #f0e3d7.
Add a drop shadow.
Add a stroke, size 2, #ff0062.

Mask
Open a new canvas, size 600x600.
Open Paper10 and resize to 600x600. and move on top of the canvas.
Open the mask and move on top of the paper.
Remove the white background and place the mask behind the tag. Make it evenly stretched on all sides.

Add your tagger mark and copyright information.
Crop off any extra canvas.
Save as a .psd & .png.
We're done :)

Grab the cluster frame below!

Please leave some love before you download!

Monday, July 15, 2013

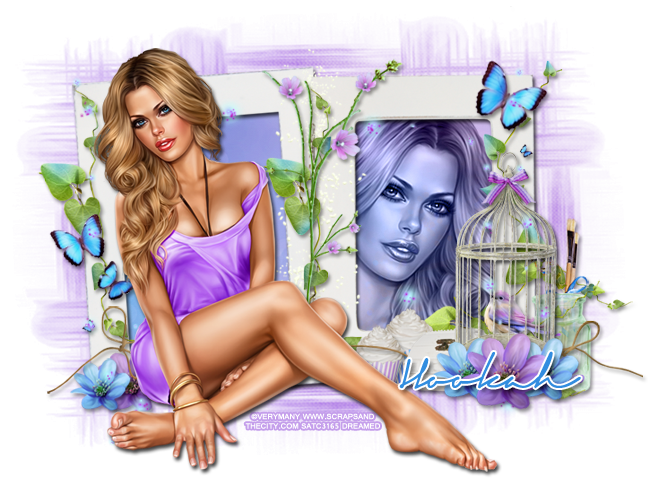
PTU Tutorial with The First Day of Spring!

I have a new PTU Tutorial using The First Day of Spring by Jackie's Jewels!
You can purchase it from the Pimpin' PSPers Warehouse.

**This tutorial was written by me and any resemblance is purely coincidental. It is written for those with a working knowledge of Photoshop.**

Supplies
Font

Mask

Scrap Kit
by Jackie's Jewels

Tube
Cassandra by Verymany
*You must obtain a license to use this tube.*

Elements
Bird2
Bow1
Box
Brushes
Butterflies
Cage
Cupcake1
Cupcake2
FloatingPetals
Flower1
Flower2
FlowerStem
Frame5
JarofFlowers
LightScatter
String
Vine
Vine2

Papers
3
6

Let's begin!
Open a new canvas, size 650x650.
Move Frame5 on to the canvas. Resize & add a drop shadow.
Place Paper6 behind the frame. Resize and erase anything outside the frame.

Move the tube in front of the frame on the left. Resize & add a drop shadow.
Take another copy of the tube and place it behind the frame and on top of the paper. Flip horizontally and change to luminosity.

On the right side of the frame place the Cage. Resize & add a drop shadow.
Place the Bow on top of the Cage toward the point. Resize & add a light drop shadow.
Move Bird2 behind the cage. Resize and position it where you want it then erase the vertical bars of the cage in the back. This way the bird will appear to be inside the cage. Add a drop shadow.

In front of the cage at the bottom place Flower 2 then Flower 1 and then Flower 2 again. Resize so the blue flowers are smaller than the purple flower. Add a drop shadow to each flower.
Behind the tube and to the left of her, place Flower1 and then Flower 2 right next to it and to the left. Make Flower1 larger than Flower2. Resize and add a drop shadow.

Behind the cage on the right place the JarofFlowers. Resize & add a drop shadow.
Behind the JarofFlowers place the Brushes. Resize & add a drop shadow.

Behind the cage on the left side place the Box. Resize & add a drop shadow.
Behind the box place Cupcake1 & Cupcake2. Place Cupcake1 in front of Cupcake2 so Cupcake1 is behind the tube. Resize & add a drop shadow.

Take Vine 2 and place it behind everything  and on top of the frame. Rotate and resize it so it is vertical in the middle of the frame and covers a little behind the cage. Add a drop shadow.
Move another copy of Vine2 on the left vertical side of the frame. Make it similar to the one in the middle. Resize & add a drop shadow.

Move the Vine behind everything around the cage. Have the bulk of the vines cover empty space behind the flowers and cage. Resize & add a drop shadow.

Place the String behind the tube. Resize & add a drop shadow. It should be intertwined with other elements.

Move the FlowerStem to the middle of the frame behind the tube. Move it on top of the Vine2 later. Resize, flip horizontally, & add a drop shadow.

Between the Vine2 and the FlowerStem in the middle of the frame, place the floating petals. Rotate or flip so it is vertical and resize.

Move the LightScatter behind the tube on the left. Resize so just little pieces are seen here and there around the vine. Erase any parts outside the frame.
Take another copy of the LightScatter and move it to the right side. Flip it horizontally and move around so you can see it in the cage and around the vines. Erase any parts covering the tube's face and outside the frame.

Place the Butterflies behind the tube on the left in the bottom corner. Use two of the medium size butterflies and one tiny one. Resize & add a drop shadow.

Move another copy of the butterflies over on the right side up of the frame toward the upper corner. Use the larger butterfly and the tiny one. Resize & add a drop shadow.

Mask
Open a new canvas, size 600x600.
Open Paper3 and resize to 600x600. Move on to the canvas.
Open the mask and make sure it's 600x600 and move on top of the paper.
Remove the white background and move it behind the frame. Resize and stretch so it's evenly outside the frame on all side.

Name
Font is Signerica Fat
Main color is #328ddf.
Add a drop shadow and a stroke, size 2, in white.

Crop off any extras.
Save as .psd & .png.


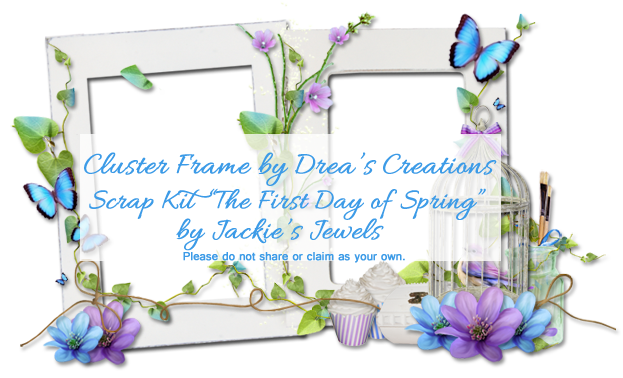
You can download the cluster frame below!
Click cluster preview to download.


Please leave some love when you download :)
Thanks for coming by!

New Name, New Blog!

Hello friends! I have decided to change my designer name to reflect that I make kits more than I do CT work. I made a new blog so the old links for this blog will remain active for future visits. Please visit me at Drea's Designs ! I'll see you there!
Related Posts Plugin for WordPress, Blogger...