*Coming Soon!*
PTU tutorial using Mushroom Fairy by Arthur Crowe with the matching kit by Irish Princess Designs!

Purchase them both here!
**This tutorial was written by me and any resemblance is purely coincidental. It is written for those with a working knowledge of Photoshop.**
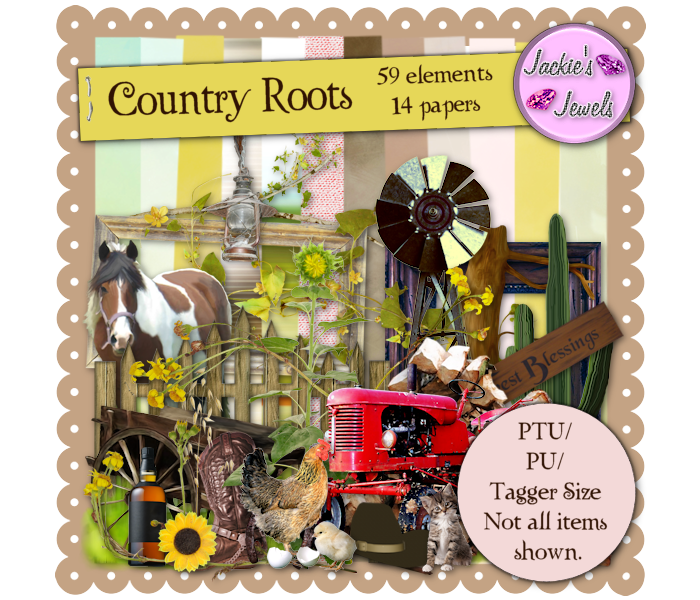
Scrap Kit
Tube
*You must obtain a license to use this tube.*
Elements
book
chest
dragonflies
grass
harp
leaves
light plant
mushroom
plant
sparkles
swing
window
Papers
2
8
Let's start!
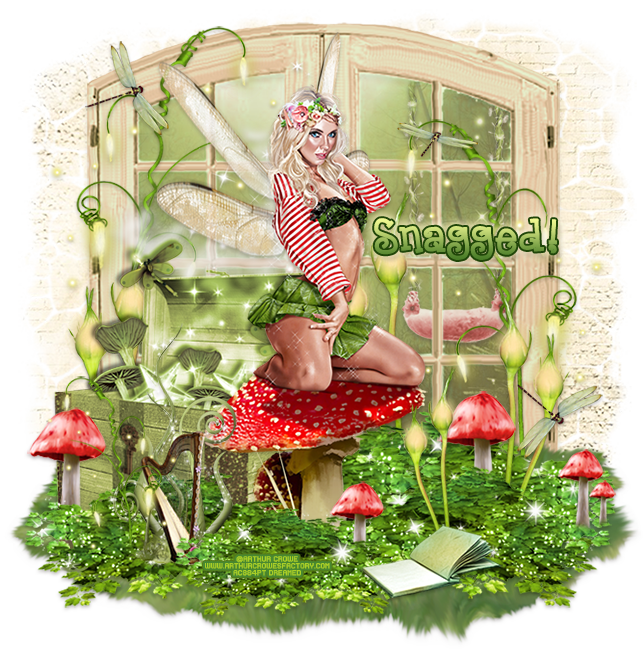
Open a new canvas, size 650x650.
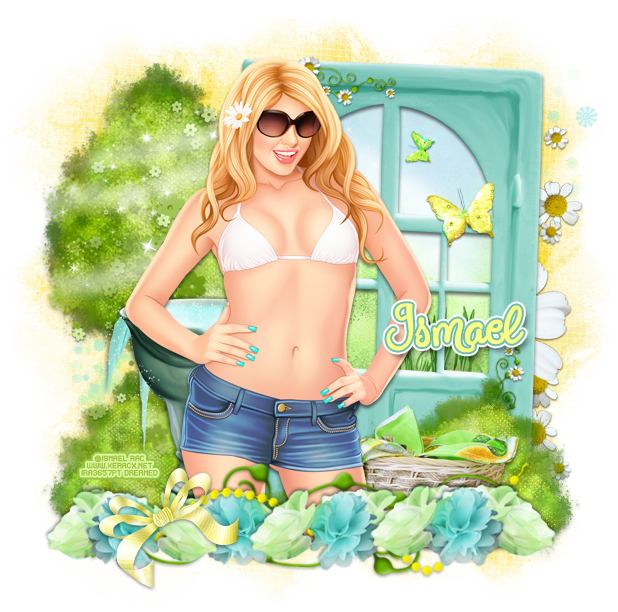
Place the window on the canvas. Resize and add a drop shadow.
Place the tube in front of the window. Resize and add a drop shadow.
Around the tube in front of the window, place the leaves until the "ground" is filled in.
Take the sparkles and place a few sparkles on each patch of leaves. Create a clipping mask with the sparkles to the leaves.
Underneath the leaves place the grass until the bottom of the leaves is laying on top of the grass.
To the left and behind the tube, place the chest. Resize and add a drop shadow.
In front of the tube and chest, place the harp. Resize and add a drop shadow.
Place a few copies of the light plant behind the tube along the window. Resize and add a drop shadow.
Take another copy of the light plant and place smaller copies in front of the tube in and out of the leaves.
Place two larger copies of the plant against the window. Place one on each side of the window. Resize and add a drop shadow.
Place a smaller copy of the plant in between the chest and harp. Resize and add a drop shadow.
Place the mushroom in the leaves. Place four or five in different areas and different sizes. Resize and add a drop shadow.
In front of the tube on the leaves place the book and flip horizontally. Resize and add a drop shadow.
Place paper 8 behind the window. Resize and erase anything outside of it.
Between the paper and the window on the right place the swing. Resize and add a drop shadow.
On top of the everything place the fireflies. Move them around so the placement isn't crowding one area. Resize and add a drop shadow.
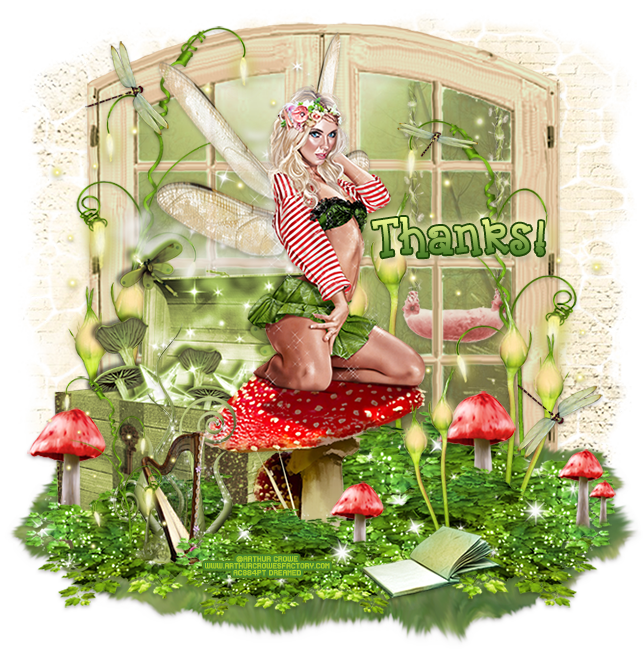
Add your tagger mark and copyright information.
Crop off any extra canvas.
Save as a .psd & .png.
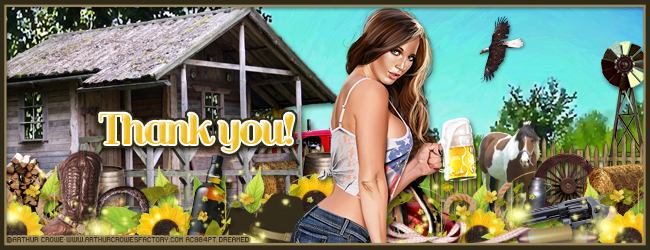
Free snags!
Thank you for coming by!