Showing posts with label Irish Princess Designs. Show all posts

Wednesday, May 21, 2014

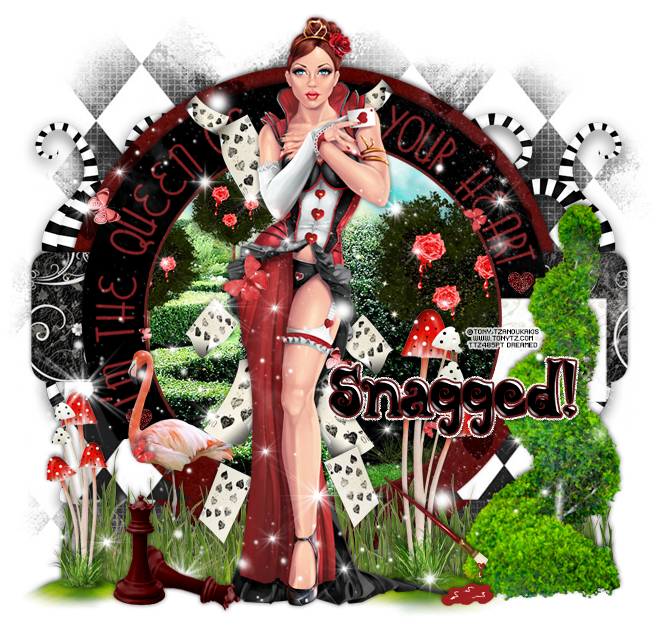
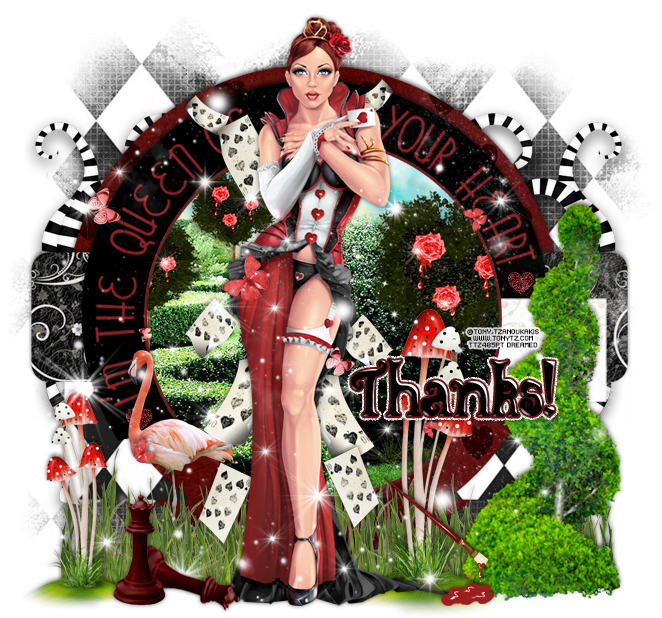
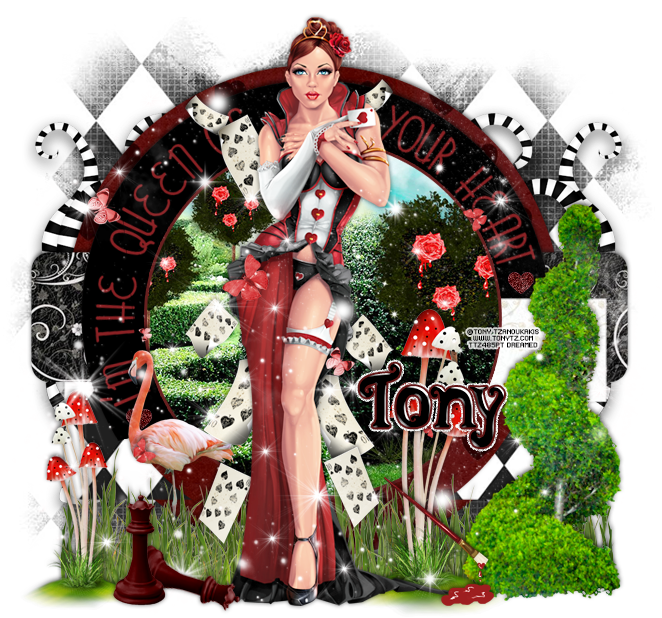
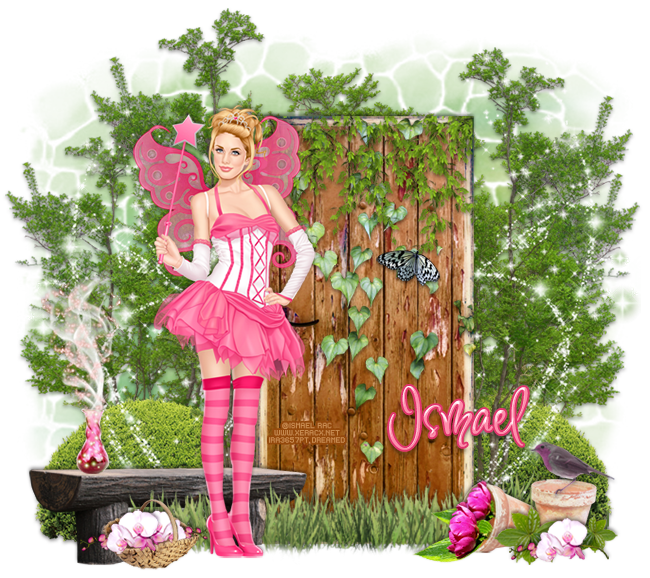
PTU Tutorial - Queen of Hearts by Tony T

**This tutorial was written by me and any resemblance is purely coincidental. It is written for those with a working knowledge of Photoshop.**

Scrap Kit

Template

Tube
*You must obtain a license to use this tube.*

Elements
Butterflies
Cards
Flamingo
Grass 
Mushrooms
Paint Brush 
Queen
Shrub
Sparkles
Swirl
Papers
1
2
6
11
12

Let's Start!
Open a new canvas, size 650x650.
Open the template and move it on to the canvas. Resize as necessary.
Remove layers 9 and Raster 1.
Add a drop shadow to each layer.
Place paper 1 over layer 1 and create a clipping mask. You'll need to resize it in order to see the hearts.
Duplicate paper 1 and place it over layer 3 as well.
Place paper 2 over layer 2 and resize then create a clipping mask.
Place paper 11 over layer 4 and resize then create a clipping mask.
Change the color of layer 5 and fill with black.
Place paper 12 over layer 6 and resize then create a clipping mask.
You can leave the word art spacing alone if you don't mind the tube overlapping it, but I preferred to space it out around the tube.
Duplicate the word art and erase "your heart" from the first copy and leave the rest. With the second copy erase "I'm the queen of". Now you can move those two around and resize as needed so they are both showing.
Change the color of the word art and hearts to #8b2124.
I also resized layers 10 and 11 (hearts) to a smaller size to accommodate the changes in the word art. Make them the same color as the word art and add a light noise to both.
Place paper 6 over layer 8 and resize then create a clipping mask.
Place the tube in front of the tag in between the word art (if you did the steps above). Resize and add a drop shadow.
Directly behind the tube place the cards. Resize and add a drop shadow.
Duplicate the cards and flip horizontally to fill in the empty space behind the tube.
On top of the tube place the butterflies. Resize and add a drop shadow.
Behind the tube along the ground place the grass. Resize and duplicate to cover the length of the template. Add a drop shadow.
In front of the grass on the right place the shrub. Resize and add a drop shadow.
Between the tube (and behind her) and the shrub place the mushrooms. Resize and add a drop shadow.
In front of the mushrooms and shrub place the paint brush. Resize and add a drop shadow.
To the left of the tube and in front of the grass on the end place a smaller copy of the mushrooms. Resize and add a drop shadow.
Between the tube and the mushrooms on the left place the queen. Resize and add a drop shadow.
Duplicate the queen and rotate it so it's laying down.
Behind the grass on the left place the flamingo. Resize and add a drop shadow.
In front of the template use the grass to fill in empty space. Just duplicate the grass from before and fill in the gaps.
Behind the template on the left and right place the swirl. Flip horizontally, resize, and add a drop shadow.
On top of everything place the sparkles. Duplicate the sparkles and repeat until the tag is covered. Erase anything covering the tube's face and hanging off the tag.
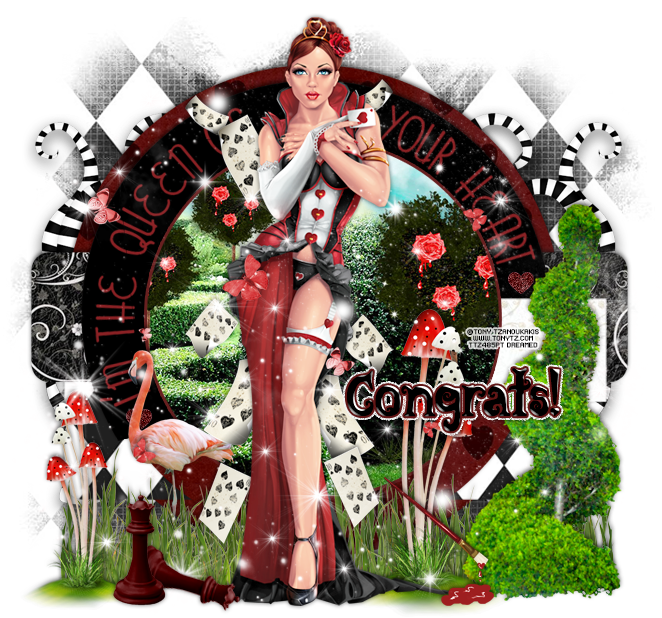
Add your tagger mark and copyright information.
Crop off any extra canvas.
Save as a .psd & .png.

Free snags!
Thank you for coming by!

post signature

Monday, March 31, 2014

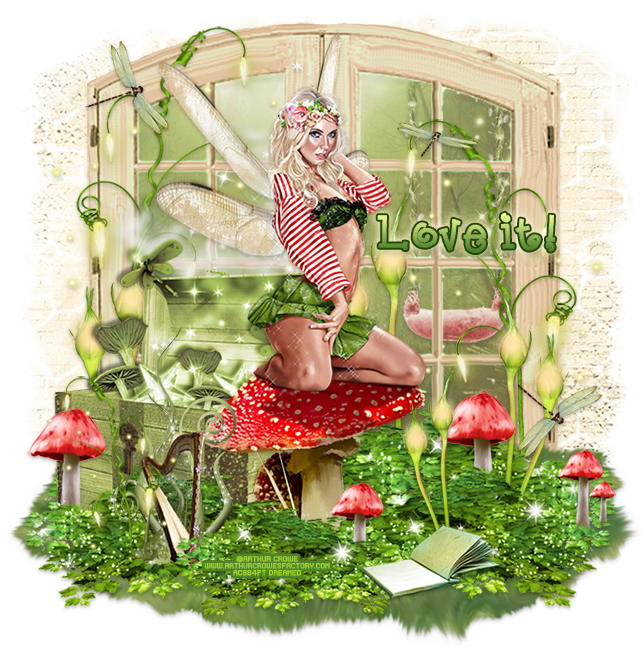
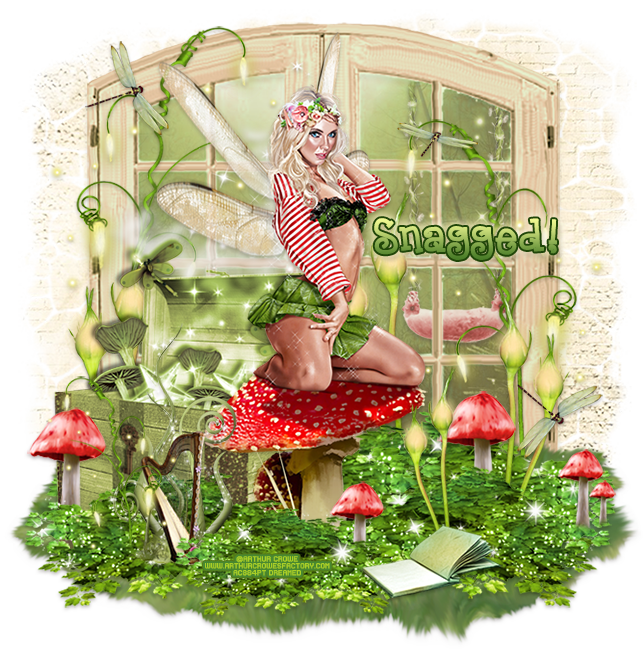
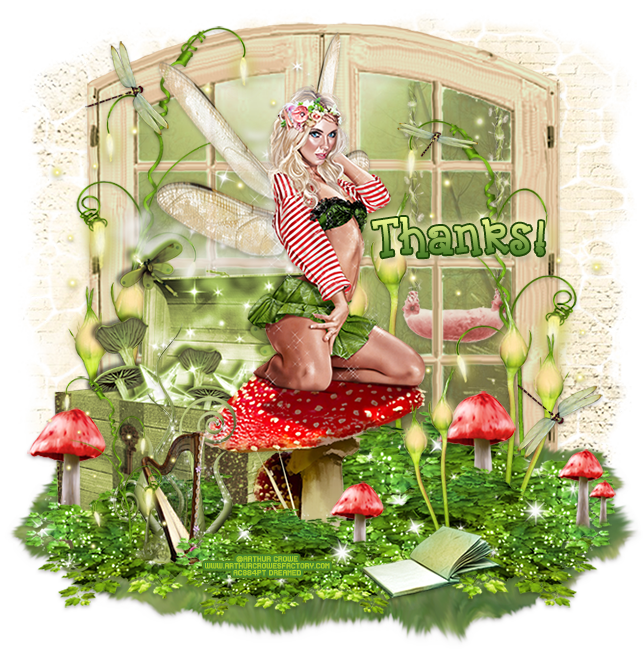
PTU Tutorial - Mushroom Fairy by Arthur Crowe!

*Coming Soon!*
PTU tutorial using Mushroom Fairy by Arthur Crowe with the matching kit by Irish Princess Designs!
Purchase them both here!
**This tutorial was written by me and any resemblance is purely coincidental. It is written for those with a working knowledge of Photoshop.**

Scrap Kit

Tube
*You must obtain a license to use this tube.*

Elements
book
chest
dragonflies
grass
harp
leaves
light plant
mushroom
plant
sparkles
swing
window
Papers
2
8
Let's start!
Open a new canvas, size 650x650.
Place the window on the canvas. Resize and add a drop shadow.
Place the tube in front of the window. Resize and add a drop shadow.
Around the tube in front of the window, place the leaves until the "ground" is filled in.
Take the sparkles and place a few sparkles on each patch of leaves. Create a clipping mask with the sparkles to the leaves.
Underneath the leaves place the grass until the bottom of the leaves is laying on top of the grass.
To the left and behind the tube, place the chest. Resize and add a drop shadow.
In front of the tube and chest, place the harp. Resize and add a drop shadow.
Place a few copies of the light plant behind the tube along the window. Resize and add a drop shadow.
Take another copy of the light plant and place smaller copies in front of the tube in and out of the leaves.
Place two larger copies of the plant against the window. Place one on each side of the window. Resize and add a drop shadow.
Place a smaller copy of the plant in between the chest and harp. Resize and add a drop shadow.
Place the mushroom in the leaves. Place four or five in different areas and different sizes. Resize and add a drop shadow.
In front of the tube on the leaves place the book and flip horizontally. Resize and add a drop shadow.
Place paper 8 behind the window. Resize and erase anything outside of it.
Between the paper and the window on the right place the swing. Resize and add a drop shadow.
On top of the everything place the fireflies. Move them around so the placement isn't crowding one area. Resize and add a drop shadow.
Add your tagger mark and copyright information.
Crop off any extra canvas.
Save as a .psd & .png.

Free snags!
Thank you for coming by!
post signature

Sunday, February 9, 2014

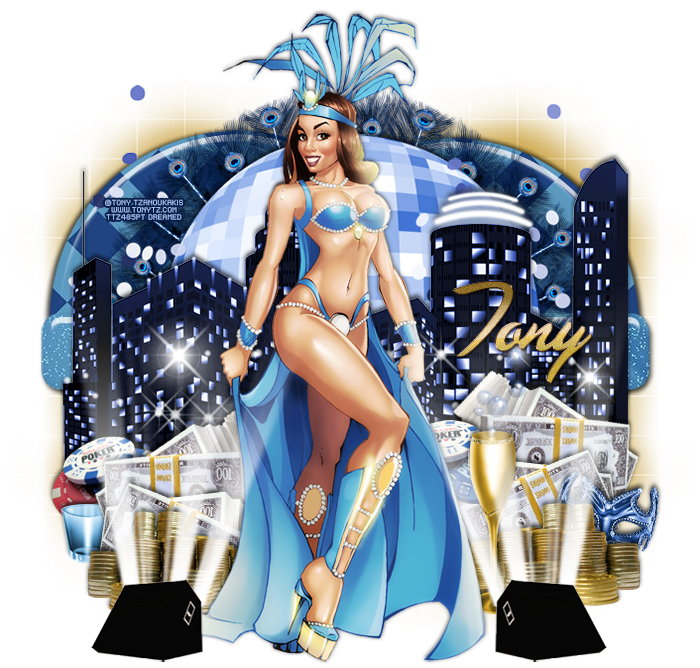
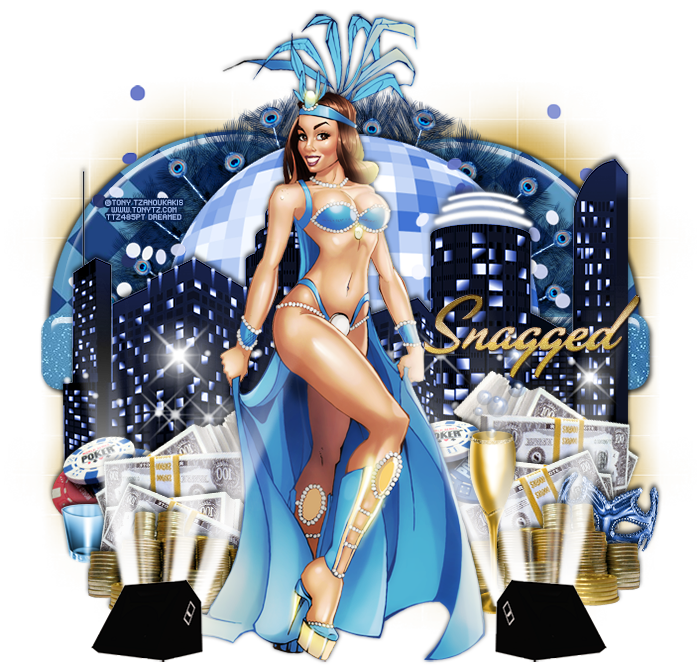
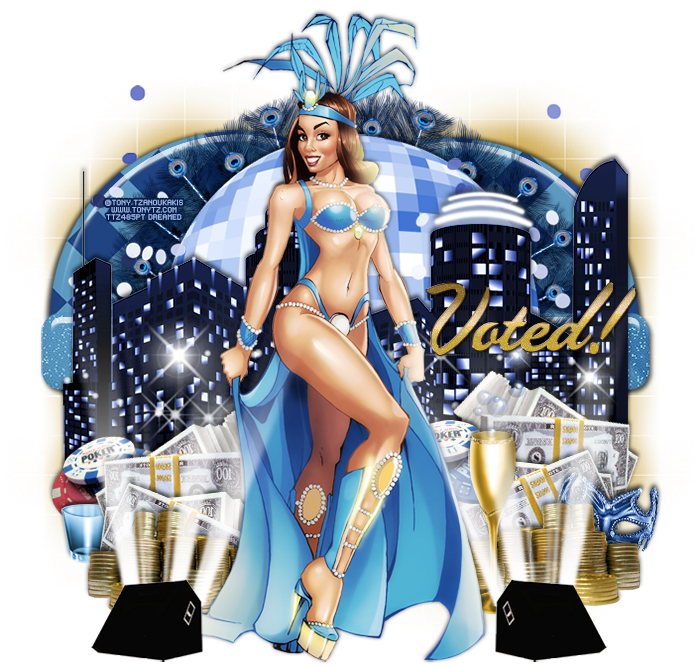
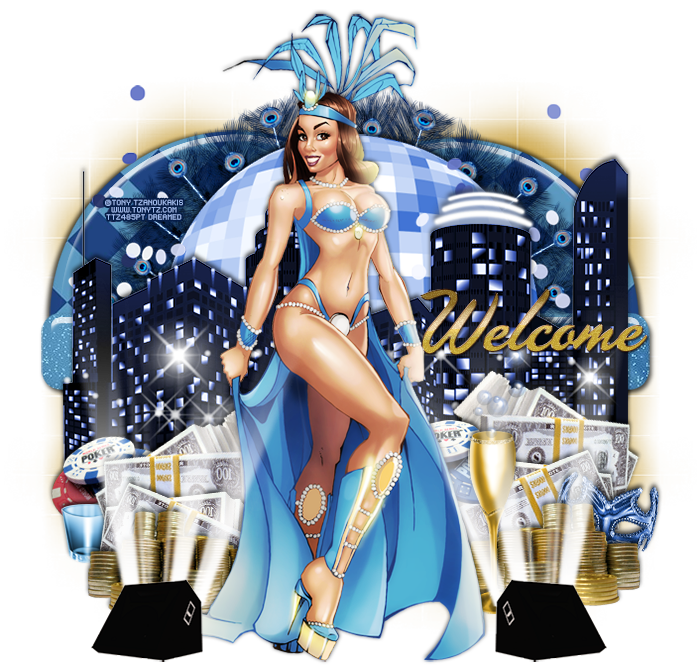
PTU Tutorial - Samba Baby by Tony T!

*Coming Soon!*
PTU tutorial using Samba Baby by Tony Tzanoukakis and the matching kit by Irish Princess Designs!
You can purchase them both here!
**This tutorial was written by me and any resemblance is purely coincidental. It is written for those with a working knowledge of Photoshop.**

Supplies
Mask

Scrap Kit

Template

Tube
*You must obtain a license to use this tube.*

Elements
Bubbles
Cash
Champagne
Chips
City
Coins
Confetti
DiscoBall
Fan
Light
Mask
ShotGlass
Sparkles
Papers
8
12

Let's start!
Open a new canvas, size 725x700.
Open the template and select only layers 1, 2, & 5. Move them on to the canvas and resize as needed.
Add a bevel and a drop shadow to each layer.
Take paper 8 and place it over layers 1 & 2. Resize and create a clipping mask to the circles.
Take paper 12 and place it over layer 5. Resize and create a clipping mask.
Place the tube in front of the template. Resize and add a drop shadow.
Place the city behind the tube. Resize and add a drop shadow.
Behind the city, place the disco ball. Resize and add a drop shadow.
Behind the disco ball, place the fan. Resize and add a drop shadow.
Behind the city, place the confetti.
On  top of the city, place the sparkles.
Take the cash and place a couple of copies on the right side of the tube. Resize and add a drop shadow.
Duplicate the cash and move to the left of the tube, flip horizontally.
Take the chips and place them between the cash on the right and next to the tube. Resize and add a drop shadow.
Duplicate the chips and place them on the left side to the left of the cash.
Place the coins in front of the cash on the right side. Resize and add a drop shadow.
Duplicate the coins and place them on the left side.
Behind the cash on the left side and in front of the chips, place the shot glass. Resize and add a drop shadow.
Place the mask between the cash and coins on the right side. Resize and add a drop shadow.
Place the champagne in front of the coins and to the right of the tube. Resize and add a drop shadow.
Place the lights in front of the tube so they shine on her and the tag.

Mask
Open a new canvas, size 650x650.
Make a new layer and fill with #c89e36.
Open the mask and move on top of the gold layer.
Remove the white background and place the mask behind the tag. 
Make it evenly stretched on all sides.

Add your tagger mark and copyright information.
Crop off any extra canvas.
Save as a .psd & .png.

Free snags!

Thank you for coming by!
post signature

Saturday, January 25, 2014

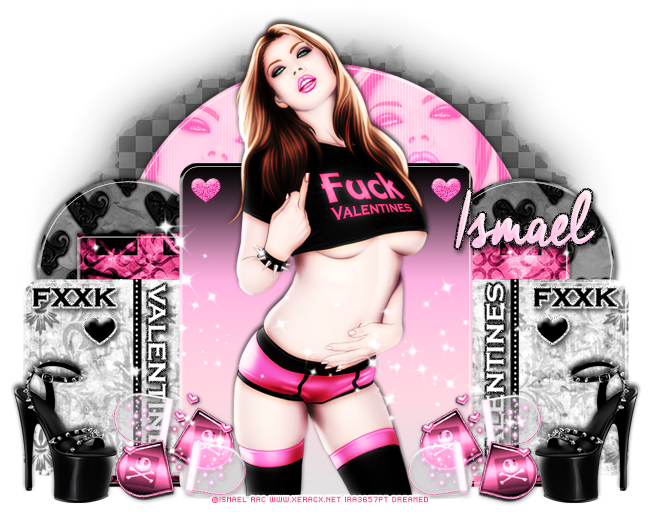
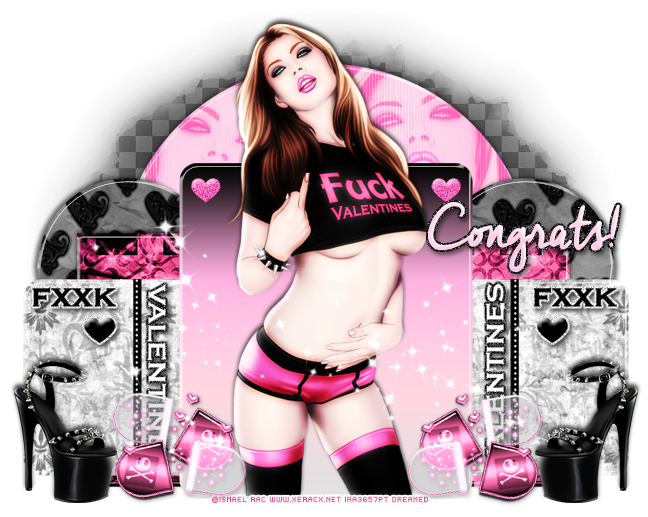
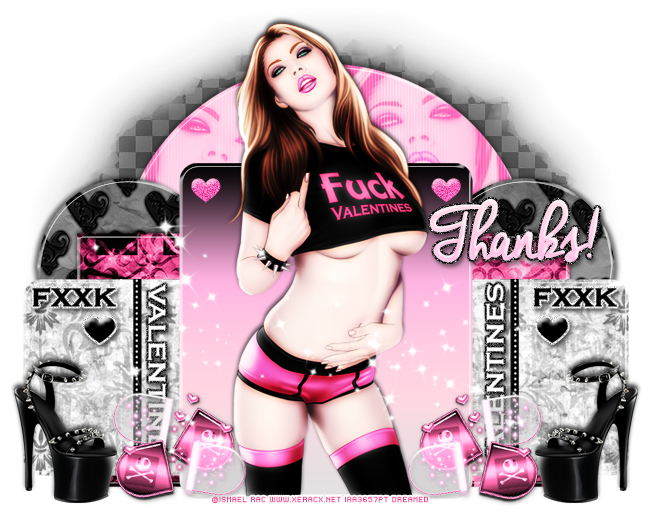
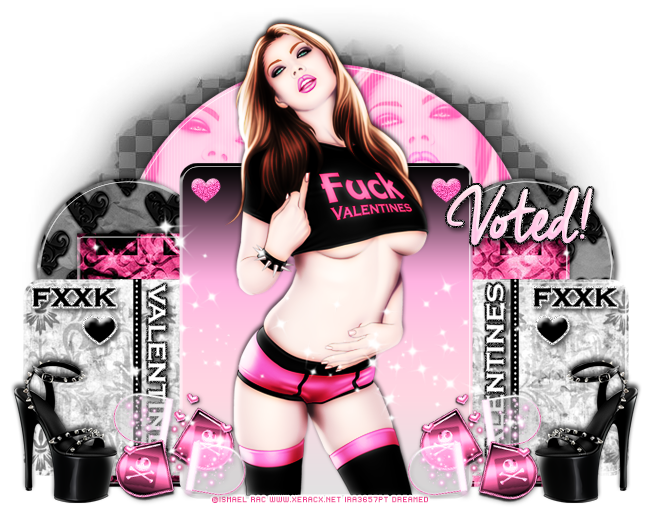
PTU Tutorial - 2010 FXXK Valentines by Ismael Rac!

PTU tutorial using 2010 FXXK Valentines by Ismael Rac!
Matching kit made by Irish Princess Designs.
Add her to your cart for free - 1/25 - 1/27 - when you spend any $$ in the store! 
**GCs not accepted as form of payment.**
**This tutorial was written by me and any resemblance is purely coincidental. It is written for those with a working knowledge of Photoshop.**

Supplies
Font

Mask

Template

Tube
*You must obtain a license to use this tube.*

Elements
Pills
Shoe
Sparkles
Papers
2
3
5

Let's start!
Open a new canvas, size 700x700.
Open the template and place it on the canvas. Resize the template and erase the cr layer.
Start with layer 12. Add a gradient overlay using black, #ffb3e1, & #ffd6e2 and reverse it.
Add a bevel using Ring-Double and change the shadow mode to white and add a drop shadow.
Add noise to layers 13 & 14.
Select the pixels of layer 15 and expand by 2. Add a new layer below it and fill with black.
Add noise and a drop shadow. Repeat the same steps for layer 16.
Select the pixels of layer 17 and expand by 2. Add a new layer below it and fill with white.
Add noise and a drop shadow. Repeat the same steps for layer 18.
Add a default bevel to layer 10 and change the shadow mode to white. Select the pixels of layer 10 and expand by 2. Add a new layer below it and fill with white.Add noise and a drop shadow. Repeat the same steps for layer 11.
Place paper 5 over layer 5. Resize and create a clipping mask. Duplicate the paper and move it above the second layer 5 and create a clipping mask. Add a Ring - Double bevel to layer 5 and change the shadow mode to white. Copy & paste the same layer style to the other layer 5.
Place paper3 over layer 4. Resize and create a clipping mask. Add a bevel using Ring-Double and change the shadow mode to white and add a drop shadow.
Place paper 2 over layer 2. Resize and create a clipping mask. Duplicate the paper and move it above the layer 3 and create a clipping mask. Add a Ring - Double bevel to layer 2 and change the shadow mode to white. Copy & paste the same layer style to the other layer 3.
Place the tube in front of the template in the middle. Resize and add a drop shadow.
Take two close ups of the tube and place them over layer 1. Create a clipping mask and move them around so you can see most of the face. Change both to Screen and drop the fill to 76%.
Add a Ring - Double bevel to layer 2 and change the shadow mode to white.
Take the shoe and place it on the right side of the template. Flip it horizontally, resize, and add a drop shadow.
Duplicate the shoe, flip horizontally, and move to the left side of the template.
Take the pills and place it to the right of the first shoe. Resize and add a drop shadow.
Duplicate the pills and flip it horizontally. Move it on the other side of the tube next to the shoe.
Place the sparkles over the tube and flip vertically. Erase anything hanging off the tag.

Name
Create a gradient overlay using #ffb3e1 & #ffd6e2.
Create a bevel with Rolling Slope - Descending.
Change the angle to -132 and the altitude to 11.
Change the highlight to 65 and change the shadow mode to white.
Select the pixels of the name and expand by 2. Add a new layer below the namer and fill with black. Add noise and a drop shadow.

Mask
Open a new canvas, size 600x600.
Add a new layer and fill with black.
Open the mask and move on top of the black layer.
Remove the white background and place the mask behind the tag.
Drop the fill to 80%
Make it evenly stretched on all sides.

Add your tagger mark and copyright information.
Crop off any extra canvas.
Save as a .psd & .png.

Free snags!

Thank you for coming by!
Thursday, January 2, 2014

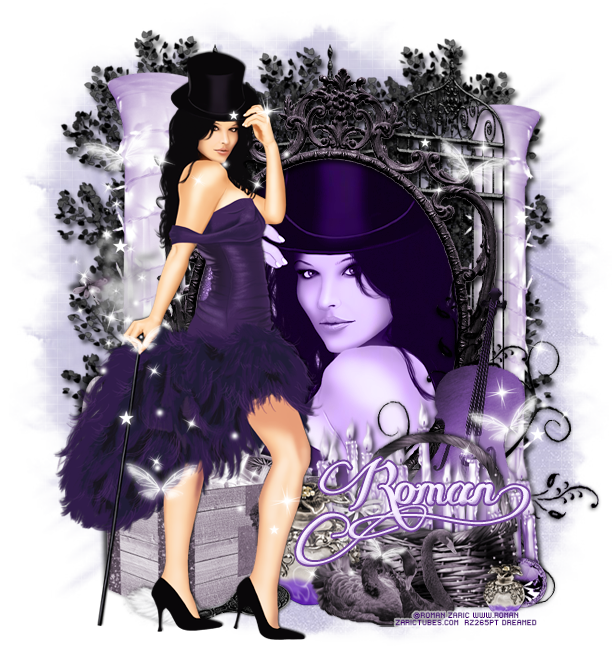
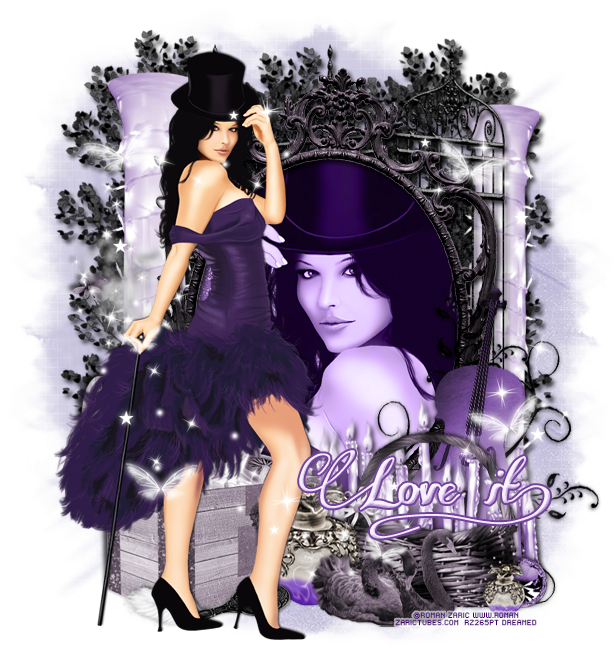
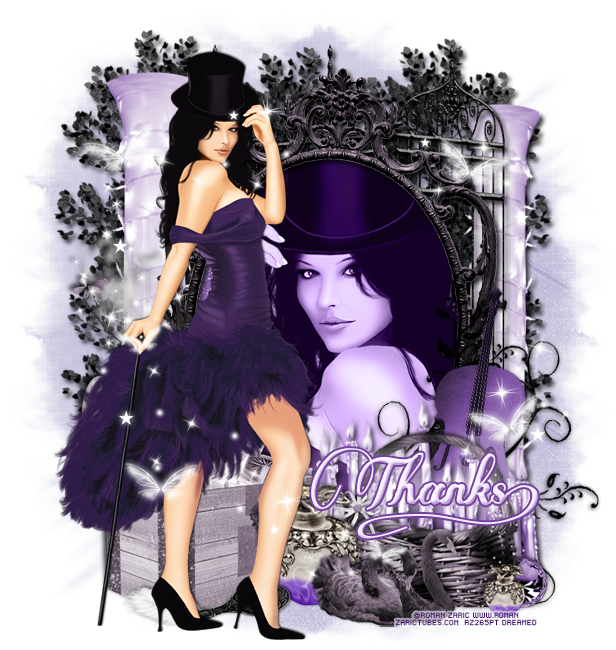
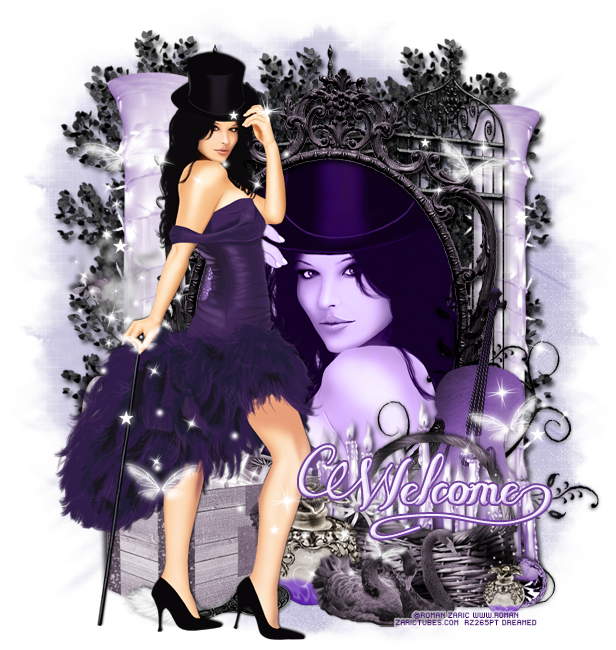
PTU Tutorial - Antoaneta by Roman Zaric!

PTU tutorial using Antoaneta by Roman Zaric! 
Matching kit made by Irish Princess Designs!
You can purchase them both here!
**This tutorial was written by me and any resemblance is purely coincidental. It is written for those with a working knowledge of Photoshop.**

Supplies

Font

Mask

Scrap Kit

Tube
*You must obtain a license to use this tube.*

Elements
Basket
Candles
Chest
Column
Feather
Frame1
Gem
Mirror
Perfume
Screen
Sparkles
Swan
Tree
Violin
Papers
3
11
Let's start!
Open a new canvas, size 650x650.
Place the frame on the canvas. Resize and add a drop shadow.
Place the tube in front of the frame and to the left, flip her horizontally. Resize and add a drop shadow.
Place paper 3 behind the frame and erase anything outside the frame.
Place a close up of the tube over the paper. Change it to Luminosity and create a clipping mask to the paper.
Behind the tube on the left, place the chest and flip horizontally. Resize and add a drop shadow.
Behind the frame, place the screen and flip horizontally. Resize and add a drop shadow.
Behind the chest and tube on the left place the column. Resize and add a drop shadow.
Duplicate the column and flip horizontally. Move to the right side of the screen.
Behind the screen and columns, place a few copies of the tree to fill the empty space in back.
In front of the frame on the right, place the violin and rotate so it's vertical with a lean to the right. Resize and add a drop shadow.
In front of the violin, place the candles. Resize and add a drop shadow.
In front of the candles, place the basket. Resize and add a drop shadow.
To the left of the basket and in front of it, place the perfume. Resize and add a drop shadow.
Duplicate the perfume and move it over to the right of the basket. Make it smaller than the first.
Behind the basket on the right, place the gem. Flip horizontally, resize, and add a drop shadow.
In front of the basket and perfume, place the swans. Resize and add a drop shadow.
Behind the tube and in front of the chest, place the mirror and the feather. Resize and add a drop shadow.

 Name
Main color is #f5eaff. 
Add a stroke, size 2, in #73429d.
Add a drop shadow & bevel.

Mask
Open a new canvas, size 600x600.
Place paper 11 on top of the canvas.
Open the mask and move on top of the paper layer.
Remove the white background and place the mask behind the tag. 
Make it evenly stretched on all sides.

Add your tagger mark and copyright information.
Crop off any extra canvas.
Save as a .psd & .png.

Free snags!

Thank you for coming by!
post signature

Thursday, December 5, 2013

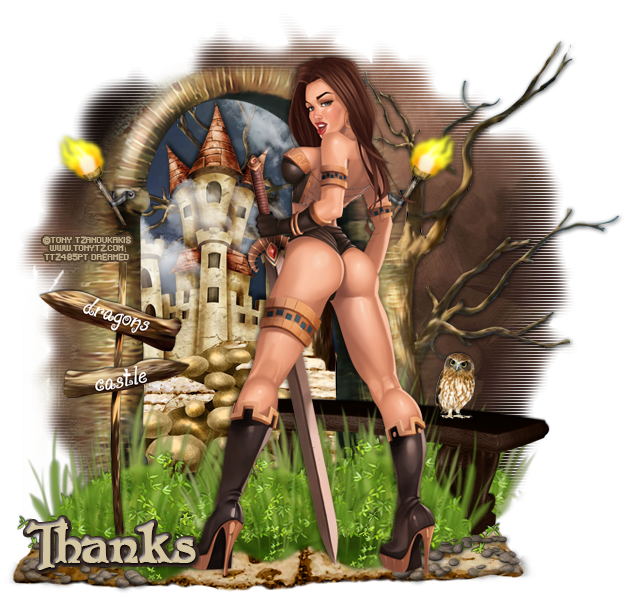
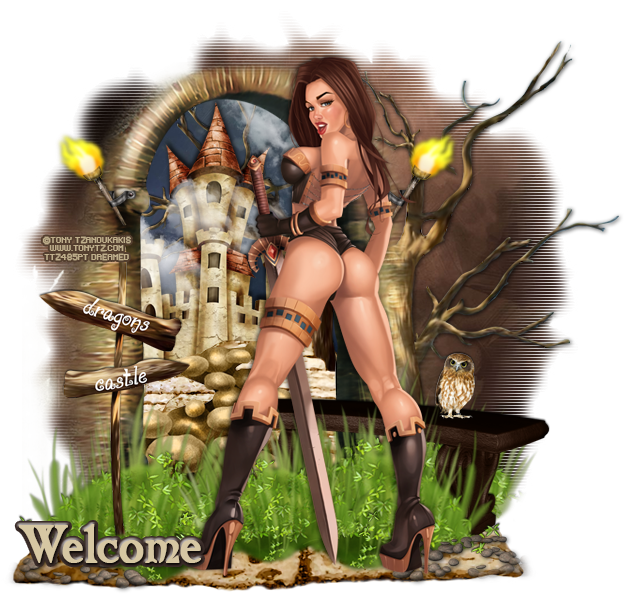
PTU Tutorial - Going Up by Tony Tzanoukakis!

PTU tutorial using Going Up by Tony Tzanoukakis!
Matching kit made by Irish Princess Designs!
You can purchase them both here!
**This tutorial was written by me and any resemblance is purely coincidental. It is written for those with a working knowledge of Photoshop.**

Supplies

Font

Mask

Scrap Kit

Tube
*You must obtain a license to use this tube.*

Elements
Bench
Bricks
Castle
Clouds
Doorway
Grass
Owl
Path
Rocks
Sign
Torch
Tree
Papers
7
10

Let's start!
Open a new canvas, size 650x650.
Place the doorway on the canvas and resize.
Place the tube in front of the doorway and to the right. Resize and add a drop shadow.
Between the door way and the tube, place a few copies of the grass alternating size. Resize and add a drop shadow.
Underneath the grass, place the bricks and resize.
On top of the bricks and in front of the grass, place the rocks in the left hand corner. Resize and add a drop shadow. Erase anything that hangs off the bricks.
Duplicate the rocks, flip horizontally, and place on the right corner.
Place the sign over the grass on the left side. Use a soft eraser brush to erase the bottom so it appears to be in the grass. Resize and add a drop shadow.
Behind the grass on the right, place the bench. Resize and add a drop shadow.
Duplicate a copy of the grass and place it behind the bench. Resize and add a drop shadow.
On top of the bench, place the owl. Resize and add a drop shadow.
Behind the doorway, place the castle. Resize and add a drop shadow.
In front of and below the castle, place the bricks. Make sure they are behind the door way. Repeat the bricks until it covers the "ground". Erase any of the bricks that stick outside the doorway.
On top of the bricks, place the path. Resize and add a drop shadow. Erase anything outside the doorway.
To the right of the castle, place a couple of trees. Resize and add a drop shadow.
Erase anything outside the doorway.
On top of the castle, place the clouds. Erase anything outside the doorway.
Behind everything and the doorway, place paper 10. Resize and erase anything outside the doorway.
Behind everything and on the right, place another copy of the tree and flip horizontally. Resize and add a drop shadow.
Place the torches on top of the doorway on both sides. Resize and add a drop shadow.

Name
Main color is #d6c7a3.
Add a stroke, size 4, in #392b27. 
Add a bevel, change to Outer Bevel, and change the size to 3.
Change the shadow mode to #120502.
Add a drop shadow.

Mask
Open a new canvas, size 600x600.
Open paper 7 and resize to 600x600. Place on top of the canvas.
Open the mask and move on top of the paper.
Remove the white background and place the mask behind the tag. 
Make it evenly stretched on all sides.

Add your tagger mark and copyright information.
Crop off any extra canvas.
Save as a .psd & .png.

Free snags!

Thank you for coming by!
post signature

Thursday, November 28, 2013

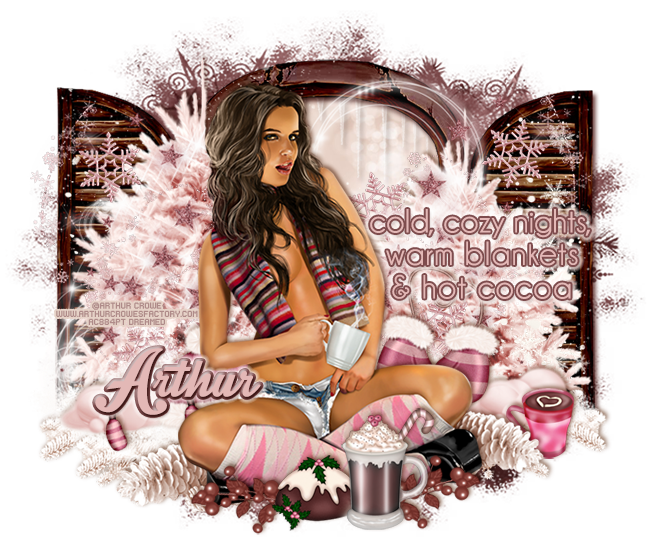
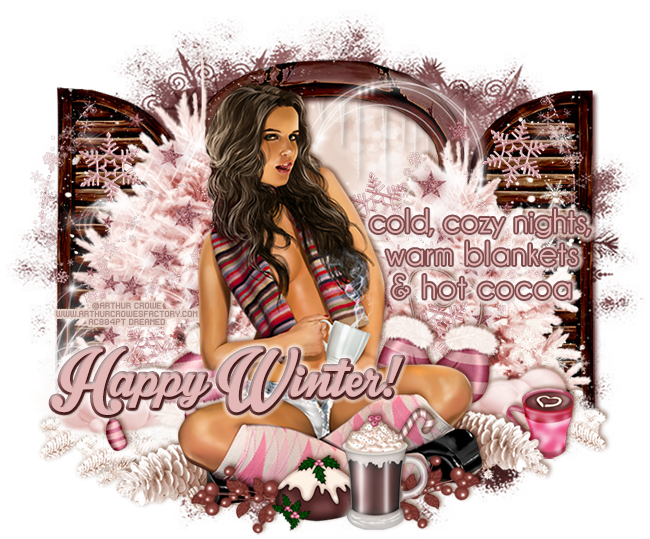
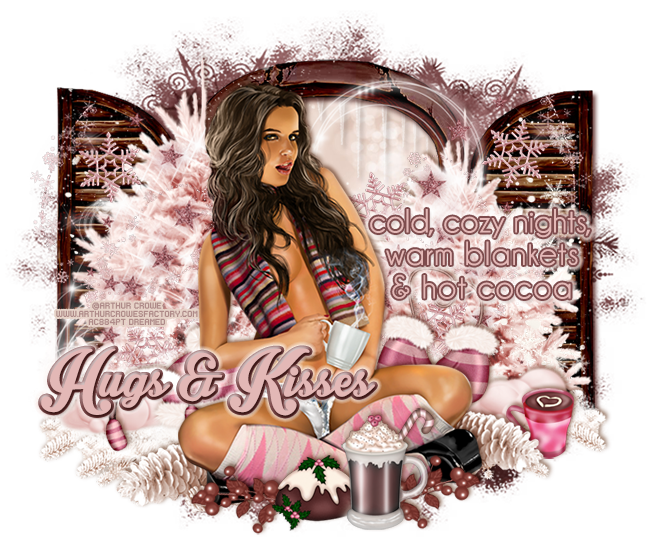
PTU Tutorial - Cocoa Girl by Arthur Crowe!

*Coming Soon!*
PTU tutorial using Cocoa Girl by Arthur Crowe!
Matching kit made by Irish Princess Designs!
You can purchase them both here!
**This tutorial was written by me and any resemblance is purely coincidental. It is written for those with a working knowledge of Photoshop.**

Supplies

Font

Mask

Scrap Kit

Tube
*You must obtain a license to use this tube.*

Elements
Berries
Cake
Cocoa
Cocoa1
Earmuffs
Hat
Icicles
Mittens
PineCones
Scatter
Snow
Snowballs
Snowflakes
SnowyBranches
Sparkles
Swirl
Tree
Window
Papers
3
4

Let's start!
Open a new canvas, size 650x650.
Move the window on to the canvas. Resize and add a drop shadow.
Place paper 3 behind the window and resize. Erase anything outside the opening.
Place the icicles at the top of the window and behind it. Resize and add a drop shadow. Erase anything outside the window.
Place the tube in front of the window. Resize and add a drop shadow.
Place the tree behind the tube. Resize and add a drop shadow.
Duplicate the tree and place one on the right side of the tube. Make it a little smaller than the first.
Place the scatter over the right side of the window on top of the tree. Resize and make sure nothing hangs off the canvas.
Duplicate the scatter and move it to the left side of the window over the tree.
Take the sparkles and place it over the tree on the left side. Create a clipping mask to the tree.
Duplicate the sparkles and move the copy to the other tree and do the same.
Place the snowflakes over the left side of the window, behind the frame. Resize and erase anything hanging off the window. Take another copy of the snowflakes and place it on the right side the same way as before.
In front of the tube, place cocoa1. Resize and add a drop shadow.
Place the cake behind and to the left of the cocoa1. Resize and add a drop shadow.
Place the berries behind the cocoa. Resize and add a drop shadow.
Duplicate the berries and flip horizontally and place behind the cake.
Behind the tube's foot on the left, place the pine cones. Resize and add a drop shadow.
Duplicate the pine cones and move behind her foot on the right.
Behind and below the tube, place the snowy branches on the right. Resize and add a drop shadow.
Duplicate the snowy branches and place the copy on the left side of the tube. Add another copy to cover empty space.
Place the snow on top of the branches and behind the tube and resize.
Place the swirl behind the tube, flip horizontally, and resize.
On the left side of the tube on top of the branches, place the ear muffs and hat. Resize and add a drop shadow.
Behind the hat and ear muffs, place the snowballs and flip horizontally. Resize and add a drop shadow.
Duplicate the snowballs and flip horizontally. Move to the right side of the tube on top of the branches.
Place the mittens behind the tube and in front of the snow balls. Resize and add a drop shadow.
Place cocoa in front of the snowballs. Resize and add a drop shadow.
Copy the same layer style for the name, except the bevel, and use it on the word art, which is in Champagne and Limousines.

 Name
Main color is #e9b5aa. 
Add a drop shadow and add a bevel. 
Change to Outer Bevel and change the Size to 4.
Change the Shadow Mode to #531611.
Add a Stroke, size 3, in #7e4c4d.
Add an outer glow, #f7e1dc. Change to precise. 
Spread is 63 and size is 7.

Mask
Open a new canvas, size 600x600.
Open paper 4 and resize to 600x600. Place on top of the canvas.
Open the mask and move on top of the paper.
Remove the white background and place the mask behind the tag. 
Make it evenly stretched on all sides.

Add your tagger mark and copyright information.
Crop off any extra canvas.
Save as a .psd & .png.

Free snags!

Thank you for stopping by!

post signature

Monday, October 7, 2013

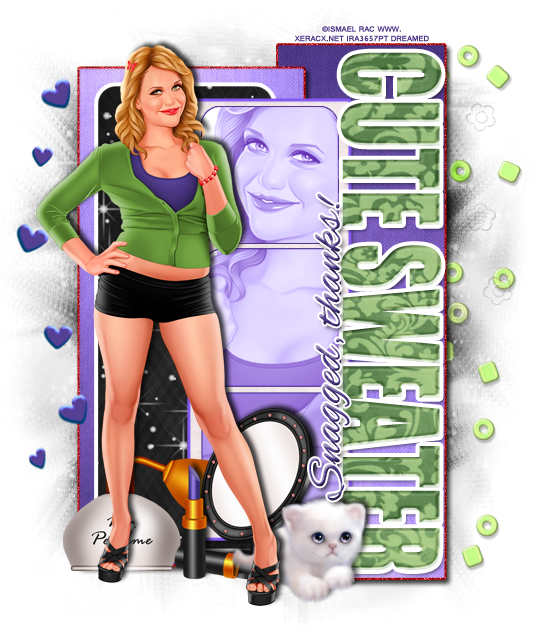
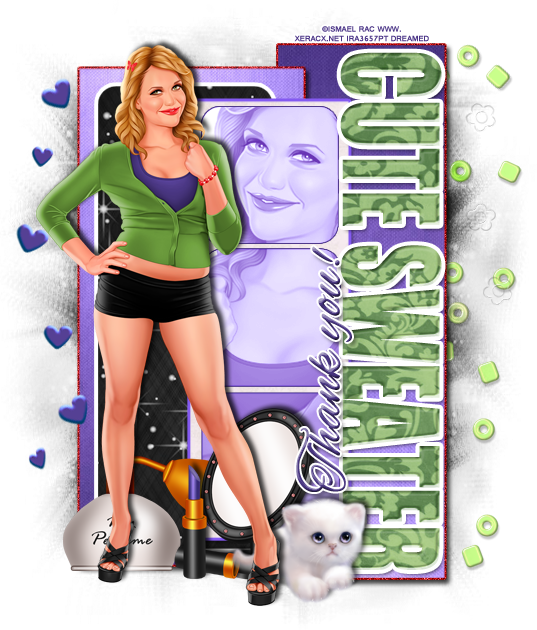
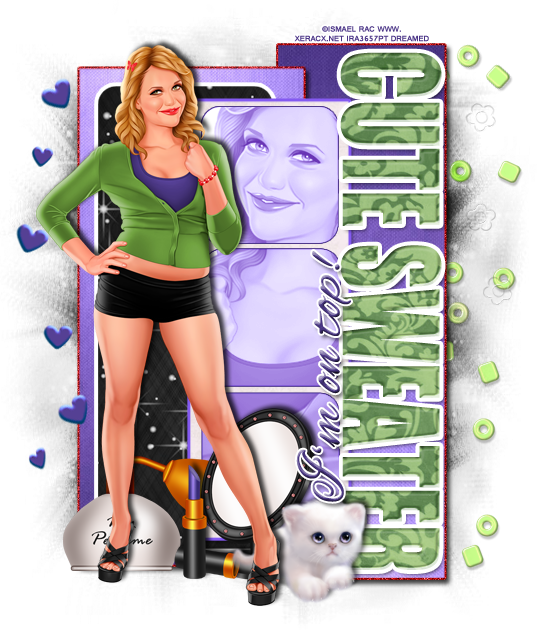
PTU Tutorial - 2013 Cute Sweater by Ismael Rac!

*Coming Soon!*
PTU tutorial using 2013 Cute Sweater by Ismael Rac!
Matching kit made by Irish Princess Designs!
You can purchase them both here!
**This tutorial was written by me and any resemblance is purely coincidental. It is written for those with a working knowledge of Photoshop.**

Supplies

Font

Mask

Scrap Kit

Template

Tube
*You must obtain a license to use this tube.*

Elements
Hearts
Kitty
Lipstick
Mirror
Perfume
Scatter
Papers
1
3
8
9

Let's start!
Open a new canvas, size 650x650.
Open the template and select all layers. Move it on to the canvas and resize, if necessary.
Remove layers 7, 8, and Raster 1.
Place the wordart, Cute Sweater, where Christmas. Instructions are below.
Place the tube in front of the template and to the left a little. Resize and add a drop shadow.
Take another copy of the tube and flip her horizontally. Place her over layer 5, create a clipping mask, and resize. Change her to Luminosity and drop the fill to 39%.
Select the pixels of layer 5 and fill with white. Add a stroke, size 1, in #503a8c.
Duplicate layer 5, move above the tube layer and create a clipping mask to the bottom layer 5. Select the pixels then fill with #543e91. Change the purple layer to Vivid light.
Move paper 3 over layer 4 and create a clipping mask. Add a drop shadow and a stroke, size 3, in #845af1.
Place paper 8 over layer 3. Resize and create a clipping mask. Add a stroke, size 4, in white.
Place paper 9 over layer 2. Resize and create a clipping mask. Make sure the lighter end is at the top.
Select the pixels of layer 2 and expand by 2. Add a layer underneath and fill with #bc0605. Add a drop shadow and noise to the red layer.
Place paper 9 over layer 1 and flip vertically. Resize and create a clipping mask. Make sure the darker end is at the top.
Select the pixels of layer 1 and expand by 2. Add a layer underneath and fill with #bc0605. Add a drop shadow and noise to the red layer.
Use the hearts to create decoration on the left side of the template. Duplicate and erase until you achieve a similar look.
Use the scatter and place some of them on the right side of the template and behind it. Duplicate and erase a few times to achieve a similar look.
Behind the tube on the left, place the perfume. Resize and add a drop shadow.
To the right of the perfume, place the lipstick. Resize and add a drop shadow.
To the right and behind the lipstick, place the mirror. Resize and add a drop shadow.
To the right of the tube and mirror, place the kitty. Resize and add a drop shadow.

 Name
Main color is #4a3783. 
Add a stroke, size 2, in white.
Add a drop shadow.

 Wordart
Font used is Impact
Add a stroke, size 4, in white.
Add a bevel. Change the Gloss Contour to Rolling Slope - Descending.
Fill the text "Cute Sweater" with #72a443.
Place paper 1 over the word art and change to Soft Light.

Mask
Open a new canvas, size 600x600.
Open paper 8 and resize to 600x600. Place on top of the canvas.
Open the mask and move on top of the paper.
Remove the white background and place the mask behind the tag. 
Make it evenly stretched on all sides.

Add your tagger mark and copyright information.
Crop off any extra canvas.
Save as a .psd & .png.

Here are free snags!


Thank you for coming by!
Tuesday, September 3, 2013

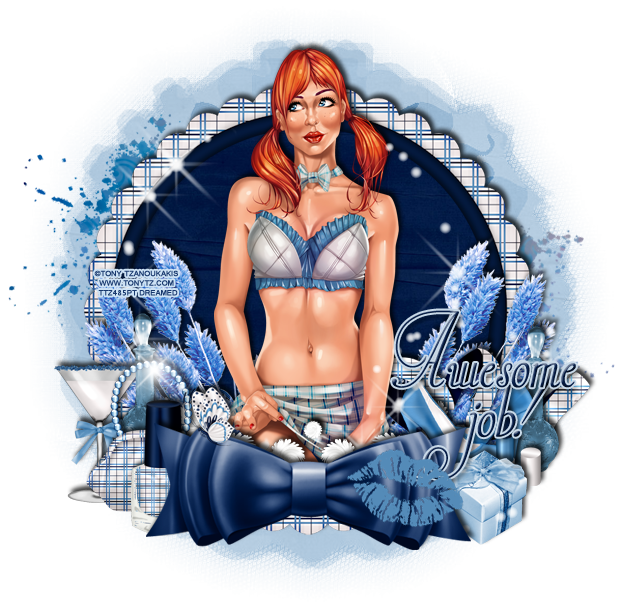
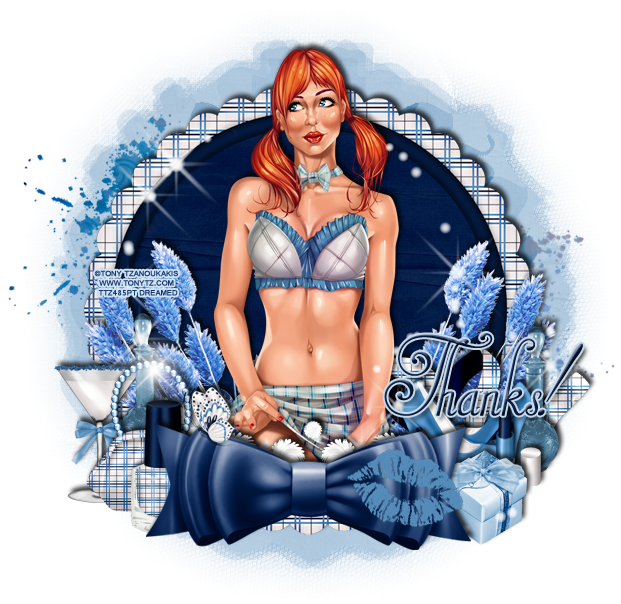
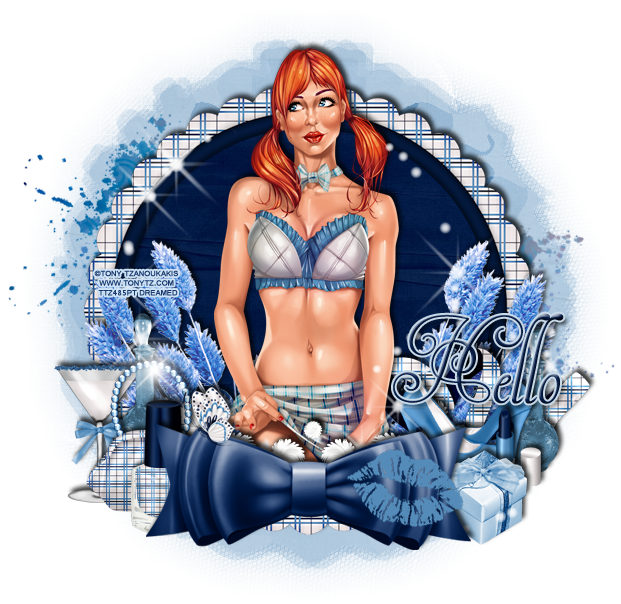
PTU Tutorial with Naughty Naughty by Tony Tzanoukakis!

*Coming Soon!*
PTU tutorial using Naughty Naughty by Tony Tzanoukakis!
You can purchase the tube and the matching kit HERE soon!
**This tutorial was written by me and any resemblance is purely coincidental. It is written for those with a working knowledge of Photoshop.**

Supplies

Font

Mask

Scrap Kit

Tube
*You must obtain a license to use this tube.*

Elements
Bottle
Bow1
Butterfly
Drink
Flowers
Frame1
Gift
Lipstick
Nailpolish
Purse
Ribbon
Scatter
Shoes
Sparkles
Splatter
SWAK
Papers
8
9

Let's start!
Open a new canvas, size 650x650.
Place Frame1 on to the canvas. Resize and add a drop shadow.
Place paper 9 behind the frame and resize. Erase anything outside the frame.
Now move the tube in front of the frame and resize her. Add a drop shadow.
In front of the tube, place Bow1. Resize and add a drop shadow.
Behind the tube on the right, place the flowers. Resize and add a drop shadow.
Duplicate the flowers and flip horizontally. Move to the left side of the tube.
Between the tube and bow, place the scatter. Resize and add a drop shadow. Move one copy toward the right side of the bow and then duplicate it and move it to the left side.
Place the purse and nail polish behind the tube on left side. Resize and add a drop shadow.
Behind the purse place the drink. Resize and add a drop shadow.
Place the bottle next to the drink and behind the purse. Resize and add a drop shadow.
On top on the bow on the left side, place the butterfly. Resize and add a drop shadow.
On the right side behind the bow, place the shoes. Resize and add a drop shadow.
Between the shoes and bows, place the gift. Resize and add a drop shadow.
Behind the shoes, place a duplicate of the bottle placed earlier. Resize if needed.
Place the lipstick between the shoes and gift. Resize and add a drop shadow.
Between the tube and flowers on the right side, place the ribbon. Flip it horizontally and resize. Erase anything that sticks out too far. Add a drop shadow.
Place the sparkles behind the bow. Resize and erase anything that sticks off the tag too far.
Place the splatter behind the tag on the left side so the darker part shows. Resize and make sure nothing hangs off the canvas.
Duplicate the splatter and move it to the right side so the lighter blue part shows. Again make sure nothing hangs off the canvas.

 Name
Main color is #051d49.
Add a stroke, size 2, in #c8d9e8.
Use the default bevel settings.
Add a drop shadow.

Mask
Open a new canvas, size 600x600.
Open paper 8 and resize to 600x600. Place on top of the canvas.
Open the mask and move on top of the paper.
Remove the white background and place the mask behind the tag. 
Make it evenly stretched on all sides.

Add your tagger mark and copyright information.
Crop off any extra canvas.
Save as a .psd & .png.

Here are free snags!

Thursday, August 22, 2013

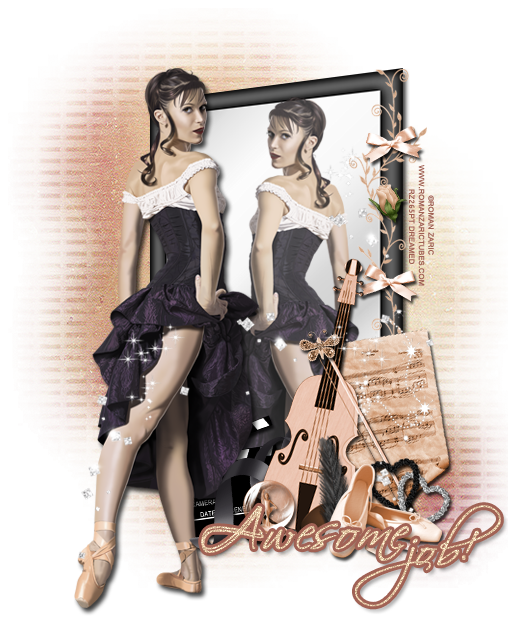
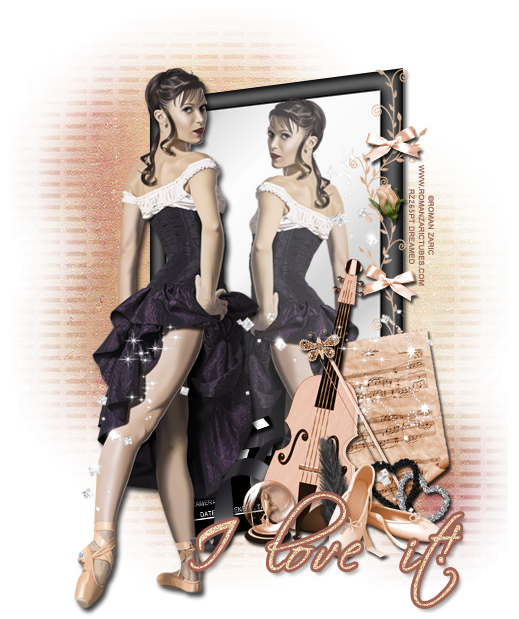
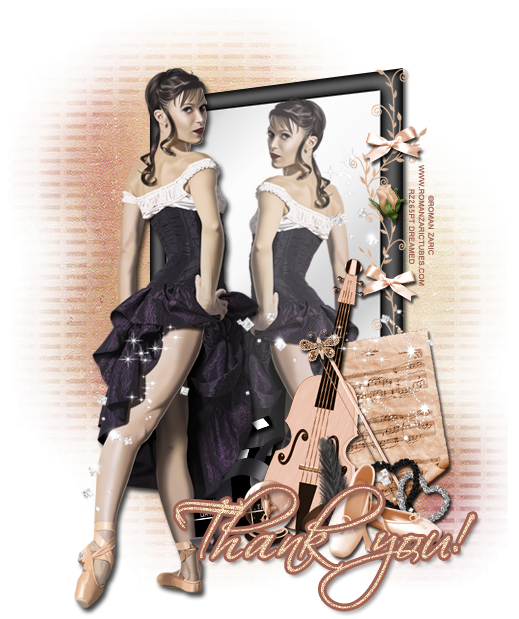
PTU Tutorial - Sarita by Roman Zaric!

PTU tutorial using the beautiful tube by Roman Zaric called Sarita!
You can purchase the tube and matching kit at the Roman Zaric store!
**This tutorial was written by me and any resemblance is purely coincidental. It is written for those with a working knowledge of Photoshop.**

Supplies
Font

Scrap Kit

Tube
*You must obtain a license to use this tube.*

Elements
 Bow
Butterfly
Clacker
Feather
Glitter
Globe
Hearts
Mirror 
Ribbon
RoseBud
SheetMusic
Slippers 
Vine
Violin

Papers
9

Let's start!
Open a new canvas, size 650x650.
Place the Mirror on the canvas and resize a little. Change the perspective a little and add a drop shadow.
Place the tube in front of the mirror. Resize and add a drop shadow. 
Duplicate the tube and flip horizontally. Place it over the mirror and create a clipping mask. Resize a little and erase any parts of the tube that stick outside the "mirror". Change the opacity a little.
That the vine and place it over the edge of the mirror to the right of the tube. Resize so you can fit two copies of the vine going up the side of the mirror. Duplicate the vine and move it above the bottom vine. 
Place the bow toward the top of the vines. Resize pretty small and add a drop shadow. 
Duplicate the bow and move it toward the middle of the mirror frame.
Place a small rosebud between the two bows and add a drop shadow.
Now place the violin against the mirror and flip horizontally. Resize and add a drop shadow. 
Behind the violin, place the sheet music and rotate it to the left a little. Resize and add a drop shadow. 
Move the slippers in front of the violin and sheet music. Resize and add a drop shadow. 
Place the hearts between the slippers and the violin. Resize and add a drop shadow. 
Now place the feather between the slippers and violin on the opposite side. Resize and add a drop shadow. 
Move the clacker behind the tube and violin. Resize and add a drop shadow. 
Place the ribbon over the clacker and behind the violin. Resize and add a drop shadow. 
Place the globe in front of the violin. Resize and add a drop shadow. 
Place the butterfly on the violin toward the top and make it smaller. Resize and add a drop shadow. 

Mask
Open a new canvas, size 600x600.
Move paper 9 on to the blank canvas. 
Open the mask and move on top of the paper.
Remove the white background and place the mask behind the tag. 
Make it evenly stretched on all sides, but not hanging off the canvas.

 Name
Main color is #e7cba9.
Add a stroke, size 3, in color #a16255.
Add noise and add a drop shadow.

Add your tagger mark and copyright information.
Crop off any extra canvas.
Save as a .psd & .png.
We're done :)

And here are free Sarita snags for you!


Thank you for stopping by!
New Name, New Blog!
Hello friends! I have decided to change my designer name to reflect that I make kits more than I do CT work. I made a new blog so the old links for this blog will remain active for future visits. Please visit me at Drea's Designs ! I'll see you there!
Related Posts Plugin for WordPress, Blogger...