
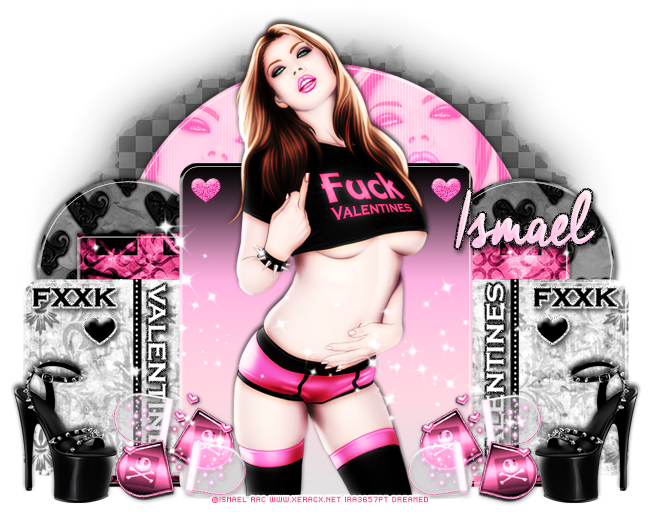
PTU tutorial using 2010 FXXK Valentines by Ismael Rac!
Matching kit made by Irish Princess Designs.
Add her to your cart for free - 1/25 - 1/27 - when you spend any $$ in the store!
**GCs not accepted as form of payment.**
**This tutorial was written by me and any resemblance is purely coincidental. It is written for those with a working knowledge of Photoshop.**
Supplies
Font
Mask
Template
Tube
*You must obtain a license to use this tube.*
Elements
Pills
Shoe
Sparkles
Papers
2
3
5
Let's start!
Open a new canvas, size 700x700.
Open the template and place it on the canvas. Resize the template and erase the cr layer.
Start with layer 12. Add a gradient overlay using black, #ffb3e1, & #ffd6e2 and reverse it.
Add a bevel using Ring-Double and change the shadow mode to white and add a drop shadow.
Add noise to layers 13 & 14.
Select the pixels of layer 15 and expand by 2. Add a new layer below it and fill with black.
Add noise and a drop shadow. Repeat the same steps for layer 16.
Select the pixels of layer 17 and expand by 2. Add a new layer below it and fill with white.
Add noise and a drop shadow. Repeat the same steps for layer 18.
Add a default bevel to layer 10 and change the shadow mode to white. Select the pixels of layer 10 and expand by 2. Add a new layer below it and fill with white.Add noise and a drop shadow. Repeat the same steps for layer 11.
Place paper 5 over layer 5. Resize and create a clipping mask. Duplicate the paper and move it above the second layer 5 and create a clipping mask. Add a Ring - Double bevel to layer 5 and change the shadow mode to white. Copy & paste the same layer style to the other layer 5.
Place paper3 over layer 4. Resize and create a clipping mask. Add a bevel using Ring-Double and change the shadow mode to white and add a drop shadow.
Place paper 2 over layer 2. Resize and create a clipping mask. Duplicate the paper and move it above the layer 3 and create a clipping mask. Add a Ring - Double bevel to layer 2 and change the shadow mode to white. Copy & paste the same layer style to the other layer 3.
Place the tube in front of the template in the middle. Resize and add a drop shadow.
Take two close ups of the tube and place them over layer 1. Create a clipping mask and move them around so you can see most of the face. Change both to Screen and drop the fill to 76%.
Add a Ring - Double bevel to layer 2 and change the shadow mode to white.
Take the shoe and place it on the right side of the template. Flip it horizontally, resize, and add a drop shadow.
Duplicate the shoe, flip horizontally, and move to the left side of the template.
Take the pills and place it to the right of the first shoe. Resize and add a drop shadow.
Duplicate the pills and flip it horizontally. Move it on the other side of the tube next to the shoe.
Place the sparkles over the tube and flip vertically. Erase anything hanging off the tag.
Name
Create a gradient overlay using #ffb3e1 & #ffd6e2.
Create a bevel with Rolling Slope - Descending.
Change the angle to -132 and the altitude to 11.
Change the highlight to 65 and change the shadow mode to white.
Select the pixels of the name and expand by 2. Add a new layer below the namer and fill with black. Add noise and a drop shadow.
Mask
Open a new canvas, size 600x600.
Add a new layer and fill with black.
Open the mask and move on top of the black layer.
Remove the white background and place the mask behind the tag.
Drop the fill to 80%
Make it evenly stretched on all sides.
Add your tagger mark and copyright information.
Crop off any extra canvas.
Save as a .psd & .png.
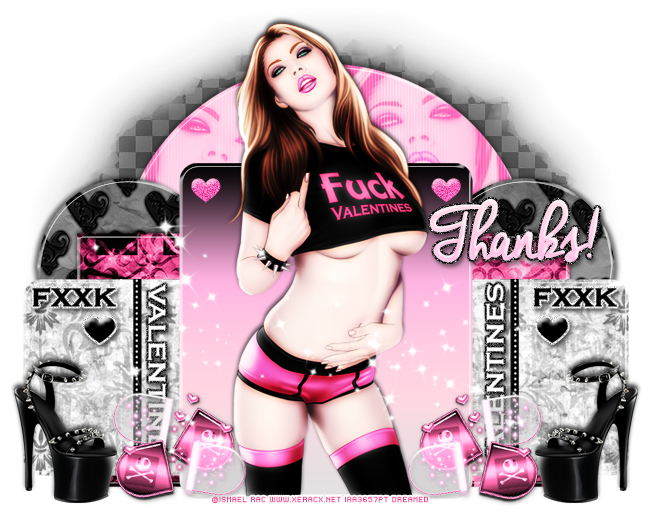
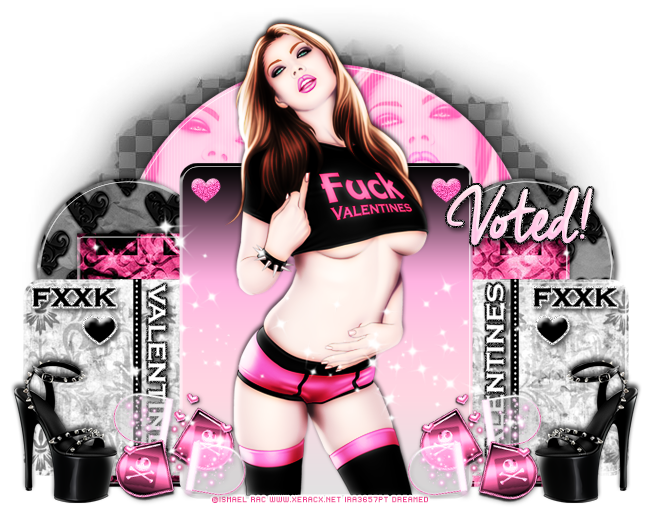
Free snags!
Thank you for coming by!