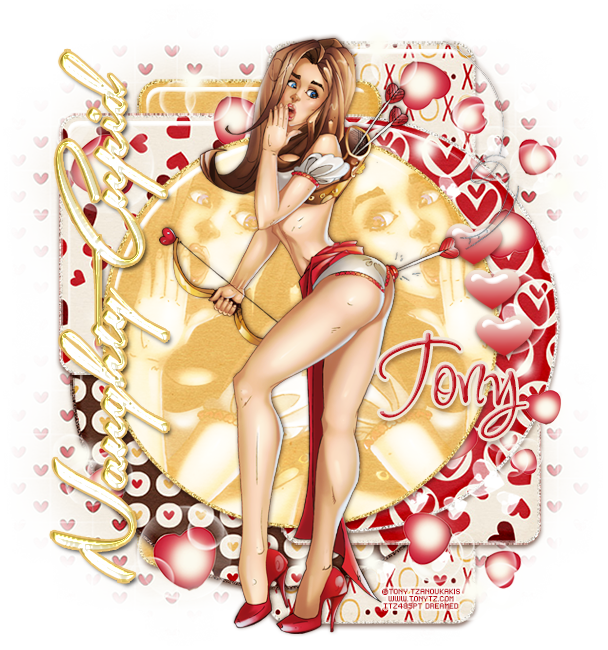
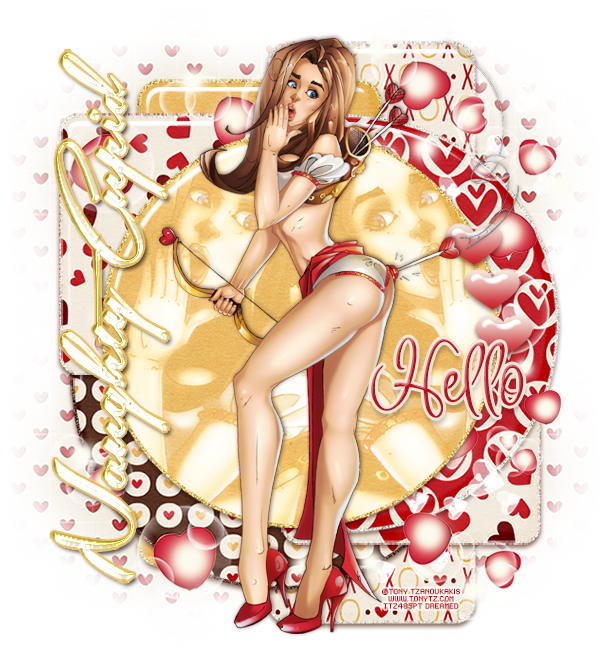
*Coming Soon!*
PTU tutorial using Oops!! by Tony Tzanoukakis and the matching kit by Rieneke Designs! She is just too cute!
You can purchase them both here!
**This tutorial was written by me and any resemblance is purely coincidental. It is written for those with a working knowledge of Photoshop.**
Supplies
Mask
Scrap Kit
Template
Tube
*You must obtain a license to use this tube.*
Elements
24
25
Papers
2
5
8
9
11
12
Let's start!
Open a new canvas, size 700x700.
Open the template and select the layers and move on to the canvas. Erase raster1 and background.
Place paper 2 over layer 7 and create a clipping mask. Add a bevel to the circle layer.
Select the pixels of the circle and expand by 3. Add a new layer below the circle and fill with #f1c676. Add noise and a drop shadow.
Place paper 9 over layer 6 and create a clipping mask. Add a bevel to the circle layer.
Select the pixels of the circle and expand by 3. Add a new layer below the circle and fill with #f0e8db. Add noise and a drop shadow.
Place paper 9 over layer 6 and create a clipping mask. Add a bevel to the circle layer.
Select the pixels of the circle and expand by 3. Add a new layer below the circle and fill with #f0e8db. Add noise and a drop shadow.
Select the pixels of the circle and expand by 3. Add a new layer below the circle and fill with #f1c676. Add noise and a drop shadow.
Place paper 11 over layer 2 and create a clipping mask. Add a bevel to the circle layer.
Select the pixels of the circle and expand by 3. Add a new layer below the circle and fill with #553122. Add noise and a drop shadow.
Place paper 8 over layer 1 and create a clipping mask. Add a bevel to the circle layer.
Select the pixels of the circle and expand by 3. Add a new layer below the circle and fill with #f0e8db. Add noise and a drop shadow.
Open the template and select the layers and move on to the canvas. Erase raster1 and background.
Place paper 2 over layer 7 and create a clipping mask. Add a bevel to the circle layer.
Select the pixels of the circle and expand by 3. Add a new layer below the circle and fill with #f1c676. Add noise and a drop shadow.
Place paper 9 over layer 6 and create a clipping mask. Add a bevel to the circle layer.
Select the pixels of the circle and expand by 3. Add a new layer below the circle and fill with #f0e8db. Add noise and a drop shadow.
Place paper 9 over layer 6 and create a clipping mask. Add a bevel to the circle layer.
Select the pixels of the circle and expand by 3. Add a new layer below the circle and fill with #f0e8db. Add noise and a drop shadow.
Place paper 12 over layers 4 & 5 and create a clipping mask. Add a bevel to the layers.
Select the pixels of the both layers and expand by 3. Add a new layer below them and fill with #f0e8db. Add noise and a drop shadow.
Place paper 2 over layer 3 and create a clipping mask. Add a bevel to the circle layer.Select the pixels of the both layers and expand by 3. Add a new layer below them and fill with #f0e8db. Add noise and a drop shadow.
Select the pixels of the circle and expand by 3. Add a new layer below the circle and fill with #f1c676. Add noise and a drop shadow.
Place paper 11 over layer 2 and create a clipping mask. Add a bevel to the circle layer.
Select the pixels of the circle and expand by 3. Add a new layer below the circle and fill with #553122. Add noise and a drop shadow.
Place paper 8 over layer 1 and create a clipping mask. Add a bevel to the circle layer.
Select the pixels of the circle and expand by 3. Add a new layer below the circle and fill with #f0e8db. Add noise and a drop shadow.
Place the tube in front of the template. Resize and add a drop shadow.
Take the full size tube and place a close up over layer 7 and create a clipping mask.
Duplicate the close up, flip horizontally, and move to the other side of the tube.
Place paper 2 over the tubes and create a clipping mask. Change the paper to Screen.
Add a bevel to the three hearts, layers 8-10. Add a gradient to each one using #c9212c & #f3ebde. Add a drop shadow.
Take eles 24 & 25 and place them around the template behind the tube and the front circle. Resize and rotate to achieve the look.
Make sure nothing hangs too far off the tag.
Mask
Open a new canvas, size 650x650.
Open paper 5 and resize to 650x650. Place on top of the canvas.
Open the mask and move on top of the paper.
Remove the white background and place the mask behind the tag.
Make it evenly stretched on all sides.
Name
Main color is #bb101b.
Add a stroke, size 3, in #f0e7d8.
Add a bevel and a drop shadow.
Add your tagger mark and copyright information.
Crop off any extra canvas.
Save as a .psd & .png.
Free snags!
Thank you for coming by!


