Showing posts with label Ismael Rac. Show all posts

Thursday, June 5, 2014

PTU Tutorial - 2014 Sexy Dukes by Ismael Rac!

**Coming Soon!**
**This tutorial was written by me and any resemblance is purely coincidental. It is written for those with a working knowledge of Photoshop.**

Scrap Kit

Tube
*You must obtain a license to use this tube.*

Elements
5
11
12
13
15
17
18
24
25
26
29
30

Papers
4
10

Let's start!
Open a new canvas, size 650x700.
Place 5 on the canvas. Resize and add a drop shadow.
Place paper 10 behind the frame and erase anything sticking outside the main squares.
Place the tube in front of the frame. Resize and add a drop shadow.
Place a close up of the tube behind the frame and clip to the paper. Place a close up on each side of the tube. Change to luminosity.
In front of the frame along the bottom place 17 on the left. Resize and add a drop shadow.
In front of the cupcake and to the right place 11. Resize and add a drop shadow.
Behind the tube and to the right of the sunglasses place 30. Resize and add a drop shadow.
In front of 30 place the 25. Resize and add a drop shadow.
To the right of the nail polish place 24. Resize and add a drop shadow.
To the right of the lipstick place 13. Resize and add a drop shadow.
Behind the lipstick and nail polish place 12 and 15 together. Resize and add a drop shadow.
Behind the elements place 29. Resize and add a drop shadow.
Behind the ribbon and sunglasses place 26. Resize and add a drop shadow.
Duplicate 26 and place it behind the lollipops.
On top of everything and the tube place 18.

Add your tagger mark and copyright information.
Crop off any extra canvas.
Save as a .psd & .png.

Free snags!
Thanks for coming by!

post signature

Monday, June 2, 2014

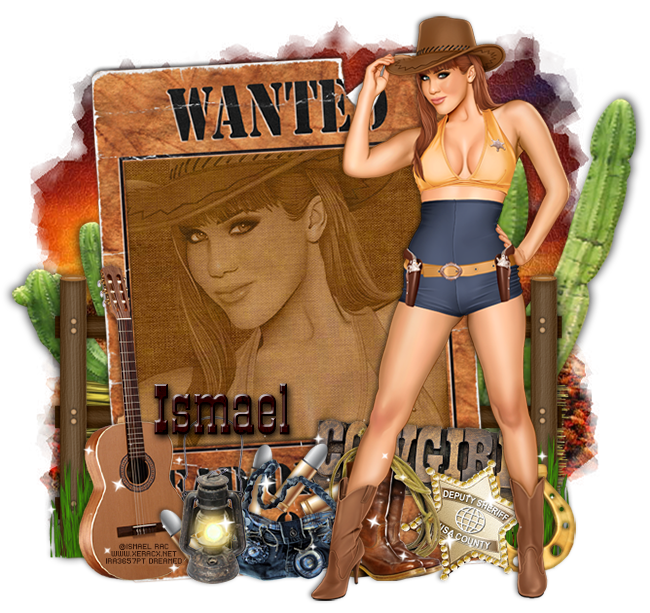
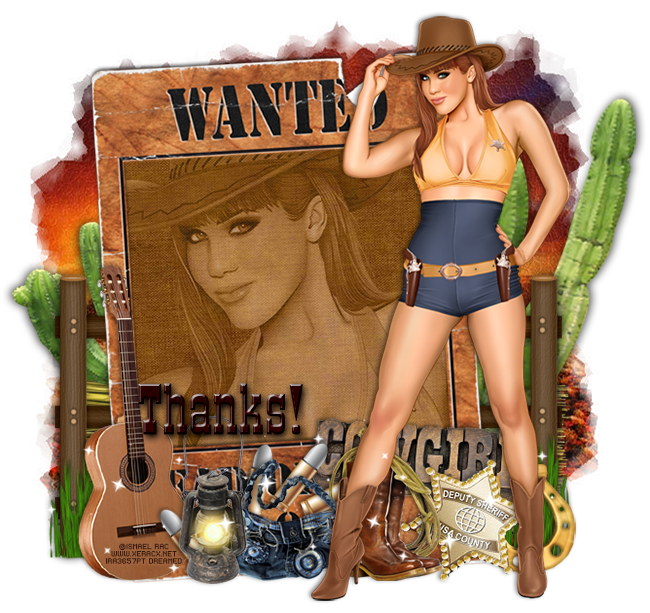
PTU Tutorial - 2013 PSP Cowgirl by Ismael Rac!

**Rac Special 6/2 - 6/3**
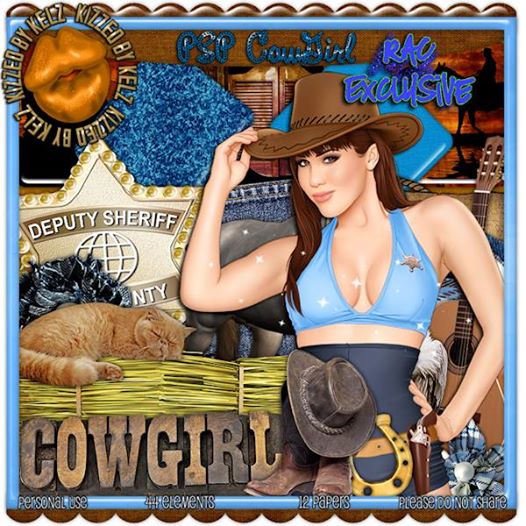
Yee Haw! Spend any $$ in the store and get this awesome 2013 PSP Cowgirl tube and matching kit for free! Just add them to your cart at checkout. GCs not accepted as payment. 
**This tutorial was written by me and any resemblance is purely coincidental. It is written for those with a working knowledge of Photoshop.**

Scrap Kit

Tube
*You must obtain a license to use this tube.*

Elements
boots and rope
bullets
cactus
fence
grass
guitar
hay bale
horse shoe
lamp
purse
sheriff star
sparkles
wanted frame
wordart
Papers
3
11

Let's start!
Open a new canvas, size 650x650.
Place the wanted frame on the canvas and resize. Rotate to the left a little and add a drop shadow.
Place paper 11 behind the frame and erase anything outside the frame.
Place the full size tube in front of the frame and to the right. Resize and add a drop shadow.
Place a close up of the tube on top of the paper and clip. Change the tube to luminosity and drop the opacity to 44%.
Behind the frame on the right place the fence. Resize and add a drop shadow.
Duplicate the fence and move it to the left side.
Behind the fences place the cactus on both side. Resize and add a drop shadow.
Between the fence and the cactus on both sides place the hay bale so a little peeks out. Resize and add a drop shadow.
In front of the fences on both sides place the grass. Resize and add a drop shadow. Erase anything sticking out below the bottom of the frame.
Place the guitar in front of the frame on the left. Resize and add a drop shadow.
To the right of the guitar place the lamp. Resize and add a drop shadow.
Behind the lamp place the bullets. Resize and add a drop shadow.
Behind the lamp and to the right place the purse. Resize and add a drop shadow.
Behind the tube and to the right of the purse place the boots and rope. Resize and add a drop shadow.
Behind the boots and rope place the wordart and rotate at an angle. Resize and add a drop shadow.
Behind the boots and in front of the wordart place the sheriff star. Resize and add a drop shadow.
Behind the star place the horse shoe. Resize and add a drop shadow.
Add your tagger mark and copyright information.
Crop off any extra canvas.
Save as a .psd & .png.

Free snags!
Thanks for coming by!
post signature

Sunday, May 25, 2014

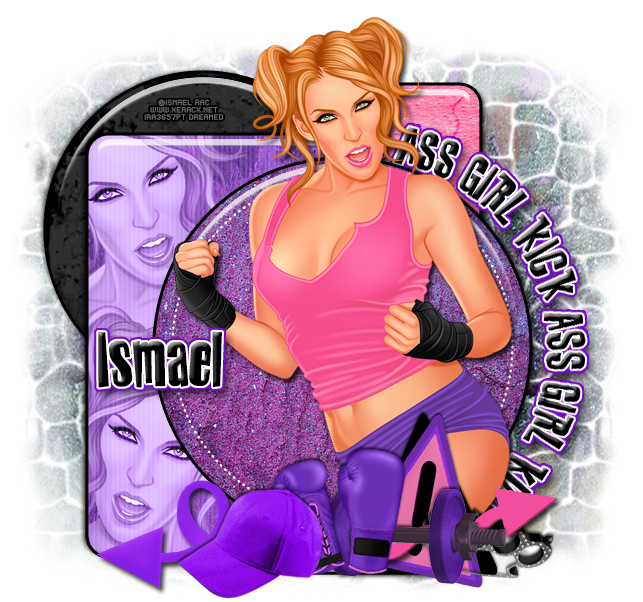
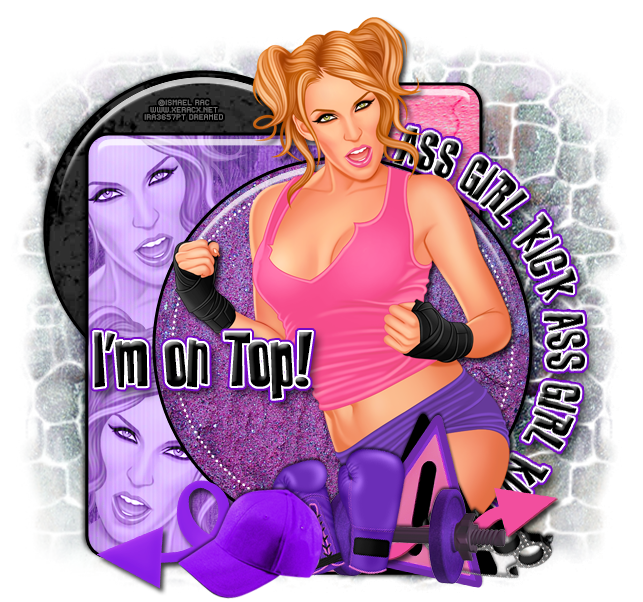
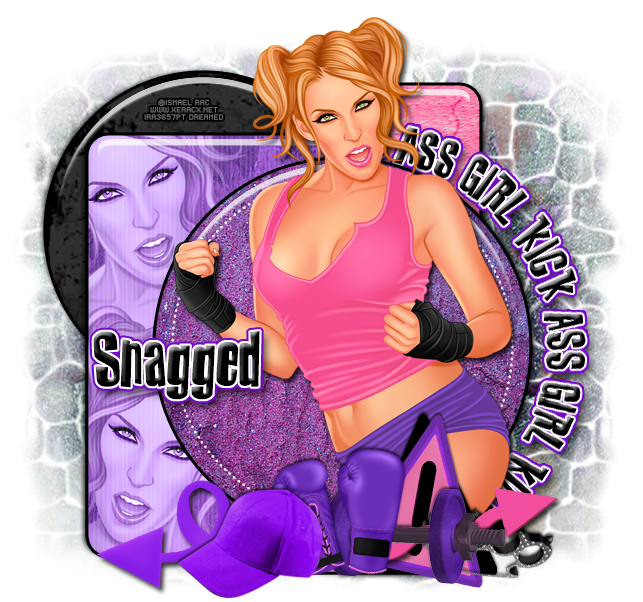
CT Tags - 2014 Kick Ass Girl by Ismael Rac!

**Coming Soon!**
The tag above was made with the matching kit by Kizzed by Kelz.
Purchase tube and matching kit here soon!
Free Snags!
Thanks for coming by!

post signature

Friday, May 23, 2014

**Rac Special 5/23 - 5/25**

Spend any $$ in the store and pick your choice of one of the Rac special buys! The first choice is a sexy tube with zombie layers or you may choose the double racer girl with and without the car! They both come with their matching kit too. Just add one of them to your cart at checkout. GCs not accepted as payment. 
post signature

Wednesday, May 21, 2014

**Rac Special 5/21 - 5/22**

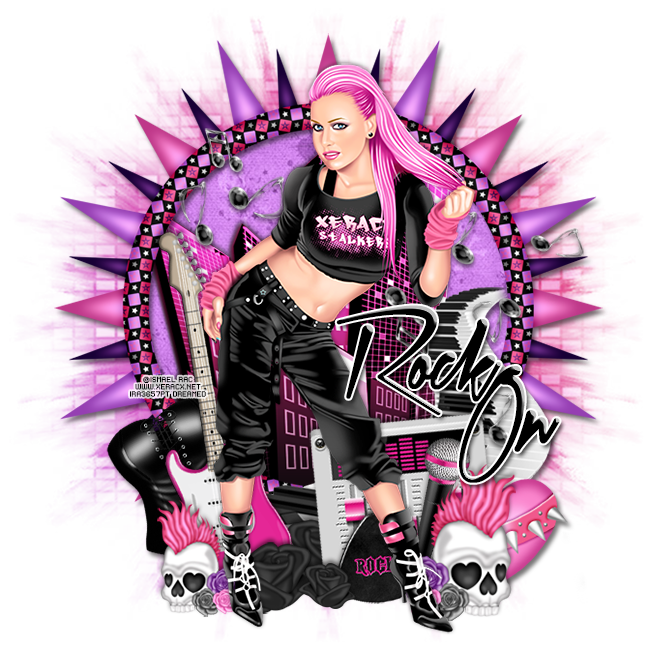
PTU tutorial using Rock Sam by Ismael RacMatching kit made by Wicked Princess Scraps
Spend any $$ in the store and get the awesome Rock Sam tube & matching kit for free! Just add them to your cart at checkout. GCs not accepted as payment. 
**This tutorial was written by me and any resemblance is purely coincidental. It is written for those with a working knowledge of Photoshop.**

Scrap Kit

Tube
*You must obtain a license to use this tube.*

Elements
11
12
13
14
16
19
23
24
28
29
30
31
Papers
8
13
Let's start!
Open a new canvas, size 650x650.
Place 24 on the canvas. Resize and add a drop shadow.
Place paper 8 behind the frame and erase anything outside the the frame.
Place the tube in front of the frame. Resize and add a drop shadow.
Behind the frame place 16 and flip horizontally. Erase anything outside the frame.
To the left of the tube and behind her place 12. Resize and flip horizontally. Add a drop shadow.
Behind the guitar place 29. Lay it the same way as the guitar. Resize and add a drop shadow.
In front of the guitar and behind the tube's foot on the left place 23 and flip horizontally. Resize and add a drop shadow.
Behind the tube on the right place 11 and rotate to the left a little. Resize and add a drop shadow.
In front of 11 place 14. Resize and add a drop shadow.
Place 23 on the right side of the tube's foot on the right. Resize and add a drop shadow.
Behind the skull place 13 and rotate it almost upright. Resize and add a drop shadow.
Behind the skull on the right place 28. Resize and add a drop shadow.
On top of the frame on the right place 19. Erase anything that hangs out the lower left side and erase the thin end on the right side so it looks like it goes behind the frame. Add a drop shadow.
Place 30 behind the tube and resize so you have a few notes to her left. Add a drop shadow.
Take another copy of 30 and place more notes to the right of the tube over the keyboard. Resize and add a drop shadow.
Between the tube's legs and behind her place 31 by her foot on the left and in front of the guitar. Resize and add a drop shadow.
Duplicate the black rose and move to to the right of the first one and make it smaller.
Duplicate the larger rose and place it behind the guitar.
Add your tagger mark and copyright information.
Crop off any extra canvas.
Save as a .psd & .png.

Free Snags!
Thanks for stopping by!
post signature

Monday, May 19, 2014

**Rac Special - 5/19 - 5/20**

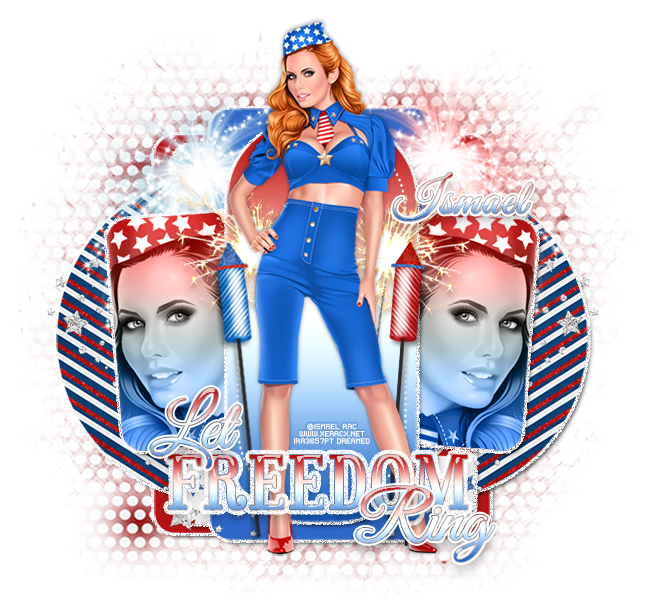
Spend any $$ in the store and get the pretty Sexy Freedom tube for free! Just add her to your cart at checkout. GCs not accepted as payment. 
post signature

Saturday, May 17, 2014

PTU Tutorial - 2014 Hot Hat by Ismael Rac!

**This tutorial was written by me and any resemblance is purely coincidental. It is written for those with a working knowledge of Photoshop.**

Scrap Kit

Template

Tube
*You must obtain a license to use this tube.*

Elements
11
14
18
20
21
24
26
27
30
Papers
2
3
12
Let's start!
Open a new canvas, size 650x650.
Open the template and move it onto the canvas. Remove the cr layer.
Add a bevel and drop shadow to each layer.
Place paper 2 over layers 1 and 2. Create a clipping mask to both.
Add paper 3 over layer 3 and create a clipping mask.
Place paper 12 over layer 4. Create a clipping mask.
Place 20 over layer 5.
Add a gradient to layer 5 using #f6d97f and #ca6615.
Merge the two layers together and add a drop shadow.
Repeat the same steps for layers 6-8:
Change the color to #fbd590 and add a stroke (with the bevel and drop shadow already added), size 2, in color #eca54b.
Over layers 6 & 8 place a close up of the tube and create a clipping mask. Change the tube to luminosity.
Place the tube in front of the template in the middle. Resize and add a drop shadow.
Place 26 underneath everything. Duplicate until it's solid and sticking out on the sides.
Behind layer 6 place 30. Resize and add a drop shadow.
Behind 30 place 14. Resize and add a drop shadow.
Behind layer 8 place a copy of 30.
Behind layer 7 place 14 and flip horizontally. Resize and add a drop shadow.
In front of 6 and behind the tube place a couple copies of 24. Resize and add a drop shadow.
Duplicate the grass and move them to the right side in front of 8 and behind the tube.
between the grass and the tube's foot on the right place 27. Flip it vertically and resize. Add a drop shadow.
In front of the shell place 11 and rotate to the right a little. Resize and add a drop shadow.
Duplicate the shell and place it behind the tube and in front of the grass on the left. Rotate to the left a little.
In front of the shell on the left place 21. Resize and add a drop shadow.
On top of the tube place 18. Resize and erase anything hanging off the tube.
Add your tagger mark and copyright information.
Crop off any extra canvas.
Save as a .psd & .png.

Free snags!
Thank you for coming by!
post signature

New Name, New Blog!

Hello friends! I have decided to change my designer name to reflect that I make kits more than I do CT work. I made a new blog so the old links for this blog will remain active for future visits. Please visit me at Drea's Designs ! I'll see you there!
Related Posts Plugin for WordPress, Blogger...