Tuesday, November 26, 2013

Escaping Chaos Collab & Raffle!

Check out this AMAZING collab & raffle: Escaping Chaos!
Per each $2 you spend, you will get 2 kits, PLUS 2 tickets for our raffle, up to $10!

Click the preview to head to the store!

The raffle will be giving away gift certificates for tubes, for Artistically Inclined Licensing, and also the personal stores of Ismael Rac, Keith Garvey, Arthur Crowe, Elias Chatzoudis, and others, Buy My Store giveaways, kit gift certificates, handmade items, and so much more!!

All proceeds go to help a friend and her children (two of them special needs) get out of an abusive home and into a place of their own. A great woman and friend has been put in a very bad situation, where she and her children are victims of verbal and mental abuse daily. We wants to help her to get out of this home, but she has limited  income and can not afford a deposit to move into a new place. We are trying to raise enough for her to be able to put a deposit down and also be able to pay for any other expenses that might arise from a sudden move. 

Please help us raise enough to save her and her three children from anymore emotional anguish.
Thank you.
post signature

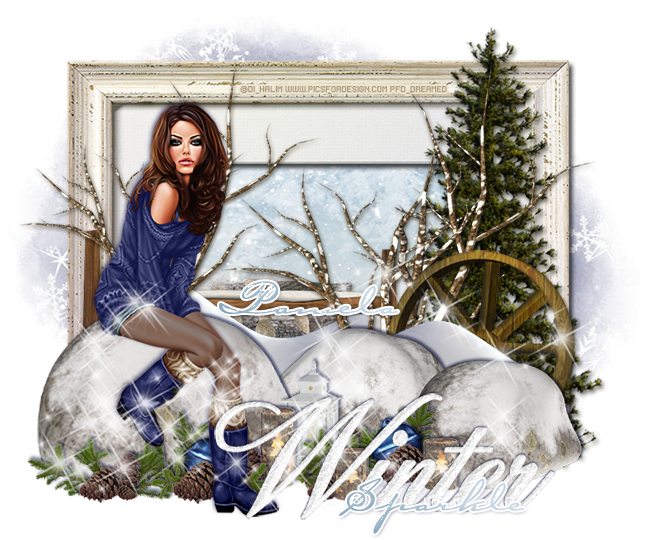
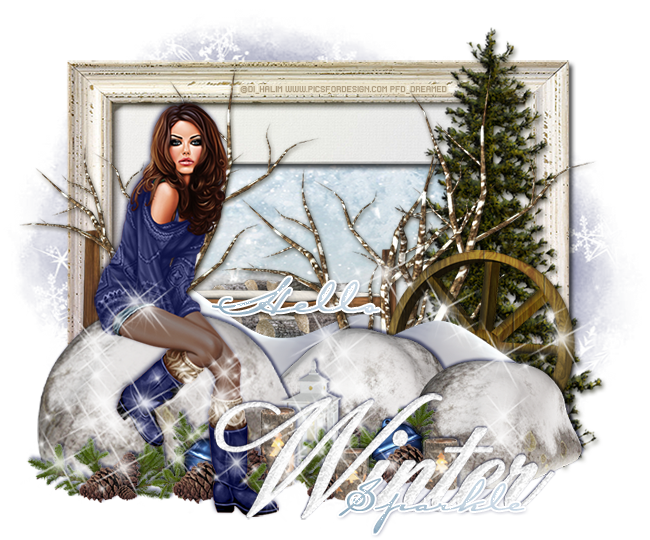
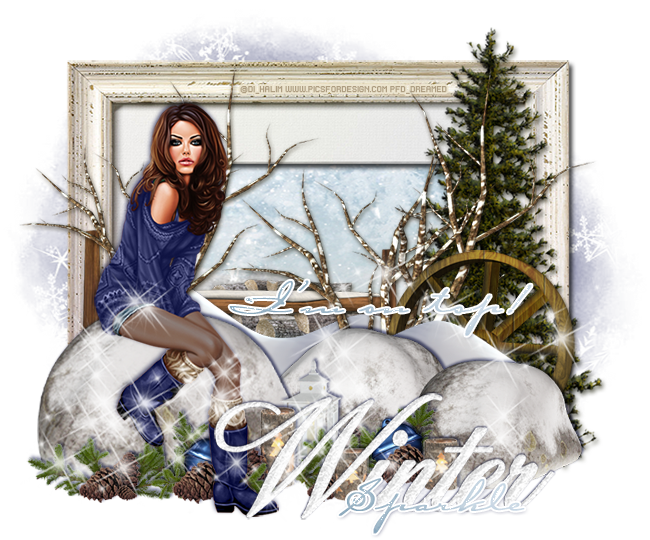
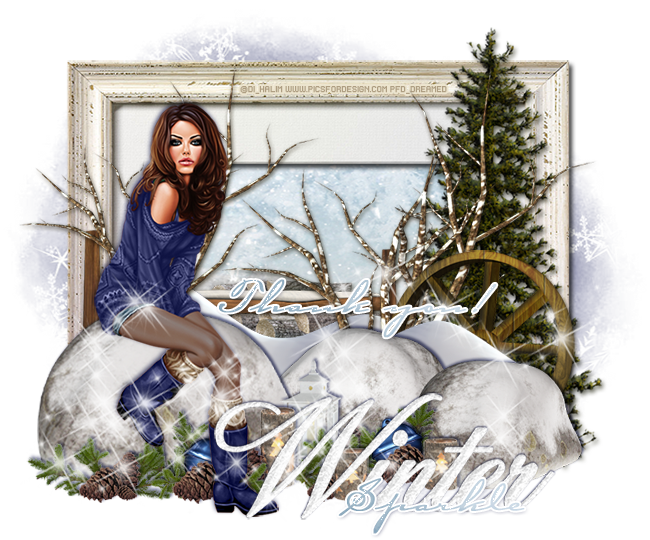
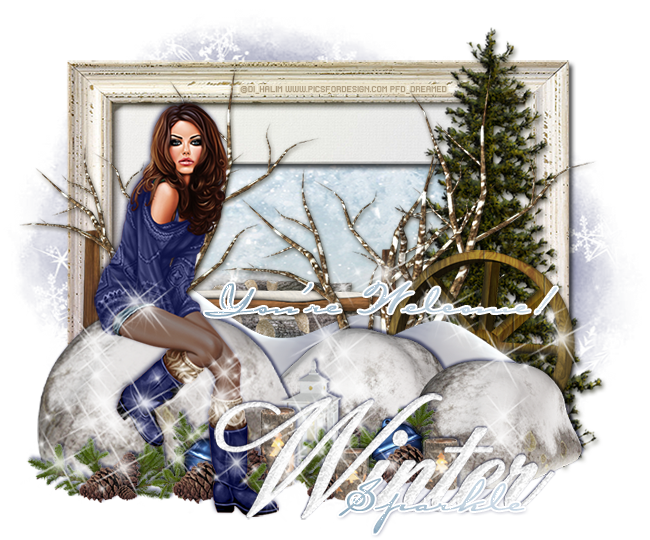
PTU Tutorial - Winter Frost!

PTU tutorial using Winter Frost by Redefined Designs!
Find out where you can buy this kit on her blog.
**This tutorial was written by me and any resemblance is purely coincidental. It is written for those with a working knowledge of Photoshop.**

Supplies

Font

Mask

Scrap Kit

Tube
*You must obtain a license to use this tube.*

Elements
Bell
Branch
Candle
Fence 
Lantern
Logs
Pinecone
Rocks
Snow
Sparkles
Tree
Wagon Wheel
Winter Tree
Winter WA
Frame1
Papers
2
8

Let's start!
Open a new canvas, size 650x650.
Place the frame on the canvas. Resize and add a drop shadow.
Place paper 2 behind the frame and resize.
Place the rocks in front of the frame. Keep the large one on the left and erase the other tube.
Place the tube on the rock. Resize the tube and the rock until you get the look she's sitting on the rock.
Add a drop shadow to both.
Take a second copy of the rocks and place them behind and to the right of the first rock. Resize and add a drop shadow.
Behind the rocks, place the snow. Duplicate the snow and place one on the left and to the right to fill the background. Resize and add a drop shadow.
Behind the snow on the right, place the wagon wheel. Resize and add a drop shadow.
Place the tree behind the wheel. Resize and add a drop shadow.
Between the wheel and the tree, place the winter tree. Resize and add a drop shadow.
Place the fence behind the tree and have it extend to the left side of the frame. Resize and add a drop shadow.
Behind the fence, place the logs. Resize and add a drop shadow.
Behind the tube, place the winter tree and flip horizontally. Resize and add a drop shadow.
Along the front of the big rock on the left, place the branch and pinecones in a bunch. Continue the bunch behind the tube's foot. Add in the bell with this bunch. Resize and add a drop shadow.
To the right of the tube, place the lantern and two candles in a cluster. Using the branch and pine cones as filler. Resize and add a drop shadow.
Duplicate the cluster you made behind the tube's foot and flip it horizontally. Move the cluster and place them against the rock on the right.
In front of the tag, place the winter wa. Resize and add a drop shadow.
Add the word, Sparkle, over the winter wa and copy the layer styles from the name.
Place the sparkles along the bottom half of the tag. Place it over the top of everything and make sure it doesn't hang off the tag or canvas too far.

 Name
Main color is a gradient of #c4d3dd & #e6edf3. 
Add a stroke, size 2, in white and a drop shadow.

Mask
Open a new canvas, size 600x600.
Open paper 8 and resize to 600x600. Place on top of the canvas.
Open the mask and move on top of the paper.
Remove the white background and place the mask behind the tag. 
Make it evenly stretched on all sides.

Add your tagger mark and copyright information.
Crop off any extra canvas.
Save as a .psd & .png.

Free snags!

Thank you for coming by!
post signature

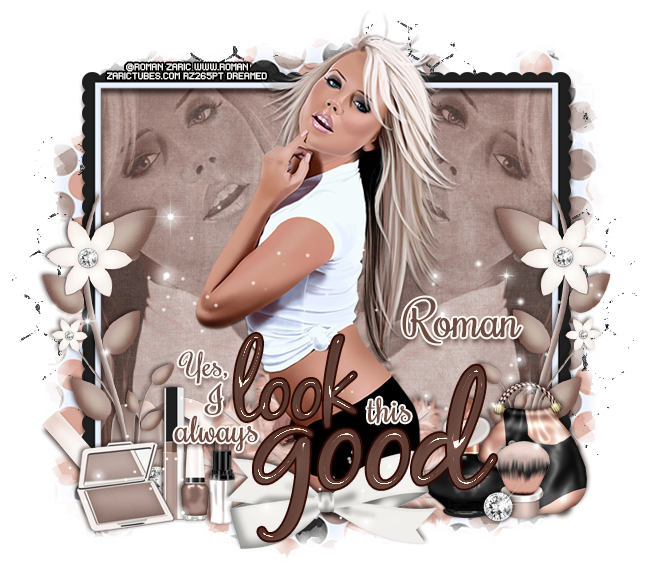
PTU Tutorial - Tamy by Roman Zaric!

PTU tutorial using Tamy by Roman Zaric! 
Matching kit made by Sandys Designs!
You can purchase them both here!
**This tutorial was written by me and any resemblance is purely coincidental. It is written for those with a working knowledge of Photoshop.**

Supplies

Font
Blackjack

Mask

Scrap Kit

Tube
*You must obtain a license to use this tube.*

Elements
4
6
8
8
12
13
14
15
24
27
30
31
32
33
34
Papers
1
7

Let's start!
Open a new canvas, size 650x650.
Place ele4 on the canvas. Resize and duplicate. Move the duplicate next to the first one so they overlap a tad and are even. Add a drop shadow to both.
Place paper 1 behind the frames. Resize and erase anything that sticks out.
Place the tube in front of the frames. Resize and add a drop shadow.
On top of the paper on the right side, place a close up of the tube. Resize and create a clipping mask to the paper. Change the tube to Luminosity and drop to 40%.
Duplicate the tube and flip horizontally then move to the left side.
Behind the tube, place ele 9. Resize and add a drop shadow.
Behind the fan, place ele 30. Resize and add a drop shadow.
In front of the tube, place ele 6. Resize and add a drop shadow.
Place ele 8 vertically along both outside edges of the frame. Resize and add a drop shadow.
Place ele 24 behind the frame. Position so it peeks out on all sides. Duplicate so it shows up better. Make sure it doesn't hang off the canvas.
Starting from the far left side, place ele 31. Resize and add a drop shadow.
Next to the compact, place ele 34, 33, and 13 in that order. Resize and add a drop shadow to each one.
Starting from the right of the tube, place ele 12 and 32. Resize and add a drop shadow.
Behind 12 & 32, place ele 14. Resize and add a drop shadow.
Place ele 27 behind the compact so it peeks out between the compact and ele 34. Resize and add a drop shadow.
Duplicate ele 27 and place it in front of ele 12 & 32.
Take ele 27 and place over the black dots on the flower. Resize each one to match the size.
Place ele 17 on top of everything and lay it over the lower half of the tag. Resize if necessary.

 Name
Main color is #a17b70. 
Add a stroke, size 2, in #fbf8f3.
Add a drop shadow.

Mask
Open a new canvas, size 600x600.
Place paper 7 on top of the canvas.
Open the mask and move on top of the paper layer.
Remove the white background and place the mask behind the tag. 
Make it evenly stretched on all sides.

Add your tagger mark and copyright information.
Crop off any extra canvas.
Save as a .psd & .png.

Free snags!

Thank you for coming by!

post signature

New Name, New Blog!

Hello friends! I have decided to change my designer name to reflect that I make kits more than I do CT work. I made a new blog so the old links for this blog will remain active for future visits. Please visit me at Drea's Designs ! I'll see you there!
Related Posts Plugin for WordPress, Blogger...