Tuesday, December 31, 2013

CT Tags with Royalty by ChiChi Designz

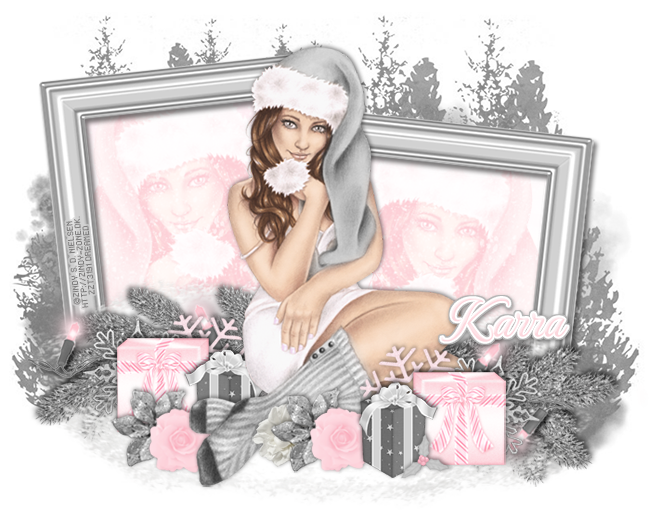
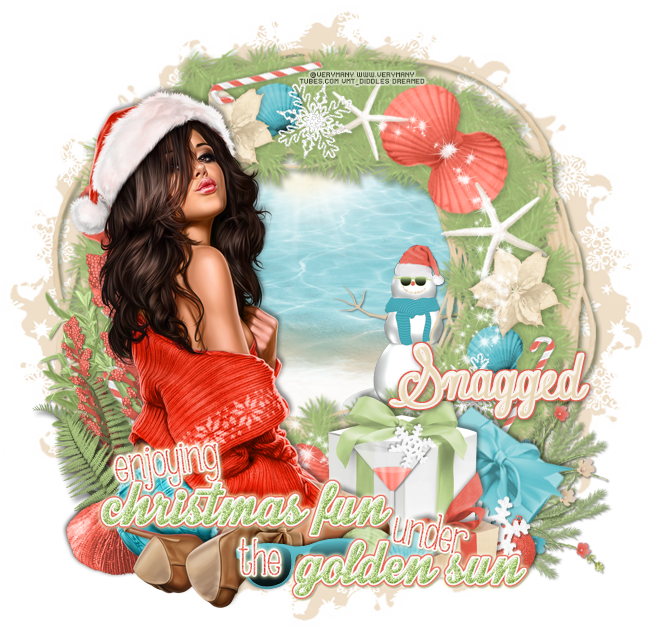
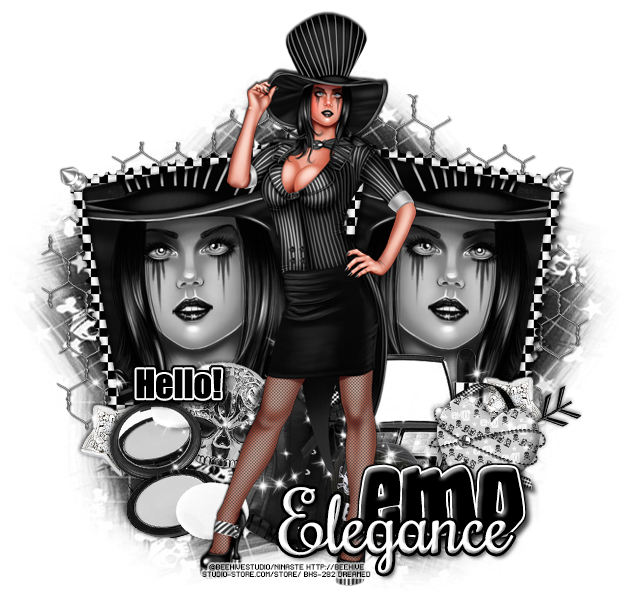
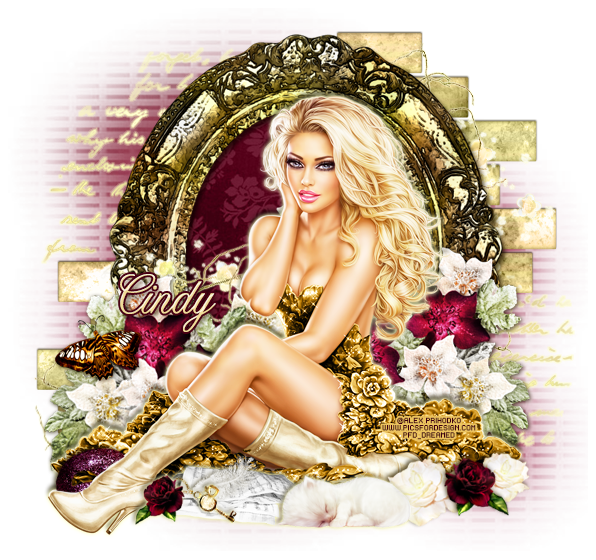
I made two tags using the beautiful Royalty kit by ChiChi Designz! There are so many tags that can be made with this kit. It's a must have! 
You can check it out on her blog HERE!
You can purchase this gorgeous kit at one of these stores:

Free snags!
Thank you for coming by!
post signature

Last Chance for Tony T Bonus Bonanza!

http://tonytz.com/store/
Bonus Bonanza and sale time!! Come check it out. 
Here is your last chance to catch up on those bonus tubes you missed! Don't miss out!
post signature

NEW Arthur Crowe Releases!

NEW RELEASES TODAY only at
Arthur Crowe's Factory!
Happy New Year! 
post signature

Monday, December 30, 2013

PTU Tutorial - Beauty In Black

*Coming Soon!*
PTU tutorial using Beauty In Black by Arthur Crowe!
Matching kit made by Wicked Creationz!
You can purchase them both here!
**This tutorial was written by me and any resemblance is purely coincidental. It is written for those with a working knowledge of Photoshop.**

Supplies
Font

Mask

Scrap Kit

Tube
*You must obtain a license to use this tube.*

Elements
4
20
25
29
Papers
4
6
Let's start!
Open a new canvas, size 650x650.
Place ele29 on the canvas and resize. Duplicate the frame again and move it lower and to the right of the first one. Add a drop shadow to both.
Place paper 6 behind the frames and erase anything that hangs outside the frames.
Place the full size tube in front of the middle of the frames. Resize and add a drop shadow.
Take the close up of the tube and place it over the paper in the frame on the lower right. Change to screen.
Duplicate the close up and flip horizontally. Move over to the frame on the left.
In front of the frame along the bottom, place ele20. Resize and add a drop shadow.
Duplicate the flower and flip horizontally. Move it to the right of the first flower.
Duplicate the flowers and move them to the frame on the right.
Behind the tube and in the middle of the frames, place ele25. Resize and add a drop shadow.
Place ele4 over the frame on the right. Resize and add a drop shadow.
Duplicate the butterfly and make it smaller than the first. Place it higher than the first.

 Name
Main color is black. 
Add a bevel and a drop shadow.
Select the pixels of the name and expand by 4.
Add a new layer below the name. Fill with #dc57a3. 
Add a bevel and a drop shadow.

Mask
Open a new canvas, size 600x600.
Open paper 4 and resize to 600x600. Place on top of the canvas.
Open the mask and move on top of the paper.
Remove the white background and place the mask behind the tag. 
Make it evenly stretched on all sides.

Add your tagger mark and copyright information.
Crop off any extra canvas.
Save as a .psd & .png.

Free snags!
Thank you for coming by!
post signature

Rac Special 12/29 - 12/31 Only!

Spend any amount in the store and add this tube to your cart for free! This tube comes with special layers of the 2013 Celebration Girl tube. Stay tuned, there's more fun to come!


Thanks for stopping by!
post signature

Sunday, December 29, 2013

Rac Special 12/29 - 12/31!

Spend any $$ in the store and get this awesome Celebration Girl special layer tube! 
This tube is not just for the 2014 New Years, but comes with 2015 and 2016 plus blank layers so you can add your own text and years. Her face is so CUTE! She really is a special tube to help bring in the New Year!
GCs not accepted as a form of payment. Spend any $$ and add her to your cart for free today! 
XeracX

post signature

Saturday, December 28, 2013

CT Tags - Ice Cream Chocolate!

I made two tags using ScrapCD_IceCreamChocolate by ChiChi Designz!
You can check it out on her blog HERE!
You can purchase this delicious kit at CDO!

Free snags!
Thank you for coming by!
post signature

Friday, December 27, 2013

PTU Tutorial - Winter's Magic!

PTU tutorial using Winter's Magic by Karra's Kreative Korner!
You can purchase the kit HERE!
**This tutorial was written by me and any resemblance is purely coincidental. It is written for those with a working knowledge of Photoshop.**

Supplies

Font of choice.

Mask

Scrap Kit

Tube
*You must obtain a license to use this tube.*

Elements
flower1
flower2
flower4
frame1
garland
holly
lights
present1
present2
sheet of snow
snow mound
snowfall
snowflake1
snowflake2
Papers
1
14

Let's start!
Open a new canvas, size 650x650.
Place frame1 on the canvas and resize. Duplicate the frame and place it next to the first frame and flip horizontally. Add a drop shadow to both.
Place paper1 behind the frames. Resize and erase anything sticking outside the frames.
Place the tube on top of the frames in the middle. Resize and add a drop shadow.
Take a close up of the tube and place it over the paper in the frame on the right. Resize and create a clipping mask to the paper.
Duplicate the tube close up and flip it horizontally. Move it to the frame on the left.
Duplicate the paper and place it on top of the tubes. Select the tubes and paper on top and create a clipping mask to the bottom paper. Change the top paper to screen.
On top of the top paper on the left, place the sheet of snow. Duplicate and place it over the right frame as well. Erase anything that overlaps and create a clipping mask to the paper.
Place the garland over the frame on the right side under the tube. Resize and add a drop shadow.
Duplicate the garland, flip horizontally, and place it on the left side.
Duplicate the garland on the right side and flip it vertically. Move around so it covers the empty space.
On top of the garland layers, place the snowfall over each one and create a clipping mask.
On top of the garland, place the lights. Resize and add a drop shadow. Erase anything on the right side. Duplicate the lights and flip horizontally. Move to the right side.
On top of the frames and behind the garland, place the snow mound. Resize and move to the right so you can add another layer. Duplicate the first copy and move the left.
Duplicate another snow mound and place it on top of the others and the lower parts of the garland under the tube.
In front of the tube on the right, place present1. Resize and add a drop shadow.
Place present2 behind present1 and to the right. Resize and add a drop shadow.
Behind the presents, place snowflake1 and snowflake2. Resize and add a drop shadow.
In front of the two presents, place the holly. Resize and add a drop shadow.
To the left of present1 and in front of the tube's feet, place flower1. Resize and add a drop shadow.
Place flower4 behind and to the left of flower1. Resize and add a drop shadow.
Behind flower4 and to the left, place flower2. Resize and add a drop shadow.
Behind the tube and to the left, place present1. Resize and add a drop shadow.
Place present2 behind present1. Resize and add a drop shadow.
In front of the presents place flowers 1 & 4. Resize and add a drop shadow.

Name
Main color is #fdd8de.
Add a stroke, size 2, in white.
Select the pixels of the name and expand by 3. 
Add a layer below and fill with #b6b6b6. Add a drop shadow.

Mask
Open a new canvas, size 600x600.
Open paper 14 and resize to 600x600. Place on top of the canvas.
Open the mask and move on top of the paper.
Remove the white background and place the mask behind the tag. 
Make it evenly stretched on all sides.

Add your tagger mark and copyright information.
Crop off any extra canvas.
Save as a .psd & .png.

Free snags!

Thank you for coming by!
post signature

PTU Tutorial - Christmas in Jamaica!

PTU tutorial using Christmas in Jamaica by Karra's Kreative Korner!
You can purchase the kit HERE!
**This tutorial was written by me and any resemblance is purely coincidental. It is written for those with a working knowledge of Photoshop.**

Supplies

Font

Mask

Scrap Kit

Tube
*You must obtain a license to use this tube.*

Elements
drink1
evergreen
flowers
gift1
gift2
gift3
holly
leaves
ornament3
plant1
plant2
sand
sea urchin
seashell1
seashell2
seashell3
snow
snowflake
snowman
sparkles
sun
sunglasses
water
wordart1
wreath
Papers
7

Let's start!
Open a new canvas, size 650x650.
Move the wreath on to the canvas. Resize and add a drop shadow.
Place the sparkles over the wreath so it curves along. Erase anything that hangs off.
Place the tube in front of the wreath and to the left. Resize and add a drop shadow.
Between the tube and wreath, place the leaves. Resize and add a drop shadow. Duplicate the leaves and flip horizontally.
Between the leaves and the tube's feet, place the sea urchin. Resize and add a drop shadow.
Behind the leaves place plant1. Resize and add a drop shadow.
Place plant2 between plant1 and the leaves. Resize and add a drop shadow.
Behind the tube and to the right, place gift3. Resize and add a drop shadow.
In front of gift3, place gift2. Resize and add a drop shadow.
Behind gift2 and gift3, place gift1 and rotate a little. Resize and add a drop shadow.
Place the drink1 in front of gift3. Resize and add a drop shadow.
In front of the tube and drink, place seashell1. Resize and add a drop shadow.
In front and to the right of seashell1, place seashell3. Resize and add a drop shadow.
Lay seashell2 in front of gift2 and seashell3. Resize and add a drop shadow.
Place the sunglasses in front of the tube's foot. Resize and add a drop shadow.
Between gift1 and gift2, place ornament3. Resize and add a drop shadow.
In front of the ornament3, place the snowflake. Resize and add a drop shadow.
Between the gifts and the wreath, place the evergreen. Resize and add a drop shadow.
Duplicate the evergreen and place another copy above the lower one.
Place a copy of the flowers on each evergreen copy. Resize and add a drop shadow.
Take another copy of the snowflake and use it as a garnish on the drink. Erase a part of the snowflake so it appears to be hanging on the glass rim.
Place wordart1 in front of the tag on along the bottom. Resize, add a drop shadow, and the default glow.

Name
Main color is #efe0c3.
Add a stroke, size 2, in #f7f3ef.
Select the pixels of the name and expand by 3. 
Add a layer below and fill with #e1604d. Add a drop shadow.

Mask
Open a new canvas, size 600x600.
Open paper 7 and resize to 600x600. Place on top of the canvas.
Open the mask and move on top of the paper.
Remove the white background and place the mask behind the tag. 
Make it evenly stretched on all sides.

Add your tagger mark and copyright information.
Crop off any extra canvas.
Save as a .psd & .png.

Free snags!

Thank you for coming by!
post signature

PTU Tutorial - 2013 Sexy Hoody!

PTU tutorial using 2013 Sexy Hoody by Ismael Rac!
Matching kit made by Crystal's Creations.
You can purchase them both here.
**This tutorial was written by me and any resemblance is purely coincidental. It is written for those with a working knowledge of Photoshop.**

Supplies
Font of choice.

Mask

Scrap Kit

Tube
*You must obtain a license to use this tube.*

Elements
1
5
6
7
9
Papers
7

Let's start!
Open a new canvas, size 650x650.
Place ele5 on the canvas and resize. Rotate a little to the left and add a drop shadow.
Place paper 7 behind the frame and resize. Erase anything outside the frame.
Place the tube over the frame and resize. Erase anything below her waist so she appears behind the frame at the bottom. Add a drop shadow.
Take a close up of the tube over the paper and create a clipping mask to the paper. Flip the close up horizontally and change to luminosity.
Place ele1 over the tube and frame in the lower right hand corner. Resize and add a drop shadow.
Duplicate the pink flower and place in front of the first one. Resize so it's smaller.
Behind the pink flowers, place ele7. Rotate so it lays horizontally and faces to the left. Resize and add a drop shadow.
Duplicate another ele7 and move it around so leaves peek out around the pink flowers. One or two copies should do it.
Now select all the ele1s & ele7s and duplicate. Flip horizontally and then move it to the left side. Merge the two copies together and add a drop shadow to both.
Behind the set of flowers on the left side place ele9. Resize and rotate so it peeks out around the bottom and left side. Erase anything sticking out too far or above the flowers.
Repeat the same steps for ele9 on the right side.
On top of everything, place ele6. Resize and erase anything sticking outside the tag and covering the tube faces.

Mask
Open a new canvas, size 600x600.
Open a new layer on top of the canvas and fill with #02b6b8.
Open the mask and move on top of the color layer.
Remove the white background and place the mask behind the tag. 
Make it evenly stretched on all sides.

Add your tagger mark and copyright information.
Crop off any extra canvas.
Save as a .psd & .png.

Free snags!

Thank you for coming by!

post signature

Thursday, December 26, 2013

RAC Special 12/26 - 12/28 Only!

Rac Special 12/26 - 12/28 Only!
Spend any amount in the store and add this tube to your cart for free! This tube comes with special layers of the cute sweater tube. Stay tuned, there's more fun to come :)

post signature

Monday, December 23, 2013

RAC Special 12/23 - 12/25 Only!

Happy Holidays! Rac has another special for you!! 
This time it's a sexy Cowboy! Spend any $$ in the store on 12/23 - 12/25 only and add him to your cart for FREE! 
Cowboy up before he's gone!

Thank you for coming by!
post signature

Saturday, December 21, 2013

WEEKEND RAC SPECIAL! 12/21 & 12/22

Spend any $$ in the store and add this special layer tube to your cart for free! 
It comes with 6 different color layers of the Warm Winter tube!
You don't want to miss out on this one! 
XeracX

post signature

Wednesday, December 18, 2013

CT Tags using Jackie Skully!

I made two tags with Jackie Skully by Ninaste @ Beehive Studio!
You can check it out at the store HERE!
Free snags!

Thank you for stopping by!

post signature

New Name, New Blog!

Hello friends! I have decided to change my designer name to reflect that I make kits more than I do CT work. I made a new blog so the old links for this blog will remain active for future visits. Please visit me at Drea's Designs ! I'll see you there!
Related Posts Plugin for WordPress, Blogger...