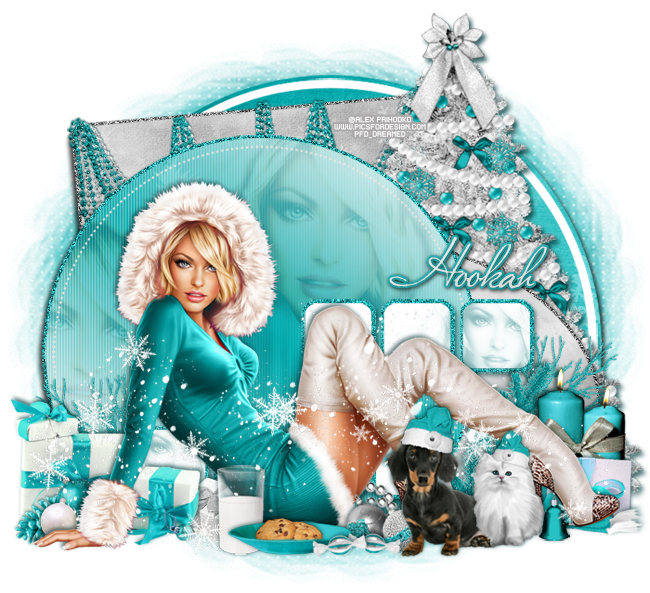
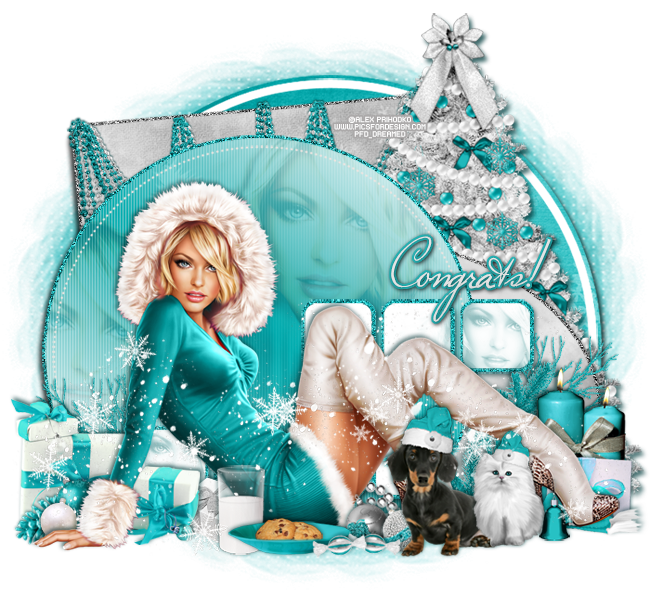
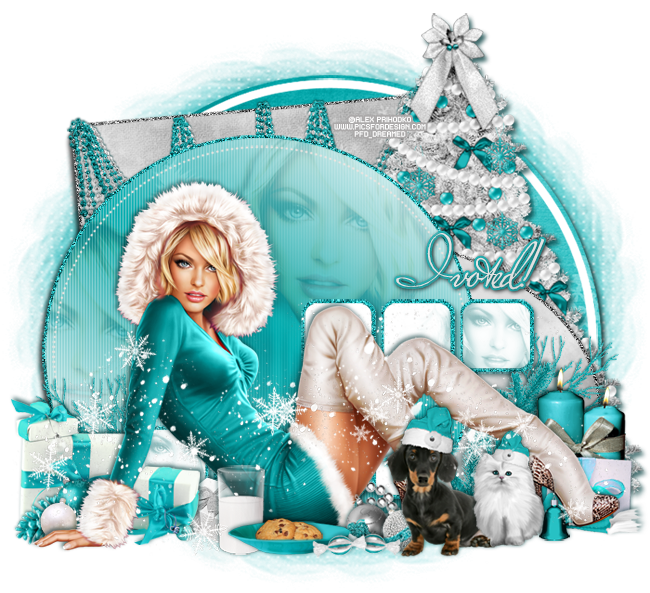
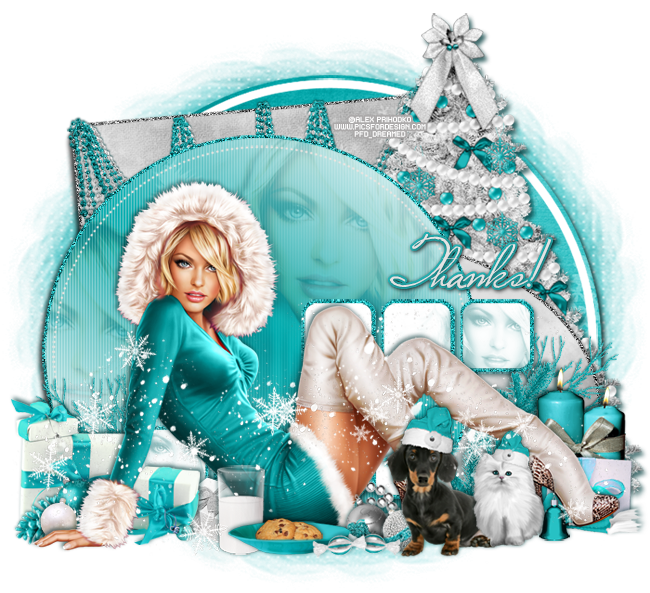
PTU tutorial using Majestic Christmas by Jackie's Jewels!
You can purchase it at the Pimpin' PSPers Warehouse!
**This tutorial was written by me and any resemblance is purely coincidental. It is written for those with a working knowledge of Photoshop.**
Supplies
Font
Scrap Kit
Template
Tube
*You must obtain a license to use this tube.*
Elements
14
15
21
27
30
33
37
39
42
49
53
55
65
66
69
70
72
76
Papers
4
6
8
9
Let's start!
Open a new canvas, size 650x650.
Open the template and select these layers:
large blue circle, white circle, white square, blue oval, small blue circle
dotted circle, blue strip, bottom blue squares, top blue squares,
bottom white squares, & top white squares,
Resize the template as needed. Make sure there is enough space around the template for other things later.
Create a new canvas about 500x500. Fill with white on a new layer and create a gradient overlay.
use colors #017679 & #ffffff. Merge the layers. Take this new paper and place it over the small blue circle and create a clipping mask.
Place the tube in front of the template. Resize and add a drop shadow.
Take a close up of the tube and place it over the small blue circle and create a clipping mask. Move it around so you see a close up to the right and a smaller one to the left of the tube.
Add a color overlay to the dotted circle layer using color #ede5e1.
Select the pixels of the small blue circle and expand by 2. Add a new layer below the small blue circle and fill it with #21b0b3. Add noise and a drop shadow to the noise layer.
Place paper 6 over the blue oval. Create a clipping mask and resize. Select the pixels of the blue oval and expand by 2. Add a new layer below the blue oval and fill it with 50% gray. Add noise and a drop shadow to the noise layer.
Place paper 9 over the white square. Create a clipping mask and resize. Select the pixels of the white square and expand by 2. Add a new layer below the white square and fill it with 50% gray. Add noise and a drop shadow to the noise layer.
Place ele 57 on top of the white square. Resize so you can fit at least two copies. Add a drop shadow.
Behind the blue oval, place ele 30 toward the right. Resize and add a drop shadow.
Place paper 4 over the large blue circle under the white circle. Resize and create a clipping mask.
Add a drop shadow to the large blue circle.
Select the pixels of the top blue squares and fill with #21b0b3. Add noise and a drop shadow.
Follow the same steps for the bottom blue squares.
Duplicate the white squares for the top set. Select the pixels of the new layer of squares and fill with #54cccf. Change them to soft light.
Follow the same steps for the bottom white squares.
Now take a smaller version of the tube and create a clipping mask to the top white squares. Move and resize the tube until you can see most of her face in the square on the right. The other two squares should be covered by the tube. Change the tube to Luminosity and drop the fill to 36%.
Duplicate the tube and move it down to the bottom white squares and repeat the same steps. This time move the tube into the last square on the left.
Behind the tube on the left, place ele 69. Resize and add a drop shadow.
Between the presents and the tube's hand, place a cluster of ele 27, 33, 53. Resize and add a drop shadow to each.
Behind ele 69, place ele 61. Resize and move around so you see a little sticking out. Add a drop shadow.
Still behind the tube and the set of presents, place ele 59. Resize and add a drop shadow.
In front of the tube, about where her hip is, place ele 76, 37 & 55. Place the cookies on the place and erase the lower part of the cookies so they appear to be laying on the plate. Resize and add a drop shadow to each.
In front of the plate and to the right a little, place a couple of ele 70. Resize and add a drop shadow.
By the tube's foot in front, place ele 42 & 39. Resize and add a drop shadow.
Behind the tube, place ele 66 so some picks out behind her legs. Resize and add a drop shadow.
Behind the plate and to the left of the dog, place a cluster of ele 15 & 14. Resize and add a drop shadow to each.
To the left of the kitten and in front of the tube's other foot, place ele 49. Resize and add a drop shadow.
Behind the tube's foot, place ele 21. Resize and add a drop shadow.
Behind ele21, place ele 72. Resize and add a drop shadow.
Between the tube's foot and ele 21, place ele 56. Resize and add a drop shadow.
Behind the tube, place ele 58. Resize, rotate, and a drop shadow.
Behind ele 58, place ele 61. Resize and add a drop shadow.
On top of all the layers, place ele 65. Resize and rotate it so it lays horizontally over the lower half of the tag and tube. Make sure nothing hangs off the canvas or tag too much.
Erase anything that covers the tube's head/face.
I used radiance only on the tube close ups.
I used Soft Vignette to achieve the vertical lines on the circle in front.
Mask
Open a new canvas, size 600x600.
Open PP8 and resize to 600x600. Place on top of the canvas.
Open the mask and move on top of the paper.
Remove the white background and place the mask behind the tag.
Make it evenly stretched on all sides.
Name
The main color is #e3e3e3.
Add a stroke, size 2, in #e3e3e3.
Add a bevel and change the shadow mode to #a7a0a0.
Drop the depth to 42 and the size 35.
Add a light drop shadow.
Select the pixels of the name and expand by 2.
Add a layer below the name and fill with #26b8ba.
Add a drop shadow.
Add your tagger mark and copyright information.
Crop off any blank canvas.
Save as a .psd & .png.
Free snags!
Thank you for coming by!
