Saturday, May 31, 2014

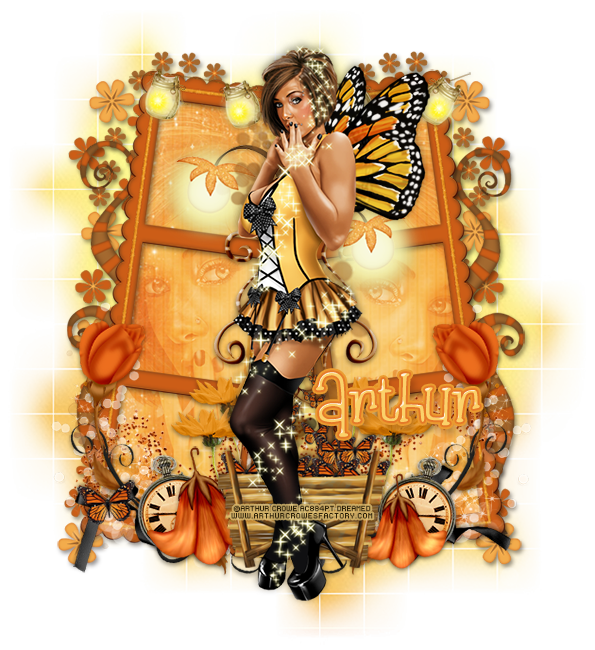
PTU Tutorial - Little Wish by Arthur Crowe!

**This tutorial was written by me and any resemblance is purely coincidental. It is written for those with a working knowledge of Photoshop.**

Scrap Kit

Tube
*You must obtain a license to use this tube.*

Elements
9
11
14
16
18
19
20
21
22
23
25
26
27
28
29
Papers
1
3
Let's start!
Open a new canvas, size 700x700.
Place 29 on the canvas and rotate 90 degrees CCW. Resize and add a drop shadow. Duplicate the frame and move it to the right of the first one.
Place paper3 behind the frames and erase anything outside the frames.
Place the full size tube in front of the middle of the frames. Resize and add a drop shadow.
Take the close up of the tube on top of the paper on the left. Resize and change to soft light. Duplicate the close up and flip horizontally. Move it to the right frame. Clip both to the paper.
 Behind the tube in the middle place 21 so it sticks out a little on the left. Resize and add a drop shadow.
Duplicate 21 and flip horizontally then move it so it sticks out a little on the right side of the tube.
Place 28 on top of 21 and behind the tube so the light sticks out but does not cover the close up's face. Resize and add a drop shadow.
Duplicate 28 and flip horizontally. Place it higher than the first one.
Place 18 on top of the lights and behind the tube vertically.
Along the top of the frame on the left place 19. Resize and add a drop shadow.
Duplicate the lights and move to the right frame.
At the bottom of the frames and behind the tube place 22 in the middle. Resize and add a drop shadow.
On top of 21 on the right side of the tube place 25. Resize and add a drop shadow. Duplicate the flower and place it below the first one. Erase the stem sticking out at the bottom.
Duplicate the flowers and place them on the left side of the tube.
Behind 22 place 11 on the left side. Rotate so the orange flower lays along the left side of the frame. Resize and add a drop shadow.
On top of 11 on the left place 23 so the butterfly sits on the bottom left hand corner. Resize and add a drop shadow.
Duplicate so the black string sticks out the right side.
Duplicate 22 and flip horizontally. Move to the right side of the frame.
Behind 22 place 20 on the left side. Rotate upwards a little. Duplicate the scatter and flip horizontally. Move it to the right side.
On top of the frames behind everything place 16 and rotate horizontally. Resize and add a drop shadow.
Behind 22 on the left place 14. Resize and add a drop shadow.
To the left and behind the flower place 26. Resize and add a drop shadow.
Duplicate the flower and move it to the right side and resize.
Duplicate the clock from before and place it behind the flower on the right.
Behind the frame on the left place 27. Resize and add a drop shadow.
Duplicate 27 and place it behind the frame on the right.
behind 27 on the left place 9. Rotate so it's almost vertical. Resize and add a drop shadow.
Duplicate the flowers and place it on the right side in the same way.
Add your tagger mark and copyright information.
Crop off any extra canvas.
Save as a .psd & .png.

Free snags!
Thank you for coming by!

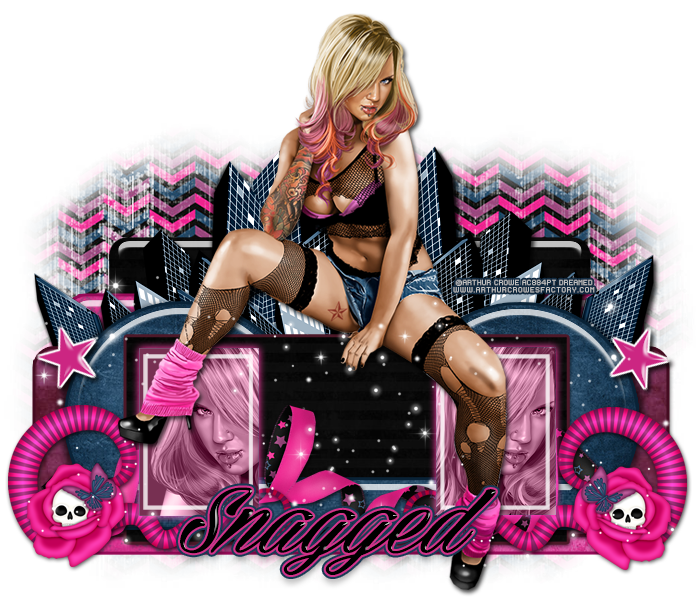
PTU Tutorial - Extraordinary Babe by Arthur Crowe!

**This tutorial was written by me and any resemblance is purely coincidental. It is written for those with a working knowledge of Photoshop.**

Scrap Kit

Template

Tube
*You must obtain a license to use this tube.*

Elements
cityscape
folded ribbon
rose skull
sparkle
swirl
Papers
1
3
4
5
8

Let's start!
Open a new canvas, size 700x700.
Open the template and move onto the canvas.
Remove the raster 1 layer and layer 3 then resize the rest as necessary.
Place paper 5 over layer 1 and 7. Create a clipping mask and a drop shadow.
Add a bevel to layer 1.
Place paper 1 over layer 2 and create a clipping mask. Add a stroke, size 3, in #960a57. Add a bevel and a drop shadow.
Place the city scape between layers 2 and 4 on the left and resize. Duplicate the city scape and move to the right to cover the length of the template.
Add a drop shadow to both.
Place paper 8 over layer 4 and create a clipping mask. Add a drop shadow and a stroke, size 3, in #450c21.
Place paper 3 over layers 5 and 6. Create a clipping mask, add a bevel, and add a drop shadow. Add a stroke, size 3, #092236 to both.
Add a stroke to layer 7, size 3, in #4d1828 and a drop shadow.
Place paper 3 over layer 8, add a drop shadow, stroke, size 3, in #092236, and a bevel.
Select the pixels of 9 and 10 and fill with #773052. Add an outer glow in #c72880 and change the size to 9. Add a drop shadow.
Change the opacity of 11 and 12 to 80%.
Place a close up of the tube over 9 and 10 and create a clipping mask. Change both to luminosity.
Move 13 and 14 up where 2 and 4 meet. Rotate the one on the left to the left a little and the one on the right to the right a little.
Add a bevel, stroke in white, and change the color to #cc2682 then add a drop shadow.
Behind layers 9 and 10 place the swirl on the right. Resize and add a drop shadow. Duplicate the swirl and flip horizontally. Move it to the right side.
Behind the swirls place the folded ribbon. Flip vertically and then horizontally. Resize and add a drop shadow.
Over the swirl on the left place the rose skull. Resize and add a drop shadow.
Duplicate the rose and move it to the left side.
On top of everything place the sparkles on the left. Duplicate and move them to the right. Erase anything off the tag.
Add your tagger mark and copyright information.
Crop off any extra canvas.
Save as a .psd & .png.

Free snags!
Thank you for coming by!
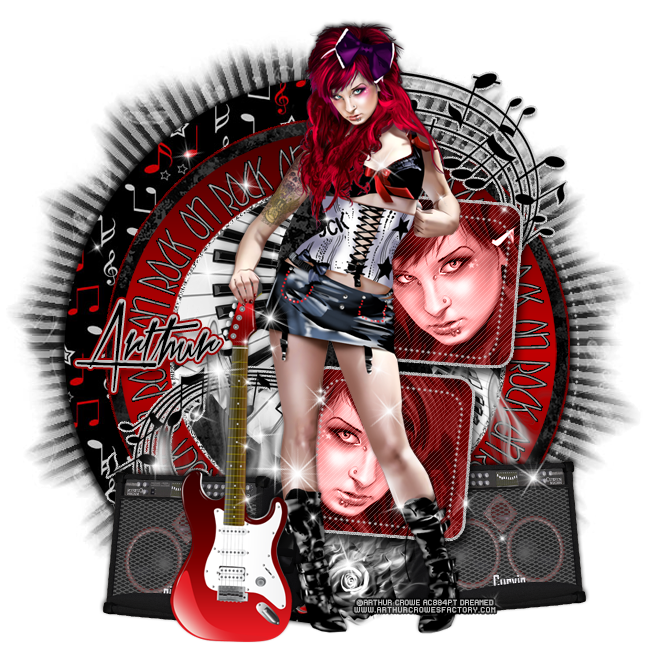
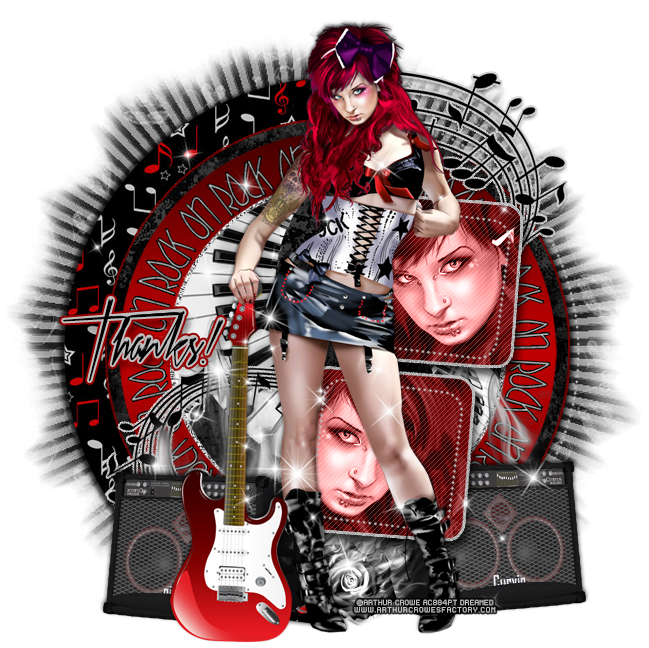
PTU Tutorial - Edgy Rocker by Arthur Crowe!

**This tutorial was written by me and any resemblance is purely coincidental. It is written for those with a working knowledge of Photoshop.**

Scrap Kit

Template

Tube
*You must obtain a license to use this tube.*

Elements
amp
flame flower
flames
note curl
sparkles
spiral keys
Papers
3
5
12

Let's start!
Open a new canvas, size 650x650.
Open the template and move onto the canvas.
Remove the cr layer and resize the rest as necessary.
Change the color to the 1st layer to #bdbdbd.
Place paper 5 over layer 2. Resize and clip. Add a drop shadow.
Place paper 3 over layer 3. Resize and clip.
Add an outer glow to layer 3 in #760001, add noise, and a drop shadow.
Using #c00002 and #480000 create a reflected gradient overlay with the first color on the left and the darker on the right.
Leave layer 5 alone.
Change the color of layer 6 to #c4c4c4 and add a stroke, size 1, in black.
Select the pixels of layers 7 and 8 and change both to #6a0001.
Add an outer glow to both in #bfbfbf and add noise and a drop shadow.
Place a close up of the tube over the top square with her facing to the left. Clip to the square, resize, and change the luminosity.
Duplicate the tube close up and flip horizontally. Move it to the bottom square.
Change the colors of layers #bebebe.
Place the spiral keys on top of layer 3 and create a clipping mask. Resize and erase any parts that hang outside the the center.
Place the tube in front of the template. Resize and add a drop shadow.
Take the note curl and place it behind 7 and 8. Place the curl part to the left of the tube at the bottom. Duplicate and flip so the curl is behind the tube at the top.
Add a noise in #d2d2d2 and a drop shadow to both.
On top of the note curl at the bottom place the flames and resize.
Behind the tube's guitar place the amp and flip horizontally. Resize and add a drop shadow.
Duplicate the amp, flip it horizontally and place it behind the tube and layer 8 on the right.
Between the the tube's feet place the flame flower and resize.
On top of everything place the sparkles. Erase anything off the tag and on top of the tube's face.
Add your tagger mark and copyright information.
Crop off any extra canvas.
Save as a .psd & .png.

Free snags!
Thank you for coming by!

Tuesday, May 27, 2014

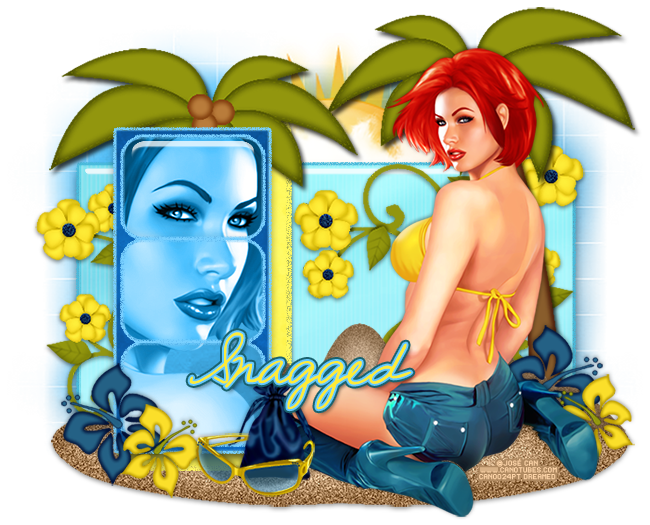
PTU Tutorial - Lori by José Cano!

**Coming Soon!**
**This tutorial was written by me and any resemblance is purely coincidental. It is written for those with a working knowledge of Photoshop.**
Scrap Kit

Template

Tube
*You must obtain a license to use this tube.*
Elements
2
8
13
17
18
19
20
21
25
26
Papers
4
5
7
8
Let's start!
Open a new canvas, size 650x650.
Open the template and move it on to the canvas. Resize as necessary.
Remove layers 2, 3, and cr.
Place paper 4 over layer 1 and create a clipping mask. Add noise in #49bbdb, bevel, and a drop shadow.
Place paper 7 over layer 4 and create a clipping mask. Add noise in #fff960 and a drop shadow.
Place paper 8 over layer 5 and create a clipping mask. Add noise in #78d0ff and a drop shadow.
Place paper 5 over layers 6, 7, and 8 and create a clipping mask. Add noise in #78d0ff to each layer.
In front of the template and to the right place the tube. Resize and add a drop shadow.
Underneath the tube and template place 20. Duplicate the sand to cover the width of the template. Merge the layers together and add a light drop shadow.
Behind layer 5 (and tube) place 21. Resize and add a drop shadow.
Between layers 4 and 5 place 19. Resize and add a drop shadow.
Duplicate the palm tree and flip horizontally. Move it to the right behind the tube and sands on top of layer 1.
Behind the palm tree on the right place 13. Resize and add a drop shadow.
Duplicate 13 and flip it horizontally. Move it to the left side behind layer 4 so only a little sticks out to the left. Erase anything below or sticking out the right side.
Behind the template and between the palm trees place 25 and resize.
On top of the sun place 26.
On top of layers 6, 7, and 8 place a close up of the tube and create a clipping mask. Change each tube close up to luminosity.
In front of the template and on the sand place 18 on the left. Resize and add a drop shadow.
Place 17 on top of 18, resize, and flip it horizontally. Add a drop shadow.
Duplicate 17 and 18 then move together to the right of the tube and behind her.
Between the flowers and tube on the right place 8. Resize and add a drop shadow.
In front of the bag place 2. Resize and add a drop shadow.
Erase the arm of the sunglasses on the left so it appears to wrap around the bag.
Add your tagger mark and copyright information.
Crop off any extra canvas.
Save as a .psd & .png.

Free snags!
Thank you for coming by!
post signature

Monday, May 26, 2014

PTU Tutorial - Kitty by Tony T!

**Coming Soon!**
**This tutorial was written by me and any resemblance is purely coincidental. It is written for those with a working knowledge of Photoshop.**

Scrap Kit

Tube
*You must obtain a license to use this tube.*

Elements
6
7
8
9
10
11
14
15
16
17
18
22
23
24
27
Papers
4
10

Let's Start!
Open a new canvas, size 650x650.
Place 14 on the canvas. Resize and add a drop shadow.
Place the the tube in front of the star. Resize and add a drop shadow.
Place paper 10 behind the star and erase anything outside the frame.
Place 8 on top of the paper and create a clipping mask.
Behind 8 and on top of the paper place 7. Erase anything outside the frame.
Behind the tube on the left side of the frame place 8. Resize and add a drop shadow.
To the right of the tube and behind her place 6. Resize and add a drop shadow.
On top of the kitty place 9 near its neck. Resize and erase so it looks like the kitty's collar. Add a drop shadow.
Behind the kitty on the right place 11 and rotate to the right a little. Resize and add a drop shadow.
Behind the tube's right leg and in front of the frame place 27 and rotate to the right a little. Resize and add a drop shadow.
Between the disco ball and cat to the right of the tube's leg on the right place 15. Resize and add a drop shadow.
Behind the tube's foot on the left place 22. Resize and add a drop shadow.
In front of the purse and behind the foot still place 17. Resize and add a drop shadow.
In front of the nail polish and to the left of the shoe place 23. Resize and add a drop shadow.
Behind the lipstick place 24. Resize and add a drop shadow.
Behind the mirror place 16 and lay it flat. Resize and add a drop shadow.
On top of the tube  place 10 so just a little sparkle cover the tube under her face and onto the kitty. Erase anything else.
Add your tagger mark and copyright information.
Crop off any extra canvas.
Save as a .psd & .png.

Free snags!
Thank you for coming by!

post signature

Sunday, May 25, 2014

CT Tags - 2014 Kick Ass Girl by Ismael Rac!

**Coming Soon!**
The tag above was made with the matching kit by Kizzed by Kelz.
Purchase tube and matching kit here soon!
Free Snags!
Thanks for coming by!
post signature

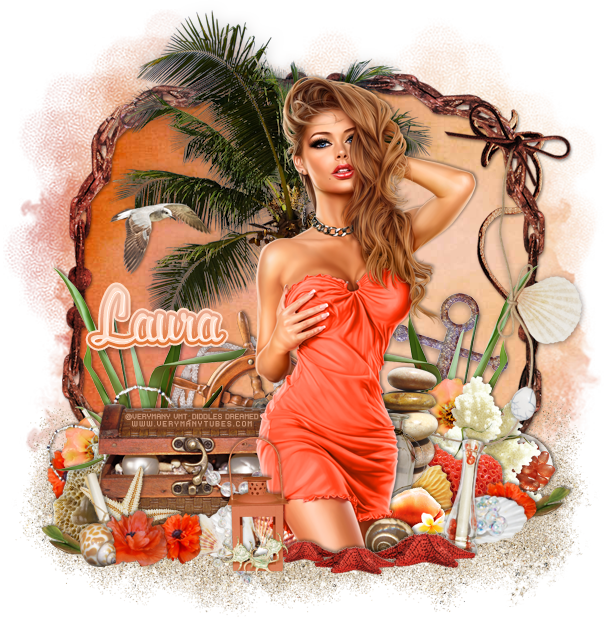
CT Tags - Sunset Beach by TTD!

It comes with 116 unique elements and 43 gorgeous papers.
Purchase the kit here!
Free snags!
Thank you for coming by!

post signature

New Name, New Blog!
Hello friends! I have decided to change my designer name to reflect that I make kits more than I do CT work. I made a new blog so the old links for this blog will remain active for future visits. Please visit me at Drea's Designs ! I'll see you there!
Related Posts Plugin for WordPress, Blogger...