Showing posts with label PinkParadox Productions. Show all posts

Saturday, February 22, 2014

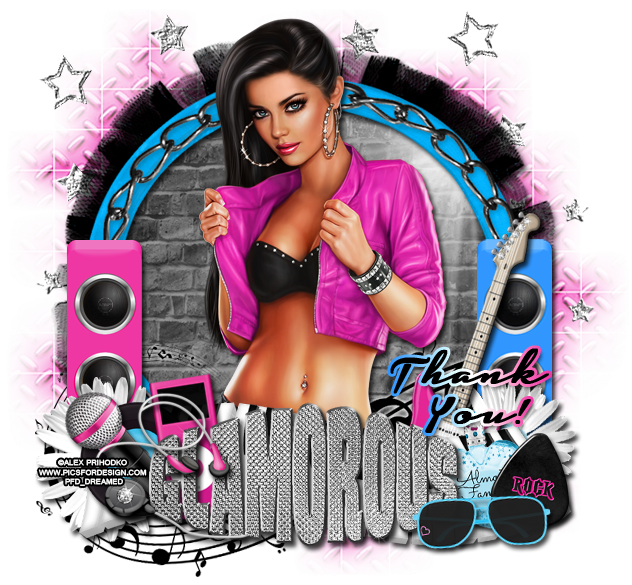
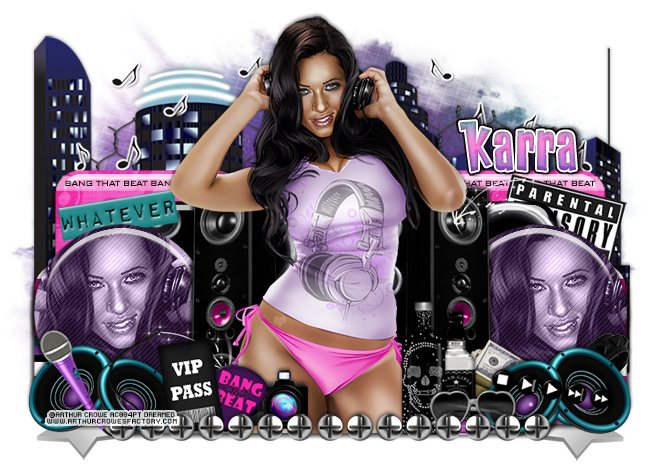
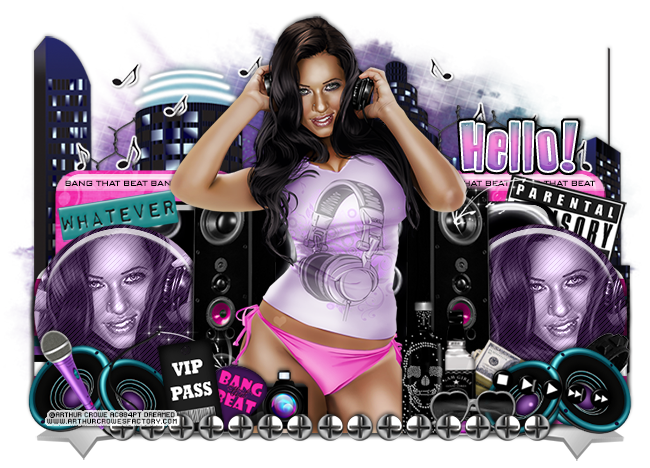
PTU Tutorial - Bang That Beat Collab!

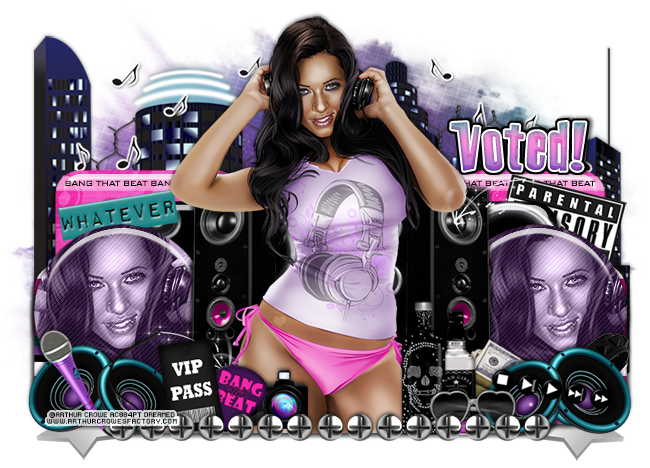
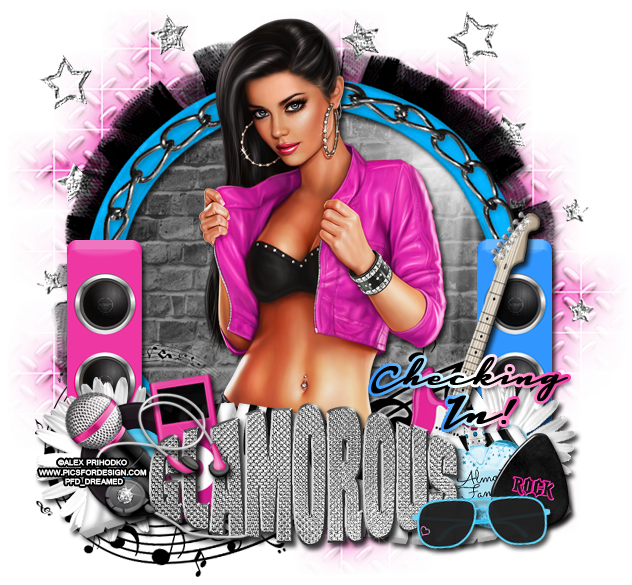
PTU tutorial using Bang that Beat collab by Karra's Kreative Korner & PinkParadox Productions!
Bang that Beat is a rockin' collab with over 200 elements and 40 papers; it's definitely sure to make you groove! Get it today for just $3.50 at Pink Paradox Productions.
**This tutorial was written by me and any resemblance is purely coincidental. It is written for those with a working knowledge of Photoshop.**

Supplies
Scrap Kit

Template

Tubes
*You must obtain a license to use this tube.*

Elements
kk_bottle
kk_buttons
kk_guitar pick
kk_label
kk_note scatter
kk_screw line
kk_sparkle2
kk_speaker1
kk_vip pass
PPP
11
12
13
30
38
40
63
64
87
Papers
kk_paper5
kk_paper7
kk_paper16
PPP_Paper24

Let's start!
Open a new canvas, size 700x650.
Open the template and move it on to the canvas.
Only keep layer 2-9. Discard the rest.
Add a bevel and a drop shadow to each remaining layer, excluding layer 4.
Starting with kk_paper5, place it over layer 3 and create a clipping mask.
Duplicate the paper and place it above layer 2 and create a clipping mask.
Place kk_paper16 over layer 5. Create a clipping mask and resize.
Place kk_paper7 over layer 6. Create a clipping mask and resize.
Duplicate the paper and place it above layer 7 and create a clipping mask.
Select the pixels of layer 8 and fill with #bea5ca. Repeat for layer 9.
Select layer 4 and fill with white then drop the fill to 50%.
On top of four use a small font to write out bang that beat repeatedly across the back in black.
Place the tube in the middle of the template. Resize and add a drop shadow.
In front of the tube, place the screw line. Resize and add a drop shadow.
Take a close up of the tube and place it over layer 8 and create a clipping mask. Resize and change to Luminosity.
Duplicate the close up and place it over layer 9 and create a clipping mask.
Place speaker1 behind and to the left of the tube. Resize and add a drop shadow.
Duplicate the speaker and flip horizontally then move to the right side of the tube.
Place kk_sparkle2 on the top circle on the speaker on the right and resize.
Duplicate the sparkle and place it on a circle on the left side.
In front of the tube on the right, place kk_bottle. Resize and add a drop shadow.
Behind the bottle, place ppp_11. Resize and add a drop shadow.
In front of the bottles, place ppp_40. Resize and add a drop shadow.
To the right and behind ppp_11, place ppp_30. Resize and add a drop shadow.
Behind the sunglasses and in front of the cash, place ppp_63. Flip horizontally, resize, and add a drop shadow.
Duplicate ppp_63 and flip horizontally. Move to the opposite side of the template.
On top ppp_63, place kk_buttons. Resize and add a drop shadow.
On the left side of the tube, place ppp_38 in front of the tube. Resize and add a drop shadow.
To the left of the camera, place kk_guitar pick. Resize and add a drop shadow.
In front of the guitar pick, place kk_vip pass. Resize and add a drop shadow.
On top of ppp_63 on the left, place ppp_64. Flip the mic vertically and horizontally. Resize and add a drop shadow.
Behind layer 8, place kk_label. Resize and add a drop shadow.
Place ppp_13 behind layer 9 on the right side. Resize and add a drop shadow.
Place kk_note scatter behind the template around the tube and resize. Erase anything that hangs too far off the template.
Select the pixels of the note scatter and expand by two. Add a layer below and fill with white and add a drop shadow.
Place ppp_87 underneath the tag on the right side. Resize and move so just a larger star sticks out. Erase the rest.
Duplicate the star and flip horizontally then move to the left side.
Behind the note scatter, place ppp_12 and flip horizontally. Resize and add a drop shadow.
Add your tagger mark and copyright information.
Crop off any extra canvas.
Save as a .psd & .png.

Free snags!
Thank you for coming by!
post signature

Saturday, October 12, 2013

PTU Tutorial - Autumn Rain Collab

PTU tutorial using Autumn Rain Collab by Jackie's Jewels and PinkParadox Productions!
**This tutorial was written by me and any resemblance is purely coincidental. It is written for those with a working knowledge of Photoshop.**

Supplies

Font

Mask

Scrap Kit

Tube
*You must obtain a license to use this tube.*

Jackie's Jewels Elements and Papers
1
5
6
11
22
24
26
27
30
31
32
33
34
35
38
39
PP3

PinkParadox Productions Elements and Papers
1
6
9
10
23
26
37
44
45
P8

Let's start!
Open a new canvas, size 650x650.
Place ele 32(JJS) onto the canvas. Resize and add a drop shadow.
Place ele30(JJS) below the frame as the ground and resize.
Place the tube in front of the frame and on the ground. Resize and add a drop shadow.
Place P8(PPP) behind the frame and resize. Place a layer above the paper and fill with #2a3646. Create a clipping mask and adjust, if necessary, the brightness of the cloud paper so you can still see the clouds, but get the nighttime darkness effect.
Place ele34(JJS) on top of the paper and resize. Erase anything outside the frame.
Place ele11(JJS) on the right side of the frame at the top. Place them as I have. Erase anything hanging off the frame.
Duplicate the lights, flip horizontally, and place on the left side.
Place ele26(PPP) behind the frame. Place one copy on the right side (resize) and add a drop shadow. Duplicate and cover the left side. Make sure both copies of the tree do not hang off the canvas.
Place ele24(JJS) between the frame and paper. Resize and add a drop shadow.
In front of the fence, place a few copies of ele6(JJS). Resize and add a drop shadow. Use them to cover the bottom of the fence.
Place ele 31(JJS) in the upper left hand corner of the frame. Point the branch to the lower right hand corner. Resize and add a drop shadow.
Place ele6(PPP) between the frame and the tube. Resize and add a drop shadow.
Take ele33(JJS) and place it below the tube where her foot his the ground so it looks like a splash from the rain. Resize it.
Take another small copy and place a splash on the bench. Duplicate and make a smaller copy to place in from the bench's leg on the left, in the front.
Place ele1(JJS) on the right side of the bench. Resize and add a drop shadow.
In front of ele1, place ele23(PPP). Resize and add a drop shadow.
Inside ele23, place ele5(JJS). Resize and erase parts of the blueberries to create the illusion the bucket is full of them.
Take another copy of ele5(JJS) and place a copy behind the water splash in front of the bench's left, front leg. Resize and add a drop shadow.
Place ele35(JJS) in front of the bucket to the right a little. Resize and add a drop shadow.
Place ele22(JJS) in front of the bucket and to the left of the bench. Resize and add a drop shadow.
Between the candle and the bucket, place ele 26 & 27(JJS) and 39(PPP). Resize and add a drop shadow.
Place ele10(PPP) in front of the lantern. Resize and add a drop shadow.
Place ele1(PPP) on the right side of the bench toward the edge of the frame. Resize and add a drop shadow.
Place ele39(JJS) between the bench and ele1(PPP). Resize and add a drop shadow.
Place another copy of the rain splash in the bucket so it looks like water is splashing out. Erase parts, if necessary.
Place ele24(PPP) in front of the bucket. Resize and add a drop shadow.
Place ele37(PPP) behind ele24. Resize and add a drop shadow.
Place ele9(PPP) in front of the bottle. Resize and add a drop shadow.
Place ele 26(JJS) behind the bench's leg. Resize and add a drop shadow.
Use eles 44 and 45 (PPP) on the right side of the frame behind everything. Use the vertical part of ele 45 along the vertical edge of the frame. The other part will be hidden behind other elements. Repeat the same step for the left side.
Take ele 44 and place a few of the flowers to the left and right of the bench. Resize and add a drop shadow.
Place ele38(JJS) on top of the bench on the left side of the bench. Resize and add a drop shadow.

 Name
The main color is #d48568. Add noise.
Add a default bevel and change the shadow mode to white.
Add a stroke, size 3, in #1f2e40. Add a drop shadow.

Mask
Open a new canvas, size 600x600.
Open PP3 and resize to 600x600. Place on top of the canvas.
Open the mask and move on top of the paper.
Remove the white background and place the mask behind the tag. 
Make it evenly stretched on all sides.

Add your tagger mark and copyright information.
Crop off any extra canvas.
Save as a .psd & .png.

Here are free snags!


Thank you for coming by!
Saturday, August 17, 2013

PTU Tutorial - Angelic Kisses

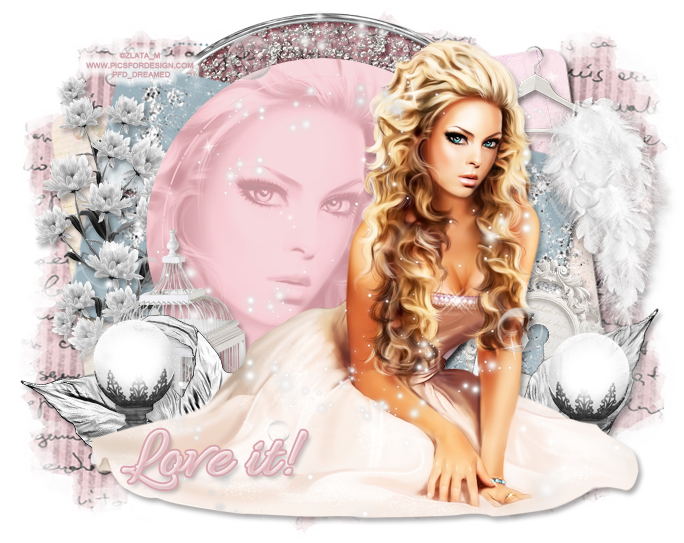
PTU tutorial using Angelic Kisses by PinkParadox Productions!
You can purchase the kit at PicsForDesign!
**This tutorial was written by me and any resemblance is purely coincidental. It is written for those with a working knowledge of Photoshop.**

Supplies
Font

Mask

Scrap Kit

Template

Tube
*You must obtain a license to use this tube.*

Elements
20
21
54
57
99
106
158
160
F9

Papers
2
4
17
23

Let's start!
Open a new canvas, size 650x650.
Open template. Select all layers and move on to the blank canvas. 
Delete the raster layer.
Delete layers 7, 8, & 9.
For layer 6, change the color of the color overlay to #f9d0d6.
For layer 1, change the color of the color overlay to #78929e.
Take P4 and place it over layer 2 of the template. Create a clipping mask and rotate and resize as you like. Add a drop shadow to the template layer.
For layer 3, the purple circle, place F9 where it sits. Resize the frame so you don't see the opening. Add a drop shadow in #6c0b19. Delete the template circle when you're done placing the frame.
Place P17 over layer 4. Create a clipping mask and rotate the paper in the same direction as the layer. Add a drop shadow to the template layer.
Now take P23 and place it over layer 5, main circle, and create a clipping mask. Move it around so you only see the pink. Add a drop shadow to the circle layer.
Take the close up of the tube and place it inside the circle on top of the paper. Resize the close up so you can see some hair. Change the tube layer to Luminosity and drop the fill to 33%.
Take another copy of P23 and place it over the tube close up layer. Create a clipping mask and change the paper layer to Soft Light. Now increase the brightness of the tube close up as you see fit.
Place the full size tube in front of everything. Resize and add a drop shadow.
Take 158 and place it over layer 4, with the blue paper, on the lower right and resize. Move it so you just cover that layer mostly. Duplicate it and move it to the upper left side. Erase anything that hangs off the template.
Place 21 on the upper right side. Make sure it sits behind the tube and isn't too large. Resize and add a drop shadow.
Take 54 and place it on the left side behind the tube. Resize and add a light drop shadow.
Duplicate 54 and move it to the right side behind the tube.
Place 99 behind 54 on the left. Resize and add a drop shadow. Rotate so you see both leaves.
Duplicate 99 and place it behind 54 on the right side and flip horizontally. You should see the larger leaf on the right side.
Place 20 behind the leaves on the right side. Resize and add a drop shadow. Rotate a little so you can see the key hole.
Move 57 behind the leaves on the left side and flip horizontally. Resize and add a drop shadow.
Place 106 on the left side behind the main circle. Change the color of the flowers to black and white. Resize and add a drop shadow.
Move 160 on top of everything. Resize so most of it sits on top of the tag. Erase anything off the tag and anything that sits on the tube's face and hair. Just make sure it doesn't crowd her face.

Mask
Open a new canvas, size 600x600.
Move paper 2 on to the blank canvas. 
Open the mask and move on top of the paper.
Remove the white background and place the mask behind the tag. 
Make it evenly stretched on all sides, but not hang off the canvas.
 Name
Main color is #e1aeb5.
Add an inner glow, #eae8e4.
Add a stroke, size 2, in #daa6ad.
Add a drop shadow #a6a6a6.
Add a bevel to the name. Leave default, 
but change the shadow mode to #e7e6e3.

Add your tagger mark and copyright information.
Crop off any extra canvas.
Save as a .psd & .png.
We're done :)

Here are a few snags for you!

Thank you for stopping by!

Thursday, August 8, 2013

PTU Tutorial - Almost Famous

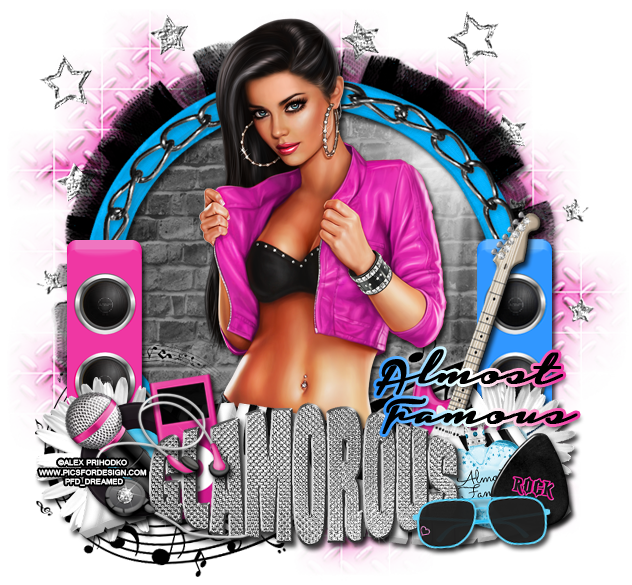
PTU tutorial using Almost Famous by PinkParadox Productions!
You can purchase the kit HERE!
**This tutorial was written by me and any resemblance is purely coincidental. It is written for those with a working knowledge of Photoshop.**

Supplies
Font

Mask

Scrap Kit

Tube
*You must obtain a license to use this tube.*

Elements
22
23
26
38
49
51
64
65
67
68
107
138
144
169
F10

Papers
19
23

Let's start!
Open a new canvas, size 650x650.
Move F10 on to the canvas. Resize and add a drop shadow.
Move P23 behind the frame. Resize the paper and erase anything outside the frame.
Place 169 on top of the paper and behind the frame then flip horizontally. Make it a little smaller and erase any parts outside the frame.
Place the tube in front of the frame. Resize and add a drop shadow.
In front of the tube, place 144. Resize and add a drop shadow.
Place 22 on top of the word art on the left. Resize and add a drop shadow. Erase part of the end of the ear buds so it looks as if they go behind the word art.
Place 26 behind the word art where the earbuds sit. Resize and add a drop shadow.
Place 38 with the earbuds and iPod so it sticks out the end a little. Resize and add a drop shadow.
Move 23 behind these elements then resize and add a drop shadow.
Move 107 behind the record. Resize and add a drop shadow.
Behind the flower, place 67. Resize and add a drop shadow.
Place 64 behind the elements and word art and on top of the frame. Resize and add a drop shadow.
Place 65 on top of the word art on the right side. Resize and add a drop shadow.
Move 51 behind the sunglass. Resize and add a drop shadow.
Behind the word art and the guitar pick, place 49. Resize and add a drop shadow.
Move 19 behind the keyboard and word art on the right side. Resize and add a drop shadow.
Behind the guitar, place 107. Resize and add a drop shadow.
Behind the flower, place 68. Make it the same size and level as the pink speaker. Add a drop shadow.
Take 138 and move it behind everything, but on top of the tube. Resize so it doesn't stick off the tag too much. Add an outer glow to it, leave it default, but change the color to white.
Place 150 behind the frame and move, resize a little so you just have a few stars round the frame. Duplicate it so you can have it on both sides.

Mask
Open a new canvas, size 600x600.
Move P10 on to the blank canvas. 
Open the mask and move on top of the paper.
Remove the white background and place the mask behind the tag. 
Make it evenly stretched on all sides, but not hang off the canvas.

 Name
Main color is black.
Add a stroke, size 3. Change it to gradient and change the first color to #3197ff, change the color on the right end to #ef37a3 and then make one in the middle white.
Add a drop shadow.

Add your tagger mark and copyright information.
Crop off any extra canvas.
Save as a .psd & .png.
We're done :)

Here are a few snags for you!

Thank you for coming by!

Monday, July 29, 2013

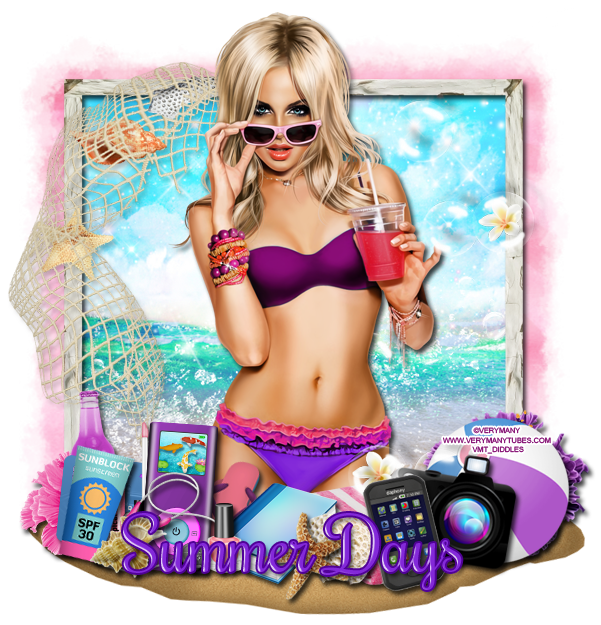
PTU Tutorial - Tropical Goddess

PTU tutorial using Tropical Goddess by PinkParadox Productions!
You can purchase the kit HERE!!
**This tutorial was written by me and any resemblance is purely coincidental. It is written for those with a working knowledge of Photoshop.**

Supplies
Font

Mask

Scrap Kit

Tube
*You must obtain a license to use this tube.*

Elements
1
2
3
4
5
7
9
22
26
31
32
60
63
64
65
68
70
86
88
130
132
135(phone)
F12

Papers
6
16

Let's start!
Open a new canvas, size 650x650.
Move Frame12 on to the canvas and resize. Resize and add a drop shadow.
Move P6 behind the frame. Resize so there's no need to erase anything.

Place the tube on top of the frame. Resize and add a drop shadow. 
Behind the tube, but on the frame, place 68 on the left side. Resize and add a light drop shadow.
On the right side of the tube, place 70. Resize with no drop shadow.
Behind the frame, on top of the paper, place 132. Move it lower and on the right side of the tube. Resize a little so it looks like a splash. Erase anything outside the frame.
Take another copy of 132 and move it on the left side of the tube. Resize and rotate so it's different than the other side. Erase anything outside the frame.
Take 130 and place it behind the frame and tube toward the top. Resize and erase anything outside the frame.

Place 130 underneath everything. Flip vertically
On to of the sand, place 32 on the right side. Resize and add a drop shadow.
Below the beach ball, place 2 and move it to the left a little. Resize and add a drop shadow.
On top of the ball and towel, place 1(camera). Resize and add a drop shadow. Rotate a little to the right.
In front of the camera and towel, place the cell phone. Resize and add a drop shadow. Rotate to the left a little.
To the left of the towel, place 7 on top of the towel. Resize and add a drop shadow.
In front of the book and towel, place 63 then 64 on top of it. Move them between the book and towel. Resize and add a drop shadow.
To the left of the book, place 4. Resize and add a drop shadow.
In front of music player, place 3. Resize and add a drop shadow.
Now between the music player and the book, place 22. Resize and add a drop shadow.
Behind the player and the book, place 9. Resize and add a drop shadow.
To the left of the music player, place 31 behind it. Resize and add a drop shadow.
On top of the lip gloss and to the left, place 50. Resize and add a drop shadow. Rotate a little to the right.
Behind the sunscreen and lip gloss, place 5. Resize and add a drop shadow.
Behind the credit card, place 26. Resize and add a drop shadow.
In front of the cluster on the left, place 65. Resize and add a drop shadow.
Take 88 and move it behind everything on the left, but on top of the frame. Resize and add a drop shadow.
Take 86 and move it behind the beach ball on the right. Resize and add a drop shadow.

 Name
Main color is #8329d9.
Add a stroke, size 2, color #500296.
Add a drop shadow.
Add a bevel: change to Cove-Deep
Global Light Off
Angle: -151
Altitude: 21
Shadow Mode to 100 and white.

Mask
Open a new canvas, size 600x600.
Open P16 and resize to 600x600. and move on top of the canvas.
Open the mask and move on top of the paper.
Remove the white background and place the mask behind the tag. Make it evenly stretched on all sides.

Add your tagger mark and copyright information.
Crop off any extra canvas.
Save as a .psd & .png.
We're done :)

And here are free Summer snags!

Thank you for coming by!

New Name, New Blog!

Hello friends! I have decided to change my designer name to reflect that I make kits more than I do CT work. I made a new blog so the old links for this blog will remain active for future visits. Please visit me at Drea's Designs ! I'll see you there!
Related Posts Plugin for WordPress, Blogger...