
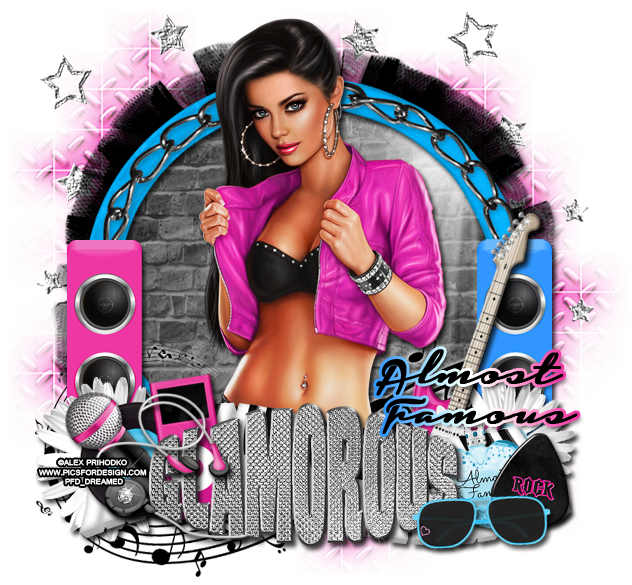
PTU tutorial using Almost Famous by PinkParadox Productions!
You can purchase the kit HERE!

**This tutorial was written by me and any resemblance is purely coincidental. It is written for those with a working knowledge of Photoshop.**
Supplies
Font
Mask
Scrap Kit
Tube
*You must obtain a license to use this tube.*
Elements
22
23
26
38
49
51
64
65
67
68
107
138
144
169
F10
Papers
19
23
Let's start!
Open a new canvas, size 650x650.
Move F10 on to the canvas. Resize and add a drop shadow.
Move P23 behind the frame. Resize the paper and erase anything outside the frame.
Place 169 on top of the paper and behind the frame then flip horizontally. Make it a little smaller and erase any parts outside the frame.
Place the tube in front of the frame. Resize and add a drop shadow.
In front of the tube, place 144. Resize and add a drop shadow.
Place 22 on top of the word art on the left. Resize and add a drop shadow. Erase part of the end of the ear buds so it looks as if they go behind the word art.
Place 26 behind the word art where the earbuds sit. Resize and add a drop shadow.
Place 38 with the earbuds and iPod so it sticks out the end a little. Resize and add a drop shadow.
Move 23 behind these elements then resize and add a drop shadow.
Move 107 behind the record. Resize and add a drop shadow.
Behind the flower, place 67. Resize and add a drop shadow.
Place 64 behind the elements and word art and on top of the frame. Resize and add a drop shadow.
Place 65 on top of the word art on the right side. Resize and add a drop shadow.
Move 51 behind the sunglass. Resize and add a drop shadow.
Behind the word art and the guitar pick, place 49. Resize and add a drop shadow.
Move 19 behind the keyboard and word art on the right side. Resize and add a drop shadow.
Behind the guitar, place 107. Resize and add a drop shadow.
Behind the flower, place 68. Make it the same size and level as the pink speaker. Add a drop shadow.
Take 138 and move it behind everything, but on top of the tube. Resize so it doesn't stick off the tag too much. Add an outer glow to it, leave it default, but change the color to white.
Place 150 behind the frame and move, resize a little so you just have a few stars round the frame. Duplicate it so you can have it on both sides.
Mask
Open a new canvas, size 600x600.
Move P10 on to the blank canvas.
Open the mask and move on top of the paper.
Remove the white background and place the mask behind the tag.
Make it evenly stretched on all sides, but not hang off the canvas.
Name
Main color is black.
Add a stroke, size 3. Change it to gradient and change the first color to #3197ff, change the color on the right end to #ef37a3 and then make one in the middle white.
Add a drop shadow.
Add your tagger mark and copyright information.
Crop off any extra canvas.
Save as a .psd & .png.
We're done :)
Here are a few snags for you!

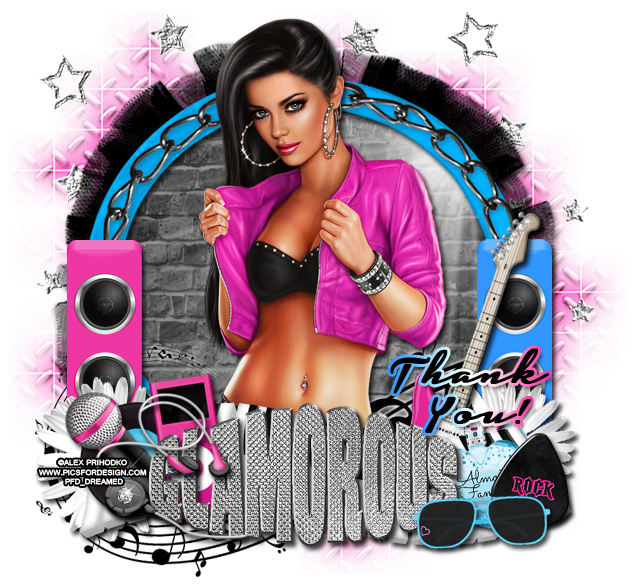
Thank you for coming by!
