PTU tutorial using Back To School by Redefined Designs!
You can check it out on her blog HERE!
**This tutorial was written by me and any resemblance is purely coincidental. It is written for those with a working knowledge of Photoshop.**
Supplies
Font
Mask
Scrap Kit
Tube
*You must obtain a license to use this tube.*
Elements
Board
BookBag
Books
Calculator
CrayonBox
Glue
Laptop
Lockers
Notebook3
Owl
Paperclips
Pen
Pencil
Ruler
Stapler
Welcome
Papers
4
Let's start!
Open a new canvas, size 650x650.
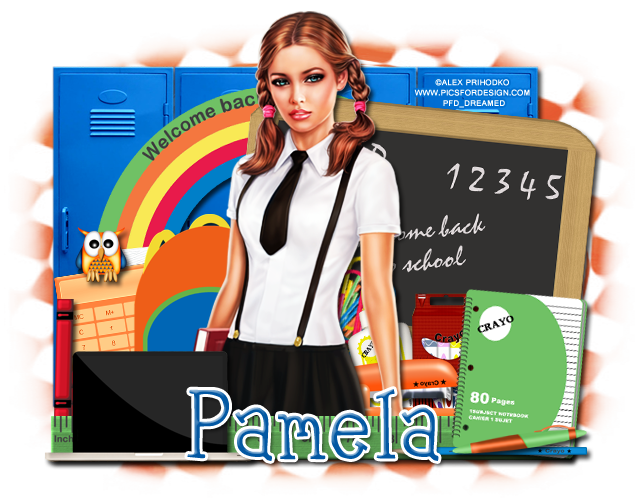
Place the lockers on to the canvas. Resize and add a drop shadow.
Place the tube on top of the lockers. Resize and add a drop shadow.
Behind the tube, place the board and rotate to the right a little. Resize and add a drop shadow.
Behind the board and tube on the left, place welcome. Resize and add a drop shadow.
In front of the tube, place the ruler. Resize and add a drop shadow.
On the left side of the tube, place the books. Resize and add a drop shadow.
Place the bookbag behind the tube. Resize and add a drop shadow.
Behind the books and bookbag, place the calculator and rotate to the left a little. Resize and add a drop shadow.
Set Owl1 on top of the calculator. Resize and add a drop shadow.
In front of the tube and ruler, place the laptop. Resize and add a drop shadow. If you like, add a black backing to the laptop screen.
On the right side of the tube, place the notebook on top of the ruler. Resize and add a drop shadow.
On top of the notebook, place the pen and pencil. Resize and add a drop shadow to both.
Behind the ruler and tube, place the stapler and flip horizontally. Resize and add a drop shadow.
Place the glue, crayon box, and paper clips behind the tube.
Name
Main color is #0358a3.
Add a stroke, size 3, in white and a drop shadow.
Add a bevel, leave as default, and only change the shadow to white.
Mask
Open a new canvas, size 600x600.
Open p11 and resize to 600x600. Place on top of the canvas.
Open the mask and move on top of the paper.
Remove the white background and place the mask behind the tag.
Make it evenly stretched on all sides.
Add your tagger mark and copyright information.
Crop off any extra canvas.
Save as a .psd & .png.
Free Snags!
Thank you for coming by!


