

**This tutorial was written by me and any resemblance is purely coincidental. It is written for those with a working knowledge of Photoshop.**
What you will need:
Font
Silent Reaction
You can find it on dafont.
Tube
Layered 36-2
You can find it at Barbara Jensen Tubes.
**You must obtain a license in order to use this tube.**
Elements
Basket of Letters
Bear
Butterfly
Candle
Clock
FlowerCluster
Flowers1
Frame4
Ink&Quill
Letter
Phone
Rain
Umbrella
WordArtSwirl
Paper
7
Let's get started!
Open a new canvas, size 650x650.
Move Frame4 on to the blank canvas. Resize as you like and add a drop shadow.
Move Paper7 behind the frame. Erase any parts of the paper that stick outside the frame.
Move the clock behind the frame on the right side. Have it stick outside the top and right side of the frame. Add a drop shadow.
Now take the WordArtSwirl behind the frame, but on top of the Clock. Resize a little. I did not add a drop shadow, but you may if you like.
Move the Umbrella on the right side of the frame. The handle of the Umbrella should not go over the clock and the right side of the Umbrella should meet the middle of the Clock that sticks outside the frame. Add a drop shadow.
Now take the FlowerCluster and place it on top of the Umbrella along the corner of the frame. Resize so the ends of the FlowerCluster do not stick out too much. Add a drop shadow.
Take another copy of the FlowerCluster. Make it smaller than the first and place it behind and underneath the first FlowerCluster. Cover the rest of the space of the Clock and Umbrella sticking out under the Frame4. Add a drop shadow.
Place the telephone in front of the FlowerClusters on the right side. Resize and add a drop shadow.
Now move the Candle in front of the Telephone where the Telephone cord is. Resize the flame so it doesn't go over the top of the Telephone and add a drop shadow.
Move the Bear over the Telephone. Flip horizontally and resize. Add a drop shadow.
Place the Basket of Letters on the left side of the frame. Resize smaller and have it so it covers the lower left hand corner of the frame. Flip horizontally and add a drop shadow.
Move the Ink&Quill in front of the Basket of Letters and flip horizontally. Resize and add a drop shadow.
Place the Letter behind the Basket of Letters, resize, and add a drop shadow.
Move the Butterfly over the cluster's end on the right side. Resize, rotate to the right, and add a drop shadow. Duplicate the Butterfly and place over the bows on the left side. Flip horizontally and make it smaller than the first Butterfly.
Now take Flowers1 and rotate so they are pointing to the left horizontally. Take the big flower and lay it over the envelope that sticks out from the Basket of Letters. Erase any other parts except the large flower so it looks like it is sticking out from the behind the Basket of Letters. Resize and add a drop shadow.
Move the tube in front of everything. I have her head just go over the top of the WordArtSwirl. Add a drop shadow.
Now take the Flowers1 again and move it behind the tube and in front of the Letter and Basket of Letters. Have the big flower stick out and erase the rest. Add a drop shadow.
On the paper inside the frame, add the Rain. Resize and move it to the left side of the tube. Duplicate and add it to the right side of the tube. Add a drop shadow to both layers of Rain.
Take a copy of the tube and flip it horizontally. Place it under the rain and on top of the paper. You can make it a little bigger the original tube. Change it to Luminosity and drop fill to 49%.
Again, the font for the name is Silent Reaction. I placed it over the telephone and umbrella. You can place it wherever you like.
The color is a shade of brown taken from the frame. Use the color code #512b08. Add a stroke, size 2, and a shade of the blue. Use the color code #73bbcb. Change the bevel mode to Cove-Deep, shadow color white. Add noise around 14% - Uniform - Gaussian. Add a drop shadow.
Crop off any extra parts of the canvas. Don't cut off any parts of the tag.
Add your copyright information somewhere on the tag so it cannot be easily erased and add your tagger mark.
Save as a .psd and .png.
And we're done! I hope you like it :) This kit is so pretty and I just love the colors. You must pick it up today! Look below for an extra freebie :)
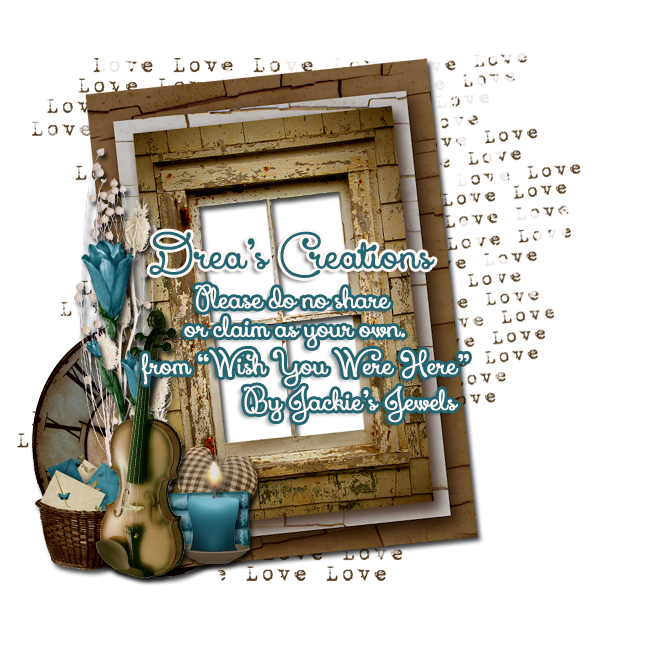
I made a cluster frame for you to play with and you can download it here. Here is a tag show off I made for Jackie with a wonderful tube by Zlata M.
Click the preview to download the cluster.
Here is the tag I made for Jackie :)

Leave some love when you download, please. Always link back to my blog, thank you!
