
What you will need:
Font
External Fascination
You can download it from FontSpace.
Mask
I used one of my masks: DC_Mask20.
You can download them here.
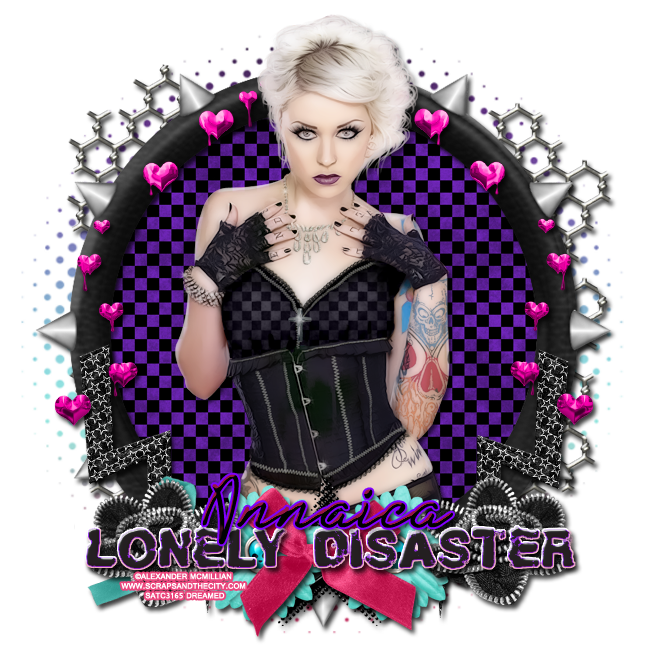
Tube
Anastasia
by Alexander McMillian
You can purchase it at Scraps and the City.
*You must obtain a license to use this tube.*
Elements
16
18
23
39
40
48
50
51
56
60
Papers
1
Have everything ready? Let's get started!
Open a new canvas, size 650x650.
Move element 56 on the canvas and resize. Add a drop shadow.
Place Paper1 behind the frame and resize so just a little is sticking outside the frame. Erase any extras.
Now place the tube in front of the frame and paper. Erase any parts that stick out over the frame. You can cover the bottom of her. Add a drop shadow.
Move element 51 behind the frame and paper. Resize so it doesn't stick out too much outside the frame and add a drop shadow.
Now place element 23 on the frame, but behind the tube. Start with the right side first. Resize the hearts can sit on the frame. Have the top of the hearts start behind her head. You will have to erase some the of hearts at the end. Add a drop shadow and duplicate then flip horizontally. Move the duplicate on the other side and place across from the right side.
Take element 39 and place it on top of the frame and to the right of the tube. Have the far left edge of the flower touch the tube. Resize and add a drop shadow. Duplicate the flower, flip horizontally and move to the other side of the tube.
Place element 50 behind the flowers. Resize so just little parts stick out above and below the flowers. Add a drop shadow.
Move element 48, the pink bow, on the frame. Place it somewhat in the middle of the frame and tube. Resize and add a drop shadow.
Now move element 40 behind the bow and the black flower on the right side. Resize and have just a little behind the black flower. Add a drop shadow, duplicate, and move the duplicate to the other side.
Take element 18 and place it behind the flowers and bow. Resize so it fills the empty space behind the bow and flowers. Add a drop shadow.
Move element 16 under everything but the frame on the left side. You will have to rotate it and resize a little. Add a drop shadow. Now duplicate, and flip horizontally and move to the other side.
Now place the word art, element 60, on top of everything. You will need to resize it so the ends just meet the ends of the black flowers on both sides. Add a drop shadow and a bevel. Change the shadow color to #c81f56 and gloss contour to Cove-Deep.
For the name, the font is External Fascination, place it over the middle of the word art. Add a drop shadow. Add a bevel and change the highlight and shadow mode to color code #c81f56, and change the gloss contour to Cove-Deep. Add a stroke, size 2, in the color #8000ff.
Now let's make the mask.
Open my mask, DC_Mask 20. Open two new canvases, size 600x600. Move the mask on to one of the blank canvases. With the other blank canvas add a new layer and fill white. Open the blending options to Gradient Overlay. Start with, left to right, #ba1148, add another one in #82e1da, the next one will be #4e1981, and then black. Space them out evenly and make it linear at a 90 degree angle (should be default). Now merge the layers and place this paper under the mask. Now remove the background of the mask and place it behind the tag. Stretch it out so you can see it outside the tag.
Add your tagger mark and copyright information somewhere on the tag so it cannot be easily erased, but it still visible.
Crop off any extra white space and be sure not to cute off any parts of the tag. Save as a .psd and .png.
I hope you enjoyed the tutorial! Thanks for stopping by :)
