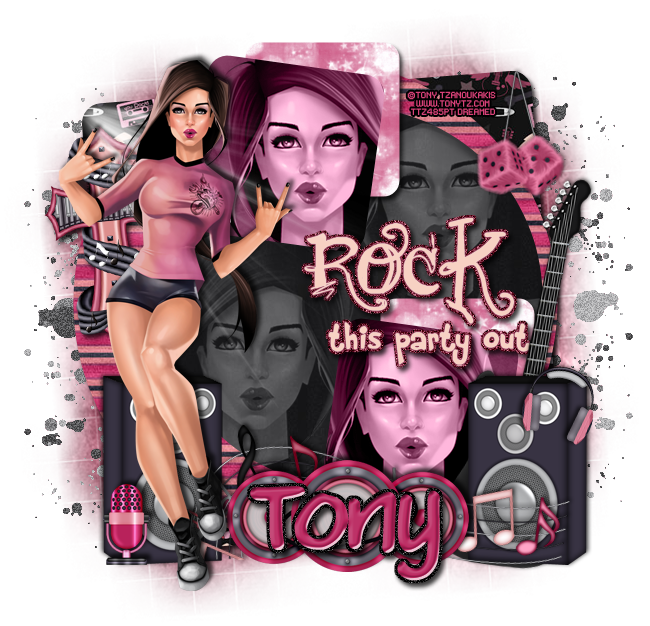
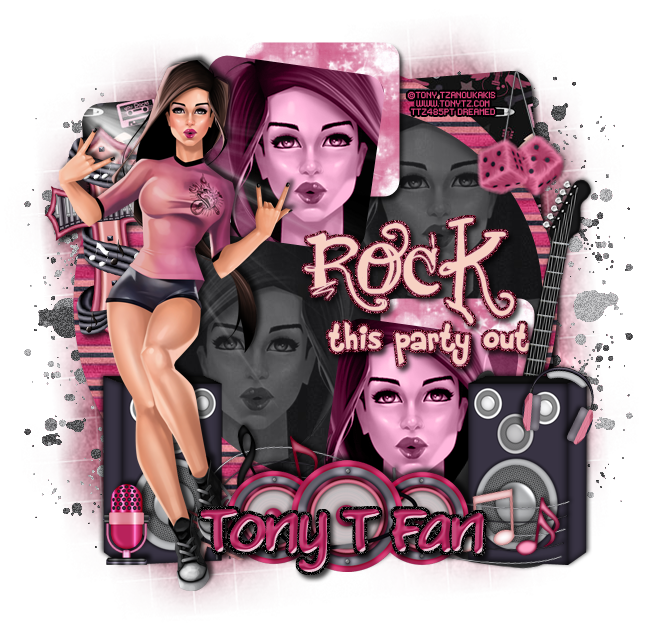
PTU tutorial using Rock Yeh by Tony Tzanoukakis!
Matching kit made by Creation by Sanie!
You can purchase them both here!
**This tutorial was written by me and any resemblance is purely coincidental. It is written for those with a working knowledge of Photoshop.**
Supplies
Font
Mask
Scrap Kit
Template
Tube
*You must obtain a license to use this tube.*
Elements
fuzzy dice
guitar
headphones
light
microphone
musicnotes
musicplayer
speaker
speakers
splat
Papers
1
3
5
6
9
10
Let's start!
Open a new canvas, size 650x650.
Open the template and move it on to the canvas. Resize if necessary.
Remove layer 8 & the cr layer.
Place p06 over layer 1 and create a clipping mask. Add a drop shadow to the layer.
Place p05 over layer 2 and create a clipping mask. Add a drop shadow to the layer.
Place p09 over layer 3 and create a clipping mask. Add a drop shadow to the layer.
Place p10 over layers 4 & 5 and create a clipping mask. Add a drop shadow to the layers.
Place p01 over layers 6 & 7 and create a clipping mask. Add a drop shadow to the layers.
Select the pixels of layer 9 and fill with #f7d1c3.
While the pixels are still selected, add a new layer below the word art and fill with #71182c.
Add noise and a drop shadow.
Place the tube in front of the template. Resize and add a drop shadow.
Take a copy of the tube and place a close up over layers 6 & 7. Create a clipping mask for both and change to Luminosity.
Place two more close ups of the tube over layer 3. Create a clipping mask, change to Luminosity, and drop the opacity to 34%.
Place the speaker on the left and right sides of the template behind the tube.Resize and add a drop shadow.
Take the speakers and place behind the tube and between the individual speakers. Resize and add a drop shadow.
In front of the speaker on the left, place the microphone. Resize and add a drop shadow.
Set the headphones over the speaker on the right. Resize and add a drop shadow.
Behind the set of speakers, place the musicnotes. Resize and add a drop shadow.
Behind the speaker on the right, place the guitar. Resize and add a drop shadow.
Behind the tube on the left, toward the top, place the music player. Resize and add a drop shadow.
Hang the fuzzy dice on the top right hand corner. Resize and add a drop shadow.
Place the light in the upper left hand corner so it shines down on the tag.
Place a copy of the splat behind the template on the right. Duplicate and place it on the left side.
Name
Main color is #b8225b.
Select the pixels of the name and expand by 3.
Add a layer below the name and fill with black then add noise and a drop shadow.
Add a bevel and change the gloss contour to Rolling Slope-Descending.
Mask
Open a new canvas, size 600x600.
Open paper 3 and resize to 600x600. Place on top of the canvas.
Open the mask and move on top of the paper.
Remove the white background and place the mask behind the tag.
Make it evenly stretched on all sides.
Add your tagger mark and copyright information.
Crop off any extra canvas.
Save as a .psd & .png.
Here are free snags!


