
PTU tutorial using Harlot by Gemini Creationz!
You can purchase the kit HERE!

**This tutorial was written by me and any resemblance is purely coincidental. It is written for those with a working knowledge of Photoshop.**
Supplies
Font
Mask
Scrap Kit
Harlot by Gemini Creationz
Template
Tube
*You must obtain a license to use this tube.*
Elements
4
5
10
14
26
34
48
49
50
52
57
58
Papers
3
6
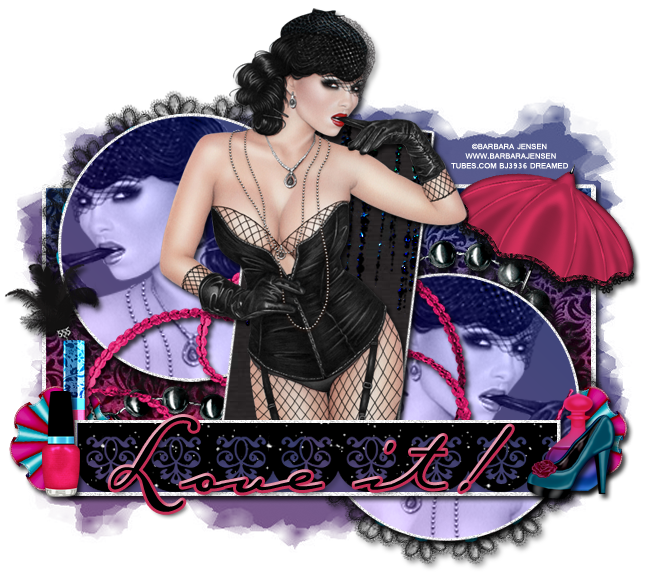
Let's start!
Open a new canvas, size 650x650.
Open the template and remove the word art, ornaments, Rectangle 3, and pixel words.
It's not time for Christmas, yet :)
Ok, move p6 on Rectangle 1 and create a clipping mask. Add a drop shadow to Rectangle 1 back.
For the the rest of the layers, I made a gradient paper. The two colors are #7a5287 & #4a5489 and the angle is 56.
Move the new gradient paper over Rectangle 3 red. Using to copies of the paper will be necessary. Don't worry about a visible seam. Have the purple show on the left and blue on the right. Create a clipping mask for both.
On top of the paper on Rectangle 3 red, place e4 and create a clipping mask. Resize a little.
Add a drop shadow to the back of Rectangle 3.
Take another copy of the gradient paper and move it over Circle 1 and create a clipping mask. Do the same for the other circle.
Add a drop shadow to the back of the circles.
Add p3 to Rectangle 2 and create a clipping mask.
Add a drop shadow to the Rectangle 2 back.
Take e14 and place it on top of the black paper on Rectangle 2. Move around so you just have the short ends showing.
Let's place the tube. Move her on top of the black Rectangle 2, but behind the Rectangle 3 backing. Resize and add a drop shadow.
Now take the tube close up and move it over Circle 1 and create a clipping mask. Flip the tube horizontally. Repeat this step for Circle 2, but flip the tube the opposite way. Change both tubes to luminosity.
Take e5 and place it behind the Circle 1 backing. Resize a little. Move it so just the black lace is showing. Duplicate and cover the other half of the circle. Add a drop shadow to both layers.
Copy the same steps for Circle 2.
Move e10 behind the circles. Resize and add a drop shadow.
Behind Rectangle 2 and on top of the circles, place e5. Resize and add a drop shadow.
On the right side behind the circle, place e58. Resize and add a drop shadow. Rotate it a little to the right.
Place e26 behind Rectangle 3 red on the left. Hide half of it behind it. Resize and add a drop shadow.
Behind the flower, place e34 and rotate to the left a little. Resize and add a drop shadow.
On top of the flower, but behind the rectangle place e48. Resize and add a drop shadow.
On top of the rectangle and flower, place e49. Resize and add a drop shadow.
Duplicate the flower and move it to the opposite end.
Place e50 on top of the flower and rectangle. Resize and add a drop shadow.
On top of the bottle, place e52. Flip horizontally. Resize and add a drop shadow.
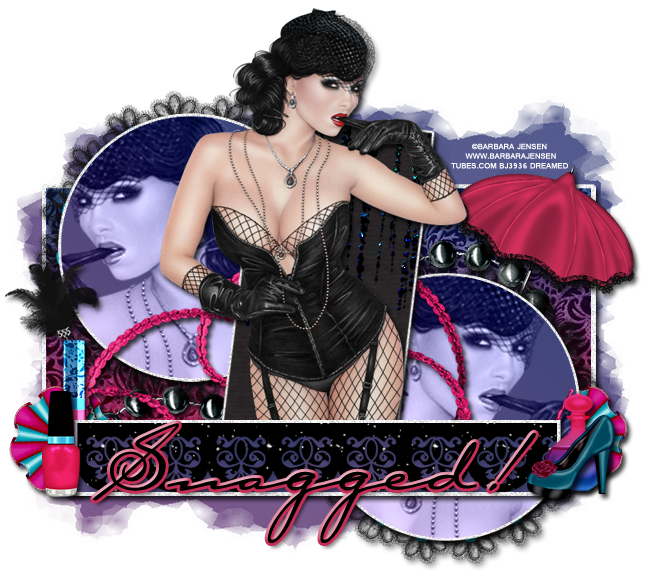
Name
Main color is black.
Add a stroke, size 3, #c52e56.
Add a drop shadow.
For the bevel: Change style to Stroke Emboss
Change Shadow to white.
Mask
Open a new canvas, size 600x600.
Move the gradient paper on to the blank canvas.
Open the mask and move on top of the paper.
Remove the white background and place the mask behind the tag. Make it evenly stretched on all sides.
Add your tagger mark and copyright information.
Crop off any extra canvas.
Save as a .psd & .png.
We're done :)
Here are free Harlot snags for you!

Thank you for coming by!
