
**This tutorial was written by me and any resemblance is purely coincidental. It was written for those with a working knowledge of Photoshop.**
What you will need:
Font
Jungle Juice by Blackboard Etiquette
You can find it on FontSpace.
Mask
WSL_Mask128
You can find it on Weescotslass Creations.
Tube
Tube 8-3
You can purchase it on CDO here.
*You must obtain a license in order to use this tube.*
Elements
Backpack
Bananas
Bird
Camera
Chameleon
Coconut
Compass
Flower1
Flowers1
Flowers2
Flowers3
Fog
Frame2
Lantern2
LittleMonkey2
Palm1
Pineapple
Tree Limb
TreeFrog
Vanilla Flower
Vine
Vines2
Waterfall
Papers
PP2
PP9
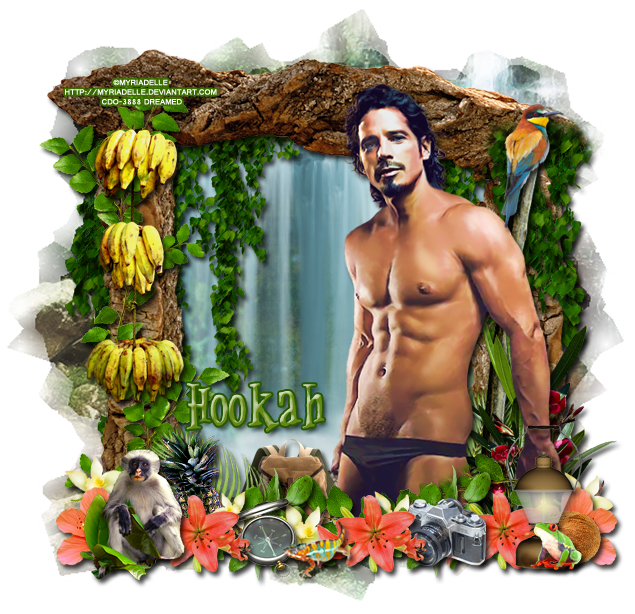
Let's start!
Open a new canvas, size 650x650.
Move Frame2 on to the canvas. Add a drop shadow.
Place PP2 behind the frame. Erase extras outside the frame.
Move the Waterfall behind the frame and on top of the paper. Have the top of the Waterfall meet the top of the frame. Erase extras outside the frame.
Move Vines2 behind the frame and on top of the waterfall. Hide the top of the vines behind the frame and cover both left and right sides. Add a drop shadow and erase extras outside the frame.
Place another copy of Vines2 on top of the frame on the right side. Erase parts sticking out with a soft brush eraser.
Move the Tree Limb on top of the Vines2 and rotate so it's vertical. Erase the top of the stick with the soft brush again. Add a drop shadow. Place the Bird toward the top of the Tree Limb. Add a drop shadow.
Place the tube on top of the frame on the right side so he's leaning against it. Add a drop shadow.
Move the Backpack behind the tube, add a drop shadow.
Take the Vine and place it over the left side of the frame. Resize so it doesn't stick out too much. Have one copy at the top and one on the bottom.
Place the Bananas over the Vines. Add a drop shadow.
Place Flowers1 on top of the Vines2 on the right side of the frame. Resize and flip then add a drop shadow. Copy the Flowers1 and make it smaller and move just a little to the left of the bigger Flowers1.
Now use the Flowers2 to hide the bottom of the tube. Use two of the Flowers2 spread out. Place the Vines behind them to cover more empty space. Add a drop shadow to each layer. Erase parts of the Vine that stick out too far below or above the frame.
Place the LittleMonkey2 on the left side of the frame below the Bananas. Add a drop shadow.
Move Flower1 behind the LittleMonkey2 and have a little stick out the left side. Add a drop shadow.
Place Lantern2 on the right side of the frame. Add a drop shadow.
Move the Coconut behind the lantern and have it stick out a little to the right. Add a drop shadow.
Place Flower1 behind the Coconut and add a drop shadow.
Move the TreeFrog in front of the lantern and flip horizontally. Add a drop shadow.
Take Flowers3 and place one copy behind the LittleMonkey2, the Lantern, and one in the middle. Add a drop shadow to each layer.
Place Palm1 behind the tube and Flowers on the right side of the frame. Add a drop shadow.
Place a copy of the Palm1 on top of the frame but behind everything else on the left side of the frame and rotate a little to the left.
Move the Pineapple in front of the Palm1 but behind the Monkey. Add a drop shadow.
Use the Vanilla flower to fill in empty spaces along the bottom of the frame using varying sizes with drop shadow.
Place the Compass behind Flowers3, place the Camera on the right side behind one of the Flowers3 and in front of the other. Flip horizontally and add a drop shadow.
Move the Chameleon in front of the Compass. Add a drop shadow.
Now make the mask. Use WSL_Mask128 and PP9. Place it behind the frame and rotate a little. Don't have any parts of the mask stick outside the canvas.
For the name:
The main color is #688816.
The stroke, size 2, is #245802.
Add a bevel, white shadow, in Gaussian.
Add your copyright information & tagger mark.
Crop off extra parts of the tag and save as a .psd & .png.
I have a cluster frame for you to play with as well!
Click on the preview to download.
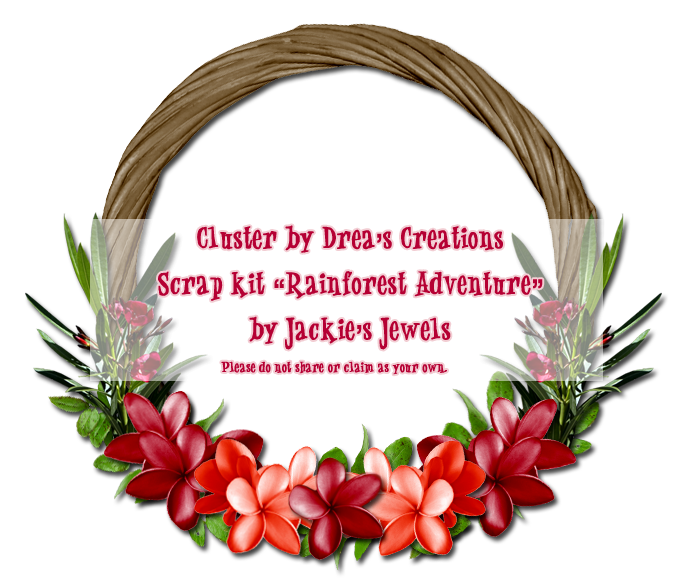
Here's the tag I made for Jackie with the cluster frame.

Leave some love when you download!
