
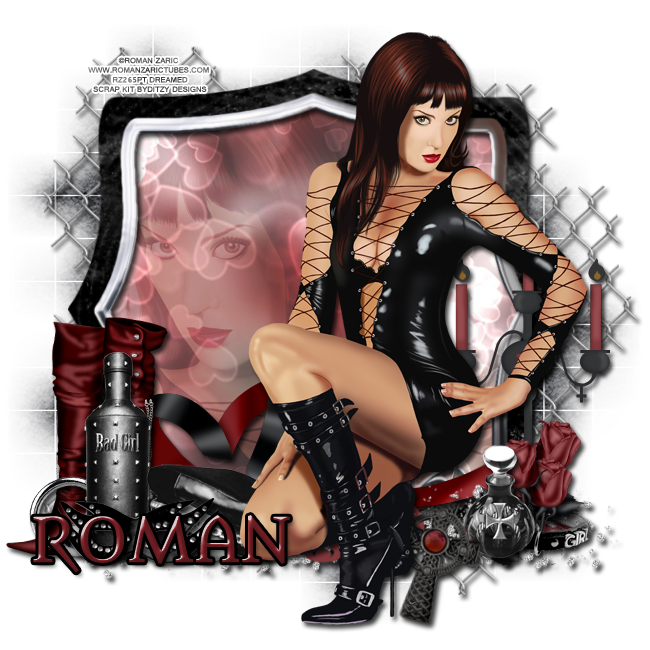
New PTU Tutorial using a fierce tube, Dina, by Roman Zaric and the matching kit by Ditzy Dezigns.
They will both be available for sale soon @ Roman Zaric!
**This tutorial is written by me and any resemblance is purely coincidental. It is written for those with a working knowledge of Photoshop.**
What you will need:
Font
Mask
Scrap kit
Tube
Elements
Boot 2
Bottle 1
Bottle 2
Candelabra
Collar
Fence
Flames 2
Frame 1
Hat
Mask
Piercing
Ribbon 2
Rose
Papers
Paper 5
Paper 8
Let's get started!
Open a blank canvas, size 650x650.
Move Frame 1 on to the canvas.
Place Dina in front of the frame and resize. Add a drop shadow. Move her on the right side of the frame little.
Move Paper 5 behind the frame and resize. Flip the paper vertically. Erase any extras outside the frame.
Take the larger version of the tube and flip horizontally. Place it behind the frame and on top of the paper. Create a clipping mask and reduce the fill to 28%.
Now place the Fence behind the frame. Resize so it shows outside the frame. Add a drop shadow.
Move the Candelabra on the frame's right side behind the tube. Add a drop shadow.
Place Flames 2 at the bottom of the frame. Add a drop shadow. Erase parts that cover the cross on the frame.
Move the Bottle 2 in front of the frame, right next to the cross. Erase parts of the bottle that stick out above the cross. Add a drop shadow.
Place the Collar behind the Bottle 2 and in front of the Candelabra. Resize and add a drop shadow.
Take the Rose and place three in front of the Candelabra and behind the Bottle 2. Make them different sizes and different angles. Add a drop shadow.
On the left side of the frame, place Boots 2 and flip horizontally. Resize and add a drop shadow.
Place Bottle 1 in front of the Boots 2, resize, and add a drop shadow.
Move the piercing between the Boots 2 and Bottle 1. Rotate to the left and add a drop shadow.
Move the Hat to the right of Bottle 1, overlap, behind the tube, resize, and add a drop shadow.
Place the Mask in front of the Bottle 1 and hat. Resize and add a drop shadow.
Move Ribbon 2 behind everything and on top of the frame. Resize and place the heart between the Boots 2 and tube. Add a drop shadow.
Let's make the mask:
Open a new blank canvas, size 600x600.
Open a new blank canvas, size 600x600.
Open Paper 8 and resize to 600x600.
Open mask and make sure it is 600x600.
Place the Paper 8 on top of the blank canvas and then the mask on top of it.
Remove the white background.
Place the mask behind the frame. Stretch it out so it stays behind the fence. Make sure it does not go off the edges of the canvas.
For the name:
The font is Metamorphous.
Fill with #88252b.
Add a drop shadow.
Add a black stroke, size 2.
Add a bevel:
Just change it to Cove-Deep.
Add your copyright information and tagger mark.
Save as .psd & .png.
We're done!
Now here are a few snags for you:


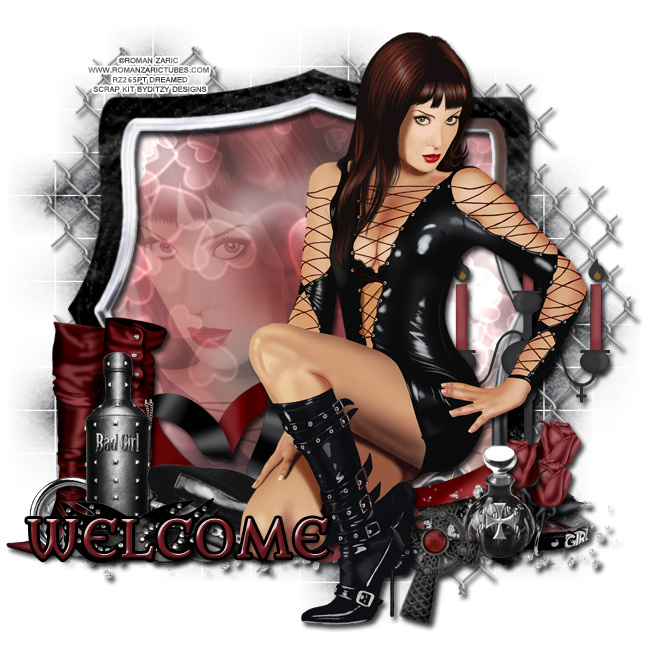
Thanks for stopping by :)
