
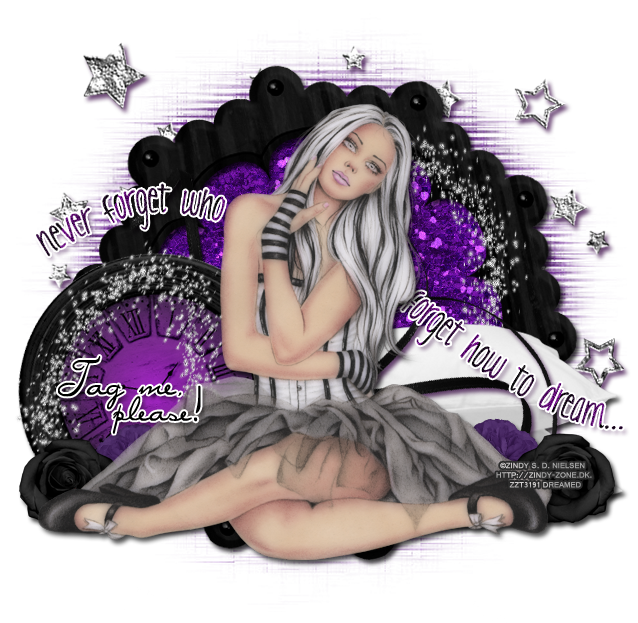
I have a new PTU tutorial using Dark Dreamer by Annaica's Place. I matched it with a tube by Zindy S.D. Nielsen.

**This tutorial was written by me and any resemblance is purely coincidental It is written for those with a working knowledge of Photoshop.**
What you will need:
Filter
Filter
Xero Porcelain
Font
Mask
WSL_Mask216
Scrap Kit
by Annaica's Place
Tube
Doll At Heart
*You must obtain a license to use this tube.*
Elements
2
10
22
23
35
37
45
52
55
Papers
9
14
Let's begin!
Open a blank canvas, size 650x650.
Move Element52 on the blank canvas. Rotate a little and add a drop shadow.
Place the tube in front of the frame. Resize and add a drop shadow.
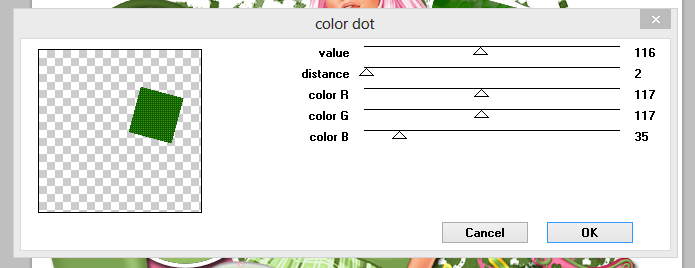
Add these settings using Xero Porcelain to the tube.
Behind the tube, place Paper14 behind the frame. Erase extras outside the frame. Move Paper9 on top of Paper14, create a clipping mask, and then change it to overlay.
Move Element10 behind the tube on the left. Resize and add a drop shadow.
Place Element2 behind the tube on the right side. Resize and add a drop shadow.
Move Element22 behind the tube on the left, but in front of the clock. Resize and add a drop shadow.
Move Element23 behind the black flower. Resize and add a drop shadow.
Duplicate the black and purple flower and move to the other side behind the tube and in front of the pillows.
Place Element45 behind the tube, but in front of the pillows and behind the clock. Resize and add a drop shadow in #3a0a47.
Now take Element37, place it on top of the frame and behind everything else above the frame. Rotate so you have the curve behind her head on the right. Resize. Duplicate and place it behind the tube and on top of the clock. Resize and rotate so you the swirl at the top of the clock.
Move Element35 behind the papers and frame. Resize and add a drop shadow #3a0a47.
Duplicate a couple more times so you can have the stars around the top half of the frame.
Now move element55 behind the tube and on top of the pillows and ribbon. Have it flow over the elements like I did. Add a white stroke, size 2 and add a drop shadow, color #3a0a47.
Let's make the mask:
Open a new canvas, size 600x600.
Open a new canvas, size 600x600.
Open your mask and make sure it is also 600x600.
Open Paper14 again and resize it to 600x600.
Place the Paper on top of the blank canvas and then move the mask on top of the paper.
Remove the white background and place the behind the stars and frame.
Stretch the mask out so you can see it around the frame.
For the name:
The font is Miss Brooks
The font is Miss Brooks
The main color is black and add a white stroke, size 2.
Move it over the clock in a smaller size.
I have a few freebie snags for you!


Thanks for stopping by! Please leave some love :)
