
I have a new PTU tutorial using a hot new tube by Arthur Crowe called Glasses Babe!
I used the matching kit by Sandy's Designs.
Both are coming soon to Arthur Crowe's Factory!

**This tutorial was written by me and any resemblance is purely coincidental. It is written for those with a working knowledge of Photoshop.**
What you will need:
Filters
Xero Porcelain
Xero Radiance
Font
Mask
by Weescotslass Creations
Scrap Kit
Glasses Babe
Tube
*Coming Soon*
Glasses Babe
by Arthur Crowe
Elements
Drink2
Flower1
Flower2
Frame2
Icelolli2
Ribbon2
Sparkle
Sun Cream2
Sunglasses
Papers
p11
p12
Let's go :)
Start with a new canvas, size 650x650.
Move Frame2 on to the canvas and resize. Rotate to the left a little and add a drop shadow.
Place p11 behind the frame. Resize as you like and erase any paper outside the frame.
Place the full size tube in front of the frame more toward the right side. Resize and add a drop shadow.
Take the close up of the tube and place it behind the frame on top of the paper. Rotate to the left a little and erase any parts of the tube outside the frame. Change the tube to luminosity.
Apply these filter settings to both layers of the tube:
Xero Radiance
Xero Porcelain
Now move Flower2 over to the lower right hand corner of the frame. Resize and move it higher than the corner and add a drop shadow.
Take Flower1 and move below and to the right of the first flower. Resize so it's smaller than the first flower. Add a drop shadow.
Duplicate Flower2 and move next to and behind Flower1. Resize so it's smaller and add a drop shadow.
Duplicate Flower1 and move next to and behind the smaller Flower2. Resize so it's smaller and add a drop shadow.
Move Ribbon2 behind the flowers and tube. Flip horizontally, resize and rotate, and add a drop shadow.
Place Drink2 in front of the flowers. Resize and a drop shadow.
Move the Icelolli2 behind the tube and the drink. Resize and a drop shadow.
Move the Sun Cream2 to the left of the drink. Resize and a drop shadow.
Place the sunglasses front of the sun cream. Erase a small part of the sunglasses that overlaps the sun cream in the top left corner of the cream tube. Add a drop shadow.
Move the Sparkles in front of everything. Resize so it mostly rests on the tag. Move around until it covers the the half opposite of the tube. Erase parts of the sparkle outside the tag and covering the tube.
Mask:
WSL_Mask 84
P12
Open a new canvas, size 600x600.
Open p12 and resize to 600x600. Place on to the new canvas.
Open mask and move on top of the paper on the canvas.
Remove the white background.
Move behind the tag. Rotate with the frame and stretch out a little evenly so it is visible on most sides. Make sure nothing hangs off the canvas.
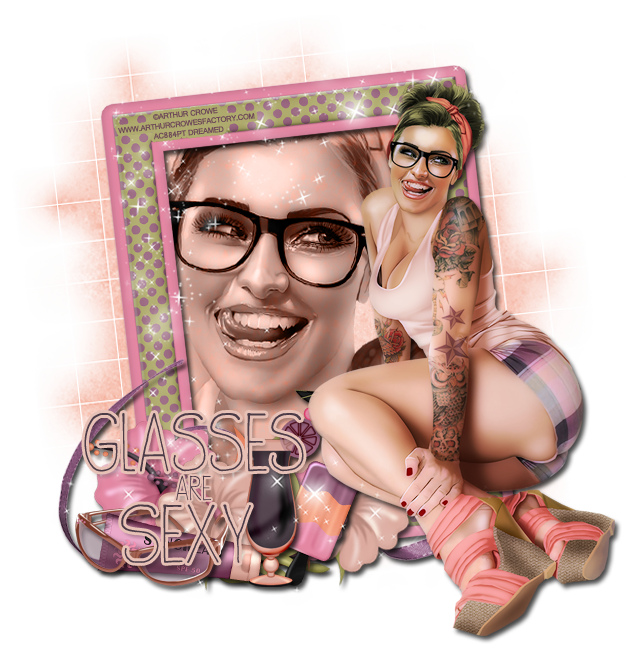
Name:
Font is DK Wayang
Main color is #4b3c48.
Stroke, size 2, is in color #e8c1b6.
Add a drop shadow.
Add your copyright information and tagger mark.
Crop off extras being extra careful not to cut off anything on the tag.
Save as a .psd & .png.
Done!
Now I have a few snags for you :)
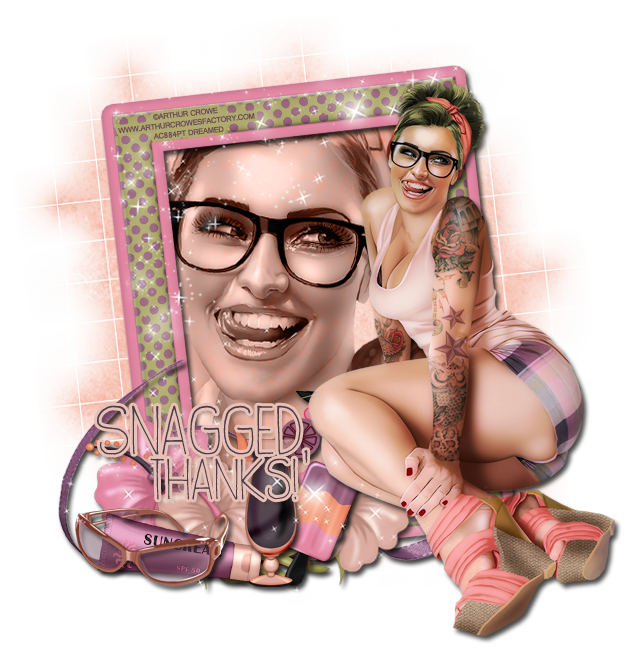
Thanks for stopping by! :)
