
I have a new PTU Tutorial using Arthur Crowe's Bonus Tube, Machine Girl, with matching kit by Bookworm Dezines. This tube is gorgeous and the kit is a perfect match and great to work with!
You can get both for free when you spend $10 before July 12th.
Find out more here!
**This tutorial was written by me and any resemblance is purely coincidental It is written for those with a working knowledge of Photoshop.
What you will need:
Font
Eight Track
Mask
WSL_Mask84
Scrap Kit
Machine Girl
Tube
Machine Girl *Bonus Tube*
by Arthur Crowe
*You must obtain a license to use this tube.*
Elements
1
8
9
10
11
12
13
14
16
17
22
Papers
1
10
Let's begin!
Move Element1 on to the canvas. Move this one toward the top left of the canvas. Resize and add a drop shadow.
Duplicate Element1 and move it down and to the right of the first one. These will be our frames.
Place Paper1 behind the first frame and resize. Erase any parts outside the frame.
Move the paper behind the other frame and resize. Erase any parts outside the frame.
Now take a copy of the tube and place it on top of the paper on the lower right hand side. Change it to Pin Light and lower the Fill to 59%.
Duplicate the tube and flip horizontally. Move it to the other frame and place it the same way.
Place the full tube in front of the frames between the two tube reflections. Resize and add a drop shadow.
Move Element10 behind the frames and papers. Rotate and move in the middle. Resize and add a drop shadow. Erase parts showing in the frame openings.
Place Element11 behind the frames and Element10. Rotate so it covers the top left side the of tage. Resize and add a drop shadow. Erase parts showing in the frame openings. Duplicate, flip horizontally, and move to the lower right hand side of the tag. Erase parts showing in the frame openings.
Move Element14, resize and add a drop shadow, and place over the part of Element11 that sticks outside the frame on the lower right hand corner. Rotate so it faces toward the tube.
Duplicate the butterfly and place on the upper left hand side on the parts of Element11 that hang outside the top frame.
Now place Element13 directly behind the paper and frames and above the other elements. Make it smaller and rotate a little. Resize and add a drop shadow.
Duplicate and move it to the opposite side.
Take Element21 and move it behind everything. Resize and add a drop shadow. Rotate one copy and move it behind Element13 on the right side. Duplicate it and flip horizontally. Move to the other side behind and below Element 13.
Place Element8 to the left side of the tube in front of the frame. Resize and add a drop shadow.
Move Element22 in front of Element8, but behind the tube. Resize and add a drop shadow.
Move Element16 in front of Element21 and behind Element22. Resize and add a drop shadow.
Place Element17 in front of the elements. Rotate so it lays vertically. Resize and add a drop shadow.
Let's make the mask:
I used WSL_Mask84 by Weescotslass Creations.
Open a new canvas, size 600x600.
Open the mask and make sure it is 600x600 as well.
Open Paper10 and resize to 600x600.
Move the paper on to the blank canvas and then the mask on top.
Remove the white background and place behind the frame and move toward the higher left hand corner.
Duplicate the mask and flip horizontally. Move the mask the other side and cover the rest of the background of the tag.
Make sure no parts of the mask hang off the edges of the mask.
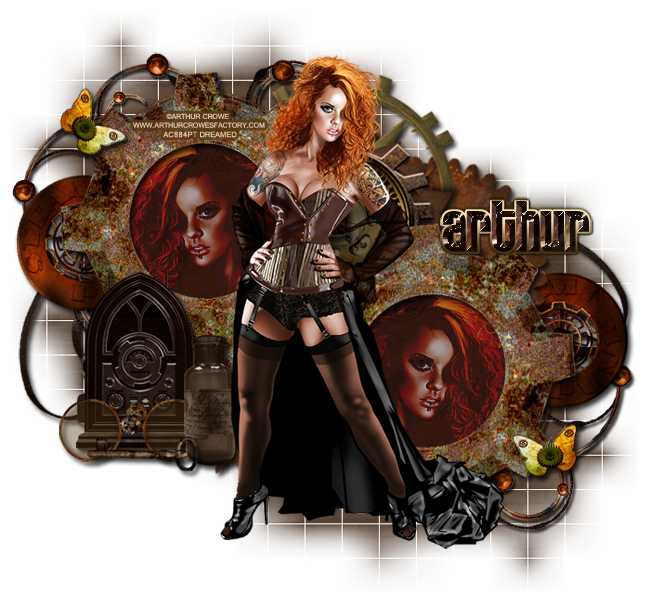
For the name:
I used Eight Track by Fonts-a-licious.
I used Eight Track by Fonts-a-licious.
For the main color you will need to download the styles here.
Use style 23 and remove the drop shadow.
Select the pixels of the name and expand by two.
On the layer below the name fill it with white.
Now use the Simple Gold layer style you find in this package here.
Add a drop shadow to the gold layer.
Move on the top right part of the tag.
Add your tagger mark and copyright information.
Save as .psd and .png.
Thanks for checking out my tutorial!
Here are three freebie snags for you :)
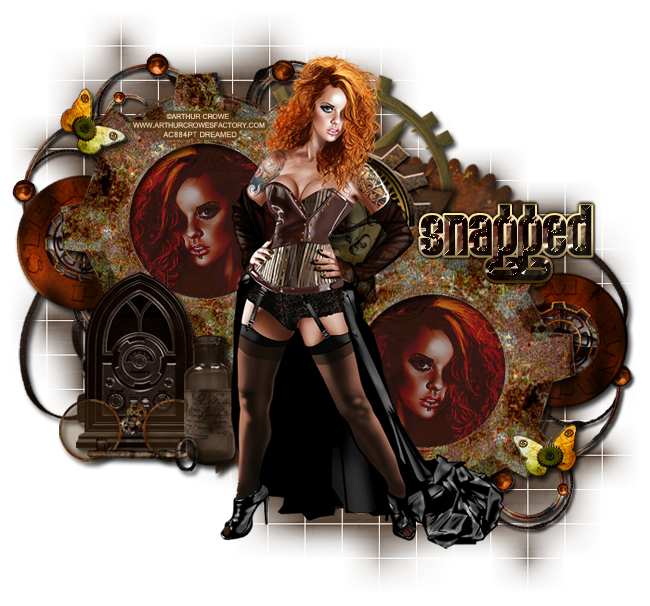


Please leave some love!
