
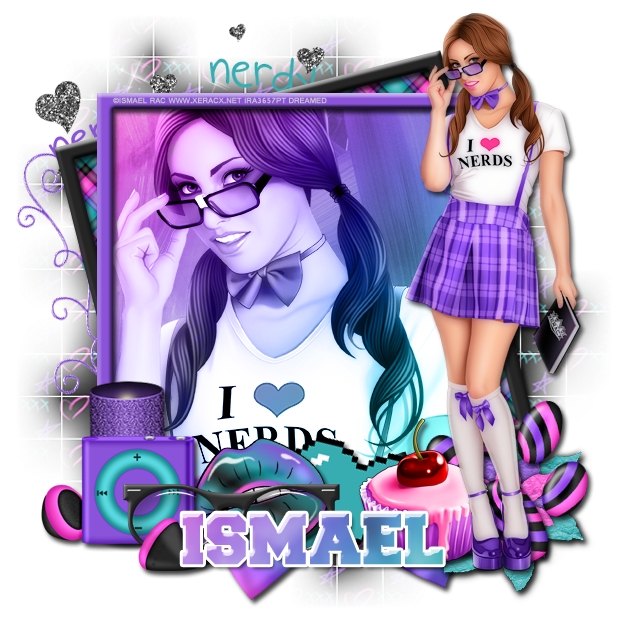
I have a new PTU Tutorial using a new tube, 2013 I Love Nerds, by Ismael Rac with the matching kit by KillerKitty's Killer Kreations!
**This tutorial was written by me and any resemblance is purely coincidental. It is written for those with a working knowledge of Photoshop.**
What will you need:
Filters
Xero Porcelain
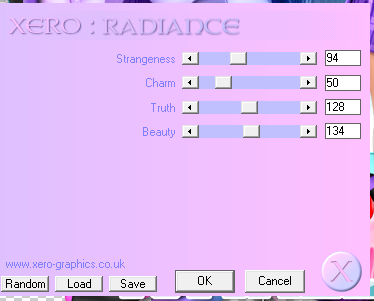
Xero Radiance
Font
Mask
Scrap Kit
Tube
by Ismael Rac
Elements
8bit Heart
Bow2
Cupcake1
Doodle
Frame2
GlitterCandle
HRG
iPod
Lips01
NerdyScatter
PaperFlower
PawPrint
Papers
Paper01
Paper11
Let's go!
Open a new canvas, size 650x650.
Move Frame2 on to the canvas and add a drop shadow.
Place Paper01 in the black frame, behind the purple frame, and erase the paper outside the frame and inside the purple frame.
Place Paper11 on top of the other paper and erase extras outside the frame and any parts that cover the paper in the background. Only show the paper in the purple frame.
Now take the tube and place the tube's full body in front of the frame on the right. Add a drop shadow.
Add Xero Porcelain to the full size tube only.
The settings are below.

Take the close up of the tube and place just the close up of her face and show her shirt.
Change the blending option to luminosity and then add Xero Radiance to just the close up.
The settings are below.
Place the NerdyScatter behind the frame at the top. Resize and make sure nothing goes off the canvas.
Take the Doodle and rotate so it's vertical. Move it to the left side of the frame some of it is hidden and the rest shows.
Now place the GlitterCandle on the lower left hand corner of the frame. Resize & add a drop shadow.
Move the iPod in front of the GlitterCandle and add a drop shadow. Now place HRG (glasses) in front of the iPod. I erased parts of the glasses so it looks like the ear bud is in front of the glasses.
Move Lips01 behind the glasses and iPod. Resize and rotate so it angles up and add a drop shadow.
Place the 8bit heart behind the Lips and rotate to the right. Add a drop shadow.
Move Cupcake01 in front of the 8bit Heart and behind the tube. Resize and add a drop shadow.
Place the PawPrint behind the cupcake and the rotate a little to the right. Resize and add a drop shadow.
Move the PaperFlower behind the PawPrint. Resize and add a drop shadow.
Place Bow2 behind everything and place it on the frame. Resize and add a drop shadow.
Let's make the mask:
Open a new canvas, size 600x600.
Open Paper11 and resize to 600x600 Move on to the blank canvas.
Open the mask and move it on top of the paper.
Remove the white background.
Move behind everything. Stretch out the mask so you can see it, but don't have it go off the edges of the canvas.
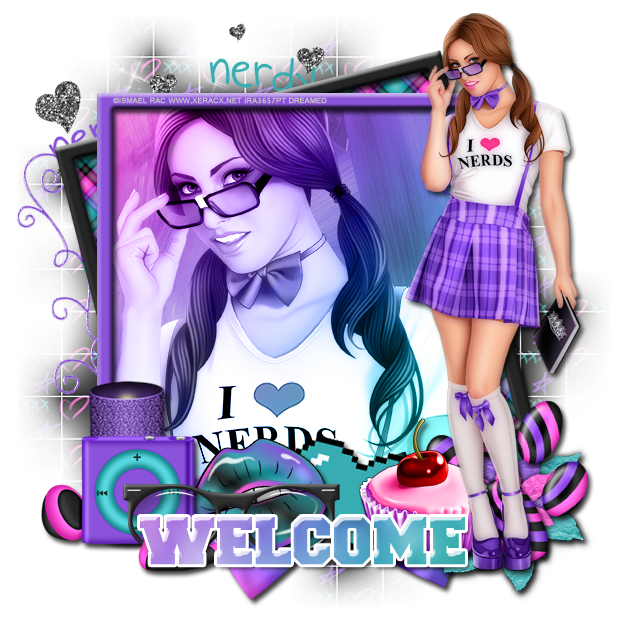
For the name:
Font is Freshman.
Place it in front of everything at the bottom of the tag.
Move Paper11 on top of the name and create a clipping mask. Move the paper down so you just see the top of the paper in the name.
With the paper selected, go to Filter> Blur> Gaussian Blur> 3.0 pixels
Add a drop shadow.
Add a white stroke, size 3.
Change the Bevel to Cove-Deep and change the shadow to white.
Now add your tagger mark and copyright information.
If necessary, crop off any extras. Make sure you do not cut off any parts of the tag.
Save as .psd and .png
I have a few freebie snags for you below!


Thanks for stopping by!
