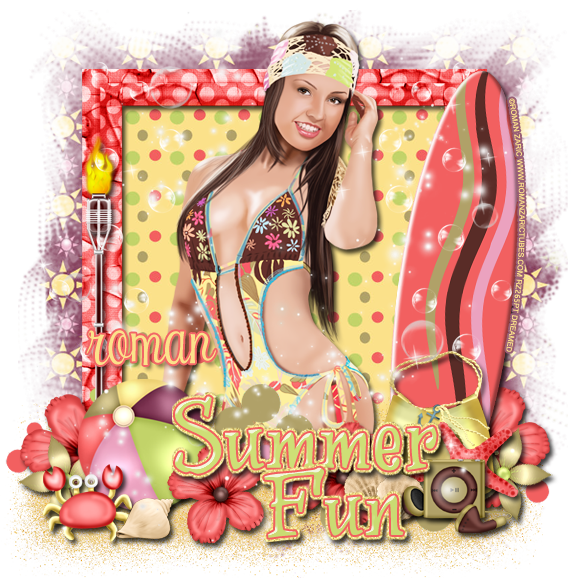
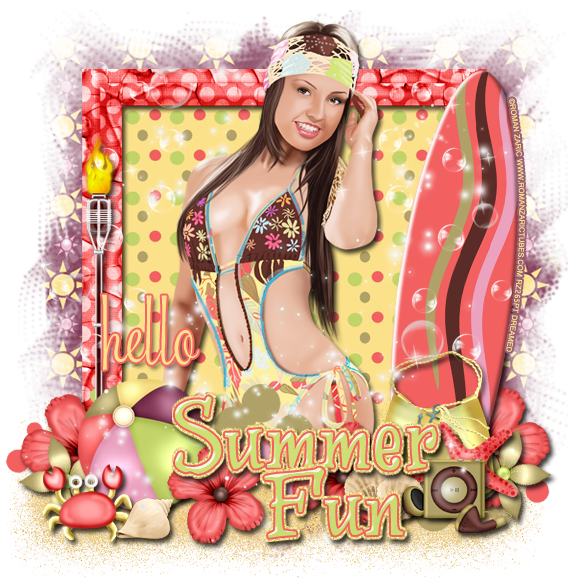
*Coming Soon!* PTU tutorial using Magnoly by Roman Zaric!
You can purchase her HERE!
**This tutorial was written by me and any resemblance is purely coincidental. It is written for those with a working knowledge of Photoshop.**
Supplies
Font
Mask
RBsummermask3
Here is a similar mask:
Scrap Kit
Tube
Coming Soon!
by Roman Zaric
*You must obtain a license to use this tube.*
Elements
5
10
11
14
15
16
21
24
26
28
29
32
33
34
35
Papers
1
8
Let's start!
Open a new canvas, size 650x650.
Move the frame on to the canvas. Resize & add a drop shadow.
Place P1 behind the frame and resize. Erase anything outside the frame.
Place the tube in front of the frame and resize. Add a drop shadow. Erase her legs that hang over the bottom of the frame.
Behind the frame, place 34. Flip vertically and resize a little.
Place 21 on the right side of the frame. Resize & add a drop shadow.
Place 35 on the left side of the frame. Resize & add a drop shadow.
In front of the tube along the bottom, place 24. Resize so you can fit two along the edge. Have the larger dots meet in the middle.
On the left side, place 15. Resize & add a drop shadow.
Behind the ball, place 10. Resize & add a drop shadow.
Between the flower and ball, place 11. Move it a little lower than 10. Resize & add a drop shadow.
In front of the ball, place 14. Resize & add a drop shadow.
Next to the crab, place 29 and flip horizontally. Resize & add a drop shadow.
In front of the surfboard, place 16. Resize & add a drop shadow.
Duplicate flowers 10 & 11 from the left side and move them behind the surfboard on the right.
In front of the purse, place 5. Resize & add a drop shadow.
Between the Nano and the purse, place 7. Resize & add a drop shadow.
To the left of the nano and behind it, place 33. Resize & add a drop shadow. Rotate it a little to the right.
Duplicate the shell and move it behind the first shell. Rotate it to the left.
Place 26 on the left side of the frame vertically. Resize a little. Duplicate it and move it to the right side. Erase anything that hangs off the frame too much.
Move 28 on top of everything. Resize so it doesn't hang off the tag too much. Erase anything that covers the face and upper torso of the tube.
Make your word art and then take another copy of 10. Place it a little behind the word art so it mostly hangs below it. Resize & add a drop shadow.
Duplicate the flower and place it behind the word art. Move it to the right and above so it sits behind the set of shells too.
Word art:
Font is Winston Nero
Main color is #cedf76.
Add a stroke, size 2, #f26060.
Select the pixels and expand by 4.
Fill the the bottom layer with #fce59b & add noise at 12%.
Add a drop shadow to the glitter layer.
Name:
Font is Riddle.
Main color is #fce59b.
Add a stroke of size 2 and use #f26060.
Add a drop shadow.
Mask
Open a new canvas, size 600x600.
Open P8 and resize to 600x600. and move on top of the canvas.
Open the mask, make sure it's 600x600, and move on top of the paper.
Remove the white background and place the mask behind the tag. Make it evenly stretched on all sides.
Add your tagger mark and copyright information.
Crop off any extra canvas.
Save as a .psd & .png.
We're done! :)
Here are a few snags for you!
Thanks for coming by!


