
I have a new PTU tutorial using Rawkin Goth by Scrappin Krazy Designs!
I matched it with the artwork of Alex Prihodko.
**This tutorial was written by me and any resemblance is purely coincidental. It is written for those with a working knowledge of Photoshop.**
Supplies
Font
Mask
Scrap Kit
Tube
by Alex Prihodko
Elements
blade
cuff
flames
frame2
lipstick
metalornament2
metalornament5
metalornament8
polish
symbol
vase
zipper
Papers
p11
Let's start!
Open a new canvas, size 650x650.
Place frame2 on the canvas. Resize and add a drop shadow.
Move p11 behind the frame and erase parts outside the frame.
Place the tube in front of the frame on the right side. Resize and add a drop shadow.
Take another copy of the tube and place it behind the frame and on top of the paper. Keep it a larger size and flip horizontally. Change the tube to Luminosity.
Behind the tube on right, place the symbol. Resize and add a drop shadow.
In front of the symbol, place the vase. Resize and add a drop shadow.
Move metalornament5 in front of the vase and flip it horizontally. Resize and add a drop shadow.
Behind the symbol, place the flames. Resize and add a drop shadow. Erase any parts that show on the other side of the tube. Add a glow, just change the color to #703e8d.
Starting next to the tube on the far left side, place the polish. Resize and add a drop shadow.
Behind the polish, place the metalornament2 and flip horizontally. Resize and add a drop shadow.
Move the lipstick behind the metalornament2 and make it stand straight up. Resize and add a drop shadow.
Place the cuff behind the lipstick. Resize and add a drop shadow.
Behind these four items, move the blade. Resize and add a drop shadow.
At the left end of the blade place metalornament8. Make it smaller and rotate to the right then add a drop shadow.
Place the vase behind the metalornament8. Resize and add a drop shadow.
Now behind all of these elements, move the flames and resize. Add the drop shadow and glow from the first layer of flames.
Move metalornament3 behind the flames and against the frame. Resize and add a drop shadow.
Mask
Open a new canvas, size 600x600.
Open p11 and resize to 600x600 then place on top of the canvas.
Open the mask and place on top of the paper.
Remove the white background and place behind the tag.
Stretch out the mask so it seen evenly around the frame.
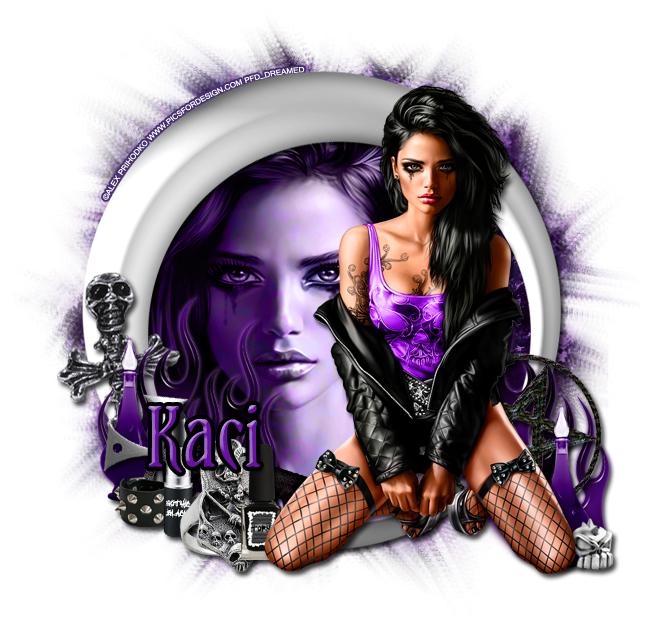
Name
Font is Yataghan.
Main color is #6613a1.
Stroke is size 4, black.
Bevel:
Change the gloss contour to Rounded Steps and the shadow to white.
Add your tagger mark and copyright information.
Crop off any extras.
Save as a .psd & .png.
Here are a few free snags for you!
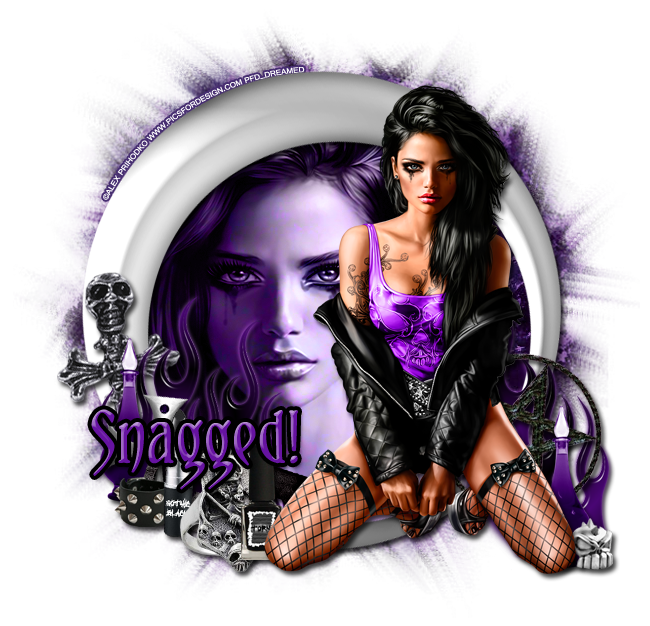


Thanks for stopping by!
