
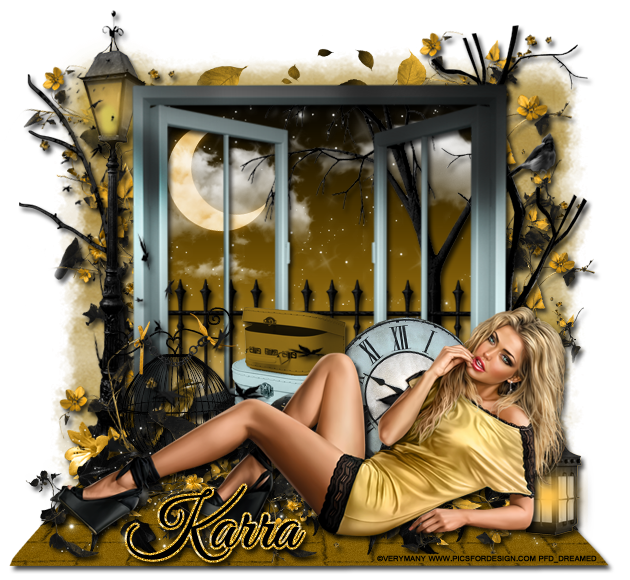
PTU tutorial using From Dusk Till Dawn by Karra's Kreative Korner!
You can purchase the kit at Pimpin' PSPers Warehouse!!
**This tutorial was written by me and any resemblance is purely coincidental. It is written for those with a working knowledge of Photoshop.**
Supplies
Font
Mask
Scrap Kit
Tube
*You must obtain a license to use this tube.*
Elements
bird1
bird2
birdcage
blowing leaves
branch
branches
chain
clock1
cloud1
cloud2
fence
flower4
flowers
ivy
lantern
leaves
luggage
moon
path
sparkles1
streetlight1
tree
window2
Papers
4
7
Let's start!
Open a new canvas, size 650x650.
Move window2 on to the canvas. Resize & add a drop shadow.
Place the path underneath the window2 so the widest part sticks out in front of the window. Resize & add a drop shadow.
Place paper7 behind the window and flip vertically. Resize and erase anything outside the frame.
Place the fence behind the window and on top of the paper. Resize & add a drop shadow.
Move the moon into the upper left hand corner.
Place cloud 2 over the move. Erase anything outside the frame.
Place cloud1 in the opposite corner and resize. Erase anything outside the frame.
Move the tree inside the frame on the right side. Have just half of the tree showing. Erase anything outside the frame.
Use sparkles1 on top of the paper to create the illusion of a starry night.
Place the tube in front of the window. Resize & add a drop shadow.
Behind the tube at her feet, place the birdcage and resize.
Move bird2 behind the birdcage. Now erase parts of the birdcage so the bird appears to be inside the cage. Add a drop shadow to the cage & bird.
Move the chain on top of the birdcage. Resize both ribbons rest on the top part of the cage. Add a drop shadow. Behind the tube's head, place the lantern. Flip horizontally, resize, & add a drop shadow.
Place the luggage next to the bird cage and flip horizontally. Resize & add a drop shadow.
Next to the luggage, place the clock1. Resize & add a drop shadow.
Move the streetlight on the left side of the window and behind it just a little. Resize & add a drop shadow.
In front of the street light, place flower4 at the base. Resize & add a drop shadow.
On the right side of the window and behind it, place the branch. Resize & add a drop shadow.
Place bird1 on the branch. Resize & add a drop shadow.
Behind the street light on the left, place one of the branches. Resize & add a drop shadow.
Take a couple of copies of flowers and move then behind the branches on both sides of the window. Resize & add a drop shadow.
Use the leaves to fill in the empty space at the top of the window. Resize & add a drop shadow.
Below the tube, place the flowers and the ivy. Use a couple of copies of each and add a drop shadow on each layer.
Place the blowing leaves on to of everything but behind the tube. Start the small point on the street light and end it behind the tube. Resize & add a drop shadow.
Name
Font is Great Vibes.
Main color is black.
Select the pixels of the font, expand by 2, and fill with #dfab30.
Add noise at 14% and add a drop shadow.
Bevel: change the gloss contour to Ring-Double.
Mask
Open a new canvas, size 600x600.
Open paper4 and place on top of the canvas.
Open RebelDezignsMask-Sept4 and move on top of the paper.
Remove the white background and place the mask behind the tag. Make it evenly stretched on all sides.
Add your tagger mark and copyright information.
Crop off any extra canvas.
Save as a .psd & .png.
We're done :)
Thank you for coming by!
