Wednesday, August 28, 2013

PTU Tutorial - Falling For Autumn

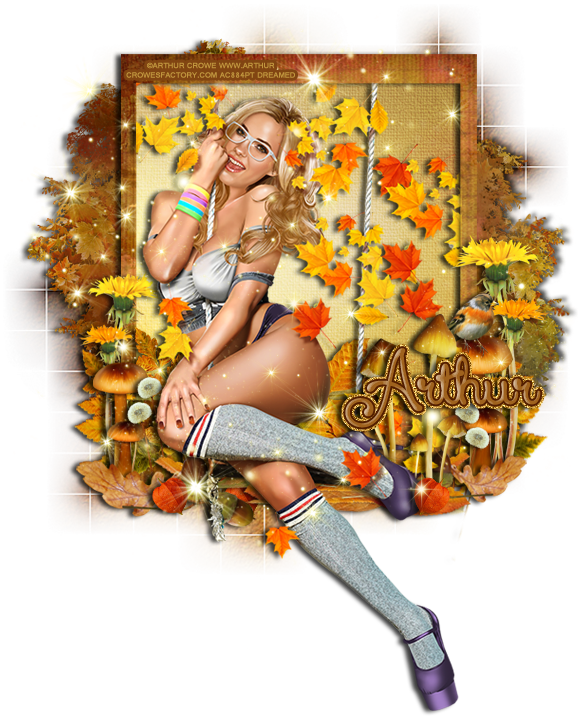
PTU tutorial using Falling For Autumn by Scrappin Krazy Designs!
Check out her blog HERE to see where it's on sale.
**This tutorial was written by me and any resemblance is purely coincidental. It is written for those with a working knowledge of Photoshop.**

Supplies

Font

Scrap Kit

Tube
*You must obtain a license to use this tube.*

Elements
4
5
6
7
8
9
10
11
13
28
30
35
40
45
51
54
58
62
63
64
65
67
69
75
77
Papers
6
8

Let's start!
Open a new canvas, size 650x650.
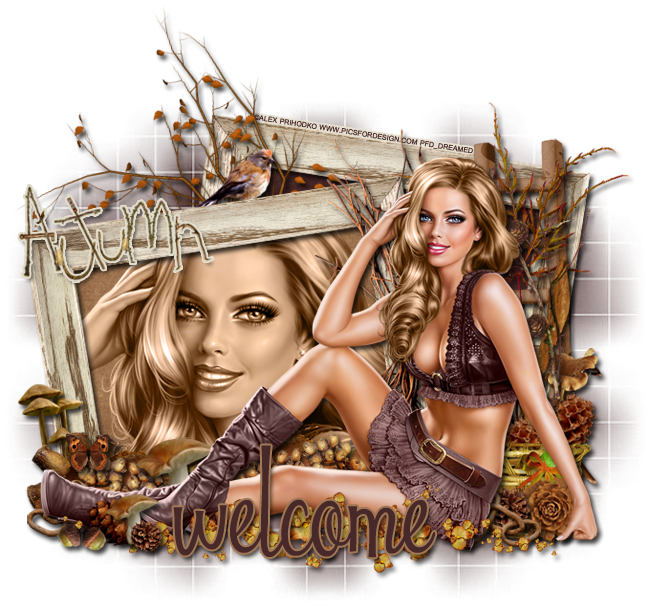
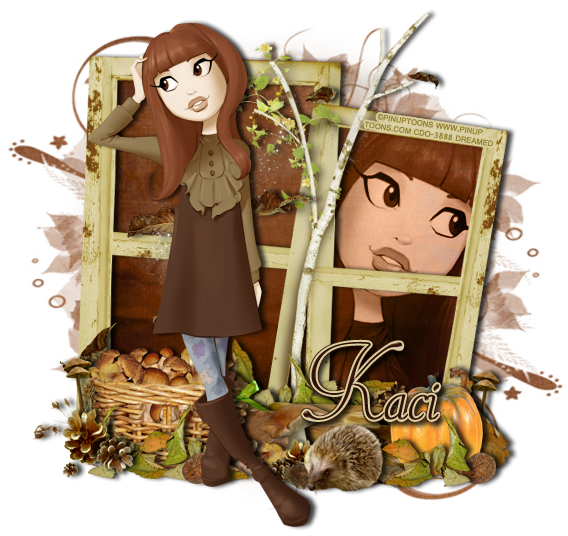
Place 58 on the canvas and resize. Rotate a little to the left. Duplicate the frame and place it behind the first one. Rotate it the opposite way. Add a drop shadow to both.
Place paper 6 behind the one in the back and paper8 behind the frame in the front. Erase anything that sticks out.
Place the tube in front of the frames. Resize and add a drop shadow.
Take a close up of the tube and place it between the paper and frame in front. Resize and change her to Luminosity.
Place 63 over the frame in the front and resize. Add a stroke, size 2, in #e1dccb.
Move 40 between the frames on the left side. Resize and add a drop shadow.
Place 77 on top of the front frame in front of the tree. Resize and add a drop shadow.
Take 11 and flip it so it's vertical and place it along the length of the frame in front behind the tube. Resize and add a drop shadow.
Now place 30 behind the tube and to the right. Resize and add a drop shadow.
Behind the basket, place 75 and flip horizontally.
Take 10, 16, and 62 and flip them vertically along the ladder . Arrange them like I did. Resize and add a drop shadow.
Place 7 and 64 between the elements just placed and the basket. Duplicate 7 and flip it the opposite way. Resize and add a drop shadow.
 Take elements 5, 13, and 54 and place one of each in front of the basket, but behind the tube. Place the chain links in front of the pine cone then the pine cone and then the flower behind the pinecone. Resize each and add a drop shadow.
Between the tube and the front frame, place 35. Resize and add a drop shadow. Duplicate so it covers the length behind the tube.
Place 45 on top of the wood. Resize and add a drop shadow. Duplicate and move along the frame the same way as the wood.
In front of the tube's foot place these elements in a cluster. Take 4, 5, 65, & 69. Place the mushroom between the two pine cones and place the acorns to the left of the cluster. Resize and add a drop shadow.
Duplicate the chain links from before and move then behind the tube's foot so they stick out a little.
Take 8 & 67 and place them between the wood and frame on the left side. Resize and add a drop shadow. Move the mushrooms behind 8.
Take 69 again and move it behind the tube's boots in front of 45. Resize and add a drop shadow.
Place 51 on top of 8. Resize and add a drop shadow.
Now take 28 and place it in front of the tube across the front of her. You made need to use a couple of copies to cover empty spaces. Resize and add a light drop shadow.

 Name
Main color is #482929.
Add a stroke, size 2, in #a07856.
Add a drop shadow.

Mask
Open a new canvas, size 600x600.
Open p7 and resize to 600x600. Place on top of the canvas.
Open the mask and move on top of the paper.
Remove the white background and place the mask behind the tag. 
Make it evenly stretched on all sides.

Add your tagger mark and copyright information.
Crop off any extra canvas.
Save as a .psd & .png.

Here are free snags!

Tuesday, August 27, 2013

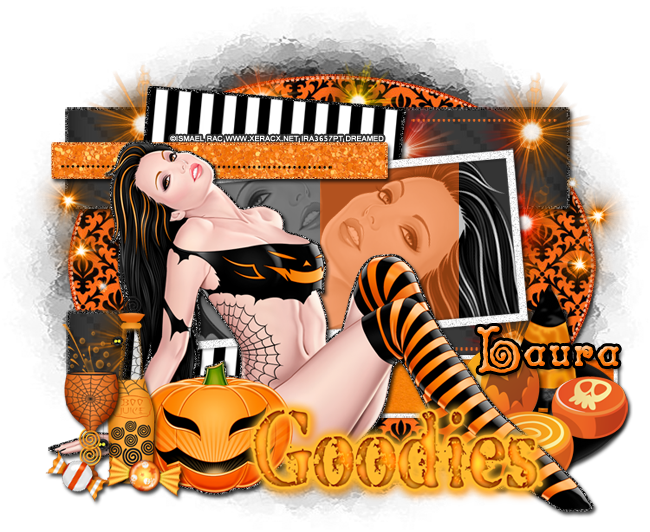
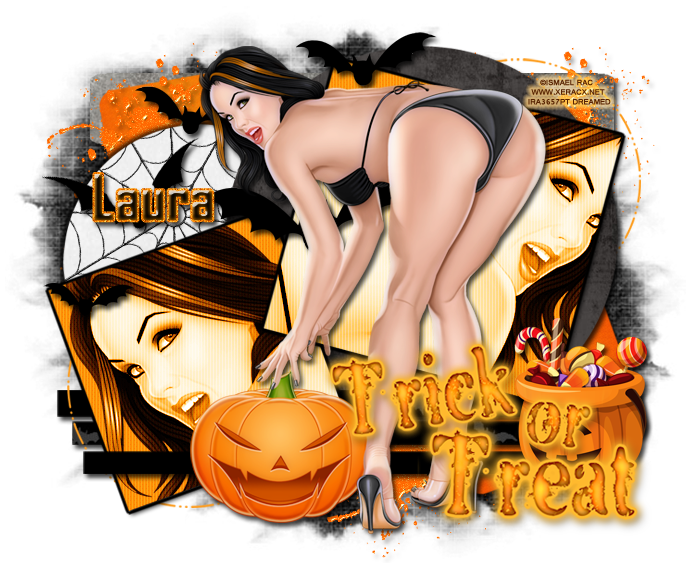
CT Tags using Ghastly Dreams by Tiny Turtle Designs!

Check out this perfect Halloween kit at SATC & Tiny Turtle Designs!
Here are a couple of free snags for you!

Thank you for coming by!

Monday, August 26, 2013

PTU Tutorial - Blue Moon

PTU tutorial using Blue Moon by Redefined Designs!
Check out her blog HERE to see where it's on sale.
**This tutorial was written by me and any resemblance is purely coincidental. It is written for those with a working knowledge of Photoshop.**

Supplies

Font

Scrap Kit
Blue Moon by Redefined Designs
You can purchase it at the Pimpin' PSPers Warehouse!

Tube
*You must obtain a license to use this tube.*

Elements
Anchor
Bag 
Ball
Box
Fence
Fireworks
Frame2
Glasses
Globe 
Lantern
Martini Glass
Moon
Pelican
Rock
Shell
Shell2
Towels
Tree
Wine

Papers
2
4

Let's start!
Open a new canvas, size 650x650.
Take Frame 2 and place it on the canvas. Resize and then duplicate and move the copy on top of the first one and to the right a little. Erase parts of the frame that over lap and add a drop shadow to both.
Place paper 2 behind the frame and erase anything that sticks out.
Place the fence behind the frame on the right toward the top. Resize and add a drop shadow.
Duplicate the fence and move it to the left and lower than the first.
Take the pelican and place it between the fence and frame on the left. Resize and add a drop shadow.
Duplicate the pelican and place it on the left side the same way.
Move the fireworks behind the fence on the right. Make it smaller, but not too small. Now duplicate it and move it to the left side and make it smaller and lower than the first one.
Between the fence and fireworks, place the tree in the middle. Resize and add a drop shadow. Rotate to the right a little.
Now between the tree and fireworks, place the moon to the left of the tree a little and resize.
Place the tube in front of the frame. Resize and add a drop shadow.
In the front of the tube, starting from the left, place the lantern. Resize and add a drop shadow.
Place the bag next to the tube on the left. Flip horizontally then resize and add a drop shadow.
Between the bag and lantern, place the anchor, and flip horizontally. Resize and add a drop shadow.
In front of the bag, place the rock. Resize and add a drop shadow.
On top of the rock and bag, place the sunglasses. Resize and add a drop shadow.
Behind the glasses and on top of the bag, place the ball. Resize and add a drop shadow.
Next to the ball, place the towels. Resize and add a drop shadow.
In front of the towels, place shell 2. Rotate and then resize and add a drop shadow.
To the right of the tube and behind the towels, place the wine. Resize and add a drop shadow.
In front of the wine, place the martini glass. Resize and add a drop shadow.
In front of the martini glass, place the box. Flip horizontally then resize and add a drop shadow.
Between the towels and box, place the shell and rock. Resize both and add a drop shadow.
Behind the box, place the globe. Flip horizontally then resize and add a drop shadow.

 Name
Main color is #242443.
Add a stroke, size 2, in #c6c6e5.
Select the pixels of the name and expand by 4.
Create a new layer under the name and fill with #1f1f40.
Add noise and a drop shadow to the lower layer.

Mask
Open a new canvas, size 600x600.
Open p4 and resize to 600x600. Place on top of the canvas.
Open the mask and move on top of the paper.
Remove the white background and place the mask behind the tag. 
Make it evenly stretched on all sides.

Add your tagger mark and copyright information.
Crop off any extra canvas.
Save as a .psd & .png.

Here are free snags!
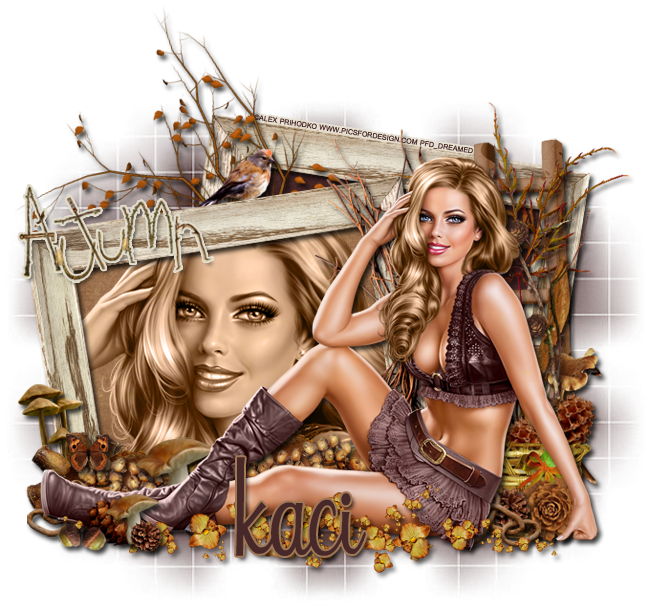
Thank you for coming by!

*Coming Soon!* Sexy Rain Song by Arthur Crowe!

*Coming Soon!*
PTU tutorial using Sexy Rain Song by Arthur Crowe!
You can purchase the tube and the beautiful matching kit HERE soon!
**This tutorial was written by me and any resemblance is purely coincidental. It is written for those with a working knowledge of Photoshop.**

Supplies

Font

Mask

Scrap Kit

Tube
*You must obtain a license to use this tube.*

Elements
2
5
6
16
17
21
23
24
25
30
31

Papers
2
6

Let's start!
Open a new canvas, size 600x700. It may need to be taller, but that is up to you.
Move ele23 on to the canvas. Add a drop shadow.
Place paper 2 behind the frame and erase anything outside it.
Now place the tube in front of the frame. Resize as needed. If you kept the leaves layer then make sure you place it so the leaves on the outer edges don't stick out. Add a drop shadow.
Behind the frame on the left, place ele6. Resize it so it's not too large compared to the frame and doesn't stick out too far. Erase the tree trunk if it sticks out the bottom. Move another copy of the tree on the right side and lower than the first tree. Add a drop shadow to both.
Move ele5 behind and below the tube. Resize and add a drop shadow.
Place ele 16 on the right and behind the layer of leaves just added. Resize and add a drop shadow.
Duplicate the mushroom cluster and place it on the left side. Make it smaller than the first copy and flip.
Behind the mushrooms on the right, place ele24. Make one copy a little taller than the mushrooms. Resize and add a drop shadow.
Duplicate the flowers and place a smaller copy to the left of the first copy.
Duplicate the first copy of flowers and move it to the left side behind the mushrooms. Resize them so they are a little taller than the mushrooms.
Place ele25 on the larger shrooms on the right side. Resize and add a drop shadow.
Place ele17 in front of the mushrooms on the right side. Make it about the same height as the smaller mushroom. Resize and add a drop shadow.
Duplicate the flower and make it smaller than the first.
Duplicate those two together and copy. Move them to the left side next to and in front of the flowers and flip.
Move ele30 behind the frame on the right. Place it at the bottom where the mushrooms are. Have just a little stick out. Resize and add a drop shadow.
Duplicate and place it on the left side behind the frame.
Take another copy of ele30 and place it behind the tube to fill some empty space. Resize and add a drop shadow.
Place ele21 in front of the tube. Move it between the tube and mushrooms on the right. Resize and add a drop shadow. Erase parts of the mushroom stems that lay over the tube's shoes.
Take a copy of ele2 and place a small size in front of the mushrooms you just placed. Resize and add a drop shadow.
Duplicate ele2 and place one to the left of the tube toward the bottom of the leaves.
Now place ele31 on top of the tag and tube. Resize a little and duplicate enough to cover everything. Erase anything outside the tag and anything covering the tube's head.

 Name
Main color is #9f621d.
Add a stroke, size 2, in #531e00.
Add a bevel, change the gloss contour to Rounded steps, and change the shadow to #f2e8b3.
Turn off the global light and change the angle to 173 with zero altitude.
Select the pixels of the name and expand by 4.
Create a new layer under the name and fill with #c8973b.
Add a drop shadow to the lower layer.

Mask
Open a new canvas, size 600x600.
Open p2 and resize to 600x600. Place on top of the canvas.
Open the mask and move on top of the paper.
Remove the white background and place the mask behind the tag. 
Make it evenly stretched on all sides.

Add your tagger mark and copyright information.
Crop off any extra canvas.
Save as a .psd & .png.

Here are free snags!
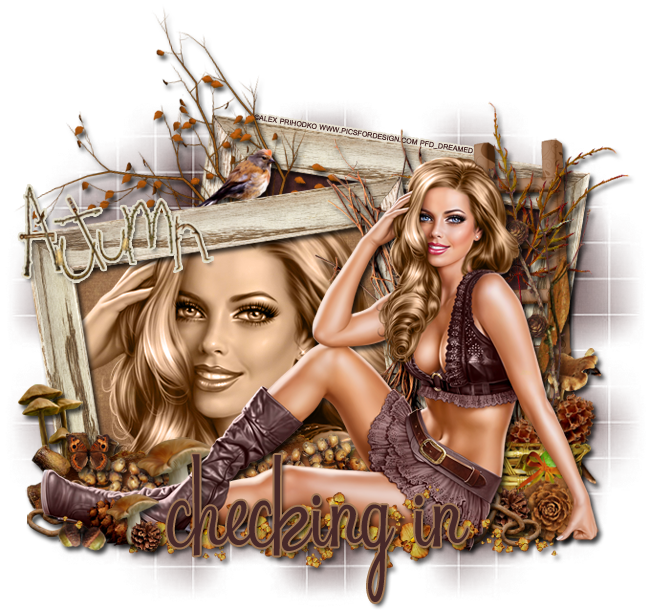
Thank you for coming by!

Sunday, August 25, 2013

PTU Tutorial - Autumn's Song

PTU tutorial using Autumn's Song by Scrappin Krazy Designs!
You can check it out on her blog HERE!
**This tutorial was written by me and any resemblance is purely coincidental. It is written for those with a working knowledge of Photoshop.**

Supplies

Font

Mask

Scrap Kit

Tube
*You must obtain a license to use this tube.*

Elements
11
12
16
18
19
20
21
22
24
25
27
28
30
43
45
47
48

Papers
 4
11

Let's start!
Open a new canvas, size 650x650.
Place ele21 on to the canvas and resize. Add a drop shadow.
Place paper 11 behind the frame and erase anything outside of it.
Place the tube in front of the frame on the left and resize. Add a drop shadow.
Place the close up of the tube behind the window on the right. Resize a little and create a clipping mask to the paper.
Duplicate the paper and place it on top of the tube. Create a clipping mask so the two papers and close up are not sticking outside the frame.
Change the close up to Luminosity and drop the fill to 79%.
Change the top paper to Soft Light and the bottom paper to Luminosity.
Place ele22 behind the tube and on top of the frame. Place it over the left side of the frame.
Place ele11 on the right corner of the frame. Resize and add a drop shadow.
Place ele16 in front of the pumpkin. Resize and add a drop shadow.
Move ele43 behind the pumpkin. Resize and add a drop shadow.
Place ele18 behind the shrooms. Resize and add a drop shadow.
Place ele27 in front of the pumpkin, but behind the leaves. Resize and add a drop shadow.
To the left of the pumpkin, place ele47. Resize and add a drop shadow.
Behind the log, place ele16 again. Resize and add a drop shadow. Duplicate two more times and cover the back of the log along the length of the frame.
At the edge of the log and behind it, next to the pumpkin, place ele45. Resize and add a drop shadow. Duplicate the pinecone and move it to the right a little and rotate to the right.
On the left side of the frame, place ele19. Resize and add a drop shadow.
In front of the basket of shrooms, place a couple of copies of ele16. Resize and add a drop shadow.
On the left hand corner of the basket, place ele20. Resize and add a drop shadow.
Behind the basket on the left, place ele43. Resize and add a drop shadow.
Between the shrooms and pinecones, place ele28. Flip horizontally and resize a little. Erase anything that sticks out and add a drop shadow.
Between the basket and log, place ele30. Resize and add a drop shadow.
In front of the log and wood, place ele48. Resize and add a drop shadow.
In front of the shroom, place ele20 and flip horizontally. Resize and add a drop shadow.
Place ele12 in front of the shroom and a little to the left. Resize and add a drop shadow.
Between the animal and pinecones, place ele24. Resize and add a drop shadow.
To the right and behind the animal, place ele25. Make it sit behind the leaves in front of the pumpkin. Resize and add a drop shadow.

 Name
Main color is #4e2417.
Add a stroke, size 2, in #dad09d.
Add a bevel, change the gloss contour to Cone-Inverted, and change the shadow to #61321e.
Select the pixels of the name and expand by 3.
Create a new layer under the name and fill with #340f0c.
Add a drop shadow to the lower layer.

Mask
Open a new canvas, size 600x600.
Open p4 and resize to 600x600. Place on top of the canvas.
Open the mask and move on top of the paper.
Remove the white background and place the mask behind the tag. 
Make it evenly stretched on all sides.

Add your tagger mark and copyright information.
Crop off any extra canvas.
Save as a .psd & .png.

Thank you for coming by!

Friday, August 23, 2013

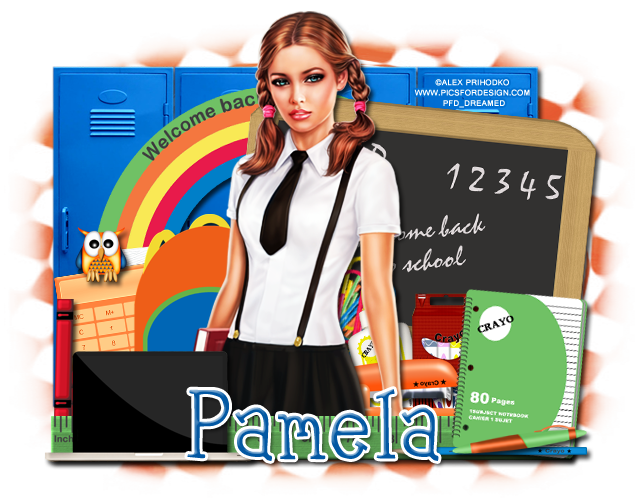
PTU Tutorial - Back To School

PTU tutorial using Back To School by Redefined Designs!
You can check it out on her blog HERE!
**This tutorial was written by me and any resemblance is purely coincidental. It is written for those with a working knowledge of Photoshop.**

Supplies

Font

Mask

Scrap Kit

Tube
*You must obtain a license to use this tube.*

Elements
Board
BookBag
Books
Calculator
CrayonBox
Glue
Laptop
Lockers
Notebook3
Owl
Paperclips
Pen
Pencil
Ruler
Stapler
Welcome

Papers
4

Let's start!
Open a new canvas, size 650x650.
Place the lockers on to the canvas. Resize and add a drop shadow.
Place the tube on top of the lockers. Resize and add a drop shadow.
Behind the tube, place the board and rotate to the right a little. Resize and add a drop shadow.
Behind the board and tube on the left, place welcome. Resize and add a drop shadow.
In front of the tube, place the ruler. Resize and add a drop shadow.
On the left side of the tube, place the books. Resize and add a drop shadow.
Place the bookbag behind the tube. Resize and add a drop shadow.
Behind the books and bookbag, place the calculator and rotate to the left a little. Resize and add a drop shadow.
Set Owl1 on top of the calculator. Resize and add a drop shadow.
In front of the tube and ruler, place the laptop. Resize and add a drop shadow. If you like, add a black backing to the laptop screen.
On the right side of the tube, place the notebook on top of the ruler. Resize and add a drop shadow.
On top of the notebook, place the pen and pencil. Resize and add a drop shadow to both.
Behind the ruler and tube, place the stapler and flip horizontally. Resize and add a drop shadow.
Place the glue, crayon box, and paper clips behind the tube.

 Name
Main color is #0358a3.
Add a stroke, size 3, in white and a drop shadow.
Add a bevel, leave as default, and only change the shadow to white.

Mask
Open a new canvas, size 600x600.
Open p11 and resize to 600x600. Place on top of the canvas.
Open the mask and move on top of the paper.
Remove the white background and place the mask behind the tag. 
Make it evenly stretched on all sides.

Add your tagger mark and copyright information.
Crop off any extra canvas.
Save as a .psd & .png.

Free Snags!


Thank you for coming by!

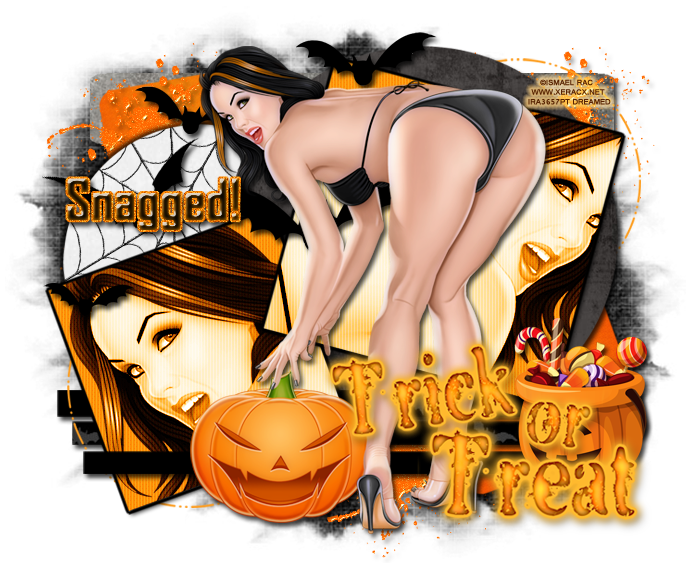
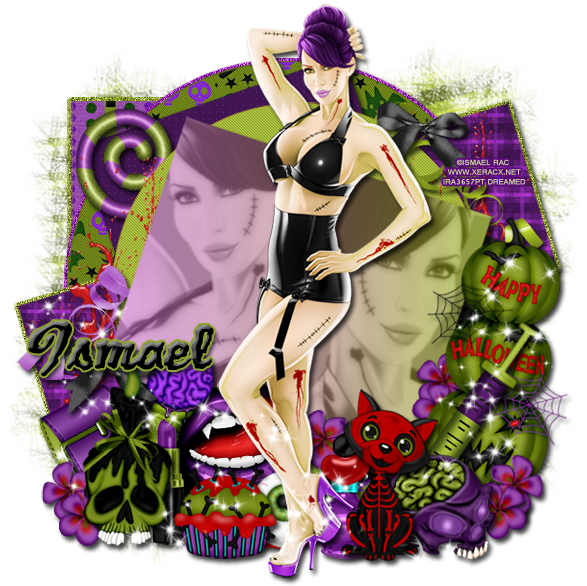
PTU Tutorial - 2013 BB Dead Sexy by Ismael Rac!

PTU tutorial using the new tube by Ismael Rac called 2013 BB Dead Sexy!
You can purchase the tube and matching kit at the Xeracx store!
**This tutorial was written by me and any resemblance is purely coincidental. It is written for those with a working knowledge of Photoshop.**

Supplies
Font

Mask

Scrap Kit

Template
(Scroll down to the Halloween templates.)

Tube
*You must obtain a license to use this tube.*

Elements
Bloody
BloodyEye2
Bonecake
Bow1
Bracelet
BrainIceCreamCone
Cat
Flower2
Halloween Pumpkins
Lips1
Lipstick1
Needle02
Perfume1
Satin Ribbon2
Satin Ribbon3
Skull3
SkullnCandle
Sparkles1
Swirl1

Papers
 1
5
7
8
9
10
11

Let's start!
Open a new canvas, size 650x650.
Open the template, link the layers together, and move on to the canvas.
Delete the word art layers and credits.
Resize the template if you like.
On layer 1, place paper05, flip it horizontally, and create a clipping mask.
Take paper11 and create a clipping mask to layer 2. Add a drop shadow to both layers 1 & 2.
Select the pixels of layer 3 and fill with #93a53a. Add a drop shadow.
Fill layers 4 & 6 with paper 10. Resize and create a clipping mask on both layers.
Select the pixels of layer 4 and expand by 4. Make a new layer underneath the 4th layer and fill with #93a53a. Add noise and a drop shadow. Repeat the steps for layer 6.
For layer 5, place paper 1 over it and create a clipping mask. Resize as needed and add a drop shadow to the layer.
Add the same paper to layer 7. Add a drop shadow to the layer (may be covered up later).
Place paper 7 over layer 8 and create a clipping mask. Select the pixels of the circle and expand by 3 make a new layer underneath it and fill with #9b2ab7. Add noise and a drop shadow.
Move paper 8 over layer 9 and create a clipping mask. Select the pixels of layer 9 and expand by 4. Create a new layer underneath layer 9 and fill with #93a53a. Add noise and and a drop shadow.
That should be it for the template. Now let's open the tube. Place the full size tube in front of the template, in the middle. Resize and add a drop shadow.
Take the close up of the tube and place in over layer 1 and create a clipping mask. Have one copy of the close up to the left of the tube and then a larger copy on the right side, flipped horizontally.
Erase where they may overlap.
Behind the green circle, place swirl1. Resize and add a drop shadow.
Place a copy of bloody on top of the green circle and purple paper (behind the main squares) on the left side and right side. Erase anything off the template.
Place the skullncandle on the left side. Resize and add a drop shadow.
Behind the skullncandle, place the bracelet toward the left. Resize and add a drop shadow.
Place the brainicecreamcone behind the skullncandle toward the right. Resize and add a drop shadow.
Between the candle and cone, place lipstick1. Resize and add a drop shadow.
To the left of the candle and bracelet, place two of the flower2. Resize and add a drop shadow.
Next to the cone and candle, place the bonecake. Resize and add a drop shadow.
Behind the bonecake, place lips1. Resize and add a drop shadow. Make sure the lips are behind the tube as well.
Between the lips and bonecake, place the bloodyeye2. Place it behind the tube at her feet. Resize and add a drop shadow.
Next to the eye, place perfume1. Resize and add a drop shadow. Again, make sure it's behind the tube.
Place the cat in front of the perfume. Resize and add a drop shadow.
Place skull03 behind and to the right of the cat. Resize and add a drop shadow.
Move needle02 behind the cat. Resize and add a drop shadow.
Behind the needle, place the halloween pumpkins on the right side. Resize and add a drop shadow.
Take the flowers from earlier, duplicate them, flip them horizontally, and place them between the skull03 and pumpkins. 
Duplicate the flowers again and place them to the left of the pumpkins. Add another copy of the flowers over the frame behind the tube also.
Take satin ribbon 2 and place it on top of the green circle behind the two main squares. Resize and add a drop shadow.
On top of the ribbon, place bow1. Resize and add a drop shadow.
Place satin ribbon 03 on top of layer 4 behind the main squares. Resize and add a drop shadow.
Duplicate and place bow1 over the lower left hand corner of the top square.
 Now take sparkles1 and place it on top of the elements and tube on the left side. Erase some of the sparkles so it's not overcrowded. Also erase anything off the tag. Take another copy of the sparkles and place it on the right side of the tag. Again erase some of the sparkles so it's not overcrowded.

Mask
Open a new canvas, size 600x600.
Move paper 9 on to the blank canvas. 
Open the mask and move on top of the paper.
Remove the white background and place the mask behind the tag. 
Make it evenly stretched on all sides, but not hanging off the canvas.

 Name
Main color is black.
Add a stroke, size 2, in color #90a431.
Change the bevel to Rounded Steps.
Add noise and add a drop shadow.

Add your tagger mark and copyright information.
Crop off any extra canvas.
Save as a .psd & .png.
We're done :)

And here are free snags for you!

Thursday, August 22, 2013

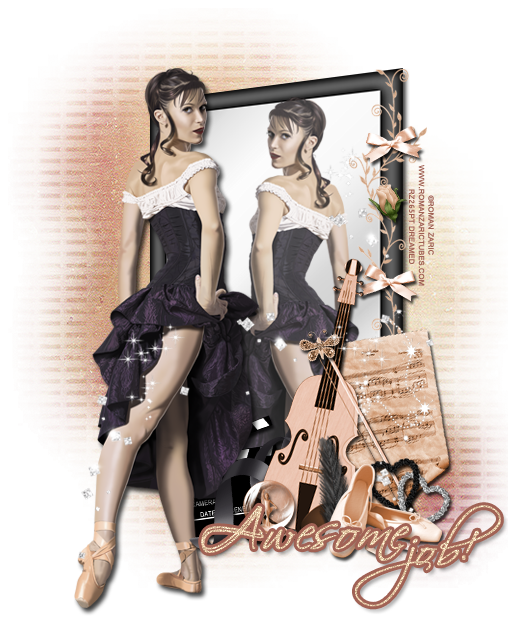
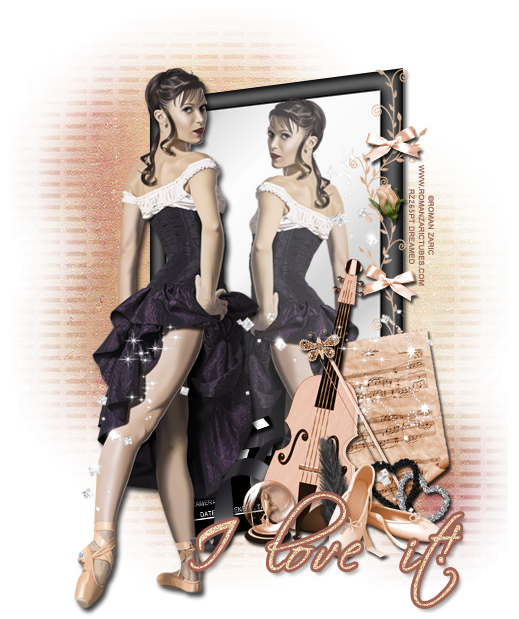
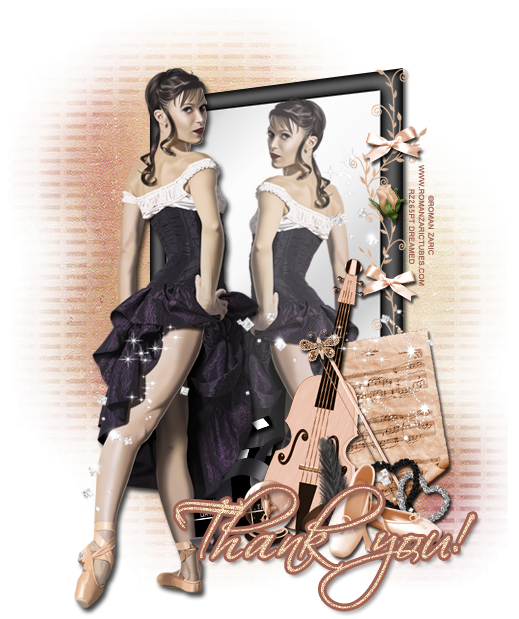
PTU Tutorial - Sarita by Roman Zaric!

PTU tutorial using the beautiful tube by Roman Zaric called Sarita!
You can purchase the tube and matching kit at the Roman Zaric store!
**This tutorial was written by me and any resemblance is purely coincidental. It is written for those with a working knowledge of Photoshop.**

Supplies
Font

Scrap Kit

Tube
*You must obtain a license to use this tube.*

Elements
 Bow
Butterfly
Clacker
Feather
Glitter
Globe
Hearts
Mirror 
Ribbon
RoseBud
SheetMusic
Slippers 
Vine
Violin

Papers
9

Let's start!
Open a new canvas, size 650x650.
Place the Mirror on the canvas and resize a little. Change the perspective a little and add a drop shadow.
Place the tube in front of the mirror. Resize and add a drop shadow. 
Duplicate the tube and flip horizontally. Place it over the mirror and create a clipping mask. Resize a little and erase any parts of the tube that stick outside the "mirror". Change the opacity a little.
That the vine and place it over the edge of the mirror to the right of the tube. Resize so you can fit two copies of the vine going up the side of the mirror. Duplicate the vine and move it above the bottom vine. 
Place the bow toward the top of the vines. Resize pretty small and add a drop shadow. 
Duplicate the bow and move it toward the middle of the mirror frame.
Place a small rosebud between the two bows and add a drop shadow.
Now place the violin against the mirror and flip horizontally. Resize and add a drop shadow. 
Behind the violin, place the sheet music and rotate it to the left a little. Resize and add a drop shadow. 
Move the slippers in front of the violin and sheet music. Resize and add a drop shadow. 
Place the hearts between the slippers and the violin. Resize and add a drop shadow. 
Now place the feather between the slippers and violin on the opposite side. Resize and add a drop shadow. 
Move the clacker behind the tube and violin. Resize and add a drop shadow. 
Place the ribbon over the clacker and behind the violin. Resize and add a drop shadow. 
Place the globe in front of the violin. Resize and add a drop shadow. 
Place the butterfly on the violin toward the top and make it smaller. Resize and add a drop shadow. 

Mask
Open a new canvas, size 600x600.
Move paper 9 on to the blank canvas. 
Open the mask and move on top of the paper.
Remove the white background and place the mask behind the tag. 
Make it evenly stretched on all sides, but not hanging off the canvas.

 Name
Main color is #e7cba9.
Add a stroke, size 3, in color #a16255.
Add noise and add a drop shadow.

Add your tagger mark and copyright information.
Crop off any extra canvas.
Save as a .psd & .png.
We're done :)

And here are free Sarita snags for you!


Thank you for stopping by!

Tuesday, August 20, 2013

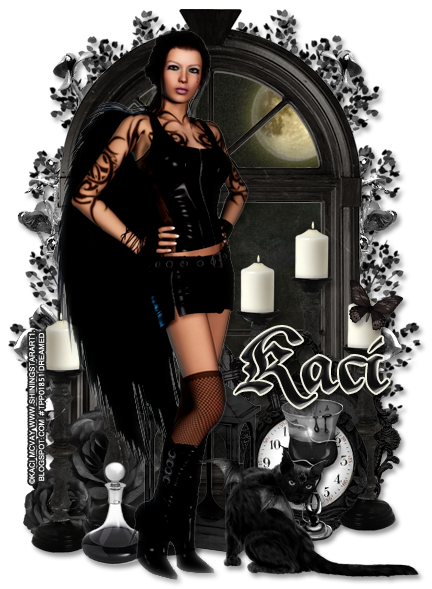
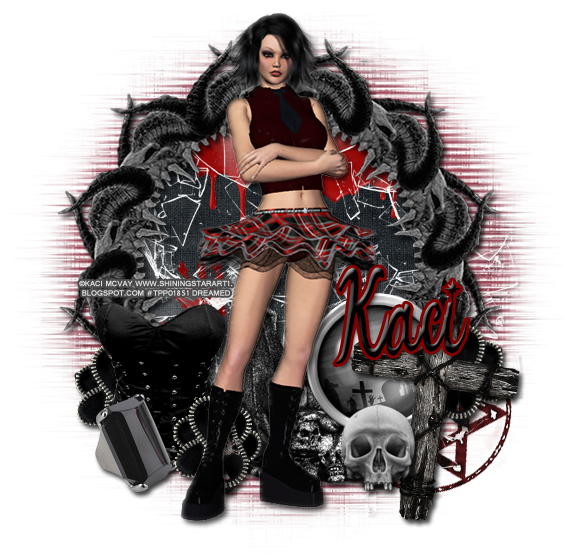
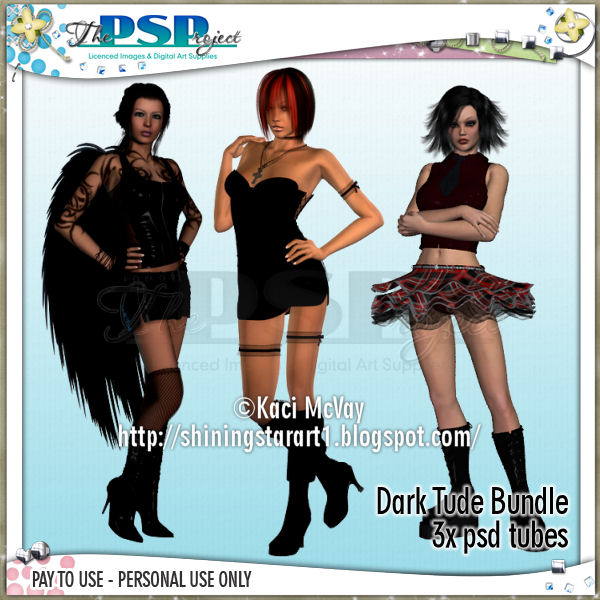
CT Tags using Dark Tude Bundle by Kaci McVay!

Check them out at Shining Star Art!
You can purchase the Dark Tude Bundle at The PSP Project!

Thank you for stopping by!

FTU Tutorial - Star Pupil

FTU tutorial using Star Pupil by Annaica's Place!
You can download this awesome back to school kit on her blog HERE!
**This tutorial was written by me and any resemblance is purely coincidental. It is written for those with a working knowledge of Photoshop.**

Supplies

Font

Mask

Scrap Kit

Tube
*You must obtain a license to use this tube.*

Elements
1
2
3
4
5
6
7
8
9
13
19
23
29
Frame3
Frame4
WA

Papers
6
11

Let's start!
Open a new canvas, size 650x650.
Place Frame3 on the canvas. I changed the color to purple, but you can leave it as is or change. Resize and add a drop shadow.
Move paper6 behind the frame. Resize and erase anything outside the frame and in between the openings.
Place Frame4 behind the frame. Resize the stars are visible. Resize and add a drop shadow.
Place the tube in front of the frame. Resize and add a drop shadow.
Move the WA in front of the tube. Resize and add a drop shadow.
Behind the tube, place the chalkboard to the left. Resize and add a drop shadow.
Place 29 on the upper right hand corner of the chalkboard Resize and add a drop shadow.
Place 8 on top of the chalkboard. Resize and add a drop shadow.
Behind the WA and in front of the board, place 4 and flip horizontally. Resize and add a drop shadow.
Behind the stapler, place 13. Resize and add a drop shadow.
Move 3 behind the WA on the left. Resize and add a drop shadow. Rotate to the left a little.
Place 5 on top of the notebook and behind the wordart, flip vertically. Resize and add a drop shadow.
Place the eraser on top of the wordart and the notebook. Resize and add a drop shadow.
Move the pencil between the eraser and the notebook then rotate it vertically and at an angle. Resize and add a drop shadow.
Move the school bus behind the frame on the left side. Resize and add a drop shadow.
Move the lockers on the other side behind the frame and bus. Resize and add a drop shadow.
Erase anything of the bus and lockers that are seen between the frame.
Place 19 and 23 on the notebook as "doodles". Resize as needed.
Take the Crayon font and write "Back to School" on the chalkboard in white.
Use the VBdings and place a heart in the open spot on the board in white.
Take VBdings on use different doodles on the notebook paper behind the frame.

 Name
Font is DK Crayon Crumble
Main color is white.
Add a stroke, size 2, in #733989 and a drop shadow.
For the heart on the chalkboard and the others on the paper, use VBdings.
Use #323232 for the ones on the notebook paper.

Mask
Open a new canvas, size 600x600.
Open p11 and resize to 600x600. Place on top of the canvas.
Open the mask and move on top of the paper.
Remove the white background and place the mask behind the tag. 
Make it evenly stretched on all sides.

Add your tagger mark and copyright information.
Crop off any extra canvas.
Save as a .psd & .png.

Free Snags!
Thank you for coming by!

PTU Tutorial - A Day Of Harvest

PTU tutorial using a beautiful kit by Jackie's Jewels called A Day Of Harvest!
You can purchase the kit at the Pimpin' PSPers Warehouse!
**This tutorial was written by me and any resemblance is purely coincidental. It is written for those with a working knowledge of Photoshop.**

Supplies
Font

Scrap Kit

Tube
*You must obtain a license to use this tube.*

Elements
Acorn&Nuts
Acorn
Bird
Branch3
Bursts
ChickenWire
CornStalkBunch
FallingLeaves
Fence
Frame3
Frame5
Grass1
GrassPatch
Hay
Kitty1
Latter
Log
Mushrooms1
Mushrooms2
PineCone1
PumpkinBin
Pumpkins
ScatteredLeaves
Squirrel
Tree3
WagonWheel

Papers
7
10

Let's start!
Open a new canvas, size 650x650.
Place Frame3 on the canvas. Resize and add a drop shadow. 
Place paper10 behind the frame and resize. Erase anything outside the frame.
Place a copy of the fence behind the frame. Resize and duplicate so it covers the backside. Add a drop shadow.
Place a CornStalkBunch behind the fence and frame on the right side. Resize and add a drop shadow. 
Duplicate the bunch and place it on the left side.
Take the chicken wire and place it on the lower right side behind the frame. Resize the wire so just a little peeks out. Add a drop shadow.
Duplicate the wire and move it to the left side so a little peeks out there too. 
Take a full size copy of the wire and place it so it's between the fence and frame at the bottom. Resize and add a drop shadow. 
Take another copy of the wire and place it toward the top of the frame so just a little sticks out behind it.
Resize and add a drop shadow. 
Take Tree3 and place it behind the frame on the right side. Have a little stick out the top and to the side. Resize and add a drop shadow. 
Duplicate the tree and flip horizontally. Place it on the left side. Only have this one stick out the top. Duplicate the tree again and have a little stick out the side of the frame. Resize and add a drop shadow. 
Now take another copy of the tree and flip 90° CW so the long flat side is behind everything. It should cover the empty space behind the chicken wire and between the cornstalk bunches.
Below everything, place a grass patch. Duplicate the grass until it covers the front of the tag. Rotate as needed.
Take a close up of the tube and place it on the paper behind the frame. Make one larger close up and one smaller close up. Change both to Luminosity and drop fill to 15%. Duplicate the paper behind the frame and move it on top of the tubes and change it to SoftLight.
Place the full size tube in front of the frame on the left. Resize and add a drop shadow. 
Behind the tube on the left, place the wagon wheel. Resize and add a drop shadow. 
Set the bird on top of the wheel. Resize and add a drop shadow. 
Place a copy of grass1 behind the wheel so a little peeks out the left side. 
In front of wheel, place mushrooms2. Resize and add a drop shadow. 
Place the pumpkins in front of the wheel and a little behind the tube. Resize and add a drop shadow. 
Place the FallingLeaves behind the tube and wheel. Resize and make it so it just to the left of the frame. Add a drop shadow. Duplicate the leaves and place it on the right side of the frame.
Behind the FallingLeaves, place the ladder. Resize and add a drop shadow. 
Place the log in front of the ladder. Resize and add a drop shadow. 
Place the branch behind the ladder at the bottom. Resize and add a drop shadow. 
Place Pinecone1 at the base of the ladder. Resize and add a drop shadow. 
Move Kitty1 in front of the log. Resize and add a drop shadow. 
Along the front of the log, place scattered leaves. Resize and add a drop shadow. 
At the left end of the log, place Mushrooms2. Resize and add a drop shadow. 
Move pumpkins behind the log. Resize and add a drop shadow. 
To the left of the pumpkins, place the hay. Resize and add a drop shadow. 
In front of the hay and behind the tube, place the pumpkin bin. Resize and add a drop shadow. 
Place more scattered leaves in front of the bin. Resize and add a drop shadow.
To the left of the bin and a little behind the tube, place a duplicate copy of the Mushrooms1 from in front of the wheel. 
In front where the hay and pumpkins meet, place the acorn & nuts. Resize and add a drop shadow. 
Take a side from Frame5 and lay it along the bottom the of the frame. Erase anything that sticks off the frame. Add a drop shadow in #870f10.
Along the elements at the bottom, place several copies of Grass1 in between the elements. Resize each copy appropriately and add a drop shadow.
In front of the pumpkin bin, place the squirrel. Resize and add a drop shadow. In front of the squirrel, place the acorns. Resize and add a drop shadow. 
Take the Bursts and lay them around the tag. Make sure nothing covers the tube or the middle of the frame. Duplicate and resize as needed.

Mask
Open a new canvas, size 600x600.
Move paper 7 on to the blank canvas. 
Open the mask and move on top of the paper.
Remove the white background and place the mask behind the tag. 
Make it evenly stretched on all sides, but not hang off the canvas.

 Name
Main color is #e07921.
Add a stroke, size 2, in color #f8cab2.
Select the pixels of the name and expand by 2.
Make a new layer below the name and fill it with #a31f00.
Add noise and add a drop shadow.

Add your tagger mark and copyright information.
Crop off any extra canvas.
Save as a .psd & .png.
We're done :)

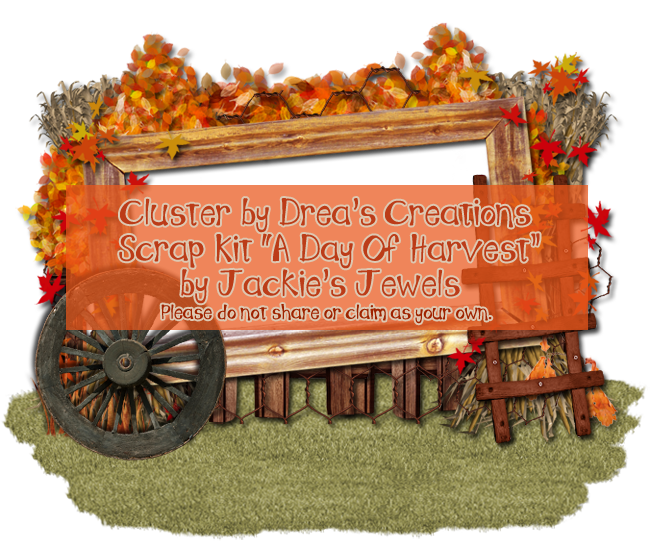
Here is a free cluster frame:
You can download it HERE.

Thank you for coming by!

New Name, New Blog!

Hello friends! I have decided to change my designer name to reflect that I make kits more than I do CT work. I made a new blog so the old links for this blog will remain active for future visits. Please visit me at Drea's Designs ! I'll see you there!
Related Posts Plugin for WordPress, Blogger...